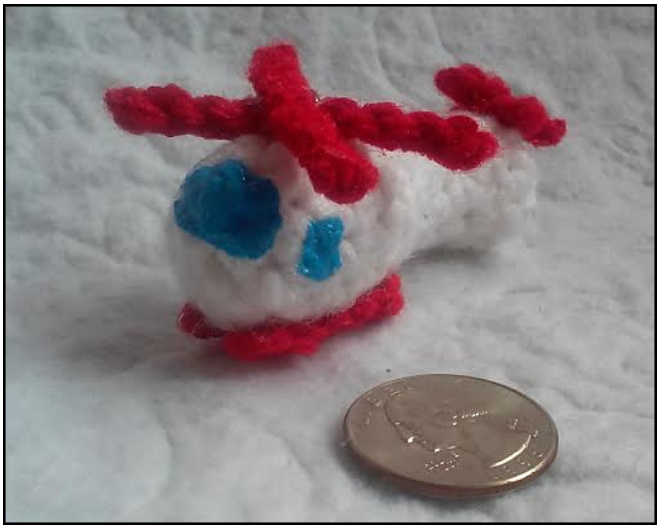
Teeny Tiny Helicopter Crochet Pattern Wwritten by Melissa Trenado
You will need...
Red Heart Super Saver Solids in White Small amount of red yarn for blades and skids Yarn Needle Size D 3.25mm or desired crochet hook Hot glue gun Fiberfil Stuffing Fabric Stiffener (optional) Puffy Fabric Paint (optional) Stitch Markers
Stitches and Abbreviations used..
Ch - chain ? Sl - slip stitch Sc - single crochet Hdc - half double crochet St - stitch Sts - stitches Rpt - repeat Inc - increase, 2 sc in the same space Dec - decrease or sc2tog (single crochet 2 together)
Main piece
With White yarn Rnd 1 \~ Using a magic ring, place 5 sc into the magic ring Rnd 2 ~ inc around (10 sc) Rnd 3 \~ sc in 4, inc / rpt (12 sc) Rnds 4-6 \~ sc around (12 sc) Rnd 7 \~ sc, dec / rpt around (8 sc) · Start stuffing, keep stuffing as you crochet along. Rnds 8-10 \~ sc around (8 sc) Rnd 11 \~ hdc in each of the next 2 sts, increase with 2 hdc in next / rpt around (12 hdc) ●Finish stuffing. Rnd 12 \~ dec around (6 sc) · Fasten off. Using your yarn needle, close the remaining hole.
Main Rotor Blades (make 2)
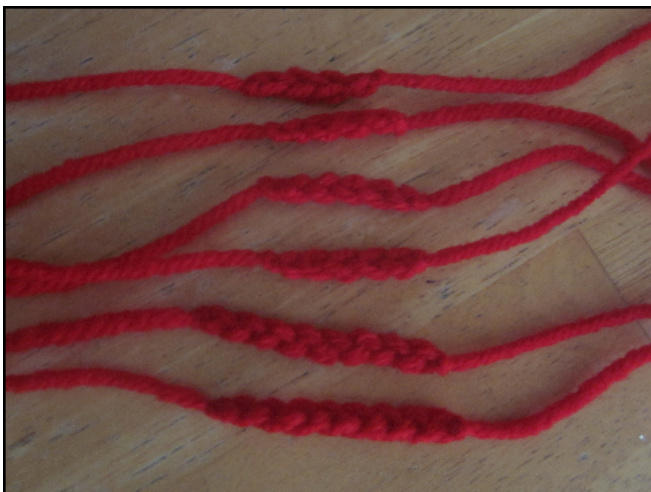
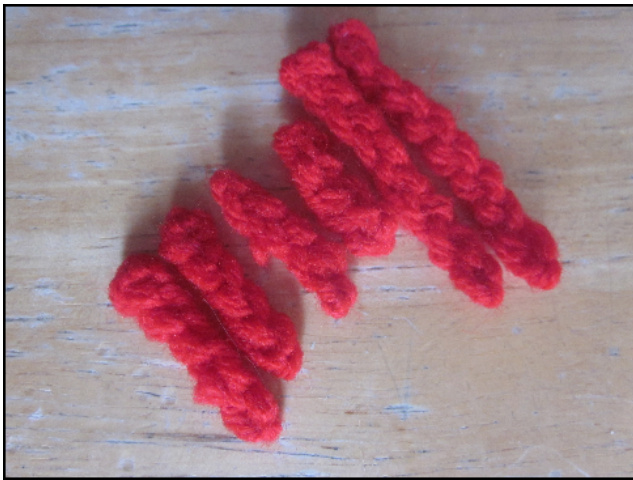
Using red yarn and leaving a long beginning tail, chain 8. Fasten offleaving a long end tail
Tail Rotor Blades (make 2)
Using red yarn and leaving a long beginning tail, chain 4. Fasten offleaving a long end tail.
Landing Skids (make 2)
Using red yarn and leaving a long beginning tail, chain 5. Fasten offleaving a long end tail.
Using your yarn needle, weave in ends. If you are using fabric stiffener, spray all 6 pieces and let completely dry.
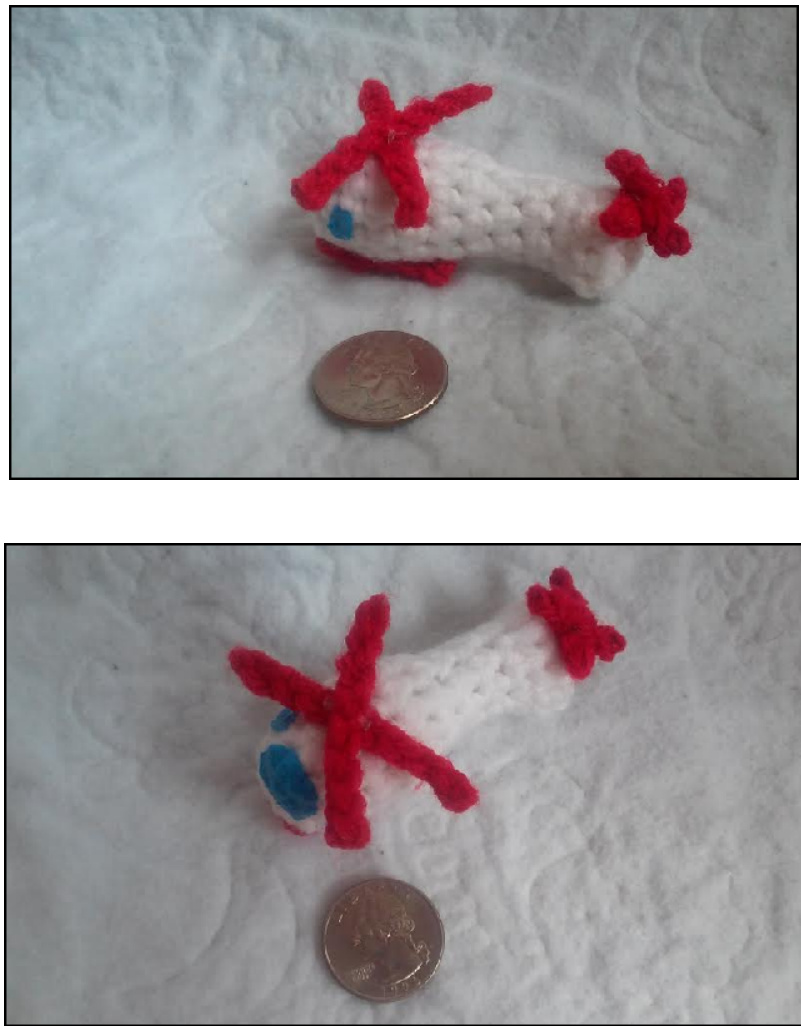
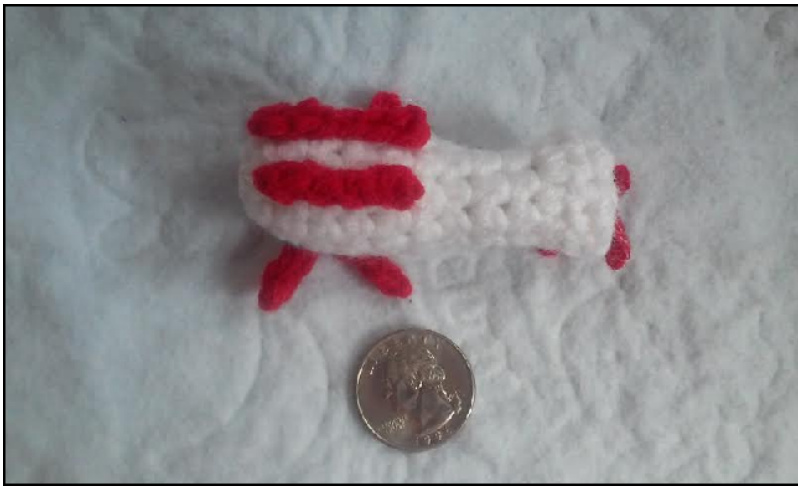
If you plan on painting a windshield or another design on your helicopter let completely dry before assembly. Using your hot glue gun, glue all pieces as pictured below.
I hope you enjoyed this crochet pattern! If you have any questions feel free to contact me at any time! Please do not claim this pattern as your own, I do not mind if you sell the finished product but do not sell this pattern as your own. MelissasCrochetPatterns@gmail.com Ravelry \~ LionQueenMelissa Facebook \~ Melissa's Crochet Patterns Etsy Shop \~ MelissasPatterns


