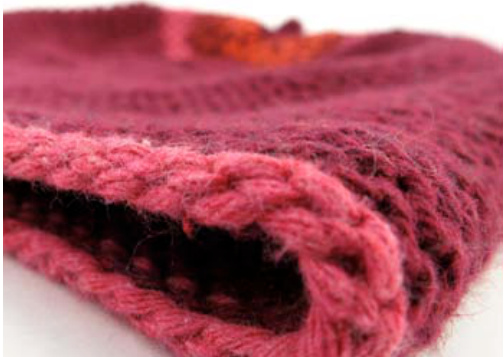
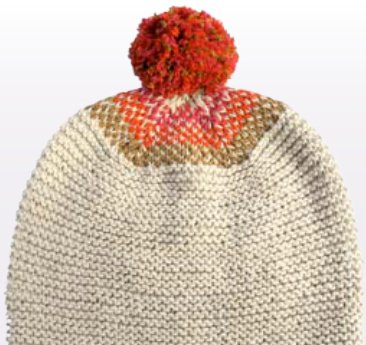
About a Hat is knit with an eco-friendly recycled cotton-acrylic blend. From the front, About a Hat has a basic, two color design, but the crown has a colorful surprise, with three finishes to choose from.
Size to ft 21.5" (54.5cm)-22" (56cm) head size. 9.25" (23.5cm) [18.5" (47cm) circumference] X 9" (23cm) height
Needles
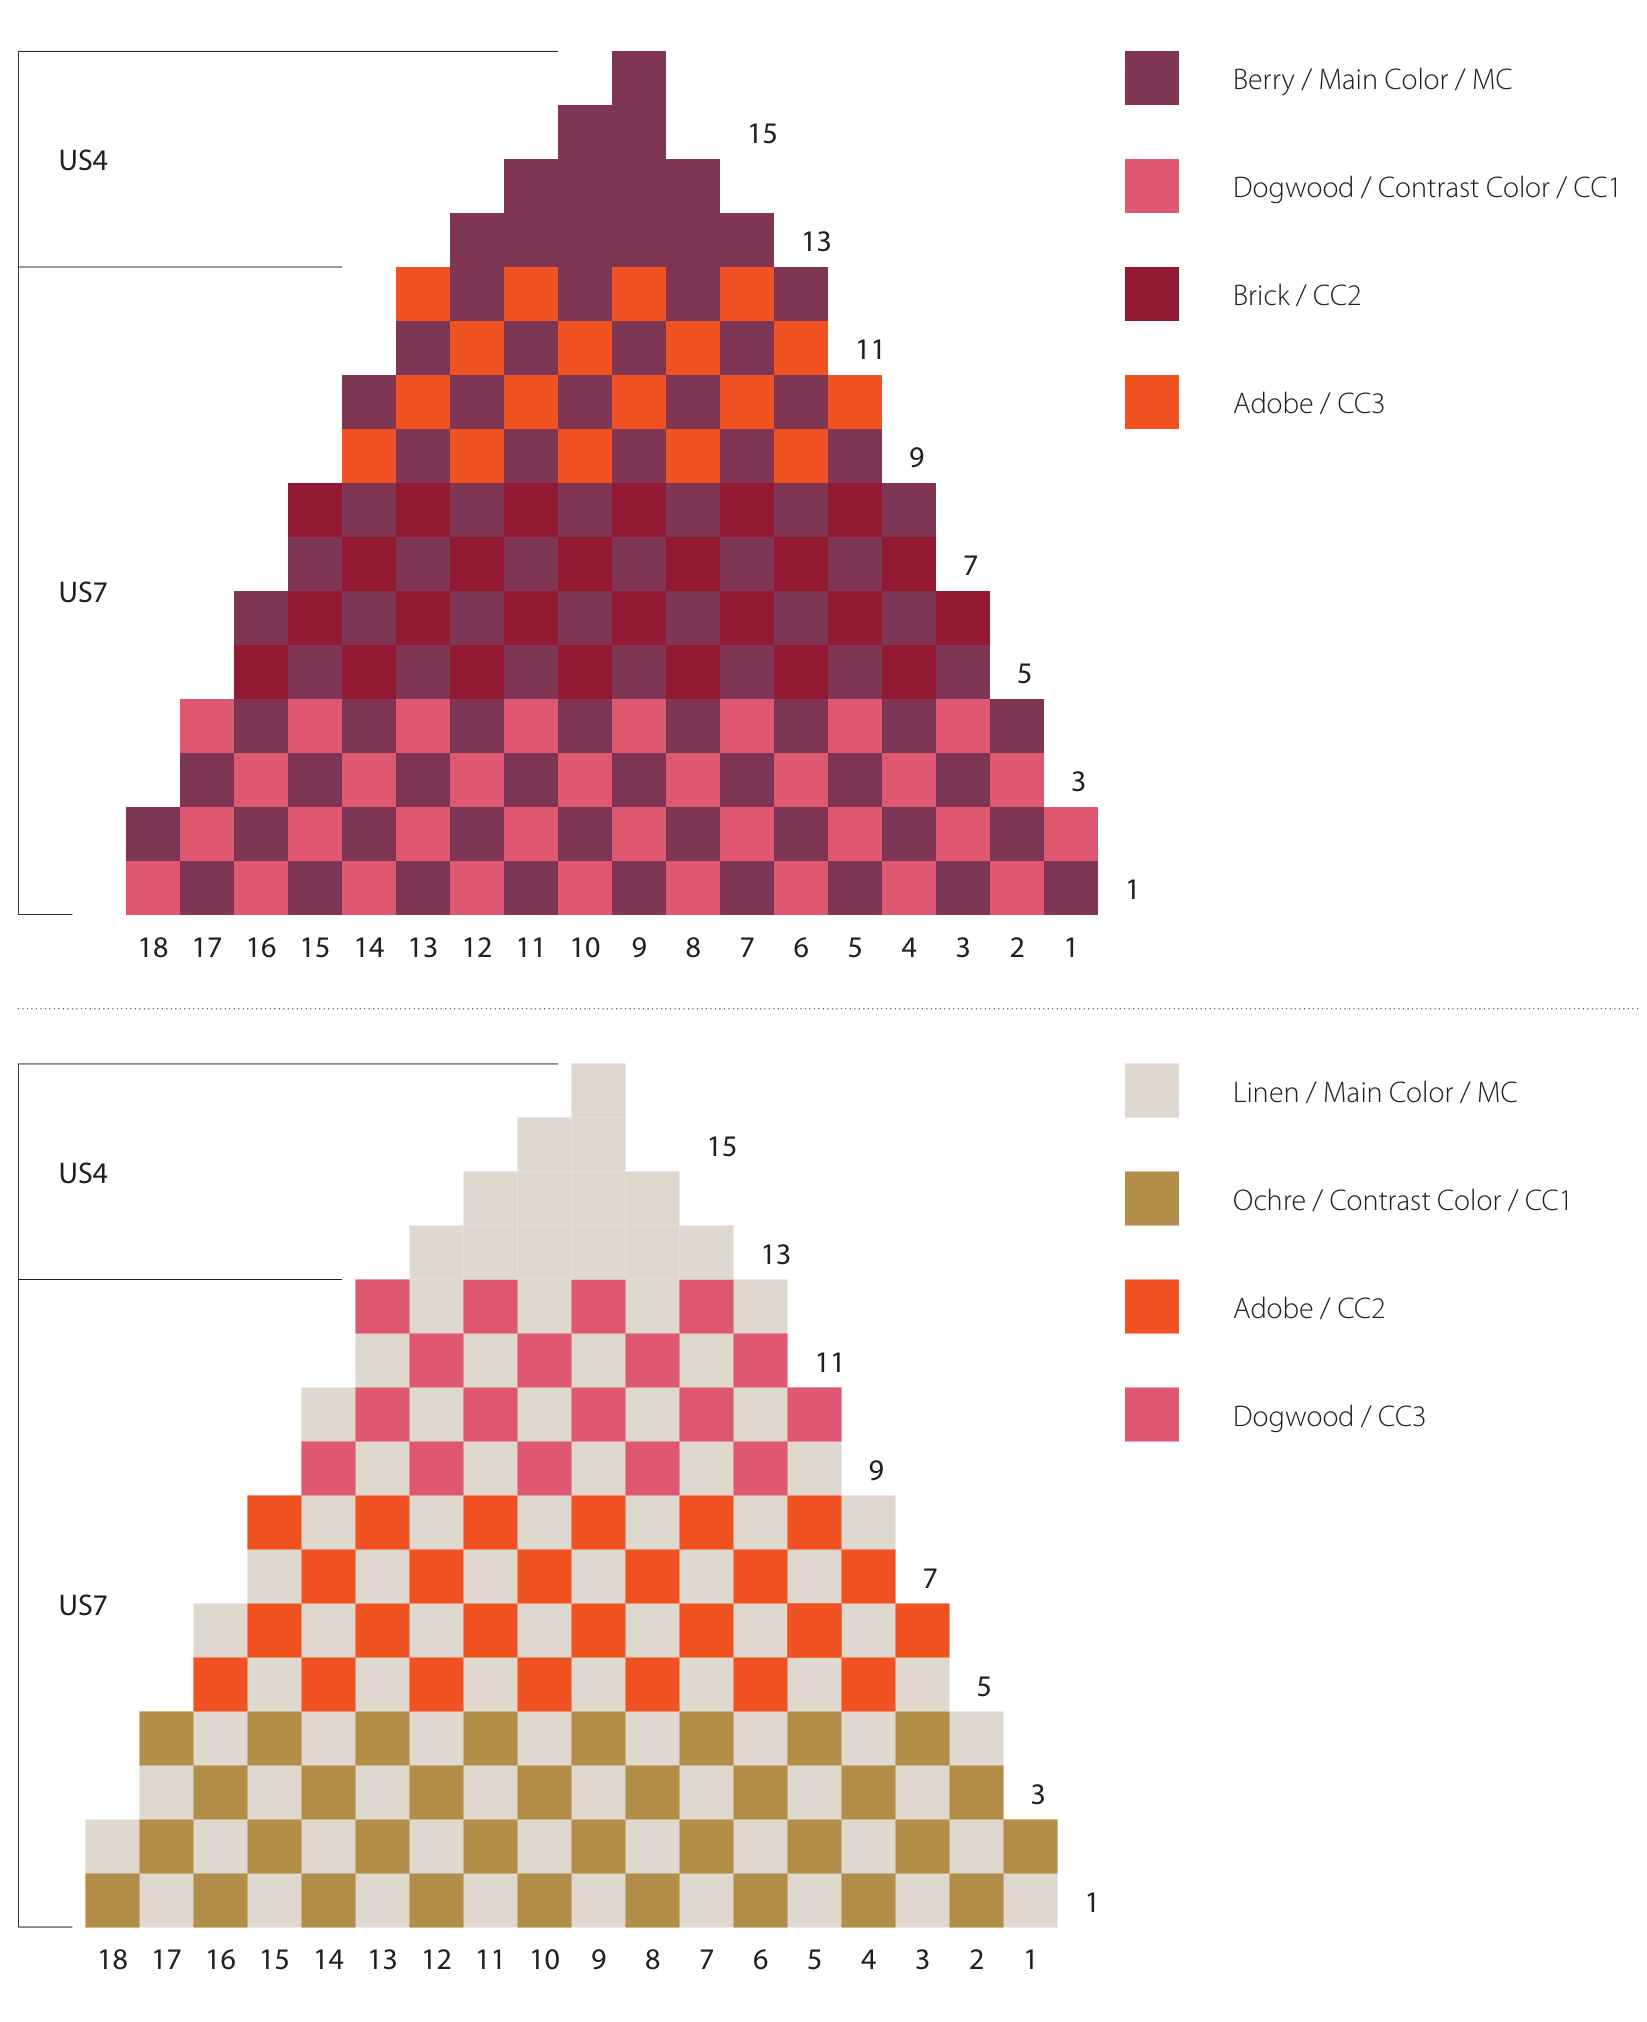
US 4 (3.5mm) and US7 (4.5mm), 16" (40cm) circular needles US 4 (3.5mm) and US 7 (4.5mm) DPNs Yarn Only the main color (MC) quantity is listed below. Small amounts of three contrasting colors (CC) will be needed to complete About a Hat, the CC used are listed on page 3. Knit One Crochet Too 2nd Time Cotton (180 yards / 165 meters / 100g); 0.30 skein in colorway Berry or Linen as main color (MC) 54 yards / 49.5 meters / 30g
Gauge
Garter in US4, 19 sts x 44 rows = 4" (10cm)
Notions
1 stitch marker, tapestry needle
Abbreviations
CO cast on BO bind off st(s) stitch(es) kknit ppurl rnd(s) round(s) Inc increase k2tog knit 2 sts together ssk slip, slip, knit kfb knit in the front and then the back of the same stitch dpn(s) double point needle(s) WS wrong side MC main color CC contrast color
NOTES
About a Hat is knit with a soft, speckled and inelastic cottonacrylic blend yarn. Please note that if using the suggested yarn, the size is limited to a head size of 21.5" (54.5cm)-22" (56cm). If substituting yarn, please choose an inelastic one that gives you the same gauge. To achieve different sizes, please experiment with different yarns and needles. If you want the same look, keep a similar proportion of needle sizes. The About a Hat uses garter stitch for the brim and body, and stockinette stitch in the fair isle portion of the crown. The clean lines showcase the beauty of the yarn and the simple stitches. About a Hat is knit in the round using leftover cotton-acrylic blend yarn from any favorite project for the colorful crown. Please make sure to use the same weight as your main yarn. Make sure to check your gauge. The colorful fair isle crown design can be found on page 3. YouTube instructions for the twisted German cast on and how to attach the pompom to the hat can be found on the Ravelry pattern page. Using US4, 16" circular needle and twisted German cast on, CO 88 sts with a contrast color (CC1).
BRIM
Turn work, change to main color (MC) and kfor 1 row. Place marker for beginning of a rnd. Join to begin working in the rnd, being careful not to twist the sts. P 1 rnd. (k 1 rnd, p 1 rnd) 9 times.
BODY
Inc rnd: k8, kfb, k to 9 sts before end of rnd, kfb, k8 (90 sts) Change to US7, 16" circular needle. P next rnd. (k 1 rnd, p 1 rnd) 23 times.
CROWN
All rows of the crown portion are worked in stockinette stitch, where all stitches will be knit. Start fair isle, follow chart on page 3 for color. Rnd 1 and 2: k all sts. Change to US7 dpns + US7 16" circular needle as a 6th dpn. Rnd 3: k2tog, k14, ssk on each needle. Rnd 4: K 1 rnd. (k2tog, kto 2 sts before marker, ssk. K 1 rnd) 4 more times, until there are 8 sts on each dpn (40 sts). Rnd 12 of the fair isle chart should have been completed. Choose your finish from the three options listed below. There are three ways to finish About a Hat: 1. Plain finish Change to US4 dpns + US4 16" circular needle as a 6th dpn. (k2tog, k4, ssk) to end of rnd (30 sts) (k2tog, k2, ssk) to end of rnd (20 sts) (k2tog to end of rnd) twice (5 sts). Break yarn leaving an 8" tail. Thread the yarn through the remaining sts. Pull the yarn snug to close the gap between sts and secure it to the inside (WS) of the hat. Weave in ends, block\* and enjoy.
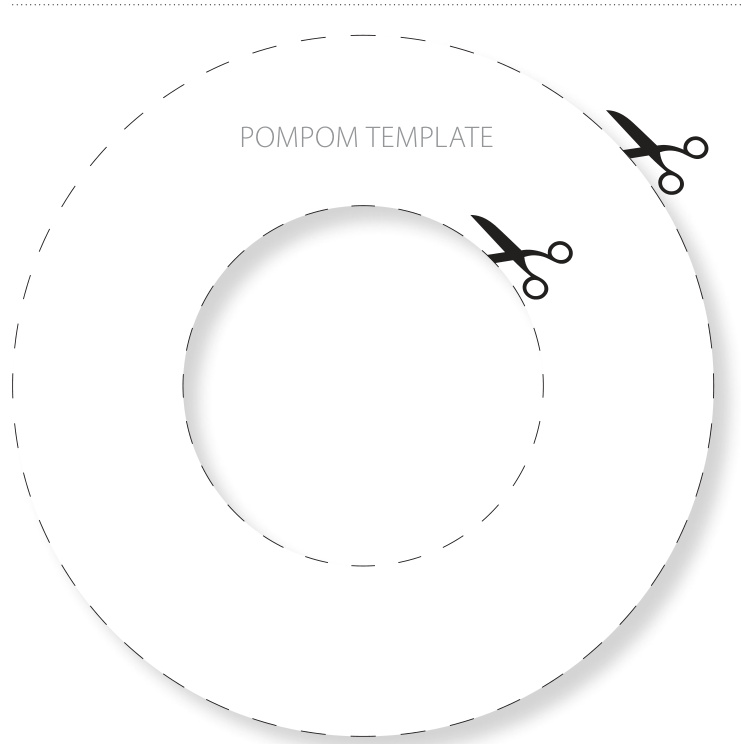
MAKE A POMPOM
1. Trace the circle template on the right onto a piece of lightweight cardboard (ex. cereal box) and cut two circles (cutting out the middle of both circles). 2. Cut three strands of 10' of different color yarn (if making a colorful pompom), or same color yarn (if making one color pompom), fold them in half, and thread the three strands through a needle. Pull the needle to the middle of the yarn (5' on each side of the needle). 3. Put the two cut circles together, and wrap the yarn around until all the circle is covered with yarn, and there is not space in the empty inner circle. Add yarn as necessary (photo 3). 4. Cut the yarn between the two cardboard circles (photo 4). 5. Tie a piece of yarn tightly around the inner circle between the cardboard circles (photo 5). 6. Cut the two cardboard circles loose and pull them out (photo 6) 7. Cut around the pompom and shape it (photo 7). 2. I -cord finish Change to US4 dpns + US4 16" circular needle as a 6th dpn. (k2tog, k4, ssk) to end of rnd (30 sts). (k2tog, k2, ssk) to end of rnd (20 sts). (k2tog to end of rnd) twice (5 sts). Move all sts to one needle. Slide all sts to the right and start working an i-cord for 3 rows. Break yarn leaving an 8" tail. Thread the yarn through the remaining sts, start on the right side st. Pull the yarn snug to close the gap between sts and secure it to the inside (Ws) of the hat. Weave in ends, block\* and enjoy. 3. Pompom finish Same as plain finish. Make a pompom as directed on this page. Attach the pompom to the top of the hat. YouTube instructions for attaching the pompom can be found on the Ravelry pattern page. Weave in ends and block\* the hat before attaching the pompom, don't block the pompom. Enjoy. \* When blocking add fabric softener to make the yarn softer

ABOUT A HAT BY ANAT RODAN
CROWN FAIR ISLE COLOR OPTIONS
Copyright @AnatRodan2013 This pattern and fnished productisfor personal use only. Do not copy orselthe pattern in printed or digital format If you have any questions, contact me at contact@anatrodan.com


