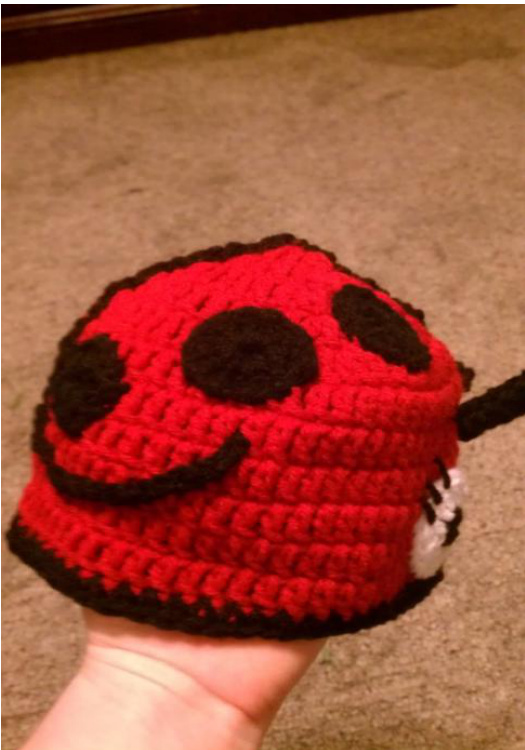
LadyBug Crochet Hat
Basic Beanie: \*use an f hook for ages 6 months, use an g hook for 12-24 months, use an h hook for ages 7 to adult: for newborn eliminate row 5 and use an f hook Beginning at top of the hat: Special notes: the 1 sc and ch 1 is the first dc of each round Ch 5, join with sl st to first ch to form a ring,
Increases:
Row 1: work 1 sc into ring and ch 1 (this is the 1st dc), work 11 dc into the ring, join with a sl st, into the ch 1, (12 dc) Row 2: work 1 sc and ch 1 into same space as the join, work 1 dc in same space, work 2 dc's in each dc around, join with a sl st, into the ch 1, (24 dc) Row 3: work 1 sc and ch 1 into same space as the join, work 2 dc in next dc, \*work 1 dc in next dc, work 2 dc in next dc,\* repeat from \*to\* to end, join with a sl st, into the ch 1, (36 dc) Row 4: work 1 sc and ch 1 into same space as the join, work 1 dc in next dc, work 2 dc in next dc, \*work 1 dc in each of next 2 dc, work 2 dc in next dc,\* repeat from \*to\* to end, join with a sl st, into the ch 1, (48 dc) Row 5: work 1 sc and ch 1 into same space as the join, work 1 dc in each of next 2 dc, work 2 dc in next dc, \*work 1 dc in each of next 3 dc, work 2 dc in next dc,\* repeat from \*to\* to end, join with a sl st, into the ch 1, (60 dc) Row 6: work 1 sc and ch 1 into same space as the join, work 1 dc in each dc to end, join with a sl st, into the ch 1 (60 dc) Row 7 to 10: repeat row 6. You can make your hat longer in length by adding more repeat rows of row 6 \*ages 6 months use 10 rows, ages 12-24 months use 11 rows, ages 2-5 years use 12 rows, ages 7 to adult use 13 rows Finish off your hat with a final row of sc Attachments:
Make 6 (3 for each side)
Special notes: the 1 sc and ch 1 is the first dc of each round
Ch 4, join with sl st to first ch to form a ring,
Increases:
Row 1: work 1 sc into ring and ch 1 (this is the 1st dc), work 9 dc into the ring, join with a sl st, into the ch 1, (10 dc) Row 2: work 1 sc and ch 1 into same space as the join, work 1 dc in same space, work 2 dc's in each dc around, join with a sl st, into the ch 1, (20 dc) Finish off leaving a long tail to sew onto hat.
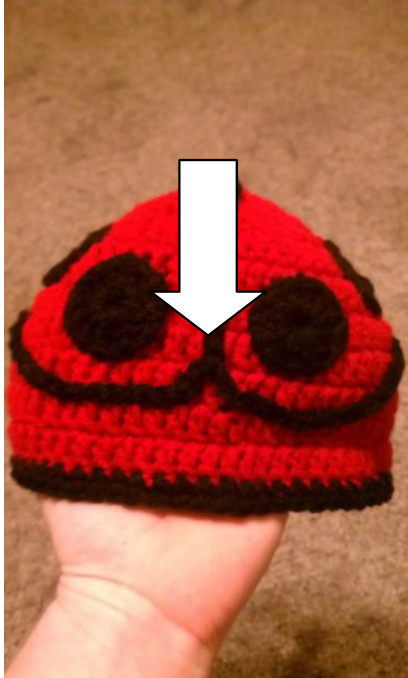
Wings:
Make a chain to attach for the wings. The amount will depend on the size of hat. Find a starting point in the middle of the hat toward the front. Measure from that starting point down the middle and curve over to one side. This is how long your chain shall be.
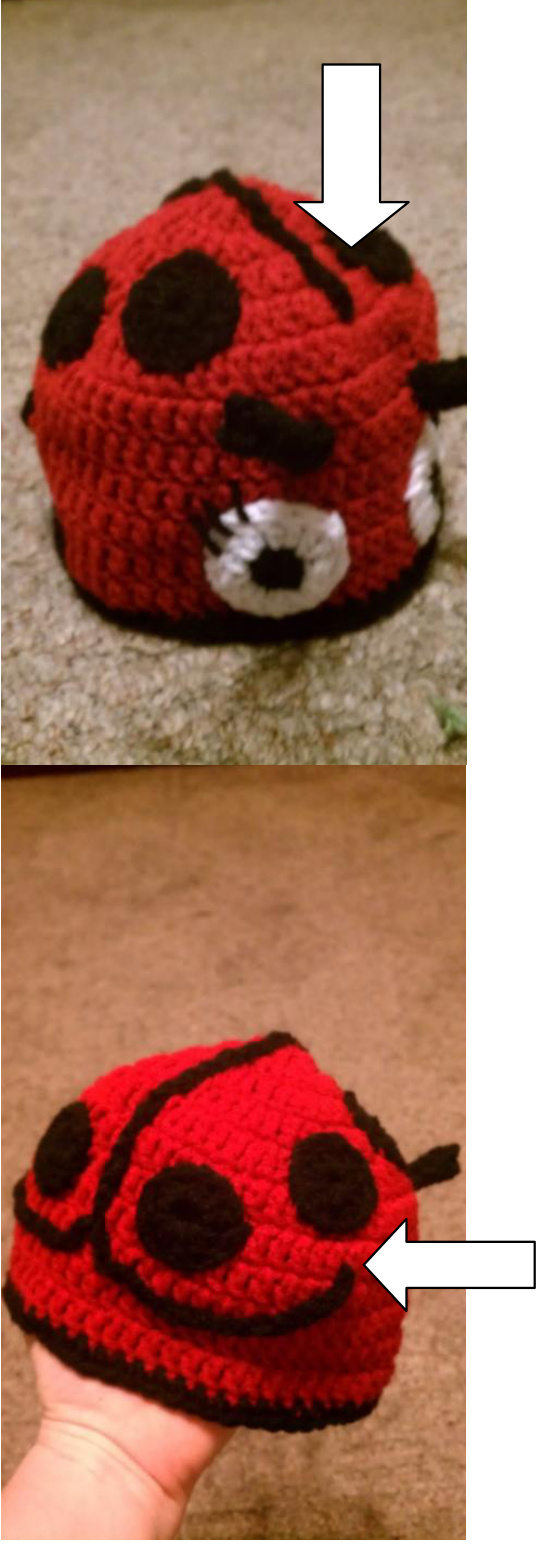
You will need to make a second smaller chain to make the second wing. Attach it at the begging of the curve on the first wing.
Antennas:
Make 2
Ch 2, working in 1st ch, 4 sc \*this will be worked in a continual round 1 sc in each st all the way around This will form a tube and be a little difficult to work in because it is small Continue until it is the length you want. Finish off leaving a tail to sew on to hat. You can attach a pom pom on top.
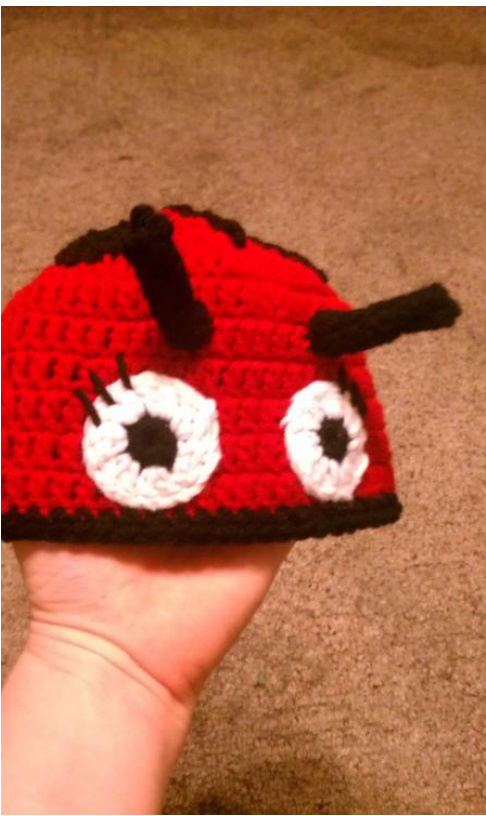
Eyes:
Use the Dot pattern, just change your colors as shown.
Eyelashes:
Using your yarn needle sew three eyelashes on each eye. Virtuous Loops Crochet www.virtuousloopscrochet.blogspot.com www.youtube.com/kraftsbykrystle


