Smirth
for yarn, hook, & needle
learn-to-crochet cowl
size: m finished dimensions: 18" circumference at narrowest, 22" at widest; 8" tall yarn: worsted weight, approx 170 yds fyarn used this page: MacKintosh Iona Worsted, color Submerged; yarn used in other pages: Malabrigo Merino Worsted, color Blue Surf} hook: US size H (5 mm) or size needed to achieve gauge {hook used: Brittany Birch} notions: locking stitch marker, yarn needle gauge: 16 sts & 16 rnds = 4"/10 cm in sc testyourgaugetoinsuredesiredfinish skills used: crochet in the rnd, chain, single crochet, double crochet, increases construction: top-down
Notes
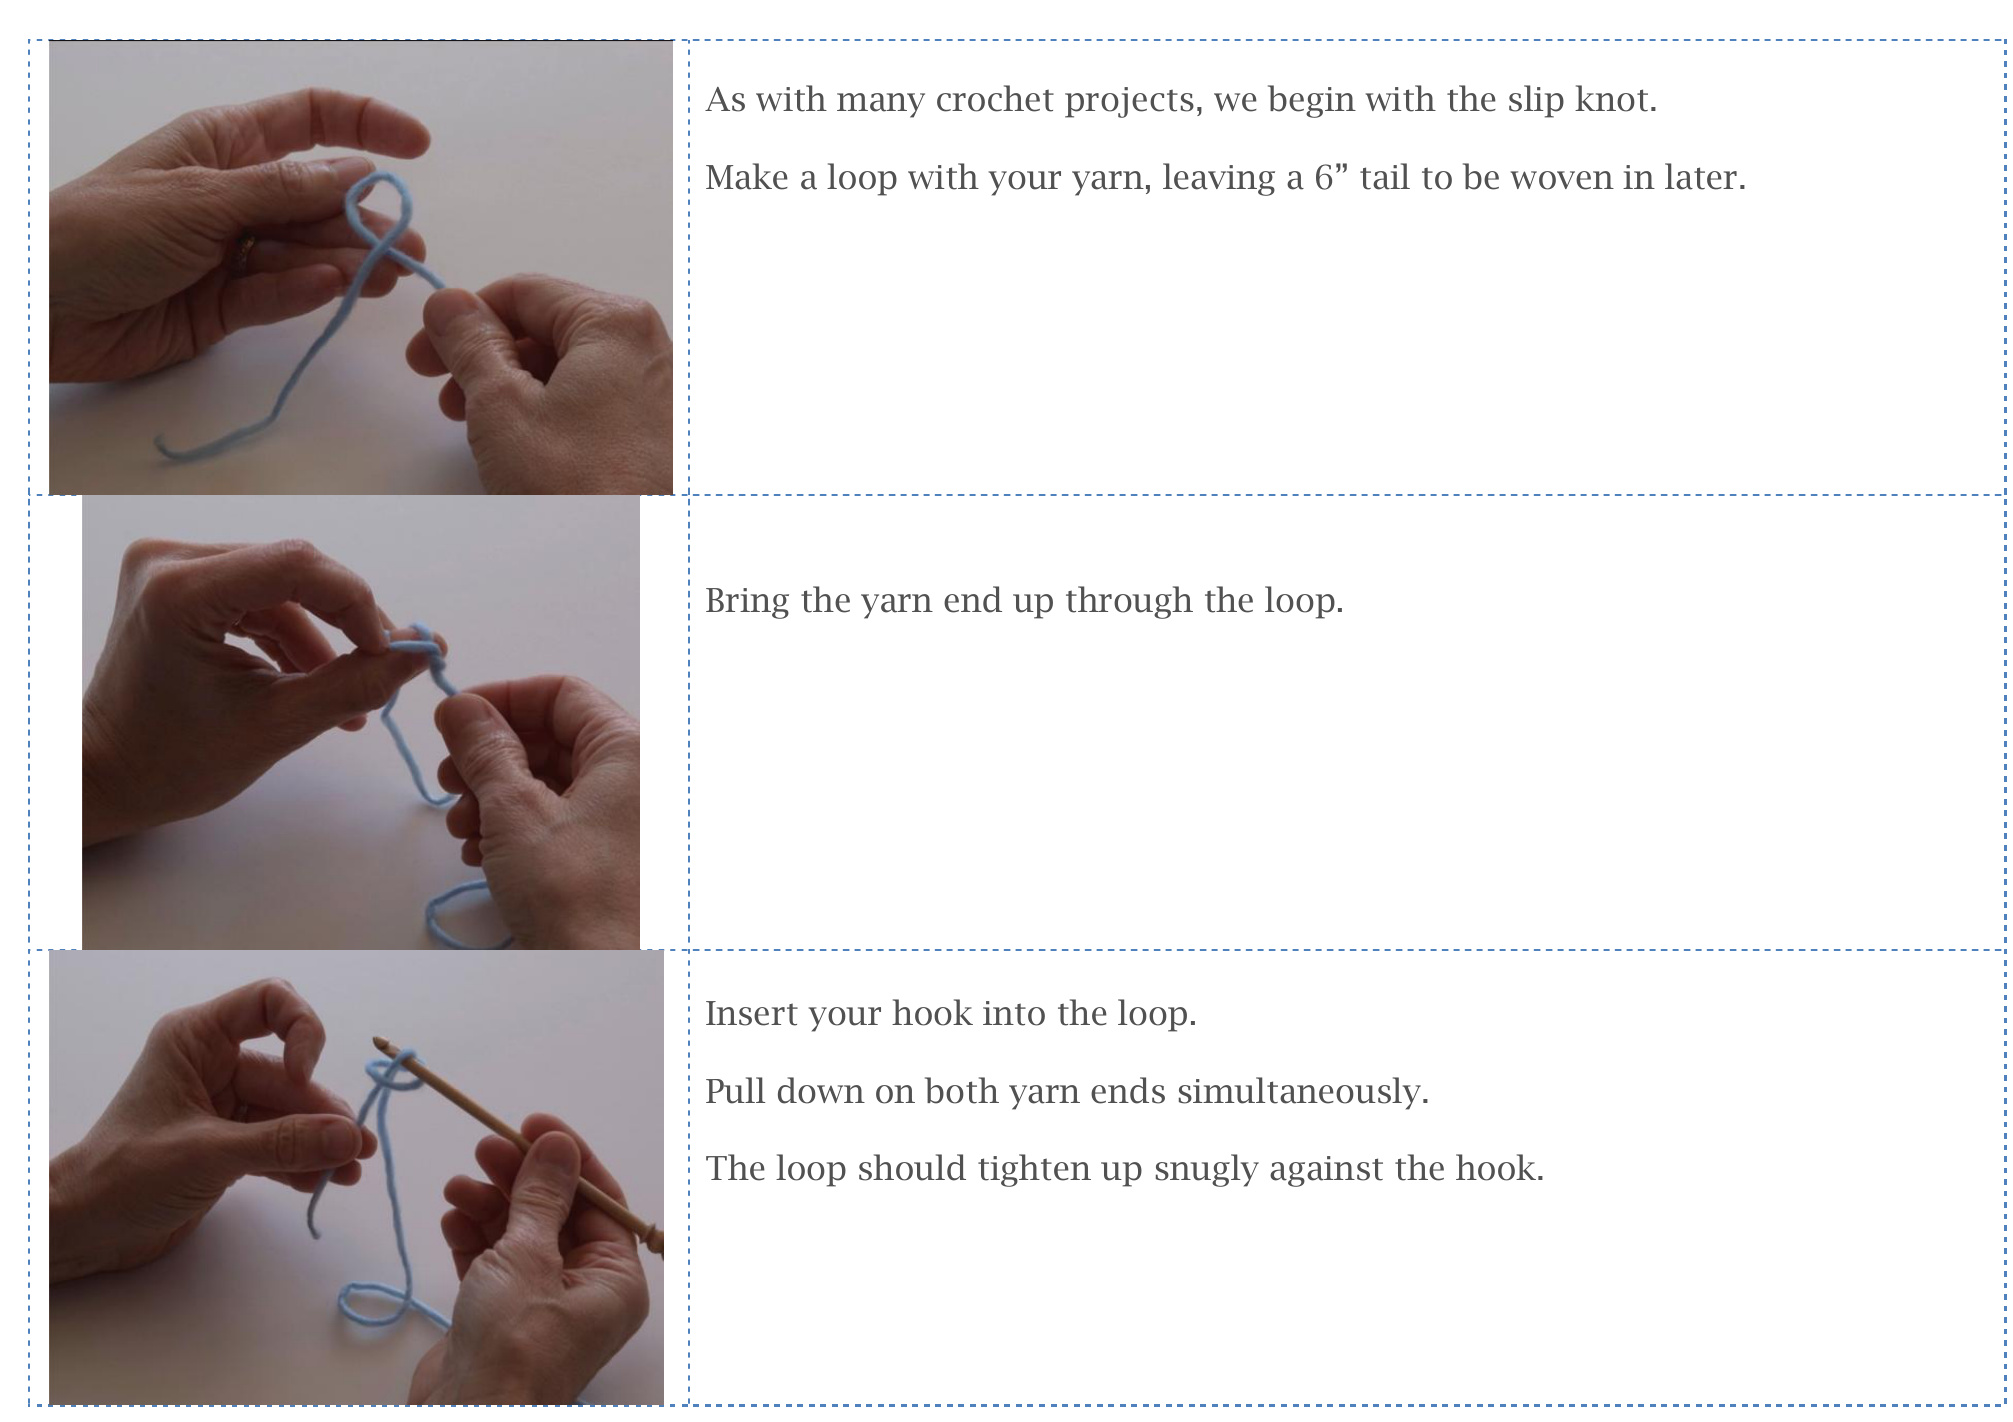
This easy wearing cowl is a good project for learning to crochet. Making the cowl will teach you all the steps from first slip knot to last stitch, guiding you through chains, single crochet stitch, and double crochet stitch—all while learning to crochet in the round. Let's plunge in our hooks!
| Now let's learn how to hold the yarn in your left hand to control tension. Wind the working yarn around your little finger. Turn your hand over and wind the yarn down behind your middle finger and | |
| ring finger and back over your index finger. | |
| Wind the yarn a couple of times loosely around your index finger. You are ready to make stitches! |
| Hold the bottom of the slip knot to keep it in place, while keeping the yarn tension just right with your left index finger. | |
| Take the hook under the working yarn and grab it with the hook. | |
| Draw the yarn through the slip knot. You have made your first chain stitch. |
| Make a few more chain stitches as you did with the first one. You are making a line of chain stitches. | |
| This is how the top of the chain looks after about 8 stitches. | |
| Flip it over and look at the underside of the chain. There are little bumps at the back of each stitch. To begin the cowl, make a long chain of 64 chain stitches. This is called the foundation chain. |
| When you have 64 chain stitches, join the chain into a ring with a slip stitch. Make sure the chain is not twisted, that all the little bumps are toward the back and the flat chains are toward the front. Now insert your hook into the first chain stitch that you made. | |
| Take the hook through that stitch and over the top of the working yarn to draw a loop through that stitch and the last stitch on your hook all at once. | |
| This slip stitch joins the chain into a ring. Now you are ready to work the first round of the cowl. |

Take the hook under the working yarn again and draw the yarn through the first two loops.
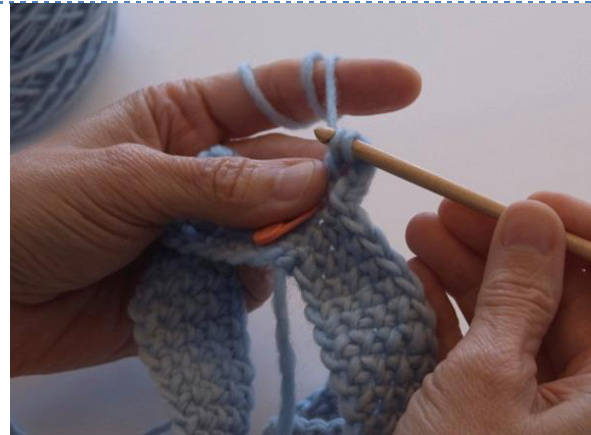
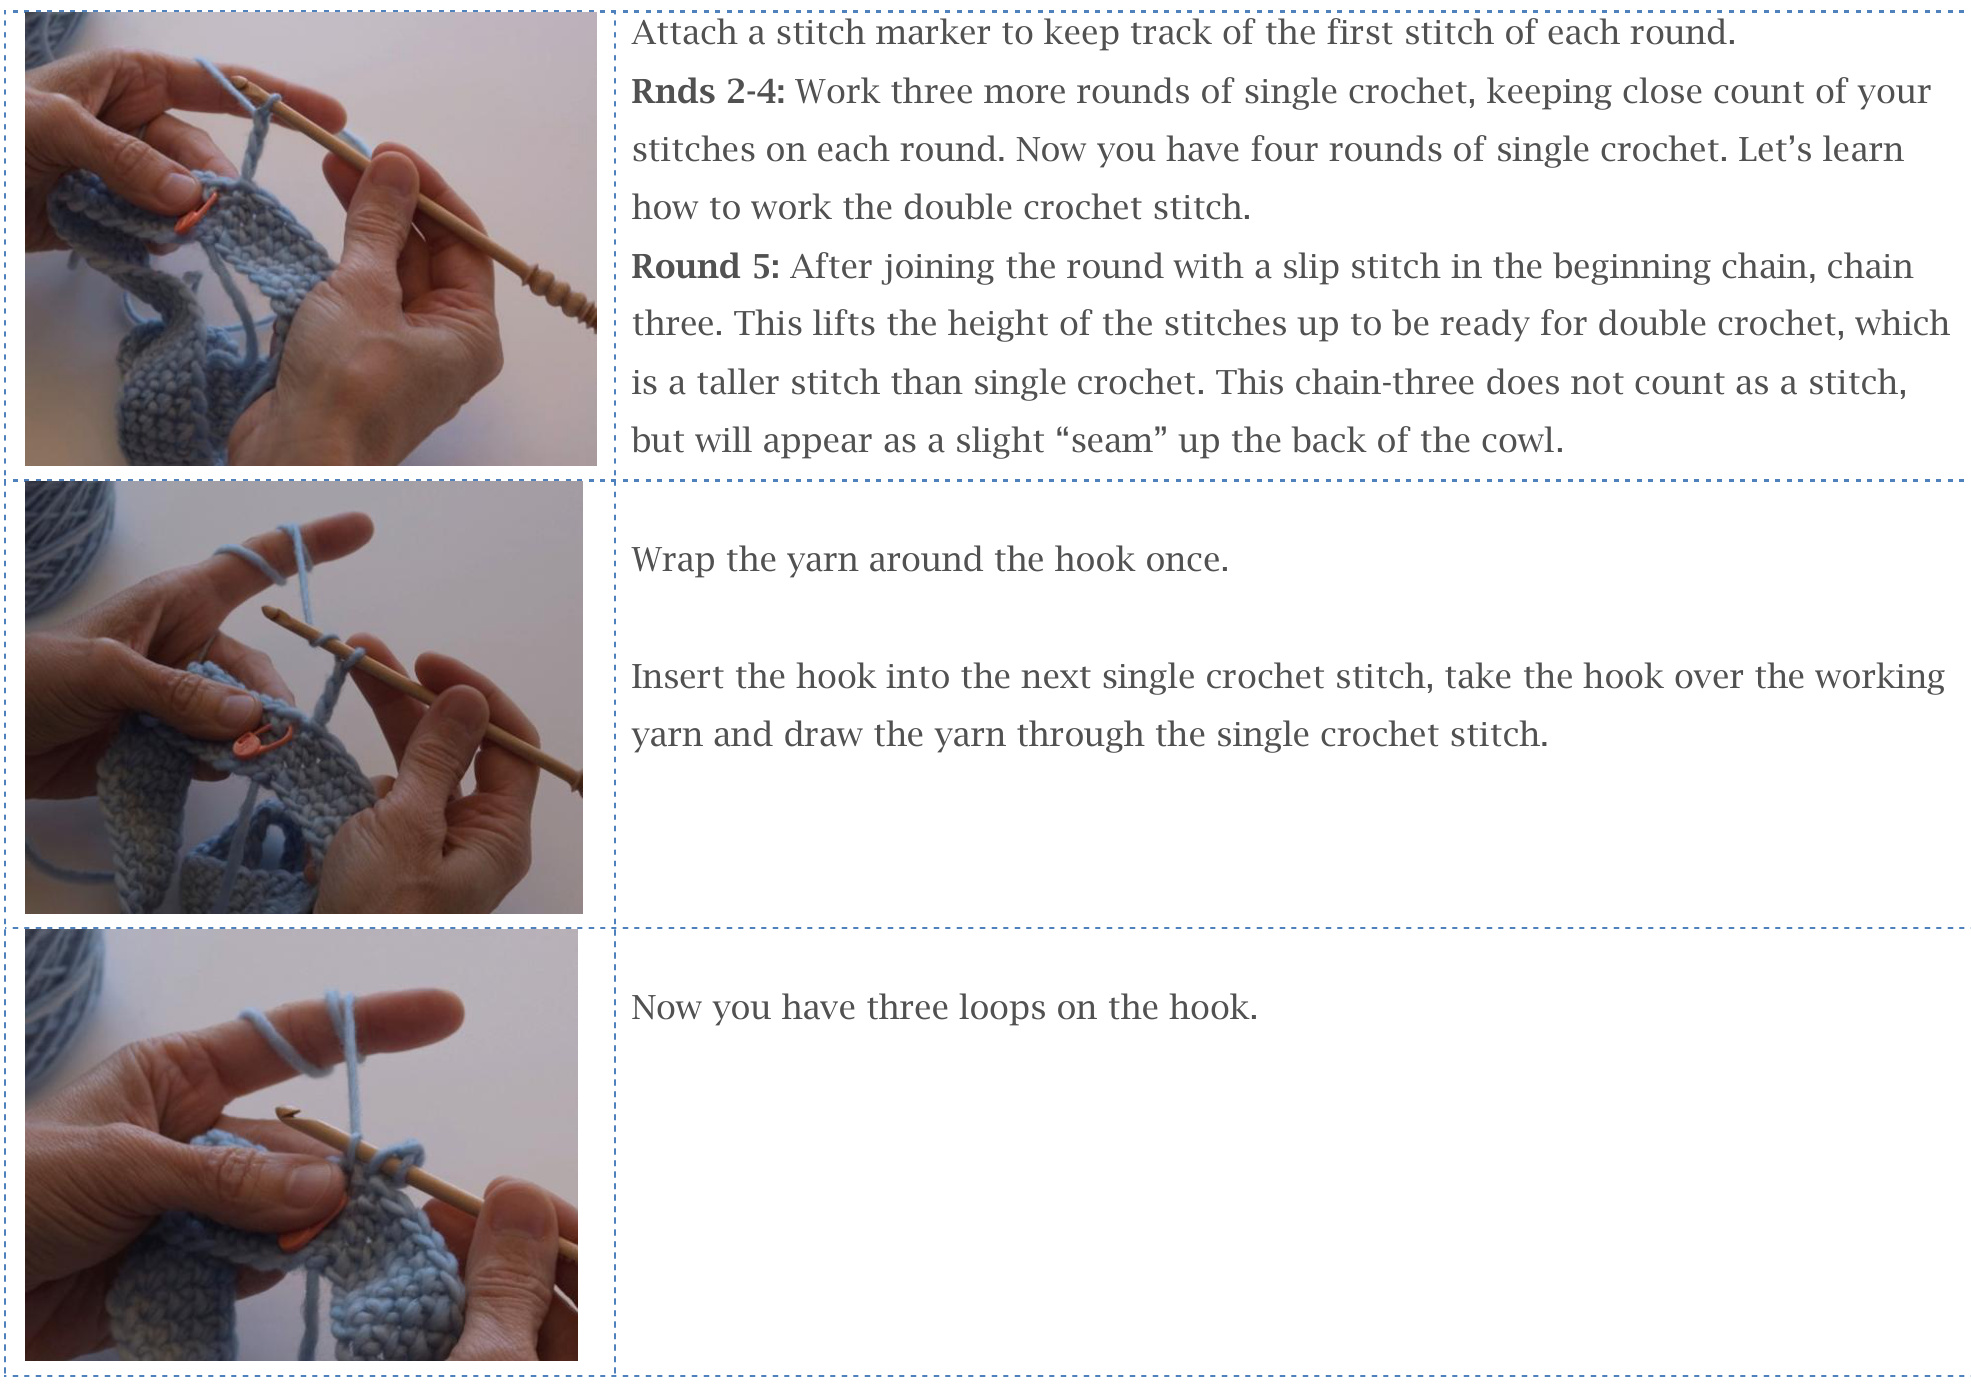
Take the hook under the working yarn and draw the yarn through the remaining two loops. You have made your first double crochet stitch. Here is what your first actual double crochet stitch will look like standing next to your chain-three. Continue working one double crochet stitch into each single crochet stitch around [64 dc, not counting ch-3]. Join with a slip stitch in the top chain of the chain-three. Rnd 6: Remembering to chain three for the first double crochet stitch, work asround 5. Rnd 7: Ch 1, work one sc in each dc around. Join with sl st in beg ch. Rnds 8-10: Repeat rnds 2-4. In rounds 11, 15, 19, and 23 you will increase the number of stitches, making the cowl successively larger in circumference. This increase is achieved by working two double crochet stitches in one of the stitches in the round below. This is how it looks. Keep close count of your stitches on each round. Follow the remaining instructions to completethecowl.
Rnd 11: Ch 3, \*dc in each of next 15 sts, 2 dc in next st; rep from \* 3 times, join with sl st to top of ch-3 [68 dc]. Rnd 12: Ch 3, dc in each dc around, join with sl st to top of ch-3 [68 dc]. Rnd 13: Ch 1, sc in each dc around, join with sl st in beg ch [68 sc]. Rnd 14: Ch 1, sc in each sc around, join with sl st in beg ch [68 sc]. Rnd 15: Ch 3, \*dc in each of next 16 sts, 2 dc in next st; rep from \* 3 times, join with sl st to top of ch-3 [72 dc]. Rnd 16: As rnd 12 [72 dc]. Rnd 17: As rnd 13 [72 sc]. Rnd 18: As rnd 14 [72 sc]. Rnd 19: Ch 3, \*dc in each of next 17 sts, 2 dc in next st; rep from \* 3 times, join with sl st to top of ch-3 [76 dc]. Rnd 20: As rnd 12 [76 dc]. Rnd 21: As rnd 13 [76sc]. Rnd 22: As rnd 14 [76 sc]. Rnd 23: Ch 3, \*dc in each of next 18 sts, 2 dc in next st; rep from \* 3 times, join with sl st to top of ch-3 [80 dc]. Rnd 24: As rnd 12 [80 dc]. Rnd 25: As rnd 13 [80 sc]. Rnd 26: As rnd 14 [80 sc]. Break the yarn, leaving a 6" tail. Draw the yarn end through the last st. Weave in both ends. Block your cowl to its finished measurements. Wear proudly! Abbreviations: beg = beginning; ch = chain; dc = double crochet; rep = repeat; rnd(s) = round(s); sc = single crochet; sl = slip; st(s) = stitch(es.
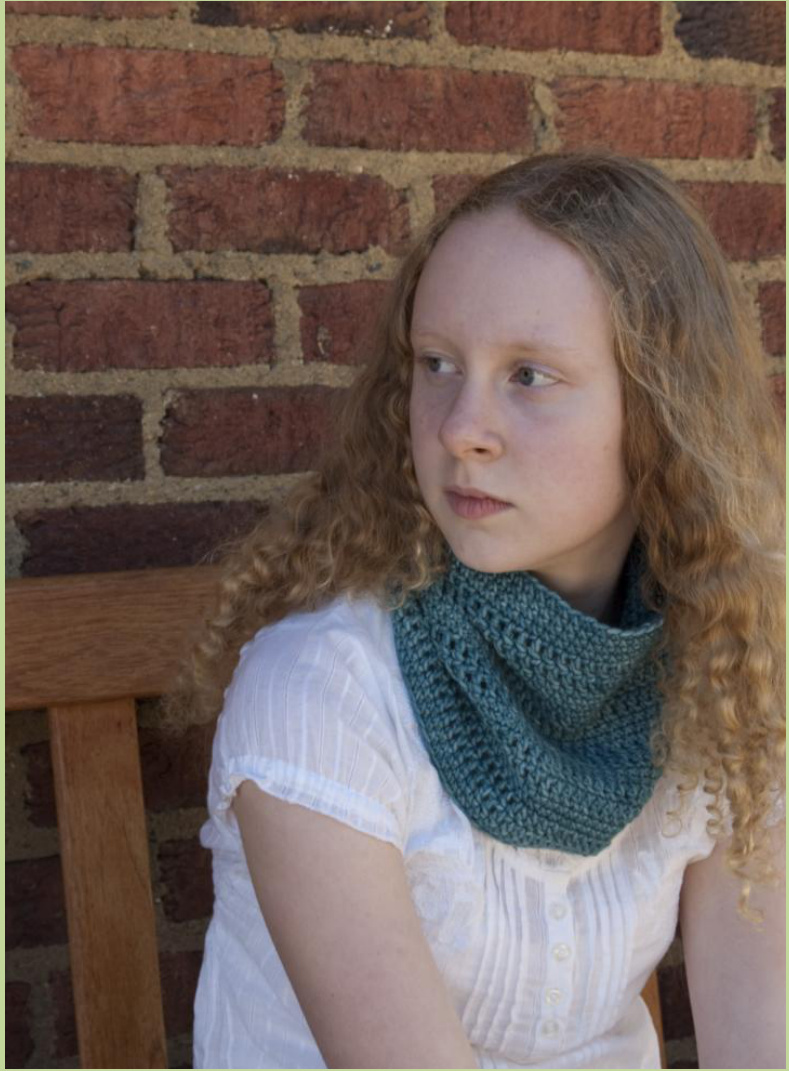
| Photo credits:Natalie Goza Visit us online at www.jenhagan.com Model: Sophie Happy .Crocheting! |


