PUNY
. Post-credits scene: A sidekick mutation of SMASH!
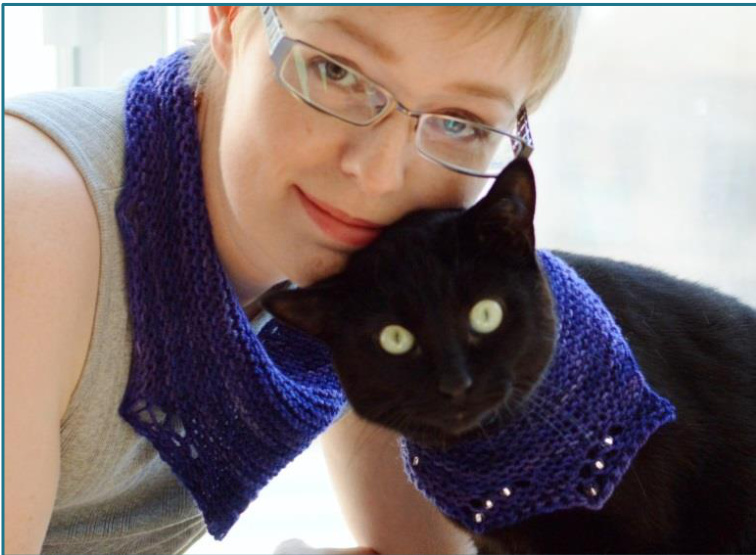
Amazing details of SMASH! have been shrunken down for a concentrated impact, enhanced by special bonus features. The result is a decorative kerchief, cowl, or necklace designed to fit super cats, incredible dogs, small mutants, and human sidekicks of various sizes. Buttons fasten the narrowest points for an adjustable fit, by using the eyelets built into the selvedge as buttonholes. An elite team of fewer repeats and optional beads supercharge the asymmetric lace. Need backup? Try one as a functional swatch for a full-size SMASH! WARNING: Use at own risk! Do not leave any animal, small child, or unstable energy creature unattended while they are wearing a PUNY! May impart delusions of grandeur, cravings for shawarma, and superpowers including flight or teleportation, so leashes are recommended for furry or toddling PUNY -wearers and gods of mischief. Highly addictive to knit and to wear.
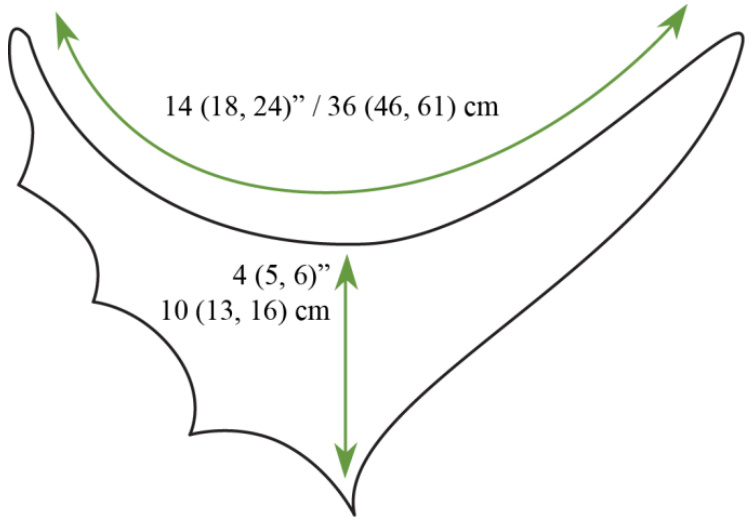
Sizes: S (M, L) or X-PUNY (Mild-mannered, HULK) Finished measurements: length: 14 (18, 24) / 36 (46, 61) cm, width: 4 (5, 6) / 10 (13, 16) cm after blocking and relaxing Choose a size with length 1-6" / 2-20 cm larger than the neck circumference of the intended wearer for a snug fit. Alternately, choose a size slightly smaller and then add i-cord ties or a clasp to wear as a choker necklace. Humans may prefer additional positive ease. Gauge: 18.5 sts x 34 rows 0ver 4" / 10cm in garter stitch on smaller needles worked flat and blocked.
You Will Need:
40 (60, 90) yd / 37 (55, 82) m of fingering yarn, shown in purple tonal: Indigodragonfly Merino Sock (100% superwash merino wool: 390 yd / 356 m per 100g, colour: Groverkill) and in gradient: Patons Kroy Sock FX (75% wool, 25% nylon: 166 yd / 152 m per 50g, colour: 57242 Clover Colors)
Suggested Needles:
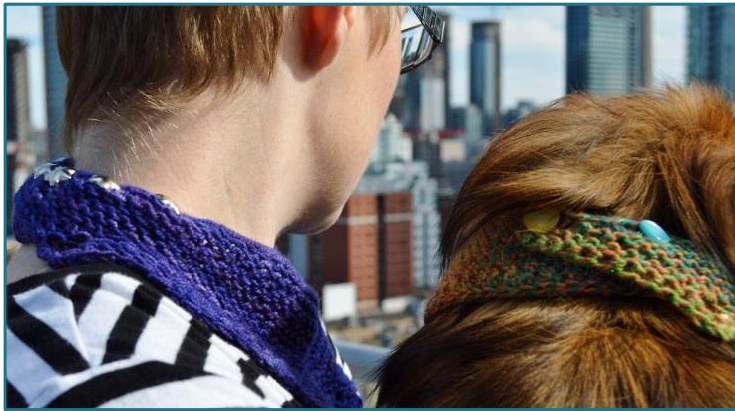
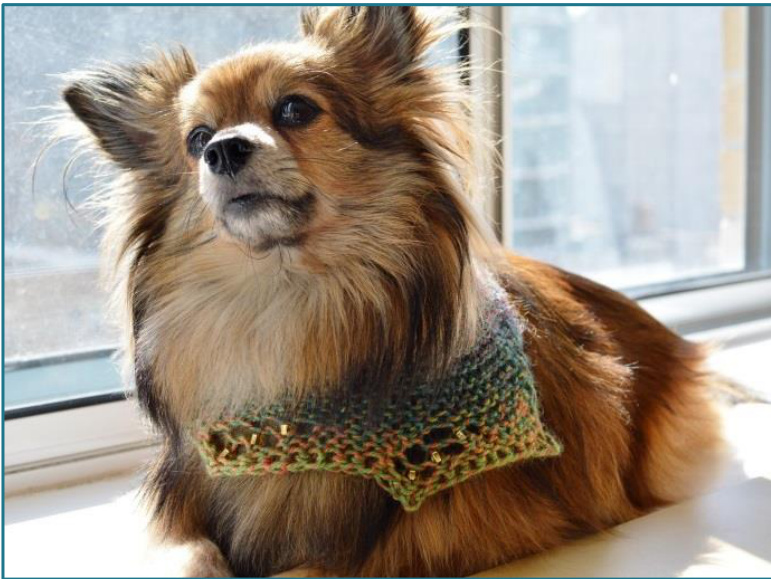
One 24" / 60 cm or longer circular needle in size US 6 / 4.0 mm, or size needed to achieve gauge of 18.5 sts x 34 rows over 4" / 10 cm in garter stitchworkedflat One larger-gauge 24" / 60 cm or longer circular needle in size US 9 / 5.5 mm, or three sizes larger than the needle used to achieve gauge Tapestry needle 3 stitch markers 2-6 removable stitch markers to plan and mark button placement 2-6 buttons, plus needle and thread to attach them Optional: 9 large seed beads, size 2 / 5mm, and small-gauge crochet hook or other tool to attach them Photos: Shay Darrach and Rebeka Darylin Models: Human: Rebeka Darylin, wearing L | Canine: Ember aka Tiny Thor, wearing M | Feline: Niru “The Noodle? Zebulon, wearing S Huge thanks to my test knitters: amandamariesays, BohemianScribe, LadyMac111, meelissa, and tessercat.
PUNY
Abbreviations
| * | Marks the beginning of a section to be repeated. See also: rep from *. |
| bl | Backwards-loop cast on, used in the middle of a row as an increase to add a stitch between existing stitches (creates one stitch from none).Used inthis pattern as an increasein thesetup,and then in therest of |
| drop st | on thenextrow,whichcreatesextraslackto avoid tight selvedges. Drop the next stitch from the left needle. Used in this pattern only when the stitch to bedroppedis a backwardsloopformed on |
| k | the previous row, to create extra slack to avoid tight selvedges. Knit. |
| k2tog | Knit two stitches together (right-leaning decrease). |
| k2togtbl | Knit two stitches together through the back loops. Used only in bind off row. |
| k3togtbl | Knit three stitches together through the back loops. Used only in bind off row. |
| kfb | Knit into the front and then the back of the next stitch (increase: creates two stitches |
| pm | from one). Place stitch marker on right needle. |
| rep from * Marks the end of a section to be repeated. See also *. | |
| sl | Slip from left to right needle as specified. |
| sl m | Slip marker from left to right needle. Not alwaysstatedwhenthestitchesoneachside |
| sl2yf | of the marker are worked the same way. Slip 2 sts as if to purl with yarn held to the front of the work. (Do not tighten stitches.) |
| st, sts | Stitch, stitches. |
| yo from none). | Yarn over, used in the middle of the row to add one stitch between existing stitches forming a lacy eyelet (creates one stitch |
Tips
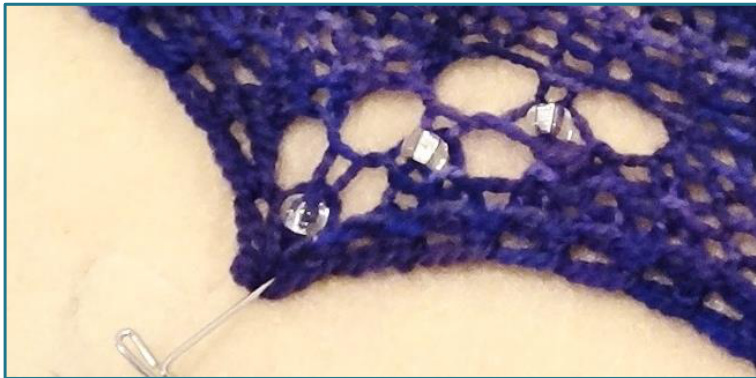
Appearance of work in progress: If your selvedges seem sloppy at first, keep going until you have at least 2" / 5cm, and then give the tail a hard tug to align the i-cord sts. As you continue, the weight of your knitting will help align and lengthen the stitches and compress the rows of the biased garter fabric. A column of decorative eyelet-like holes will remain between the i-cord sts and garter on the increasing side, which can later be used as buttonholes along the longest edge. Changing stitch count: As you repeat rows 7-8, the stitch count will change in the following sequence: "8, 10, 9, 11, 10, 12, 11, 13... Beading: If adding beads, I recommend adding them as you go with a hook instead of pre-stringing. If you knit the stitch and then add the bead to it, you will get a more subtle lace with beads that appear embedded in the stitches (shown below). If instead you add the bead to the stitch before knitting it, you will get a more delicate lace with beads strung on elongated stitches betweenlarger eyelets.
Techniques and Resource Links
Long-tail cast on instructions can be found at Knitty.com (photo tutorial) and KnittingHelp.com (video). Methods for adding beads to your knitting can be found at Knitty.com (photo tutorial). Double crochet bind off instructions can be found at Knitty.com (photo tutorial) or KnittingHelp.com (video). Jeny's Surprisingly Stretchy Bind Off can be found at: Knitty.com (photo tutorial). k2togtbl bind off instructions: after setup as in pattern, \*slip 2 sts from the right needle to the left needle, k2togtbl these sts, k1\* repeat from \*
Instructions
Setup:
Using long tail method with smaller needle, cast on 4 sts. Row 1: sl2yf, k2 Row 2: sl2yf, k2 Row 3: sl2yf, bl, k2 (5 sts) Row 4: sl2yf, kfb, k2 (6 sts) Row 5: sl2yf, k1, kfb, k2 (7 sts) Row 6: sl2yf, bl, kfb, k2tog, bl, k2 (9 sts)
Body:
Row 7: sl2yf, drop st (bl from previous row), k to last 4 sts, kfb, drop st (bl from previous row), k2 Row 8: sl2yf, bl, kfb, k to last 4 sts, k2tog, bl, k2 Optionally, use a marker on one edge to indicate row 7. Repeat rows 7-8 until there are 26 (34, 40) sts on the needle, ending after row 8. Switch to larger needle. Continue working rows 7-8 until there are 30 (38, 46) sts on the needle after row 8, including backward loops. Begin bias lace edging pattern.
Bias Lace Edging:
Row 9: sl2yf, drop st, \*k 6 (8, 10) sts, pm, rep from \* 3 times, k to last 4 sts, kfb, drop st, k2 Row 10: sl2yf, bl, kfb, \*k to 2 sts before marker, k2tog. sl m, yo, k (optional: add bead), yo, rep from \* 3 times, k to last 4 sts, k2tog, bl, k2 Row 11: sl2yf, drop st, k to last 4 sts (sl each marker), kfb, drop st, k2 Repeat bias lace rows 10-11 twice more, ending row 11.
Bind off:
Use your preferred stretchy bind off (such as: Jeny's Surprisingly Stretchy Bind Off, k2togtbl bind off, or double crochet bind off), with modifications for the beginning and end as follows: Sl2yf, k1, sl 3 sts back to left needle and k3togtbl, work preferred stretchy bind off until 2 sts remain, sl 1 st back to left needle, k3togtbl
Finishing:
Break yarn and pull through final loop. Weave in ends. Block flat, with the plain side left relaxed, but stretch and pin the lace motifs, and the first and last stitches of the bind off.
After blocking, check the fit on the intended recipient, with the narrow lacy tip overlapping the plain tip. Use a removable marker to mark the point on the long edge where the lacy tip ends. Choose 2-6 buttons that fit snugly through the elongated gaps between the i-cord and the increases along the long edge. Securely sew the buttons along the long edge of the starting point, beginning at the tip and ending at the overlap marker, evenly spaced 1-2"/ 2-5 cm apart. Alternately, sew it closed into a cowl (make sure it will fit over the head), or add i-cord ties or a large jewelry clasp for a necklace or choker.
Contact Rebeka Darylin:
Ravelry ID: rebekafish Email: waterviewknits@ gmail.com Blog: http://waterviewknits.com


