Happymaking Designs
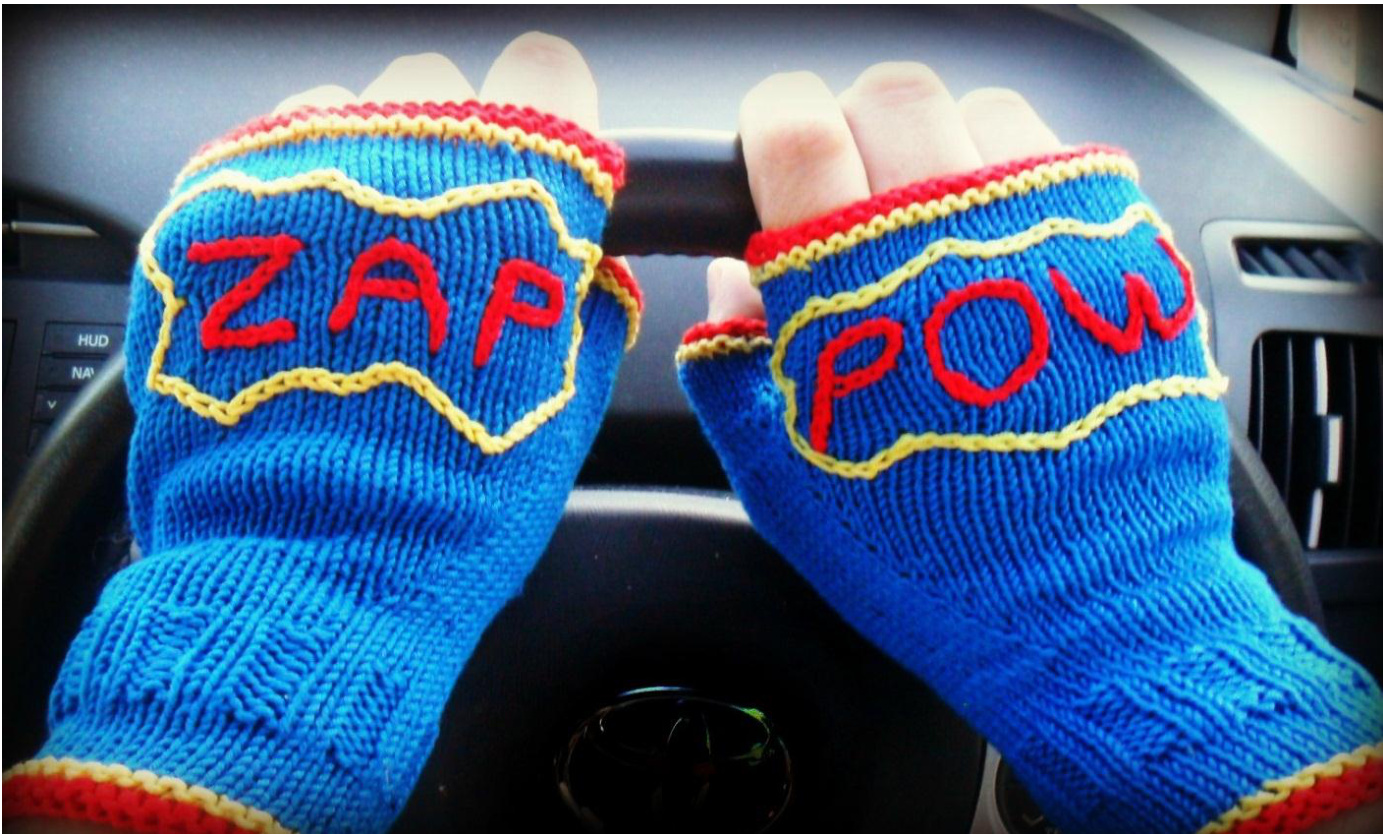
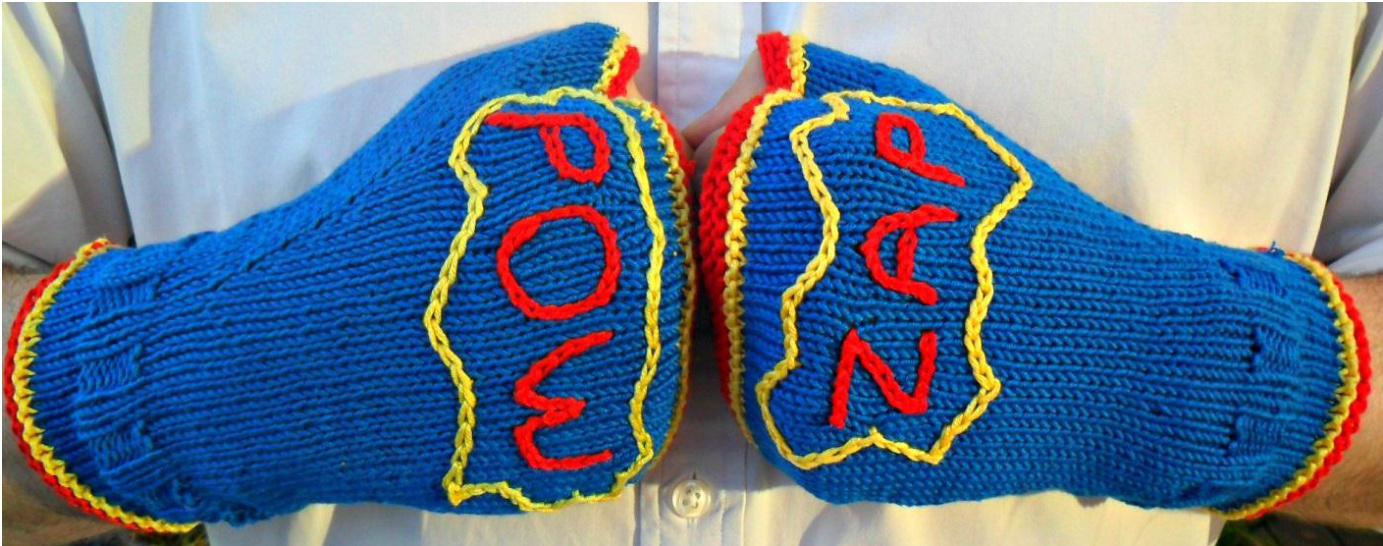
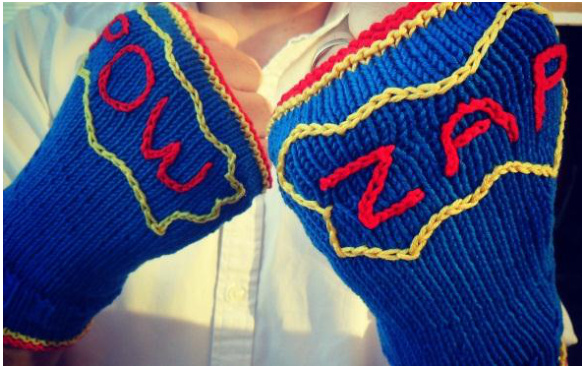
Supermitts!
Quick & easy to knit, these cotton fingerless gloves are designed to add a bit of zap. pow & kaboom to your morning commute! Unisex styling, garter edgings, delayed ribbing and an unusual thumb gusset add interest to these practical, machine washable fingerless gloves. Knit in clean bright colours and embellish to suit your superhero preferences!
Materials:
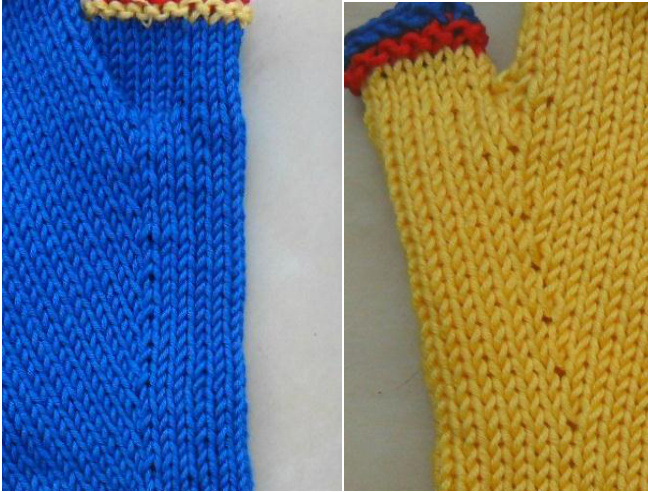
Rico Essentials Cotton dk (50g, 130m): 1 (1, 2) balls col 32 Cobalt blue (MC) 1 (1, 1) ball col 02 Red (CC1) 1 (1,1) ball col 63 Banana(CC2) 3.5mm needles - dpns or circular (for magic loop) Stitch markers (optional) Stitch holder or scrap yarn Tapestry needle Gauge: 25st & 33 rows to 4" in stocking stitch Sizes: Large child/Small adult, (Medium Adult, Large Adult) To fit circumference: 6"( 7", 8") Note on fit - cotton tends to stretch with wear, so I would advise choosing a smaller size if you are not sure which to pick. You can customise the length of the gloves to suit your preference. www.happymakingblog.blogspot.com Images & text @ Jacqui Harding 2012. Page 1 of 4 These gloves are knit in the round with garter stitch detail. There are two options for increases -The first option uses lifted increases and shifts the start of the round so there is a left glove and a right glove. The blue supermitts are knit with this option. The second option uses a backwards loop increase which means the gloves are identical, and you can knit the same instructions for each glove. This option is pictured in yellow.
Option 1 Cast on 36 (40, 44) stitches with CC1. K 2 rows Switch to CC2, k 2 rows. Swtch to MC, k 1 row then join to work in the round. PM to mark start of round. K 5 (6, 7) rows \*K2, P2; rpt from \* around. Work in 2 x 2 rib as above for 8 rows K 6 rows plain. For option 1, on the last row, move the start of the round 3 stitches to the left for th LEFT glove, (ie remove marker, knit 3 stitches from the start of the next row, replac marker)and 3 stitches to the right for the RlGHT glove (ie move the marker to before the last 3 stitches of the row just knit. Start increases: These are slightly unusual as the number of stitches on the thumb do not increase - the increases are worked on either side of the stitch markers, putting the increases onto the hand rather than the thumb.
Option 1
| Left hand (Front facing) | Right hand (palm facing) |
| Set up row: K 4, pm, k to last 8 (10,12), pm, k to end LLl , k fo end K 2 rows; rpt from * 6(7,9) times K tolast12st.Placethese12andnext4 stitches onto stitch holder or scrap yarn. | Set up row: K8(10,12) pm, k to last 4 st, pm, k4 *Inc row: k to marker, slm, RLl, kto marker, RLI, slm, k4 K 2 rows; rpt from * 6(7,9) times K tolast4st.Placethese4andnext 12 stitches onto stitch holder or scrap yarn. |
www.happymakingblog.blogspot.com Images & text @ Jacqui Harding 2012. Page 2 of 4 For both gloves: Cast on 2 stitches. Continue to knit in stocking stitch for another 8(9,11) rows or until the gloves are about Icm shorter than your preferred length. Switch to CC2 , klrow, p 1 row Swtich to CC1, kl row, p I row Cast off.
Thumb:
Arrange the thumb stitches onto a long circular needle (for magic loop) or dpn's. Joir the yarn at what will be the back of the thumb. K 1 row, picking up 2 stitches from the cast on stitches as you get to them 14(16,18 st) K 5(6,8) rows Switch to CC2, k 1 row, p 1 row Switch to CC1, kl row, p 1 row Cast off. Weave in all ends, using the yarn joined at the base of the thumb to close up any holes if necessary.
Option 2:
As Option 1 up to the increases, but do not move the start of round. Increases: \*K4, M1, k to last 8 (10, 12)) st, M1, k12 K 2 rows; rpt from \* 6(7,9) times Continue with pattern as for option 1.
Decoration:
I used a 3.5mm crochet hook to chain stitch cartoon-style surface decoration onto my gloves. This doesn't need any crochet ability - you simply use the hook to lift a loop of yarn through the knitted fabric from back to front, then keep doing it!

Use the photos as a guide or choose your own words. Alternately, these colours are crying out for a superman logo to be stitched, or pick your favourite superhero theme. My boys have already asked for the Green lantern logo on theirs... www.happymakingblog.blogspot.com Images & text @ Jacqui Harding 2012.
Glossary
PM place stitch marker RLI knit into the stitch below the next on the needle LLI with left hand needle, pick up the side loop of the stitch below the one just worked M1 Make 1 stitch using a backwards loop dpn double pointed needles
magic loop - way to knit in the round using one long circular needle. Work in the round: with your stitches on a circular needle, hold the tips together so the stitches are in a circle. Make sure that the cast on stitches are on the inside of the cables, and there are no twists. without turning the work, PM and knit the first stitch on the LH needle with the working yarn attached to the last stitch on the RH needle. Continue knitting - you will find you get a stocking stitch tube without needing to purl. The stitch marker shows you where the round starts. It is not actually essential for this pattern, but it is good practise for other more complex patterns where it is important to know where the rounds change. I hope you enjoy making and wearing your Supermitts. Jacqui x


