Little Yellow Duck with a Mission
There is a special project that is raising awareness of organ and blood donation worldwide. It is called the Little Yellow Duck Project. Enthusiastic volunteers make and release little yellow ducks, which when found, are entered on a map of the world. lf you wish to enter into the fun and release a duck into the wild and woolly world.. and you wish to knit your little yellow duck as opposed to felting, sewing or crocheting one, here is a pattern that will help you do just that!
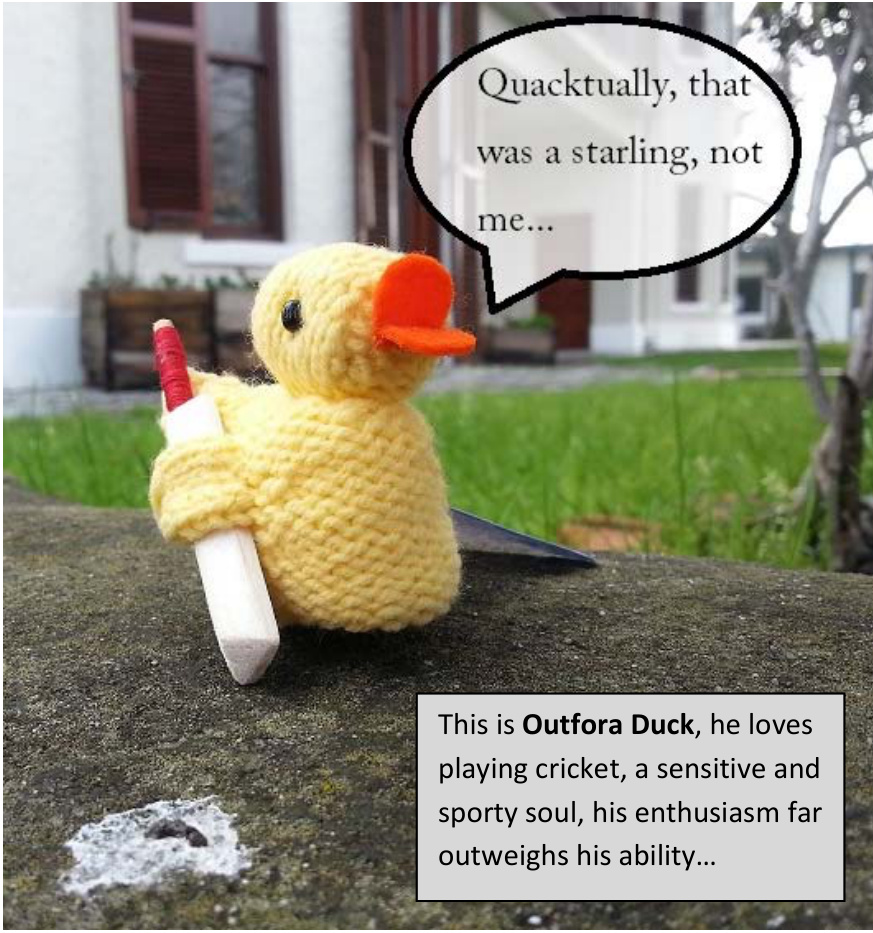
Each duck will have his/her own unique shape and personality once you add their bills and eyes
Skills required:
Cast on and bind off Knit and purl, K2tog, P2tog, SSK Short rows
Size/Measurements:
Material Requirements:
Length: approx. 55mm (2.17in.) Width: approx. 30mm (1.18in.) Height: approx. 50mm (1.97in.) Approx. 5 g fingering weight yarn 2mm needles Tapestry needle Orange Felt, thread and needle for attaching beak Black beads for eyes/ black yarn to stitch on eyes Stuffing Gauge: (stocking stitch) Approx. 30 st x 40 rows = 10cm(3.9in) x 10cm(3.9in)
I say, did you know that the short row shaping gives us a proud chest and a quirky tail? Wrt gives a good closure in short rows where the knitting is turned and continued in the opposite direction. Ensure that you knit or purl the wrapped loop with the relevant stitch in the return row, to achieve a neater fabric and to stop our pesky stuffing falling out. Much obliged!
Abbreviations:
K: Knit P: Purl St: stitches Kfb:Knit intothefront and thebackof the stitch tomakeastitch. SSK: Slip the next two stitches onto the RH needle, return to LH needle and knit together through back of loop. K2tog: Knit two stitches together as one stitch P Row: Partial Row (when wrapping and turning) SwP2tog: Slip 1 onto cable needle, slip second stitch onto RH needle, replace 1st slipped st onto LH needle followed by 2nd st so that they can now be purled together - this gives a decrease that is visually the same as the K2tog on the other wing. Wrt: Wrap and turn.
Pattern Notes:
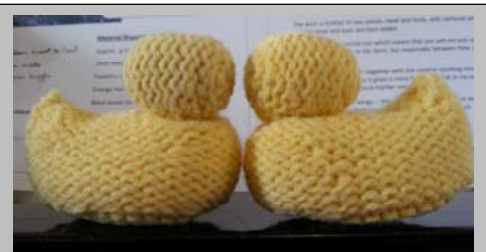
The duck is knitted in two pieces, head and body, with optional wings. The pieces are stitched and stuffed and the beak and eyes are then added. P Row refers to a partial row which means that you will either not knit to the end or from the beginning -I find it easier if the layout is in list form, but essentially between Row 3 and 9, for example, there are 5 partial rows. You can elect to stitch it together with the reverse stocking stitch or the stocking stitch fabric showing - I prefer the reverse side as it gives a more ruffled, feathery look, in my opinion, but it is your duck and your creative flair that will give each duck his/her own personality. There are 2 optional wings - they are mirror images of one another - you decide how you want to attach them - as you see I liked the stockinette look in Outfora Duck and Duck Endive Il.
Extra Quackts:
When stuffing, go for firm but not tight, and use a few stitches if necessary to shape the base, by catching and pulling it upwards a little to help the duck sit flat. Alternatively, a small flat pebble in the base will help with balance. The cricket bat was made from Balsa wood and a thin dowel, wrapped with sewing thread and secured with a spot of glue.
| I am Duck Endive II -I love swimming... & Directions: veges.. do you? |
| Body: |
| Cast on 16 st. |
| Row 1: Purl |
| Row 2: Kfb, (K1P1)x3, Kfb x2, (K1P1)x3, Kfb (20st) |
| Row 3: Kfb, (K1P1)x4, Kfb x2, (K1P1)x4, Kfb (24st) |
| P Row 4: Kfb, (K1P1)x4, wrt |
| P Row 5: (P1K1)x3,wrt P Row 6: (K1P1)x4 (close wrt gap as you come to it) Kfb x2, (K1P1)x3, K1, wrt |
| P Row 7: (K1P1)x3, wrt |
| P Row 8: (P1K1)x4, (closing wrt gap as you come to it), P1, Kfb (28st) |
| Row 9: K13, Kfb x2, K13 (30 st) |
| Row 10, 12, 14: Purl |
| Row 11, 13: Knit |
| P Row 15: K20, wrt |
| P Row16:P10,wrt |
| P Row 17: K20 (closing wrt gap as you come to it) |
| P Row 18: P18, wrt |
| P Row 19: K6, wrt P Row 20: P18 (closing wrt gap purlwise as you come to it) |
| P Row 21: K3, wrt |
| P Row 22: P3 |
| Row 23: K14, K2tog, K14 (closing wrt gap as you come to it) (29 st) |
| P Row 24: P3, wrt |
| P Row 25: K3 |
| Row 26: P29 (closing wrt gap purlwise as you come to it) |
| P Row 27: K2, wrt |
| P Row 28: P2 |
| Row 29: K12 (closing gap as you come to it) SSK, K, K2tog, K12 (27 st) |
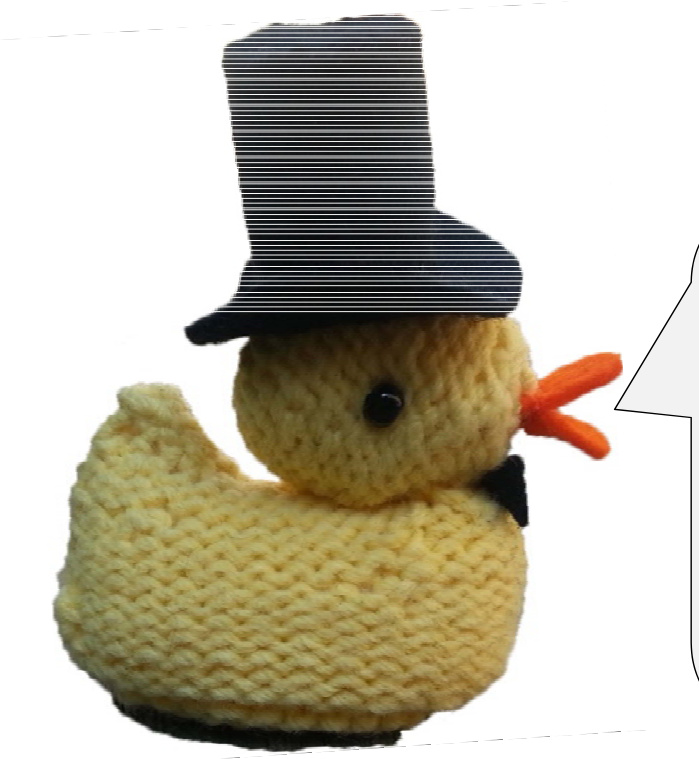
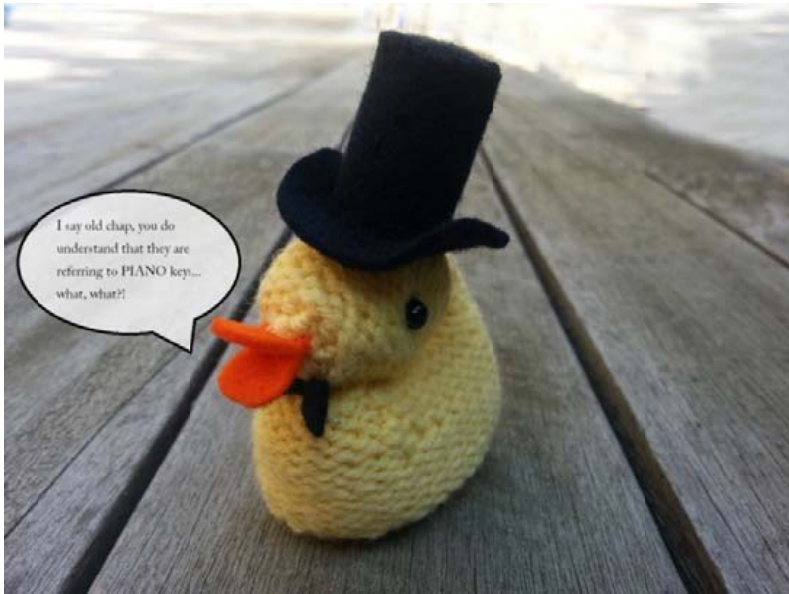
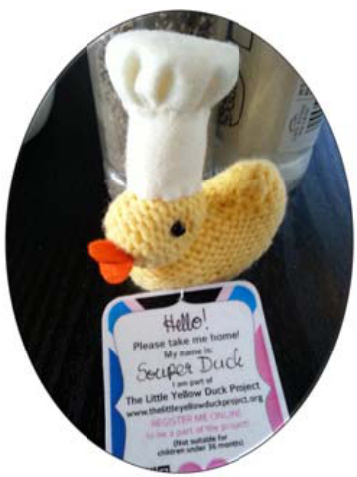
Hats can be stitched from felt, using a simple circle cut from the brim, or gathered into a chef's hat and connecting them with a rectangular piece. There are many sayings about ducks that have helped provide inspiration for names and characters. Lord Luvva Duck made his appearance, as did others that you see here and on Ravelry. REMEMBER: If you are releasing your duck where it may be fallen in love with by a small child, either include a warning on the label or ensure that it is made in such a way as to be safe for babies and young children to play with. Cast off or fold in half and graft together with Kitchener stitch.
Head:
Cast on 12 st. Row 1: Purl Row 2: K2, Kfb, K6, Kfb, K2 (14 st) Row 3: Purl Row 4: K2, Kfb, K8, Kfb, K2 (16 st) Row 5, 7: Purl Row 6, 8: Knit Row 9: P2, P2tog, P8, P2tog, P2 (14st) Row 10: Knit Row 11: P2, P2tog, P6, P2tog, P: (12st) Row 12: Knit Thread stitches onto working yarn and pull tight, then rethread through every second stitch (gives a nice neat closure). Stuff to ovoid shape and stitch closed. Work in loose ends, using one of them to attach the head to the body. This is Lord Luvva Duck. He helped spread the word via Twitter... He has a clever sister called Souper Duck who loves cooking and also is a superhero in disguise, fighting against evil supervillains like Always Perfect, and Not'enuff in her spare time...
Wing 1:
Wing 2:
Cast on 6 st. Row 1, 3, 5: Knit Row 2, 4: Purl Row 6: P1, P2tog, P3 (5 st) Row 7: K1, SSK, K2 (4 st) Row 8: P1, P2tog, P1 (3 st) Row 9: K2tog, K1 (2 st) Row 10: P2tog Draw end through last stitch and work in ends, or use to attach to body. Cast on 6 st. Row 1, 3, 5: Purl Row 2, 4: Knit Row 6: K1, SSK, K3 (5 st) Row 7: P2, SwP2tog, P (4 st) Row 8: K1, SSK, K1 (3 st) Row 9: SwP2tog, P1 (2 st) Row 10: SSK Draw end through last stitch and work in ends, or use to attach to body.
AllPhotos and Content @ 2014 Nicola Christodoulides This pattern is for personal use only and may not be copied (it may be downloaded from my Ravelry page or www.naturalyarns.co.za). This pattern may not under any circumstances be sold. Please contact me should you have any questions or if you wish to clarify anything: nikki.christodoulides@gmail.com Join my group on Ravelry: Nikxi's Knits where there are links to my videos, where we discuss designs,host KAL's, chat and laugh out loud (on occasion!)


