All-N-Owe Loom Santa Hat Pattern By: Jennifer O'Neil
Materials Needed
-All-N-One Loom 18"with 5peg end sliders -Worsted weight yarn 4 MEDIUM -2 colors of your choice -Knitting Loom tool -Yarn needle
Special Notes
-l used the long-tail cast-on forthis hat but you can replace it with your preference of cast-on (ie crochet cast-on, e-wrap cast-on, etc). Ifind that the long-tail cast-on leaves a very nice, neat edge. -This pattern makes a hatto fit a child-adult. The pattern can easily be adapted for different size hats by increasing or decreasing the number of pegs used at cast-on. -The hat is knit in the round.
Loow Set-Up
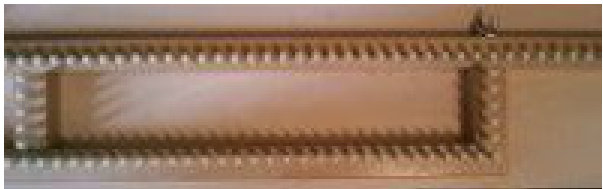
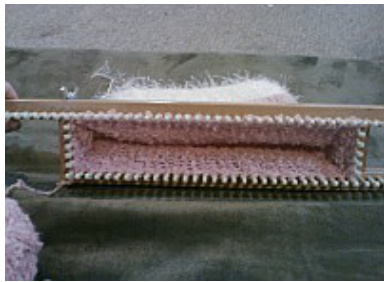
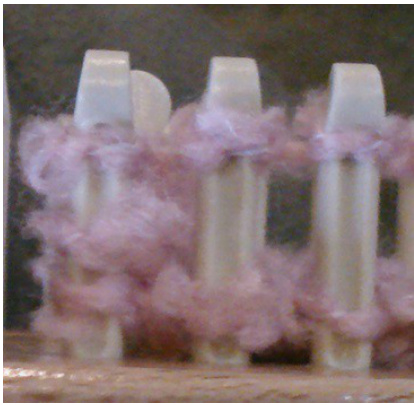
-Set up the All-N-One loom by inserting the 5peg sliders at each end forF0 pegs in theround
Long-Tail cast-On
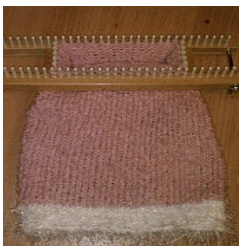
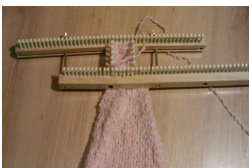
-Measure F5" of beginning color yarn and tie a slip enot here, leaving a long tail. -Place your slip knot of the first peg of your loom. -With the working yarn(the yarn coming from the skein) e-wrap all pegs. Drop working yarm. -With the tail of yarn, e-wrap all pegs and kenit bottom loop overthetop loop. Drop the tail of yarn into the center of the loom. -Long-tail cast-on is now complete!! Rowi: Purl around. Row 2: E-wrap knit around. Rows 3-10: Repeat rows 1 § 2.. Row 47: This is where we begin to decrease. In order to decrease, we will move the loop on each corner peg over to the next peg to the right. (Peg 1 to peg 2, peg 30 to peg 31, peg 36 to peg 37 and peg 65to peg 66. These pegs will wow have 2 loops on them.)
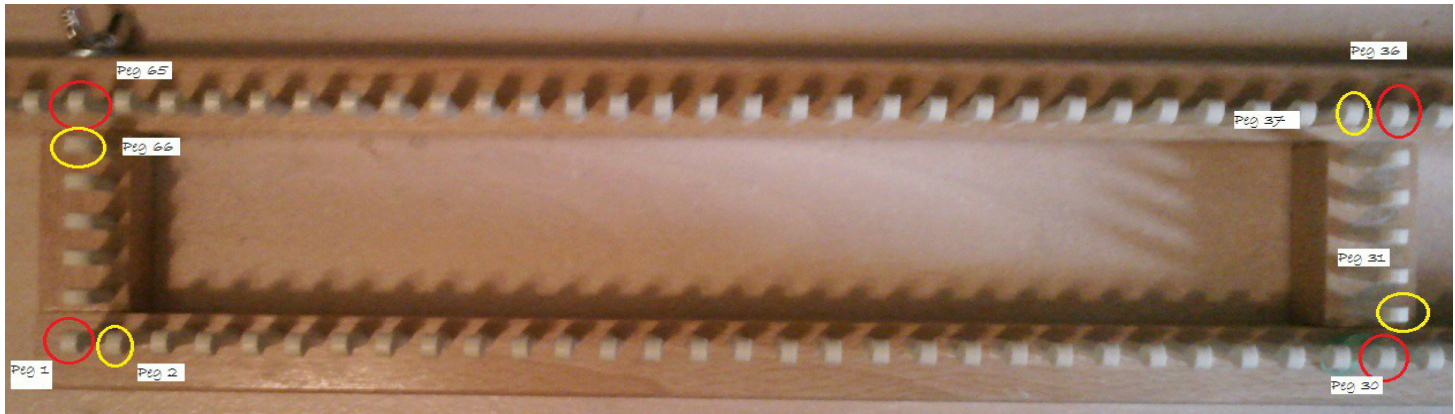
Adjust loom by sliding rails in. Peg 2 now becomes peg 1, peg 31 becomes peg 29, peg 37 becomes peg 34, and peg 66 becomes peg 62.
E-wrap knit around (taking both loops over the top loop on the pegs with 3 loops.)
Row 48: E-wrap knit around. Rows 49-51: Repeat row 48. Row 52: Repeat row 4F. Again taking the loop from each corner and moving it on to one peg to the right. Slide the end rails in and e-wrap knit around. Row 53: E-wrap knit around. Row 54-56: Repeat row 53. Row 57: Repeat row 52. Row 58-61: Repeat row 53. Row 62: Repeat row 52. Row 63-65: Repeat row 53. Row 66-97: Repeat rows 62-65.
Gather Bind-Off remaining pegs.
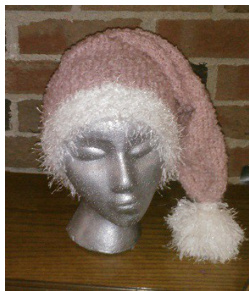
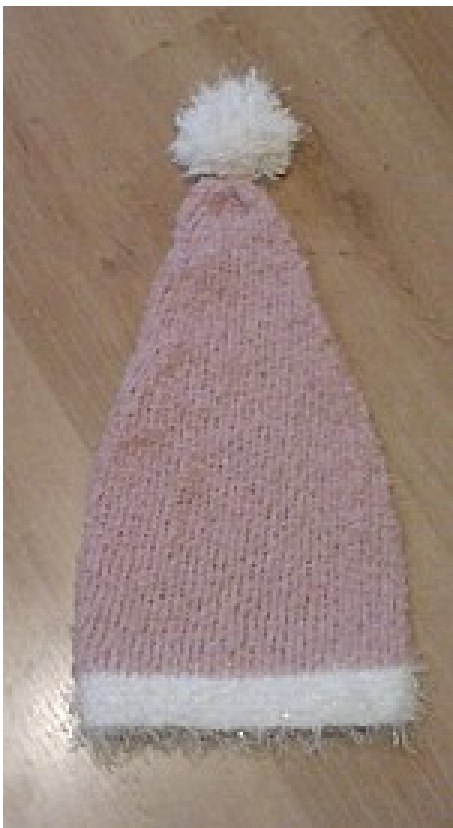
Add a Pom-pom and Enjoy your new Santa Hat!!