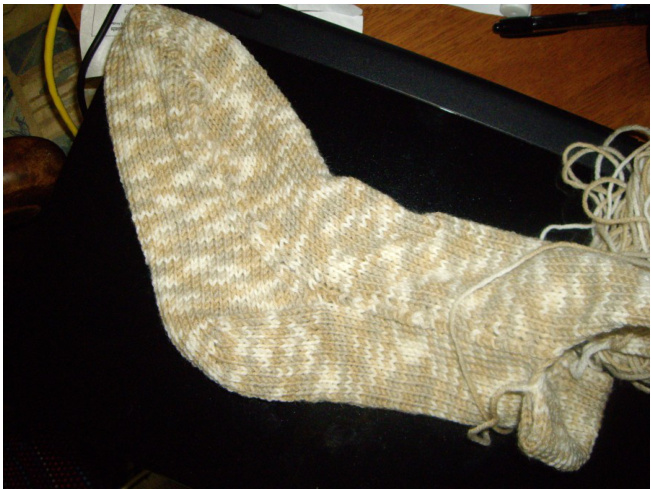
Loz's Socks
With slip stitch heel flap, Sew-AsYou-Go seam, short row toe, Rolled hem.
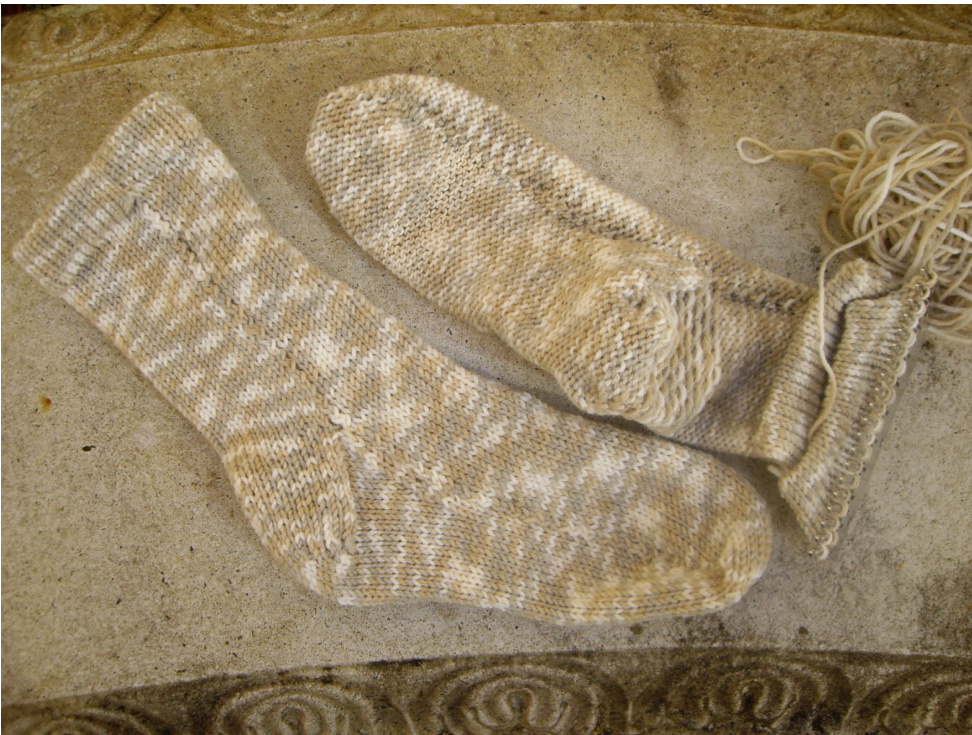
Made on single bed midgauge machines, SK860 and KX350. For Loz who likes this style best.


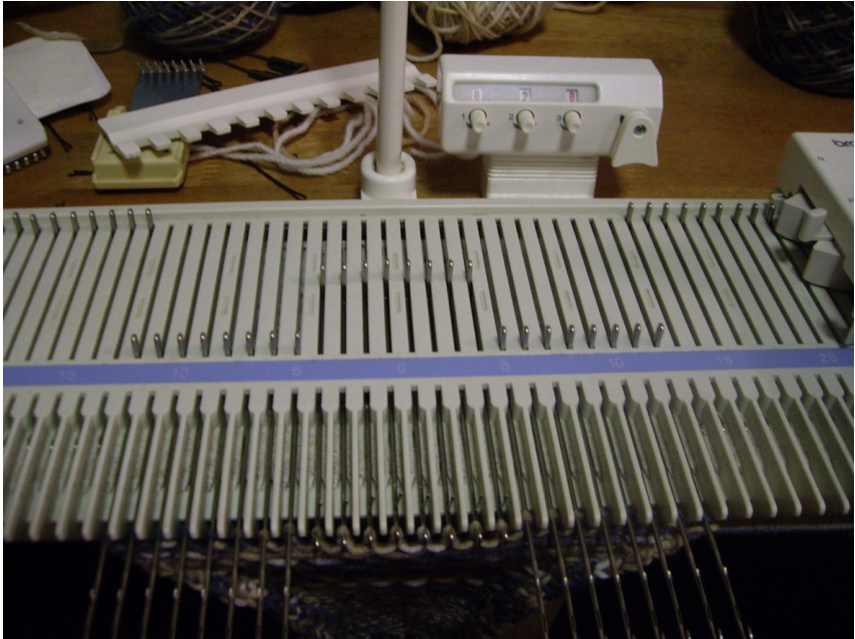
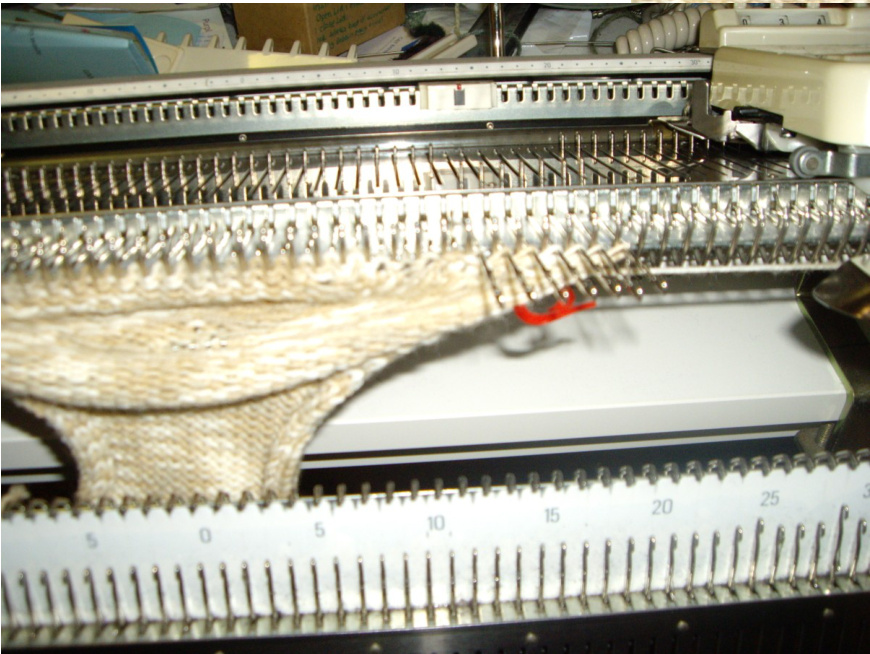
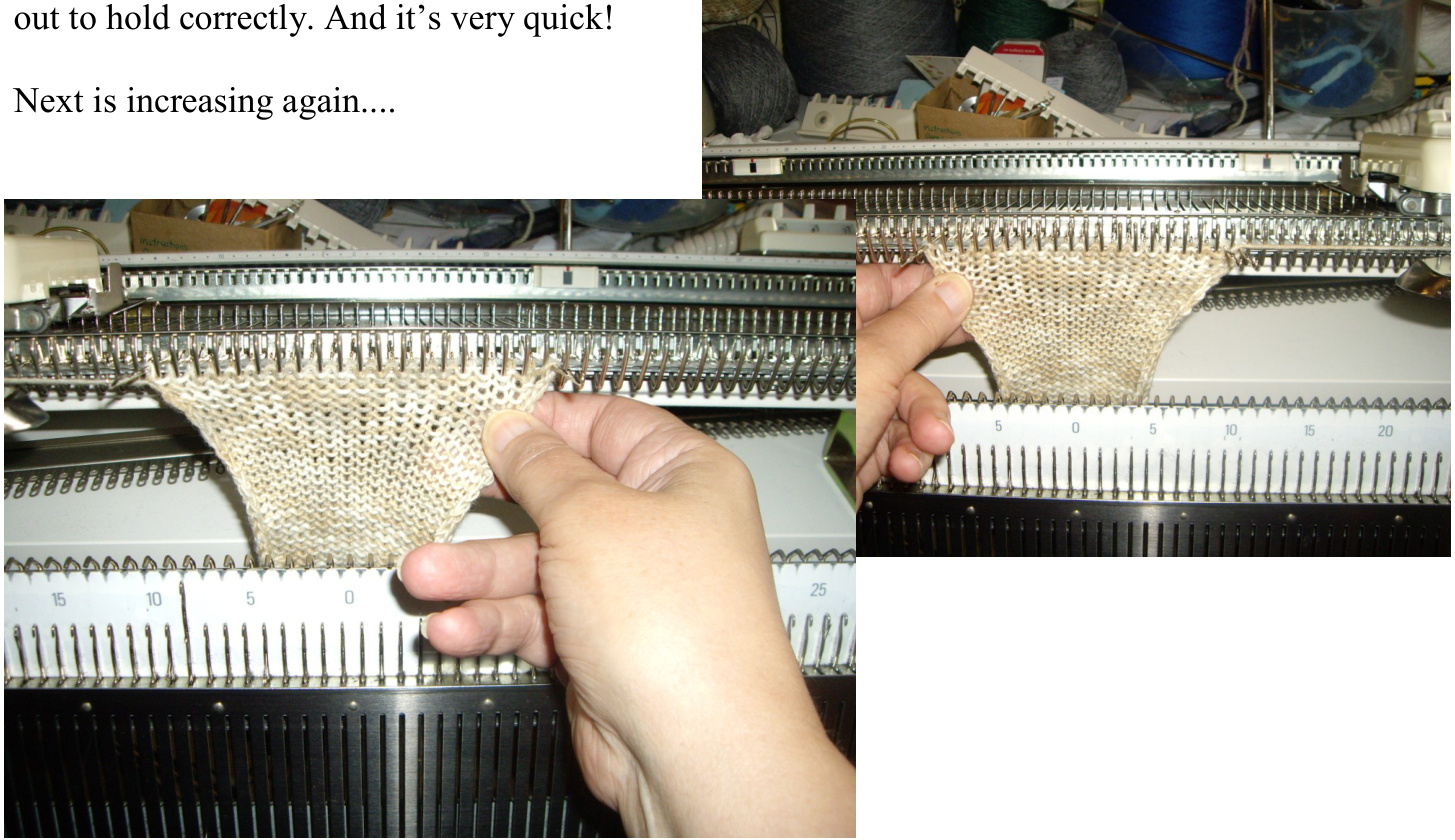
Ok. Start off with 20, 22 or 24 stitches—T 4. (T3 will produce a firmer sock) For a standard gauge machine—-use your usual sock pattern, working on half the stitches at a time, 30 to 36 stitches. The cuff - Do your cuff of choice: Pick up stitches and knit your own rib, or a mock rib , a circular hung hem with or without picket edge. For this example I have chosen a hung circular hem. e-wrap cast on, knit 20 rows, hang cast on row. Then 40 rows of leg. Then MARK the first bar on each side BEFORE YOU DO YOUR HEEL FLAP. I put bobby pins in this photo but swapped them for red markers for clarity —a thread would be ok.
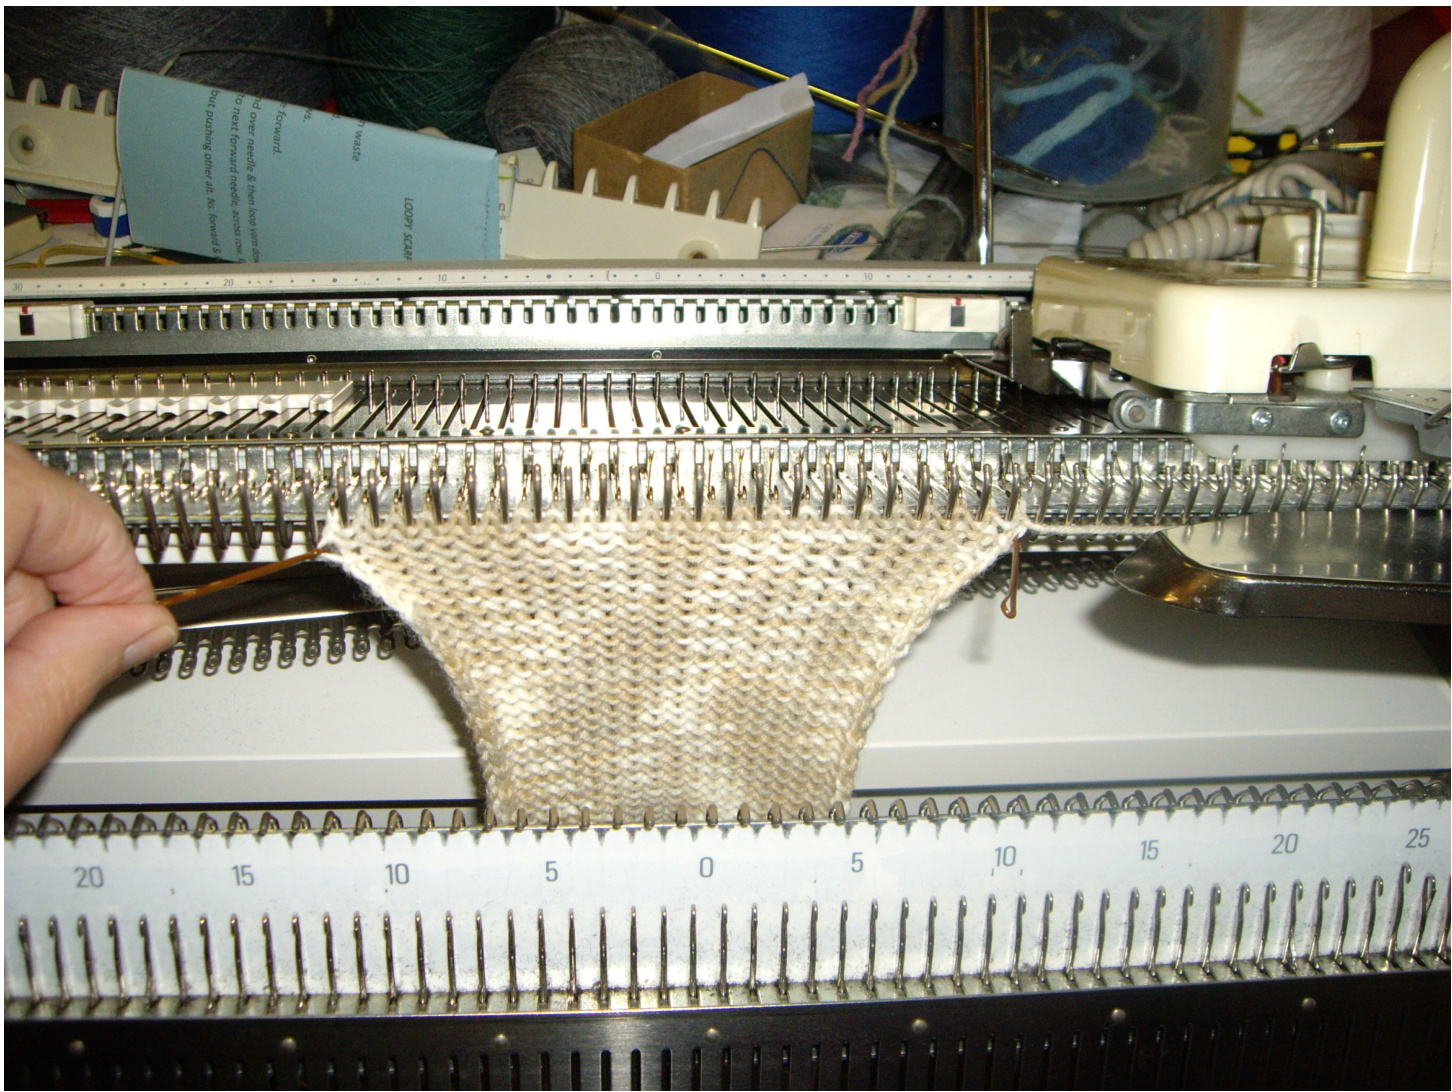
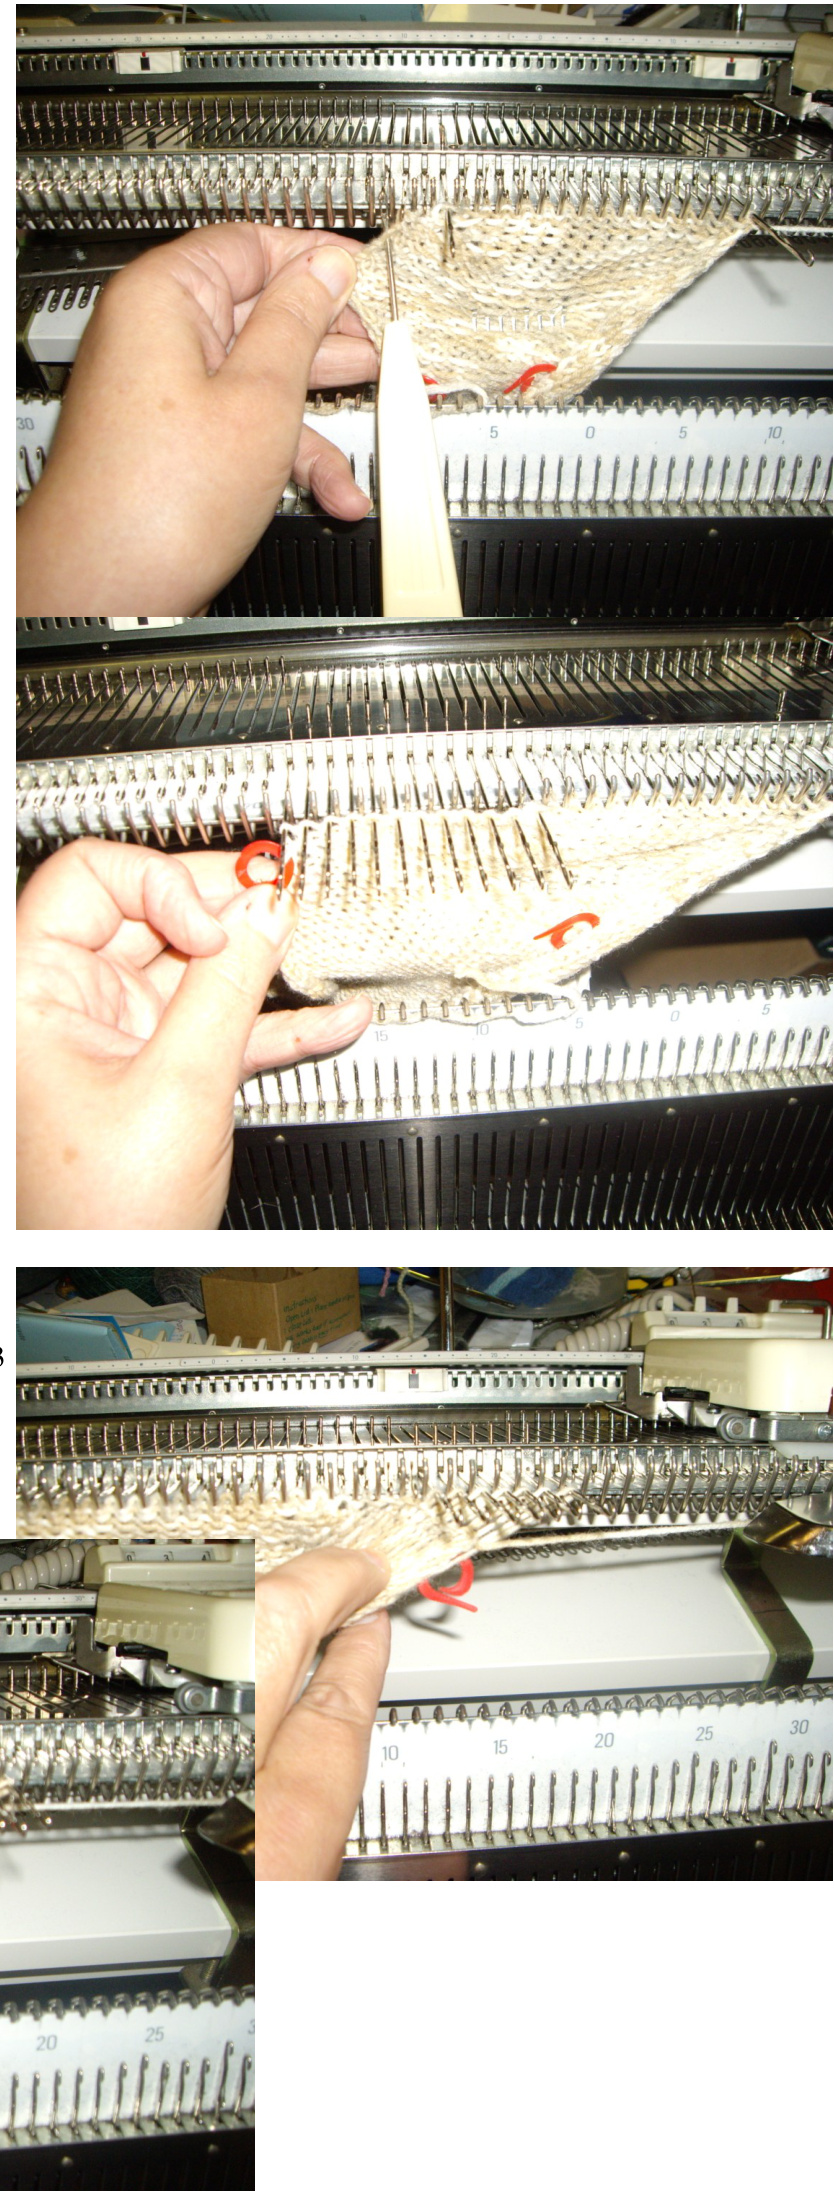
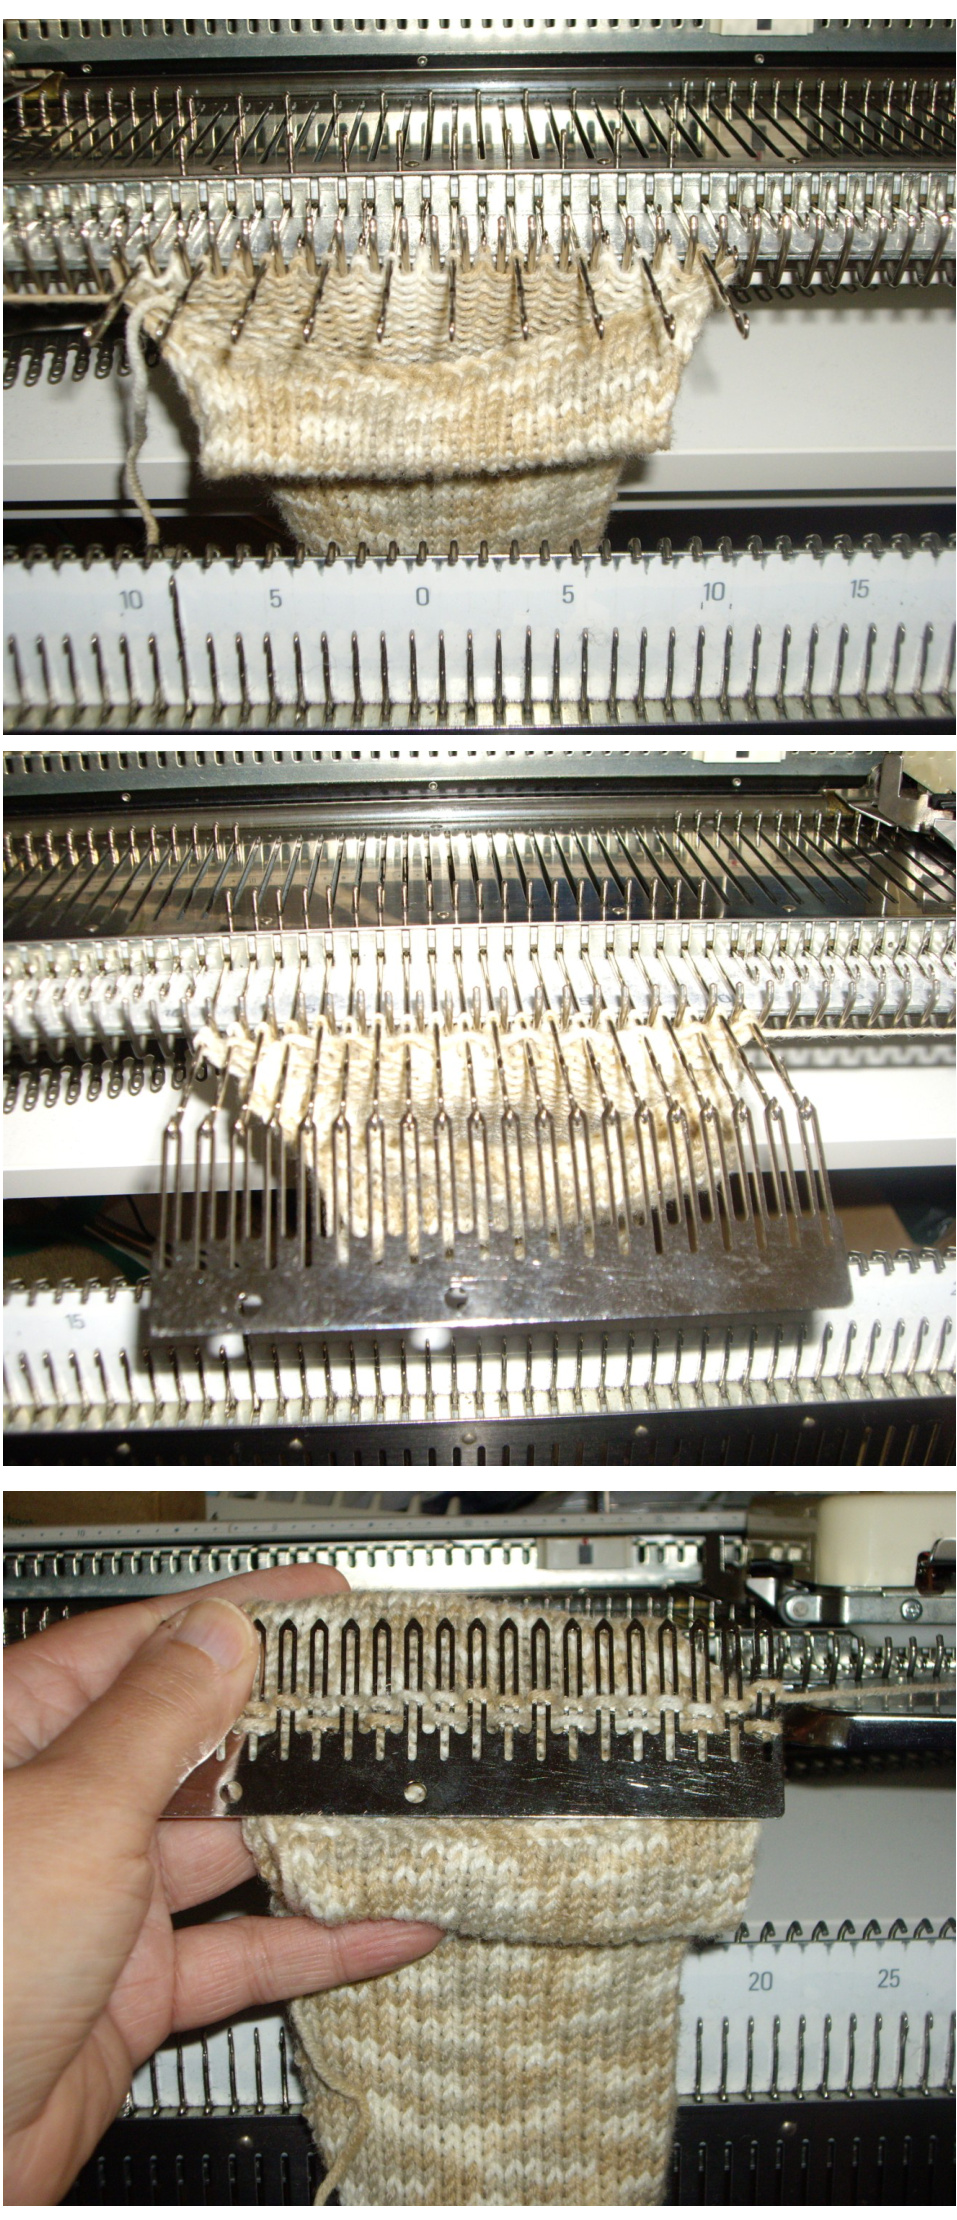
Set your carriage. Flick the LEFT SIDE ONLY lever forward to P (or partial knitting). Reset your row counter to 000. Using your needle selector, bring half the needles out to hold, PLUS the one on the end. Knit two rows. Bring the alternate needles out to hold—and bring the last needle on the other end all the way out. Knit two rows. Repeat these four rows for. 22 Rows (adjust length here). 22 Rows means pick up 11 stitches on the side. 20 is 10 st, 24 is 12 and soon. The second photo shows the needles in working position and Upper Working Position. When you set the machine to partial knitting the ones at the back are not knitted and the ones up are. Turn your heel Identify your centre heel stitches— the middle third. But keep the outside needles in multiples of 2 (ie 6, 8, 10, 12 etc) I used 8/8/8. As with hand knitting the first and second row are your set up rows. Now you have identified your centre stitches, Carriage on right. Take off your side setting: On the left: Pick up the two stitches next the your last centre and put onto the last stitch (so you have the equivalent of k2tog, k1) And put the remaining stitches onto bobby pins Knit one row. (Carriage on left) Put carriage levers onto hold. And pull out ONE needle closest to carriage. Set your needles and bobbypins to match the other side. Knit one row. Now to mirror the k2tog, k1, turn sl 1, knit to... Etc, so to do that we: ALWAYS put the first needle on the carriage side is put into hold and on the other side, two stitches from the bobby pins are used. The first one goes onto the needle on hold and the second goes onto a new needle brought into work. You can either push the needle with two stitches on it to the Upper Working Position (which can be seen in the last photo on page 2). Or pop them back behind the latch, whichever you feel most comfortable doing.
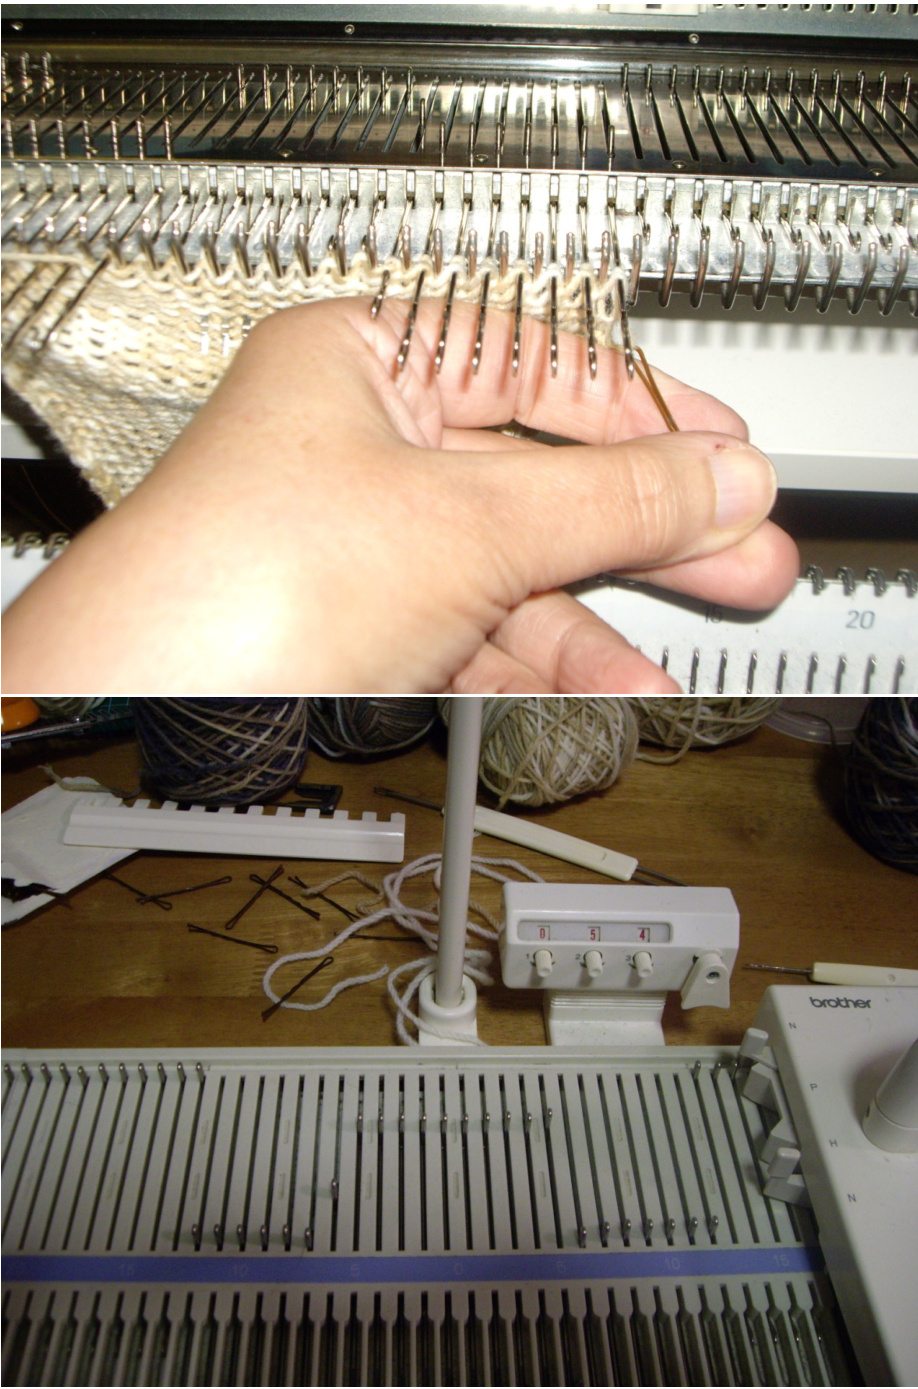
The first alternative way to: Picking you your side stitches. Rest your carriage to Normal knitting. For 22 rows, you pick up 11 stitches each side. It is impossible to prize them from the side once your start, so either use the bobby pins to collect them or slip a small needle through them . Knit one row. Pick up as many of the 11 on the other side as you can using the same method as the other side, but you may not be able to pick them all up, just leave them on the needle or bobby pin.
Knit one row. Put the remaining stitches onto the last needles and hand knit them. Reset your row counter to 000. Knit two rows. Alternative way to: Picking you your side stitches, if there isn't a lot of give in the yarn. Rest your carriage to Normal knitting. For 22 rows, you pick up 11 stitches each side. You should be able to identify them, if not use your bobby pins to count out the 11 bars. Knit one row.
SET STITCH SIZE TWO numbers SMALLER.
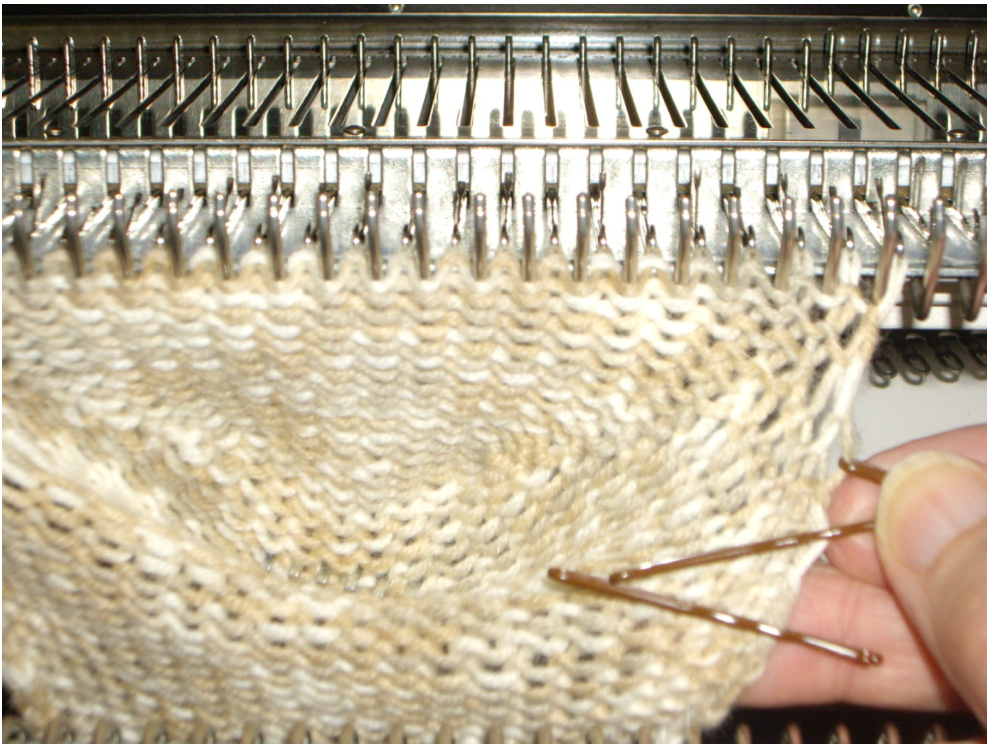
Pick up as many of the 11 on the other side as you can— 3, 4 or 5, Knit one row. RESET stitch dial to original number. Pick up the remaining stitches with your latch tool and put them on your needles. They will be loose. Photo 3. Now as best your can tighten them up and put a weight on it. (redistribute the loose sts towards the tightened stitches later). Reset your row counter to 000. Knit two rows.
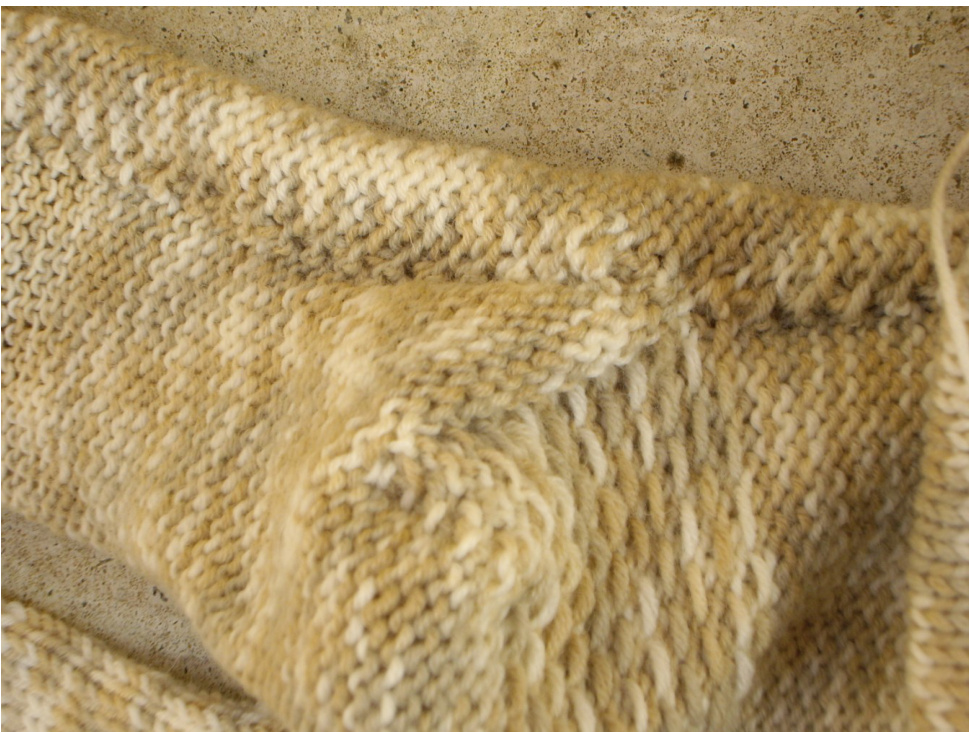
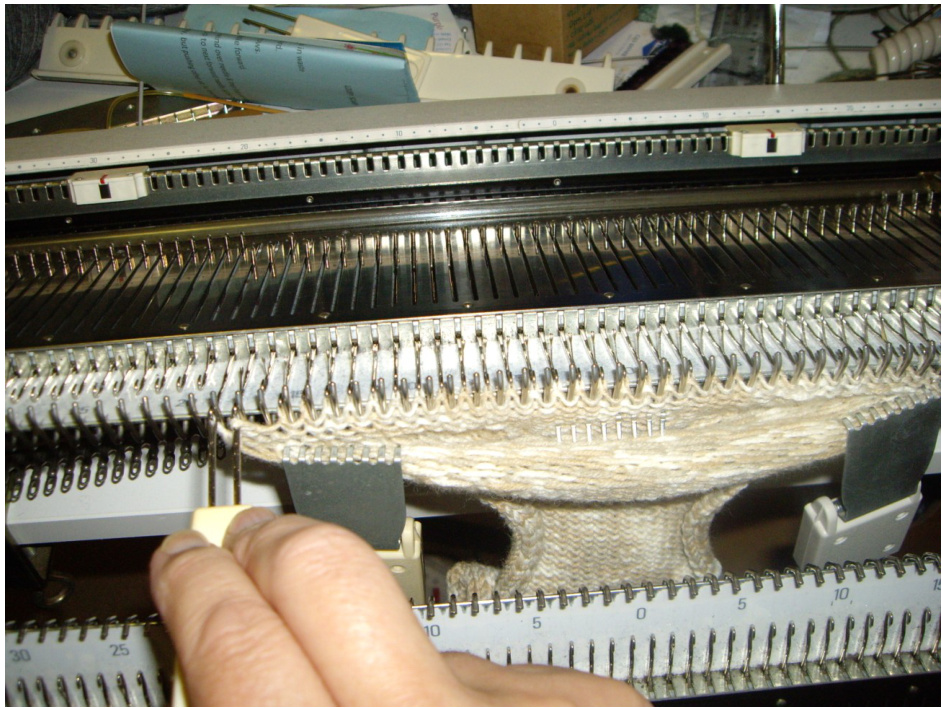
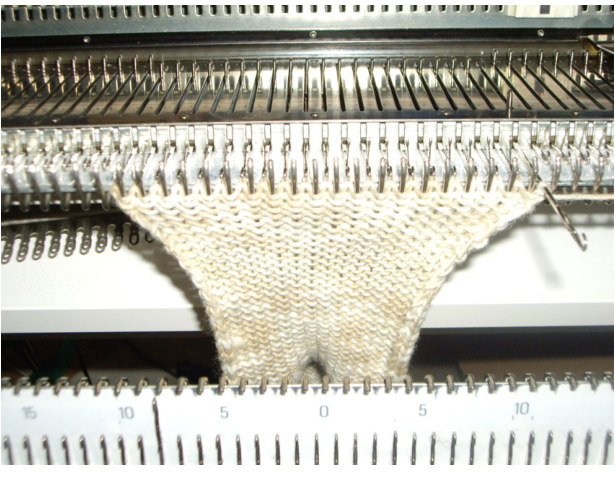
Doing the gusset: On each side, put the third stitch onto the second and move both first and second/third into the empty space (this is called a fully fashioned decrease), every second row until you have your original stitch count. Continue down to your toe shaping—I did 40 rows, didn't look enough.
Short row toes. Next do short row toes down to either one half or one third unknit 8/8/8 for instance on the 24st one. IMPORTANT: again, identify the first bar each side that you will pick up after doing your toes. On the carriage side, knit one row, bring the needle out to hold, which automatically wraps for you. On the carriage side, one new needle will be in hold, on the opposite side, hold underneath the last needle to be knitted, knit one row and pull the needle out to hold. This ensures the last needle knits, and pushes When you are on your last wrap, time to push in your first needle to knit back
This is the row that has the final wrap and the first knit back up the other side. One needle on the carriage side is ready to wrap and the needle on the opposite side is pushed back into the Upper Working Position (UWP) The second row shows it from the top. Knit one row, pushing the needle back into UWP on the opposite side until all done.
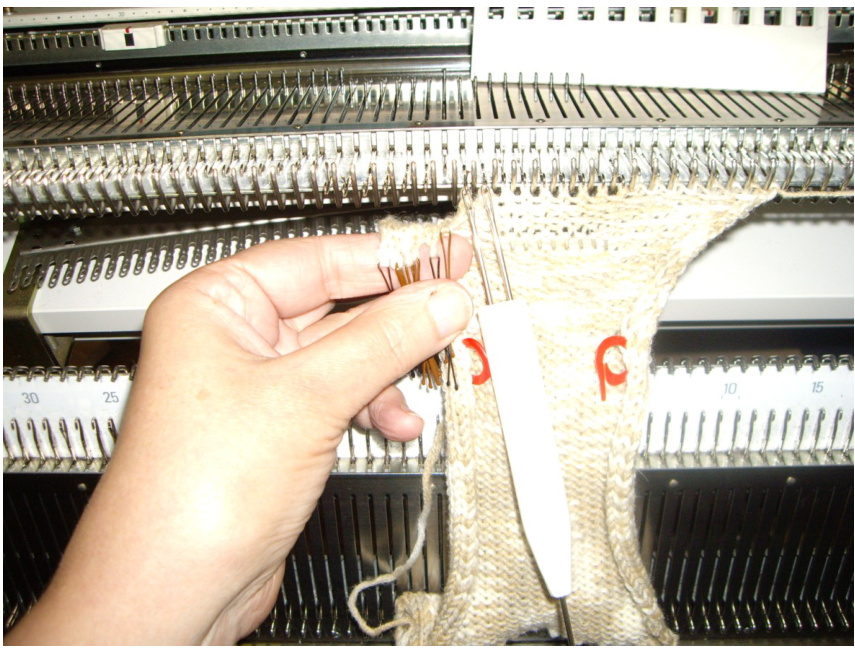
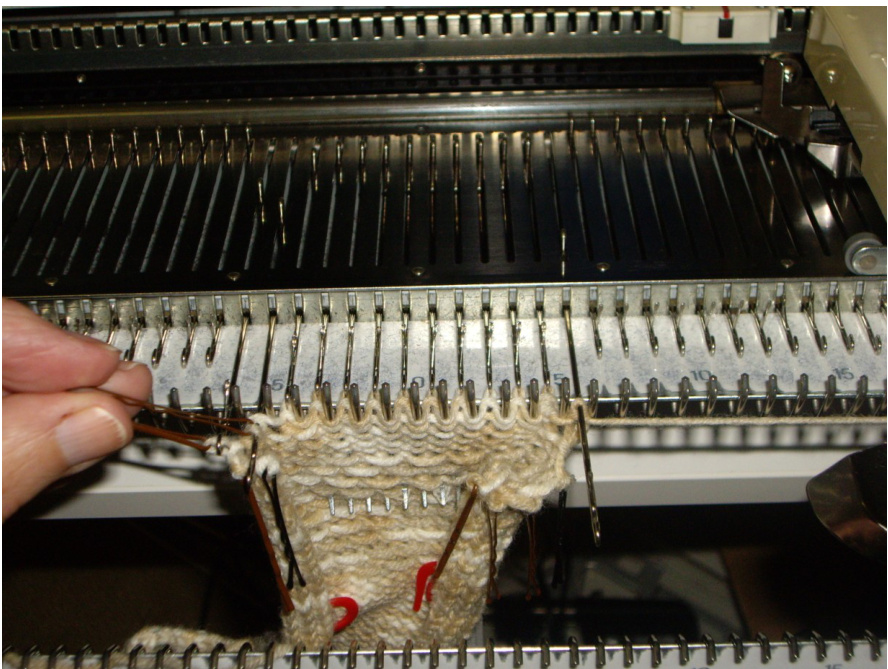
Getting ready for Sew As You Go. What trips everyone up is correctly identifying the bars. I STRONGLY recommend that you put in bobby pins after your first identifying one, to ensure it all goes smoothly for you. . You can also use the single prong. Up to you.
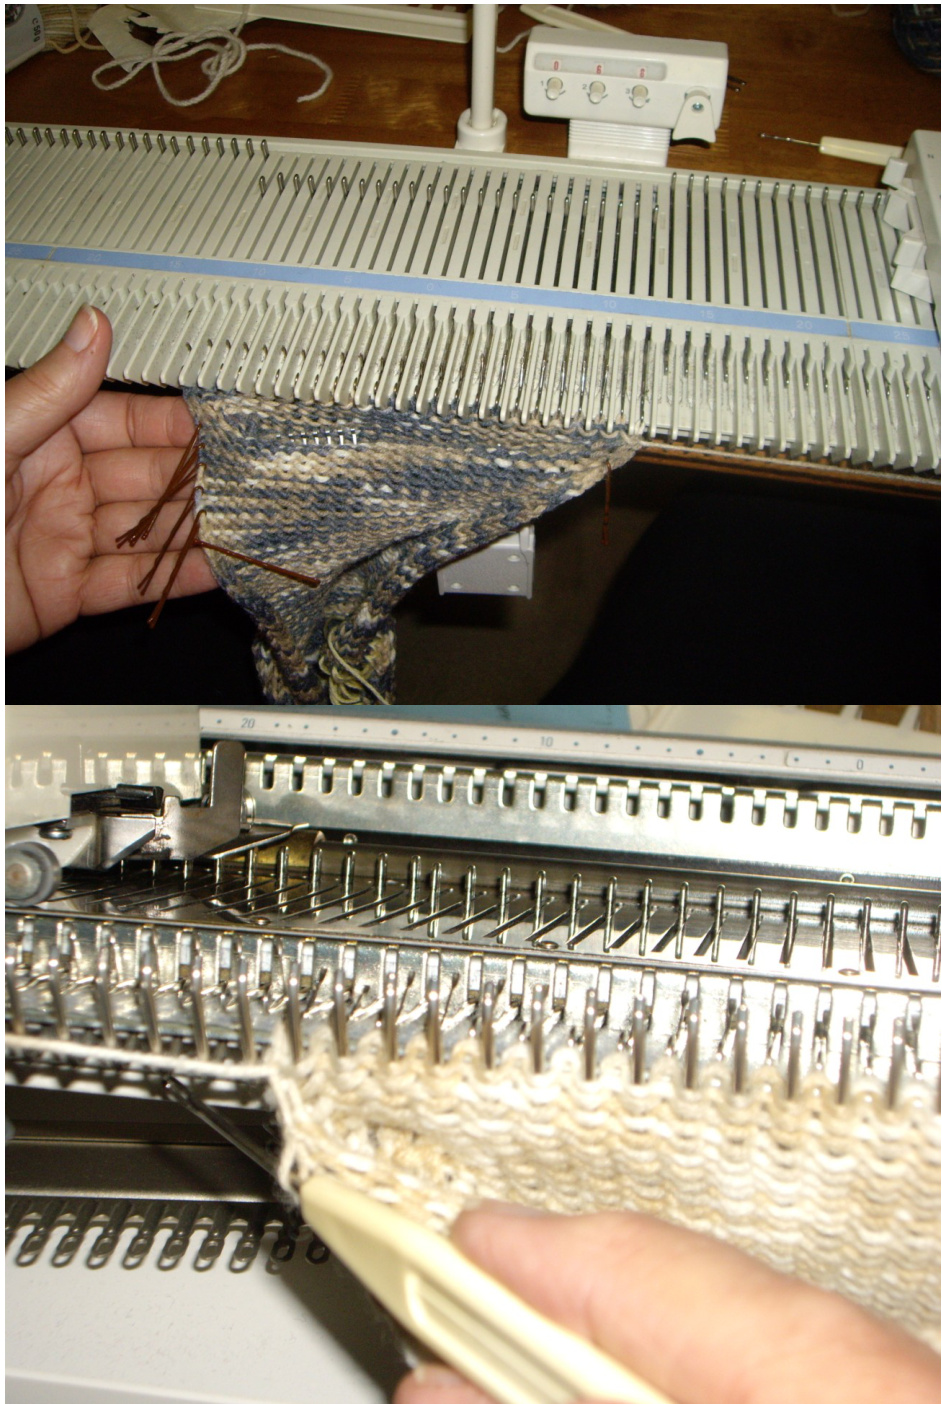
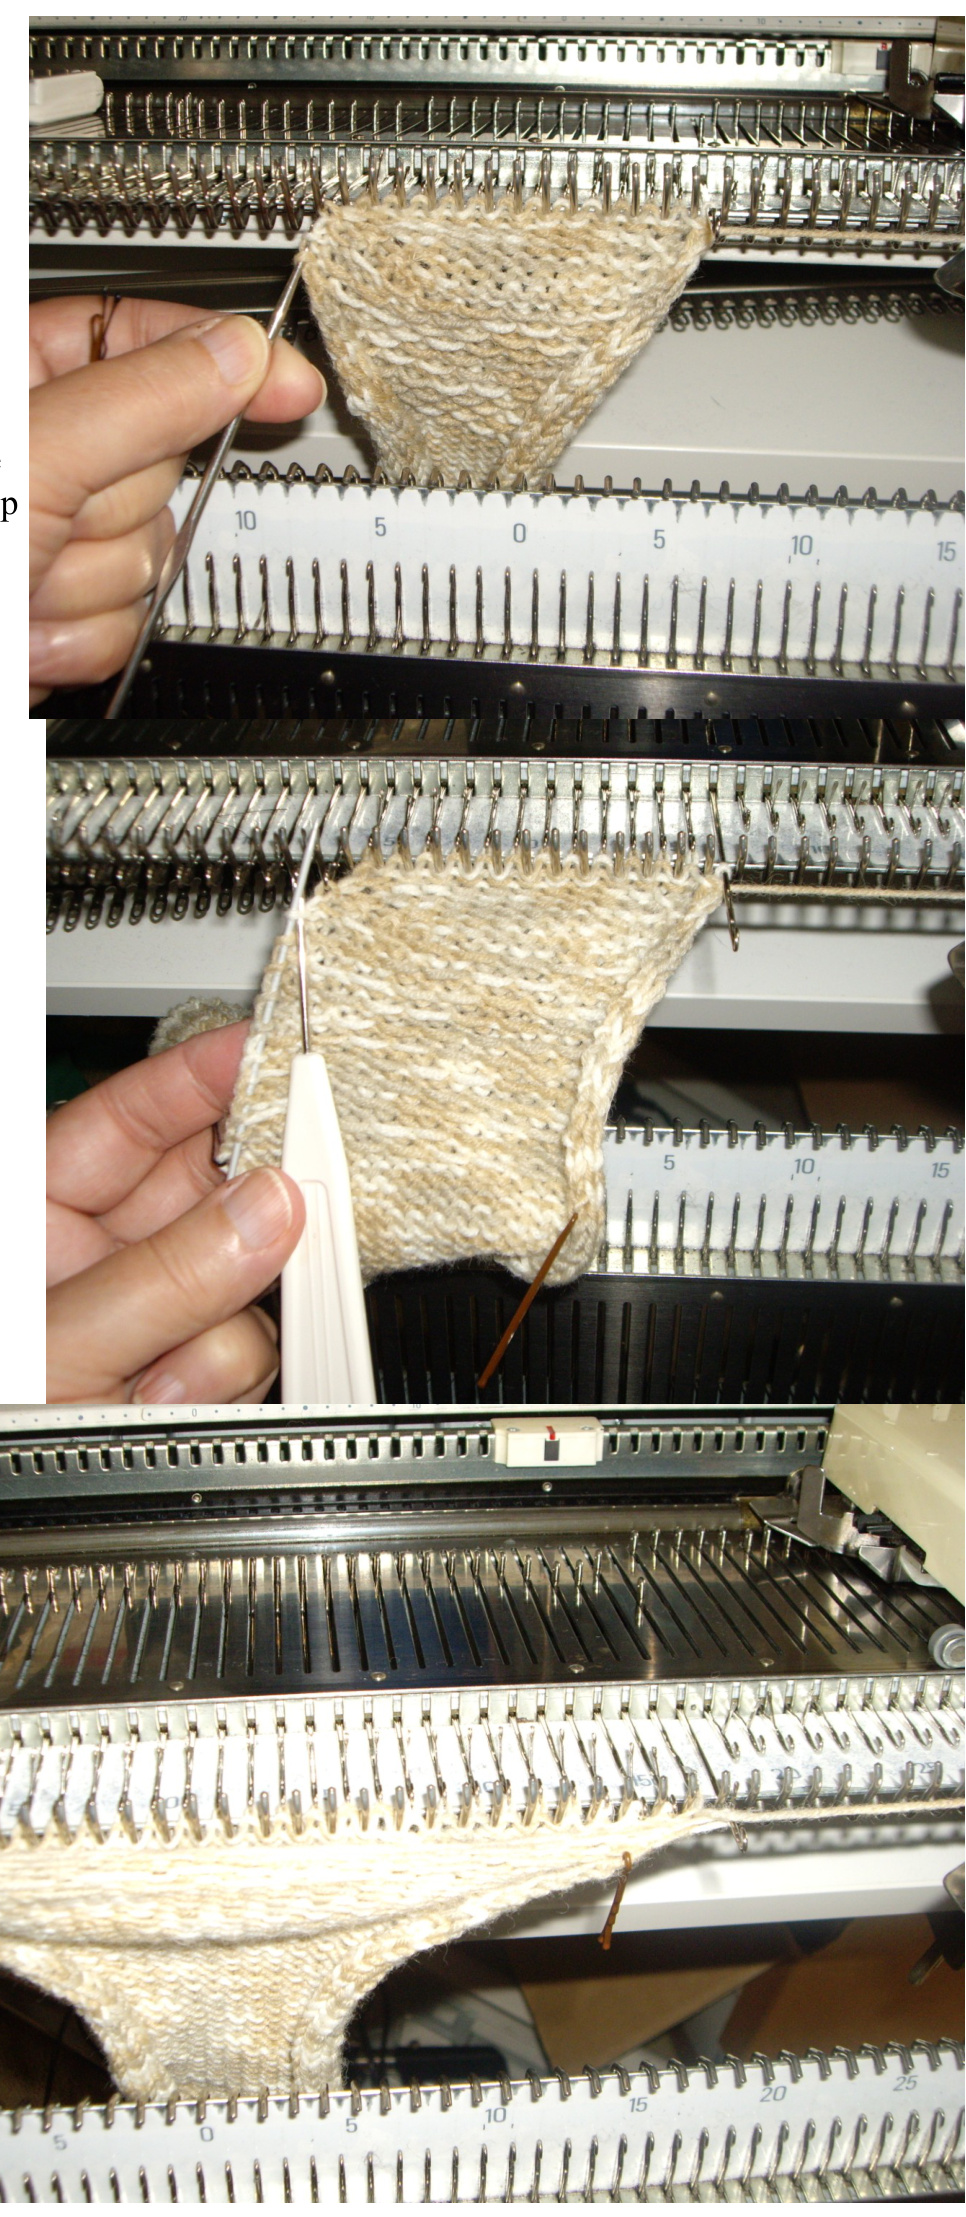
Finishing off the rolled hem. When the last bar is ready to be knitted, reset the machine to knit one row of slip stitch on EON. Reset machine and RCo00. Knit 20 rows, take off machine however you like. Sew up the circular hem with slip stitch, catching up the stitch loop inbetween the slip stitch bar, sew up sides.
EON = Every Other Needle or 1:1 UWP = Upper Working Position Hold = D on SR or E on Bro. S/R = short rows


