Donnie's Hat
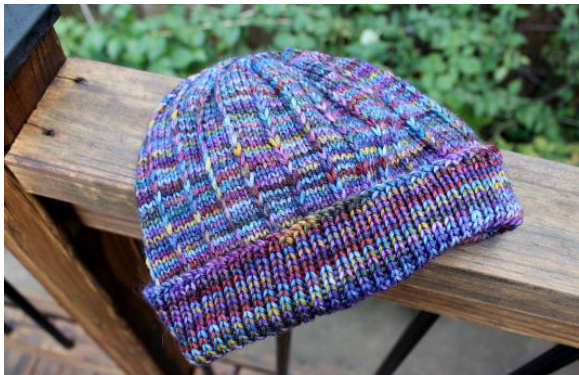
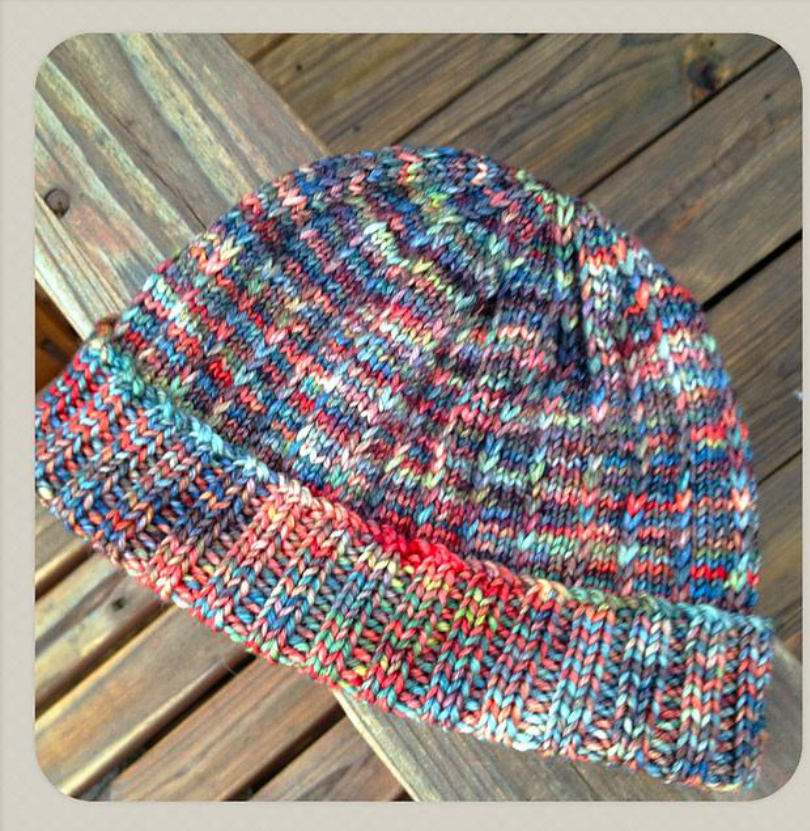
I had a request to make a hat for a friend, and this is it. It's a simple, quick and WARM hat for cold weather. The ribbed brim folds up for a double-layer around the ears, or can be rolled down to protect more of one's head.
Materials:
1 Skein Malabrigo Yarn Rios US 6 - 16" circular needle, or an appropriate needle for your favorite magic loop method VUS 6 DPNs (if you aren't using magic loop) Stitch Marker Darning Needle GAUGE: As knitted, this cowl had a gauge of 6 stitches and 8.5 rows per inch in stockinette. Finished, it has a lot of stretch to fit a range of adult head sizes from 20"to 24". Check your gauge and changeneedlesizeifneeded!
Abbreviations used:
k = knit p = purl k2tog = knit 2 together
Basic Hat Recipe:
stitches. Mark the start of your round and join, being careful not to twist your knitting rounds of K2P2 rib (like the picture above) or K1P1 rib (like the pictures on page 2) Switch to main pattern: Odd-numbered rounds - Knit around. Even-numbered rounds - Knit 4, slip 1 purl-wise with yarn in back Knit 44 rounds in pattern. Start the decreases, switching to DPNs when needed (if not using magic loop): Round 45: K8, k2tog around Even rounds 46-58: K around in pattern (slipping where previously slipped -once you k2tog with a slipped stitch, stop slipping there) Round 47: K7, k2tog around Round 49: K6, k2tog around Round 51: K5, k2tog around Round 53: K4, k2tog around Round 55: K3, k2tog around Round 57: K2, k2tog around Round 59: K1, k2tog around Round 60: K2tog around Round 61: K2tog around again (6 st remaining). Break yarn, leaving a 6"-8" tail. Using darning needle, thread tail through remaining stitches and pull snug. I like to run the yarn through them again for a nicer finish. Poke needle down through center, and secure on the inside. Weave in allends. @ 2012 Tracey Grzegorczyk, RiverPoet Designs Questions? Contact: tracey@riverpoetdesigns.com
Fun with Slipped Stitches
You can also make your slipped-stitch lines move around. The two basic ways to change direction are a Slip-Stitch Right (SSR) or a Slip-Stitch Left (SSL). These are simple two-stitch cable crosses that use the slipped stitch as one of them. SSR (slip-stitch right): knit to one stitch before the slipped stitch. Hold the next stitch to the back with a cable needle, and slip the next stitch purl-wise onto the right needle. Put the held stitch back onto the left needle, and knit it normally. Your slipped stitch now slants to the right. SSL (slip-stitch left): knit right up to the slipped stitch. Slip it purl-wise onto a cable needle (the U-shaped ones work best... don't let it slide off), and hold it to the front. Knit the next stitch. Now slide that slipped stitch off the cable needle to your right needle. Your slipped stitch now slants to the left.
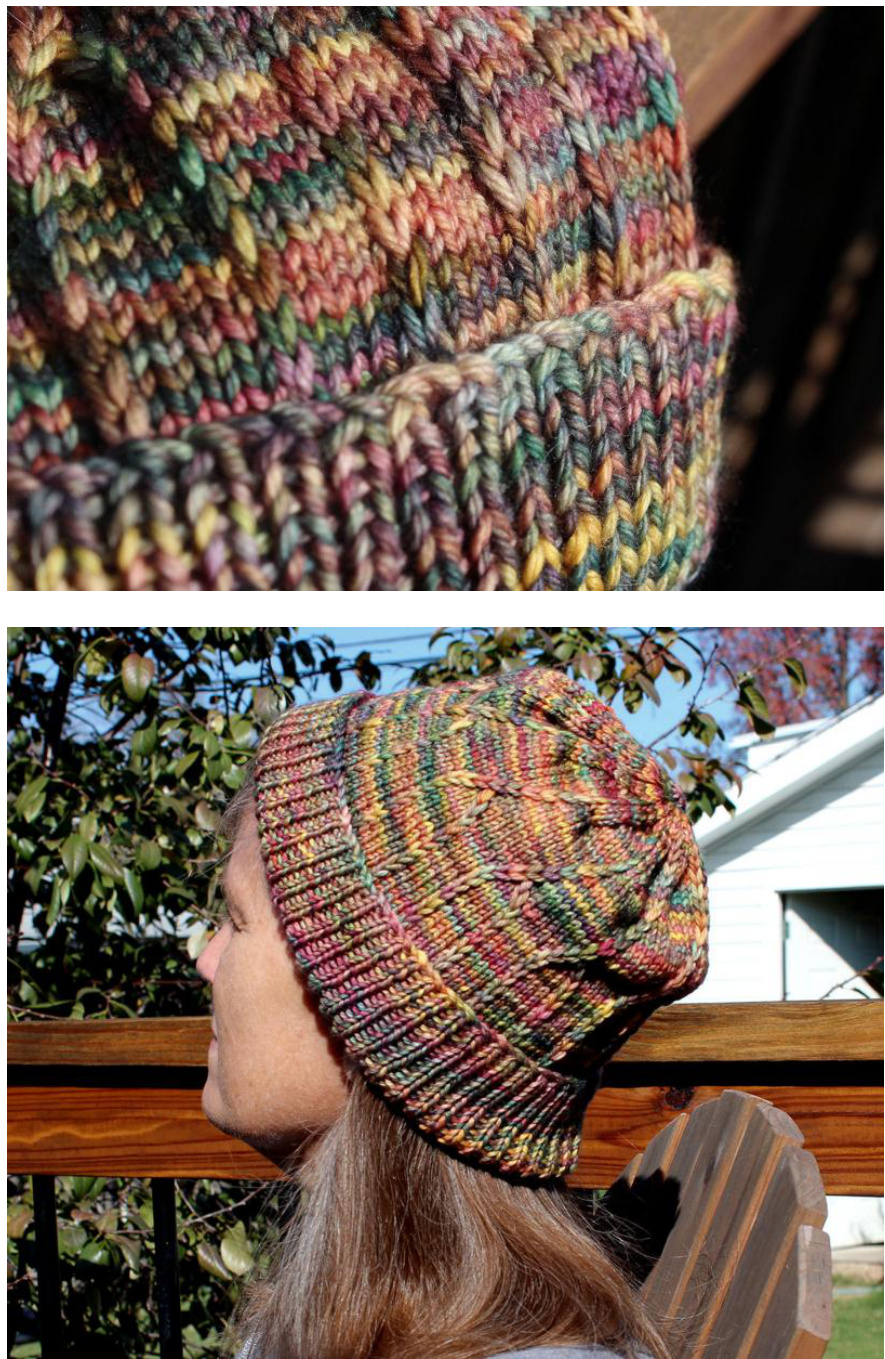
Travelling Slipped Stitches
As an example, to make the design at right: Knit rounds 1-29 per the basic recipe. Continue to knit the odd rows around without slipping. Round 30: \*K4, SSL, K2, SSR\*. Repeat between the asterisks (\*\*) to end of round. Round 32: \*K5, SSL, SSR, K1\*. Repeat. \*\* Round 34: \*K6, SSR, K2\*. Repeat \*\* Round 36: \*K5, SSR, K3\*. Repeat \*\* Round 38: \*K4, SSR, K4\*. Repeat \*\* Round 40: \*K3, SSR, K5\*. Repeat \*\* Round 42: \*K2, SSR, K6\*. Repeat \*\* Round 44: \*K1, SSR, K7\*. Repeat \*\*. Now start the decrease rounds with Round 45 above, just slipping the stitches on the even rows where they are already established. Once you do round 60, stop slipping altogether.