Plain Jane Creations
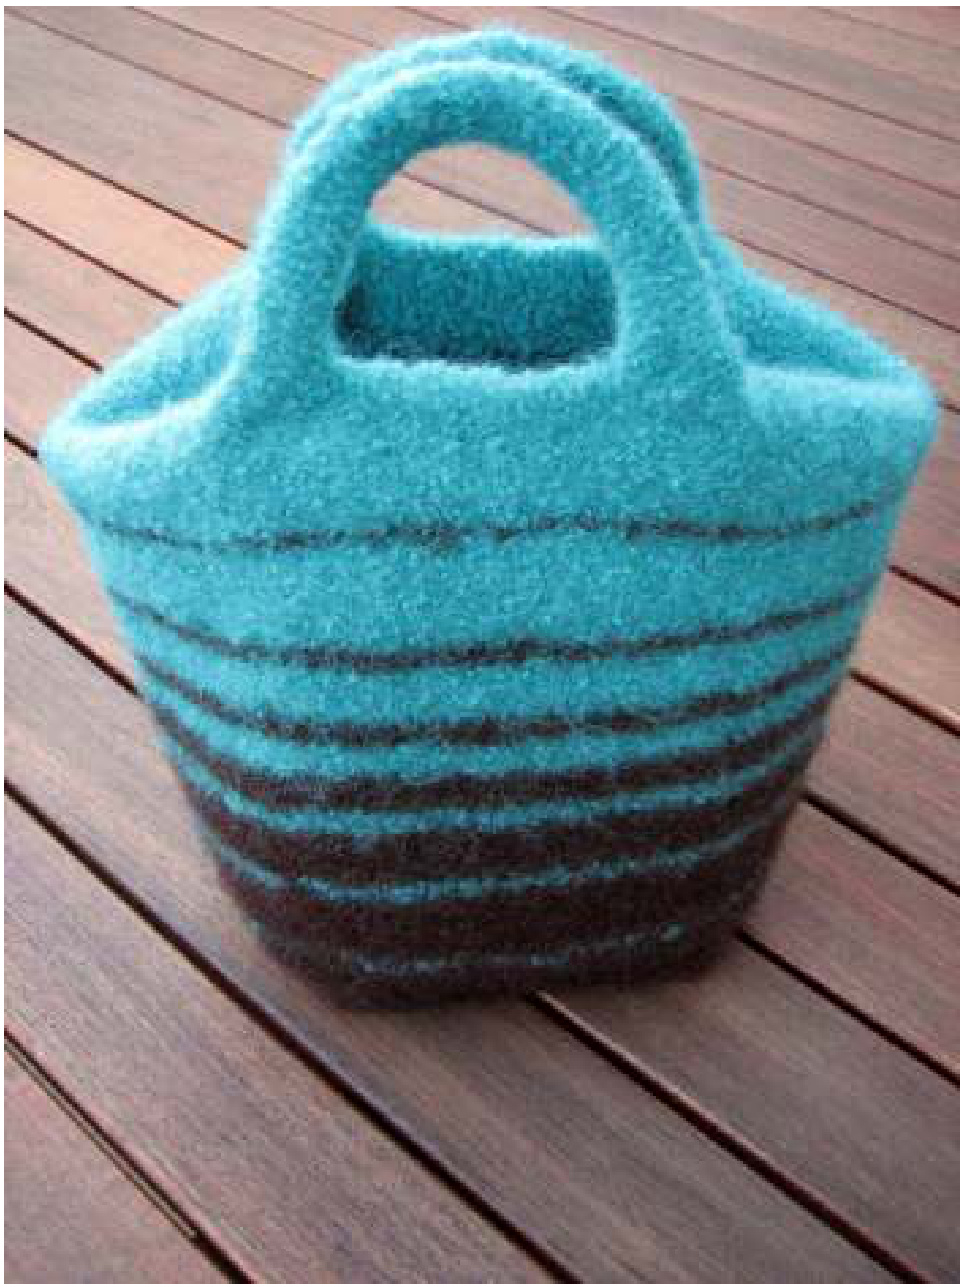
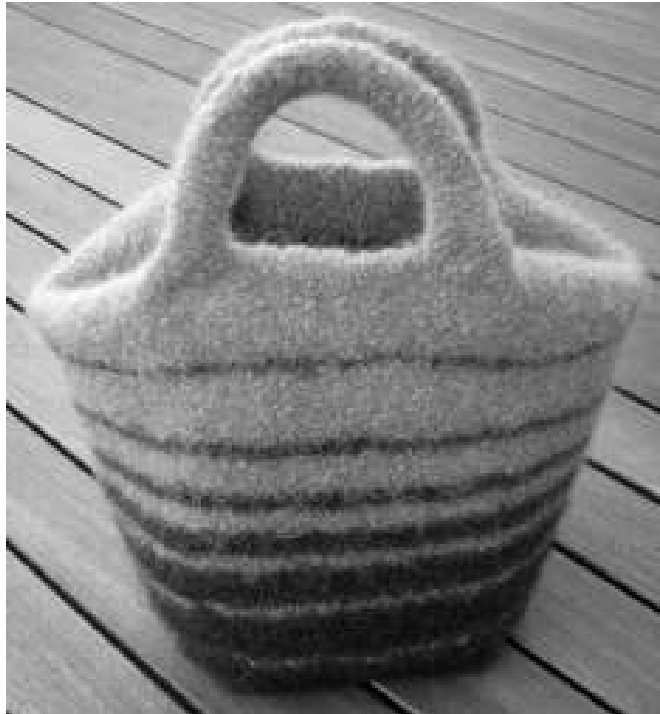
Knitted and Felted Tote Bag #7
@ 2007 by Lisa Ashton Australia IhopeyouenmakinthsrjctandthankyouforyouruppPleasereerthecontentsofthis patt are protected by copyright and you must not reproduce it $\mathrm{b}_{y}$ any means,including photocopying or making and selling the item for personal gin. tomashto@bigpond.net.au orvia my blog htp://plainjanereations.blogspot.com
Knitted and Felted Tote Bag #7
Designed by Lisa Ashton @2007 Pleas llw me the right toanalving from creatinand writing my pats You wll need to choose 2 colours for your bag, 3 ballsfor the Main Colour (MC - chocolate) and 3 balls for Contrast(C -jade) to make your bag in the same stripe pattem as sample. Irecommend Panda 8 ply Woolbale $50g$ and $\phi\mid\mathfrak{m}$ (doubile knitting weight) wool asi felts beautifuly. Do not buy superwashed wool asit wil not felt. fyouwattwork thagin colowith nstripinyouwilnedonly bal fwol.
60cm long 5.5mm or UlSA size 9 circular knitting needle
one set of double pointed 5.5mm or UlSA size 9 needles (you wil only need 1 pairforthispattem but they come asa set of 4) scissors or snips lead pencil 4 stitch markers (These can be loops of wool or smallplastic rings that fit over your needles that are used to mark the 4 corners and are slipped from left needle to right needle each time you come across one) Large tapestry needle for sewing in threads after knitting is completed.
Tension should be17 stitches and 22 rowsto 10cm on $5.5\,\mathrm{mm}$ needles. Ifyou knit looser than this you may require more wool but your bag willstilfelt beautifully. Tobegin cast on35 stitches using whichevermethod you choose with the main colour (MC) onthe circularneedles. Knit 37rowsofgarterstith inknittn npurrows), thisetanle foms thebaseofth Next leaving the 35 stitches on your needle place a stitch marker that is different to the others (tie on a bit of coloured wool onto one marker so you willknow thisis the beginin of the row) on youright needle and then knitup 35 stitches across the next short side of the rectangle. \*/ knit up the knot on the edge of each ridge and then the stran in betwee these knots, thereae I8 knots and 17 gaps so 3 sitches are easy topick up. Plae nextstithmarkethnknitu stitchsalogyouast odge, placext stchmakrandthenkit35 stitchesnhht idfrtanl,lacelaststitchmarkrandthnitacrosthstchsthatareny left needle. You wllnow have 10 stithes on your needle and be at the begining of your next row. The odd stith marker designatesthebegining ofanewrowand theothermarkershelpyou findthe comers of the bagyouwil ndfor the top part of thebag The rest of the bag is worked in stocking stitch (smooth kniting and because you are working oncircular needes every row wll e knit, not one row knit andne rowpulas youwouldif you were knitting ona pairof needles, bonus!
Stripe pattern
The stripe patter is9 rows in total and this illinlude the row you have just knitted.When changing colours eithertiyourwwoolnandcarrythrufextstripifthedistancenlafewrowsfnt then tie onnew colour and break offold one leaving a” Iocm) til for daring in before you flt the bag. \* I use a Reef knot, Right over L eft then Left over Right. MC knit 12 rows C knit 1 row MC knit 13 rows C knit 2 rows MC knit 8 rows C knit 3 rows MC knit 5 rows C knit 5 rows MC knit 3 rows C knit 8 rows MC knit 2 rows C knit 13 rows MC knit i row C knit 13 rows
Side gusset flaps
Continuing with Contrast wool, remove first stitch markerand knit acrossto second stith markerand remove it alo, (35 stitches). Now working on these 35 stitches work 15 more rows of stocking stitch. \*You wil work the next row Purland the following Knit as you are knitting back and forth nownotcirularly Cast offthese 35 stithesknitwise, break off wol laving ocm) tal for daming in. Slip next 35 stitches purlwise, remove third stitch marker and knit across to fourth stitch marker and remove it also, (35 stitches). Now make this second side gusset flap the same as the previous one above.
Top edge of bag
Rejoin yourContrast woolwith out a knot leavinga4” (iocm) tail ready to knit the next groupof 35 stitches on your needle with the right side of the bag facing you. \* This wilbe darned in before feting. Next fold the right side gusset flap into the bag and knit the first stitch on your lft needle while also going through the first edge knot on the flap. \*This will be immediately behind your first knit stitch. Knit the second stitch while also going through the second edge knot on the flap and so on for the first 9 stitches. This process willjoin the flap to top edge, this will make the opening of the bag litte more enclosed for privacy and security. Continue knitting across the next 17 stitches then you will have 9 stitches remaining on left needle, fold in the left side gusset flap and knit the next stitch while also knitting through the first edge knot on the flap. \*This will be on the corner of the cast off edge. Knit 3 more rows.
Icord Handles
Knit 10 stitches, Cast Off 15 then knit remaining 10 stitches. Slip these last 10 stitches onto one of the double point needles. Work an J-cord handle (tubular knitting) of 50 rows by knitting across the 10 stitches with a pair of double point needles, slide stitches back acrossthe needle then knit the next row by pulling the wool back to the beginning of the row. Note- thisis considered to be a wide I-cord but it works very welfora strap onaflted bag. pullthe wool fim when you begin a new row, there wil be a noticeable lader on the back of the strap which makes counting your rows very easy, stretch the strap and the ladder closes over a bit more and is not visible at allafter felting Take the spare doule point neede and slp the first lt of 1stitchesattopof agonto this without twisting thm. Place the twneedles parall cut talfwofrmstrapto3m(12) andgrafthetwsetsf 1stitchestgeth, darn in these ends in.
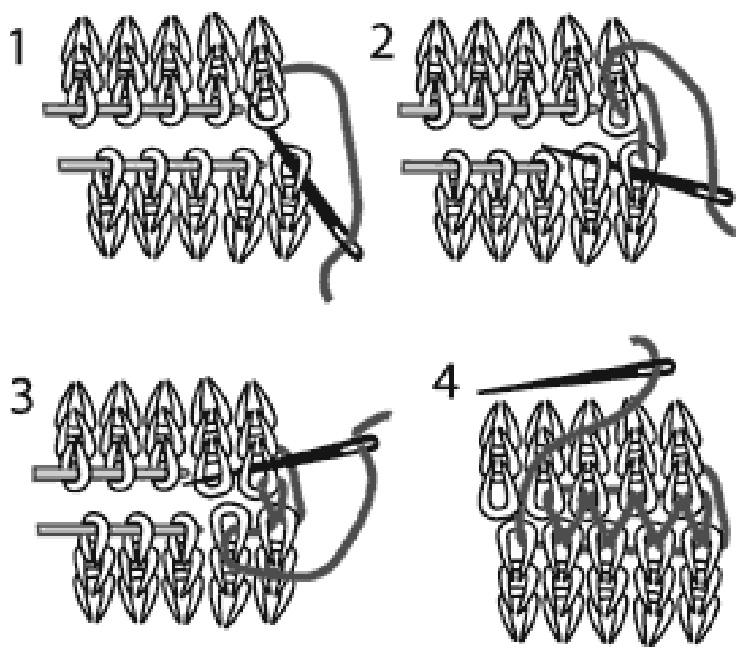
Second top edge and handle Repeat the above directions forthe other side of bag. This rolled edge trim finishes offraw edges of knitting beautifully, it can also stop the edges rollng and is great for definin the base and willalso help the bag stand up. Take a pair of double point needles and cast on 4 stitches leaving a 4" (1Ocm) tail and then beginning at a corner of the bag base knit up one of the top loops of the garter stitches on the base. \*Please note the diagram shows an J-that is worked onto a cast off edge.

Now slide your stitches to the right end of the double point needle ready to be knitted again.
Knit 3 stitches then knit 2 stitches together through the back of their loops, pick up and knit the next garter stitch top loop.
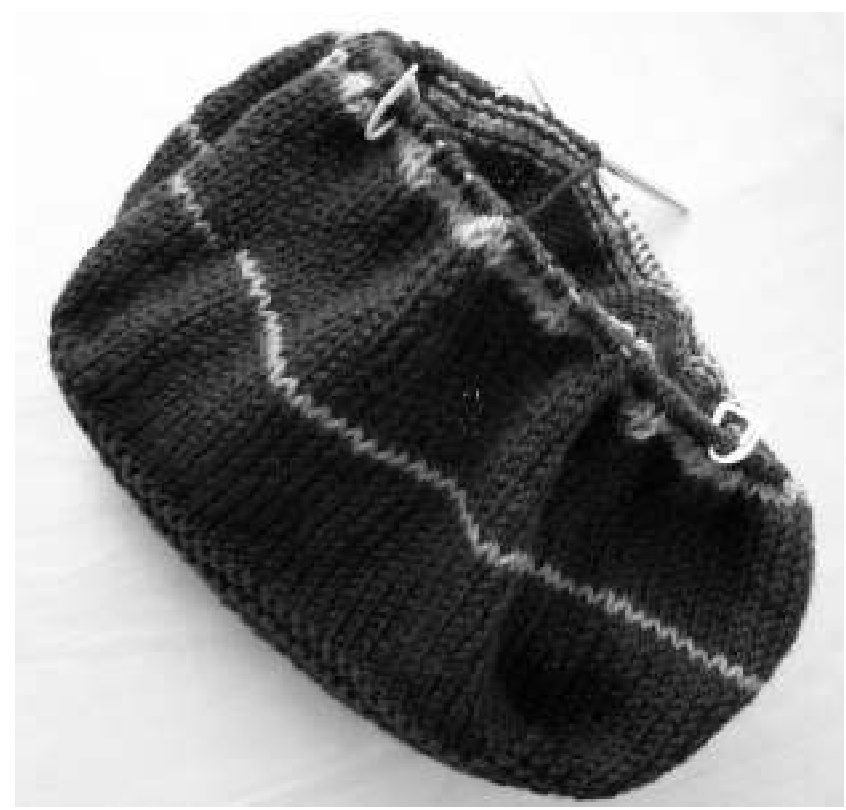
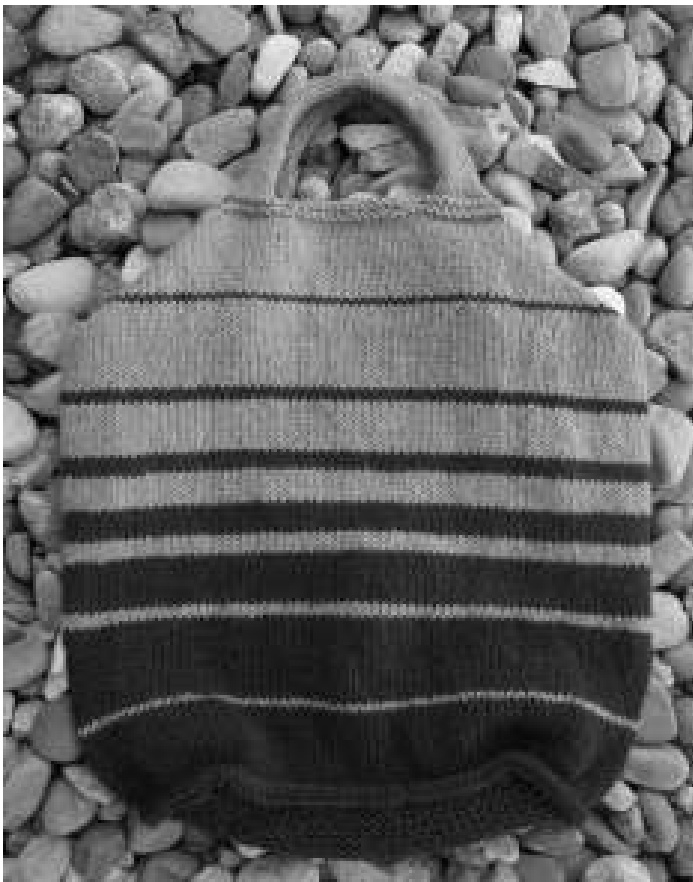
Continue repeating this row across the remaining 33 top loops, turn the corner and now pick up and knit each of the 2 loops between each of the ridges (this will be about 36 stitches), turn the corner and again pick up and knit across the top loops of the 35 stitches on the other long side, turn the corner and pick and knit each of the 2 loops between each of the ridges (again approximately 36 stitches). You will be back at the beginning now, cast off and leave a tail for grafting the beginning and end of l-cord together as you did for the handles. This photo shows my bag with the lcord completed just before it was felted.
Bag finishing
Graft thebeginningtoendof each-cordtrim as neatlyasyoucanwith yourdaing needle andthetailsyoulftfor this purpose. \* You don't nd to be teribly fussy as felting wilhide a multitude of sins. Bury l-cord tails down the centre of the cord.Dam inallothertails under the loops of 6 or 7 corresponding coloured stitches. Trim long tails ater darming.
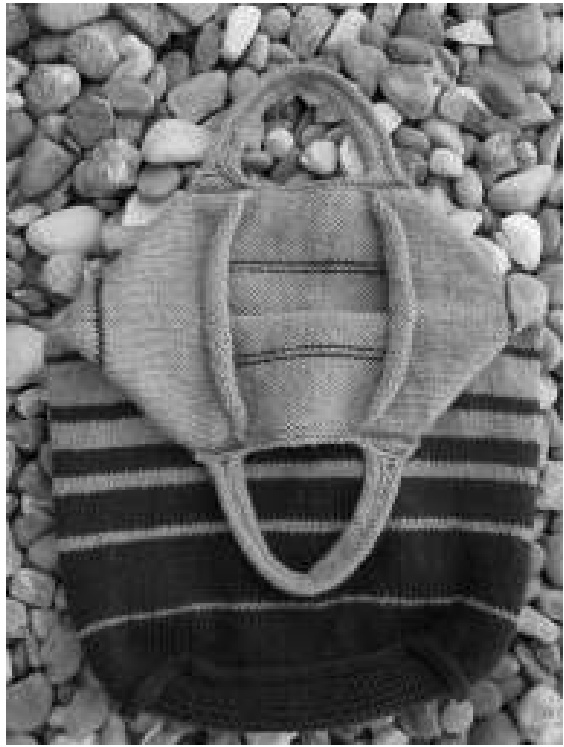
Washing Machine Felting
This is how I felt all $\mathfrak{m}\mathfrak{y}$ knitting. Take a before photo now if you want or some measurements so you can see how much it changes. $\mathsf{M}_{\mathfrak{y}}$ bag after felting was approximately11 1/2" wide by 9 " high $(28c m\times23c m)$ I and handles $\delta^{\,\mathfrak{p}}$ (20cm), which is approximately $1/3$ smaller than it as before fetings Set your machine on the longest wash it will do, HOT wash and COLD rinse, on the lowest water level you can, place a pair of jeans or some heavy item of non fluffing clothing and one capful of wool wash (Mas Woolwash or Sofly ae two that I have used and your kitted item rnght side out. Don't use alingeriebag to protect your knitteditem you want to treatitvery badly with aitation, rubbing and hot water so it wilfelt beautfuly. Ikeep an cye on the wash cycle, check that it isfelting every 5 minutes or so, when the hot washis complete wind it back to the start, top up the hot water and let it go again, $\mathrm{b}_{y}$ the end of the second hot wash which is between 15-20 minutesI find that the feltingis good. When you can see no stitch definition and the item feels lovely and thick with nice even texture lt the machine crry on and rinse th item thoroughly in cold waterand spin out llthe excess water. If youhaeafrontladerand yucant penit during theyljustahoteinitialwashf sayminten HOT water and then a cold rinse, then you can check it at the end of the whole cycle and you can always do anothertilitisfeltedcomletl.Readyourmachinebooktchecknthlengthofthewashingsectionof thy and this wilguide youfor youretigs.Remember youare trying toearoughas poil when you are machine felting, don't use the woollens gentle cycle! Nowget the itm out and pullt into shape, dont be toogentleit is very strong and very pliable nw. Place inanicu wm spottdry,fu suisandiyouaredprateyoucanusethdyeutitcanbhad to control the shape with the dryer. fyou want youcangive the drditmagood steam press withth ronandthenletitstandtocomletly dy. Ithinkthstote isgdevryday toteoragreat knttingbagtotakeyourittingwhreveg.


