aueg uape
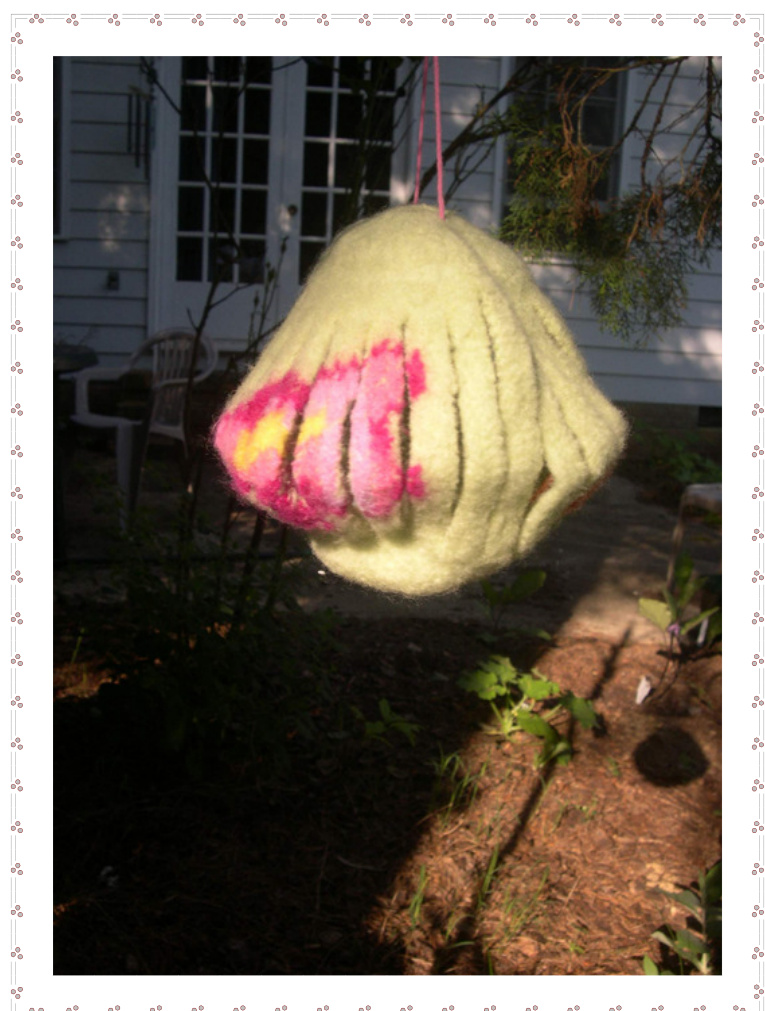
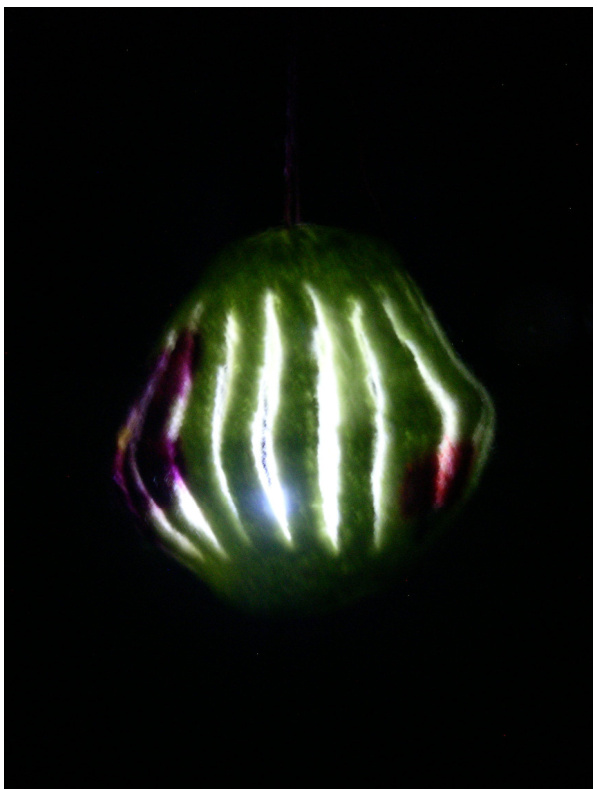
A fun way to light up your next garden party!
A Design by Anita M. Wheeless
Requirements: One Skein 100 grams/ 223 yards/204 meters 100% wool yarn (NOT superwash!) Oddments of colored wool yarns for Swiss Darning Design Size US 8 Double-Pointed Needles Yarn Needle Battery-Operated Candle Copyright $\circledcirc$ 2009 Anita M. Wheeless All rights reserved.
Important Note:
Felting is always full of surprises! This is what makes each project unique and exciting. However, hot all surprises are good ones. To limit the number of disappointments, it helps to keep a few things in mind before you begin. Wool yarns vary in the way they felt. Even the same brand of yarn in another Color may felt quite differently. The same goes for washing maChines. My washer might have more or less agitation than yours, or my hot water might be set at a higher or lower temperature. It's always a good idea to knit a small swatch and felt it before you start your project to make sure it looks like what you had in mind. Please remember this is a decoration. It doesn't have to be perfect to be fun! For more thoughts on knitting-in-theround on double-pointed needles and tips on felting, please visit my website at:
http://www.thepatternbox.com
These patterns are not designed for infants or toddlers.
Finished Size: Approximately 6 to 7 inches tall. Abbreviations Used: BO 一Bind Off K1 —knit 1 K2tog — Knit 2 together Increases are to be made by knitting into the front and baCk Of the stitch.
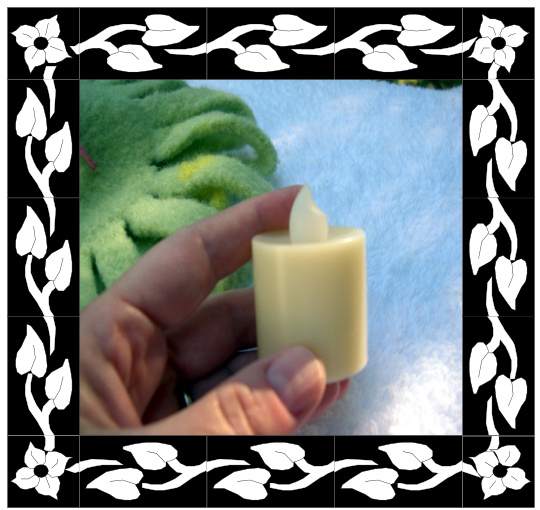
I purchased my battery-operated candles online at: http://www.batteryoperatedcandles.net/ There are many candles and sizes from which to choose. These are the "tall' tea lights, standing about $2\,1/2^{\circ}$ high.
Pattern Instructions:
This is a super-easy pattern. Swiss darning decorates the lantern, so there's no worry about following a chart or carrying colors along! We are going to start with the bottom of the lantern work our way up. We're first going to cast on 1 stitch and, knitting back and forth for a few rows, k1, p1, $\mathsf{k}\mathsf{1}^{\star}$ into this same stitch. \*To k1, p1, k1, simply insert your needle into the cast-on stitch as if to knit, but don't slide it off your left needle. Move your working yarn to the front and purl into that same stitch,. Again, do not slide the stitch off the needle. Move the yarn to the back and knit into this very same stitch. Now you can slide the stitch off the left needle. You will have three stitches on your right needle now. Increase in each stitch by knitting into the front and back of each. You will now have 6 stitches where you had three before. Increase in the same manner one more time. You now have 12 stitches. On this round, knit four stitches onto each of three double-pointed needles. Place your stitch marker at the beginning of the round and prepare to join your stitches into a round. Round 1: In this round, you will take your working yarn (which is now coming from needle 3) and use it to knit the four stitches on needle 1. Continue knitting around on all the needles until you reach the stitch marker again. There will be a gap between the first needle and the third needle. You can pull it a bit to tighten it, but don't worry. It will look all right when you've finished. You have four stitches on each needle. Round 2: Increase by knitting into the front and back of each stitch on each needle. You now have 8 stitches on each. Round 3: Knit all the way around. Round 4: Increase in each stitch again. (16 stitches on each.) Round 5: Knit Round 6: k1, increase in next all the way around for a total of 24 stitches on each needle.
Knit for the next 44 rounds
Now we will start the decreases.
Decrease Round 1: k1, k2tog all the way around for a total of 16 stitches on each needle. Round 2: Knit (16) Round 3: k2tog all the way around for a total of 8 stitches on each needle. Round 4: Knit Round 5: k2tog all the way around for a total of 4 stitches. Bind off. You'll leave this little hole so that you can hang the lantern.
Swiss Darning (also known as Duplicate Stitch)
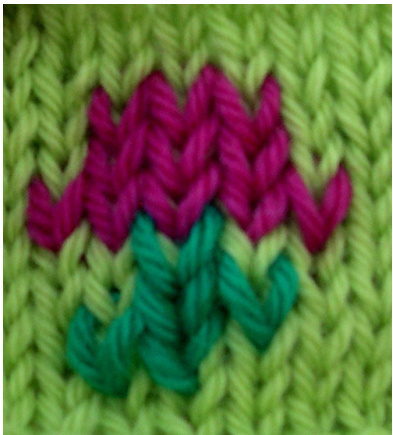
For Swiss Darning: Take whatever contrasting color wool yarn you would like and thread it. through a yarn needle. Yarn needles are great because they have blunt, not sharp, ends. If you've not tried Swiss darning before, just take a moment and look at your knitting. You'll notice the stitches have definite V shapes. Starting from inside the lantern, bring your yarn needle out to the front through the center of a stitch (where the center of a V shape is). Now, put your needle just under the right top of the V and out the left side. Bring your needle back down into the center of the stitch where you began. You've made one stitch right over top (as in duplicate stitch) of your original stich. Continue in this manner making what-.... --........ I.-
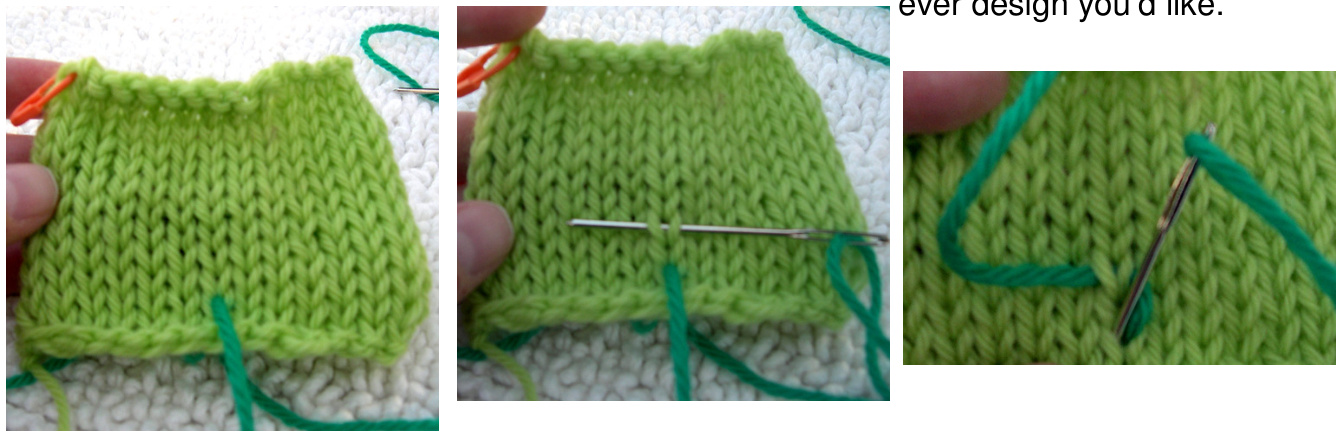
You can make many designs just by switching colors and staggering your stitches. Here's an example of a flower.
Felting/Fulling
Modeling
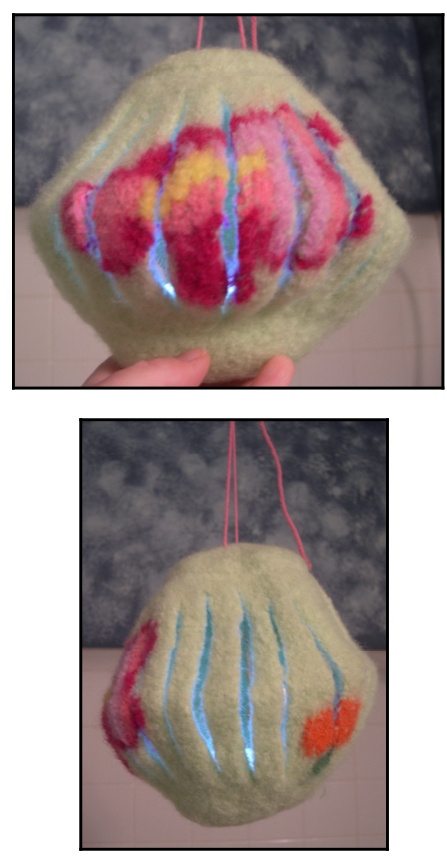
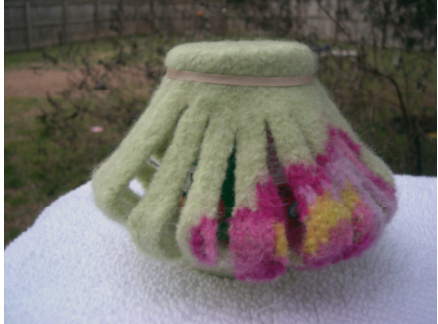
After you're satisfied with your design, put your lantern into a zippered lingerie bag. The bag helps to trap all the wool that comes off of your piece, protecting your washing machine. Throw the bag into your washer with a pair of denim jeans to help with agitation. Jeans are great because they don't give offlint of their own that could end up felting into your pieces. I have also tried tennis balls with adequate success. Set your washer on the smallest load with the hottest water on the longest cycle with the most agitation. For instance, I use the mini or small load, with hot water on the cotton-sturdy setting, set on the longest cycle, which begins with a pre-wash. Sprinkle in a little laundry detergent and close the lid. Be sure to check your piece about every 5-10 minutes. Feel free to pull the piece into the right shape. Keep checking. It may take only one cycle or it may take several. I never let my pieces go through the rinse or the spin cycle. If your piece isn't finished, simply throw the bag back in and set the cycle to start again. It reuses the same water in my machine, so you're not wasting anything. When the lantern is felted together so that all or most of the stitch marks are gone, or to your own personal liking, remove it. Rinse it in warm water, squeeze it gently in a towel and get ready to start the modeling! If you like, add dirty clothes (and perhaps more detergent) to your washer, set the cycle to run again and you can reuse the water that's already there to do a load of laundry! Wet felt is a lot like clay. You can pull it and stretch it and mold it in many different ways. In fact, you can make many shapes simply by pulling your wet felt or putting it on a shape while it dries,instead of struggling over demanding stitches to get that same shape into your knitting! If you've ever made a paper lantern for a holiday, you'll make your felted lantern in much the same way. Take a ruler and measure off about 1 inch or more from the top and the bottom. This will be your "margin." You will not cut this area. Now, starting in the center, pinch the lantern together lengthwise and make a small cut. Enlarge the cut, lengthwise, up to your stopping point at the top and then down to your stopping point at the bottom. Measuring around the sides now, measure about 1/2 inch to 1 inch from this initial cut and make another cut in the same manner. Continue to do this all the way around your lantern. Yes, you can cut right through your design and it won't unravel! That's the magically wonderful part about felting! Once you've made all your cuts, you can stretch your lantern into shape. I actually put a jar on the inside and, to mold a more definite top, I put a rubber band around the top of my lantern, holding it in place on the jar. I pulled each strip outward and stretched it a little bit, pinching each one in the center as I pulled. When dry, remove the jar from inside. Cut a strip of yarn and thread it through the slits in the top and through the hole we've left for hanging. Insert a battery-operated candle in the inside. Hang and enjoy! And then go make more!
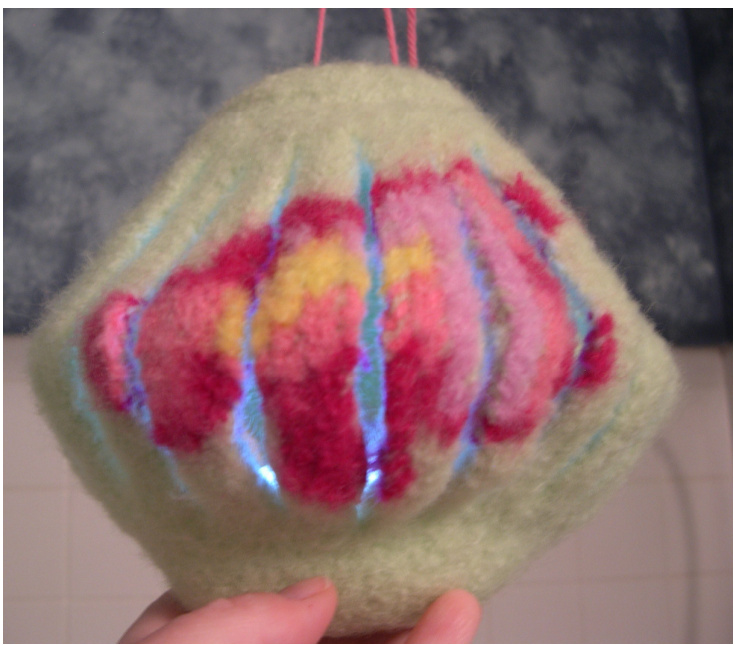
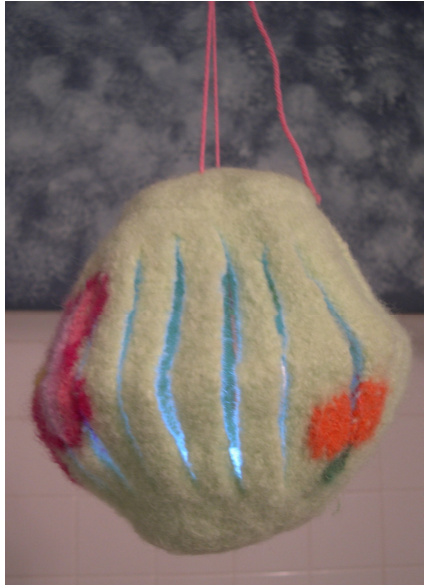
Your garden will look enchanting! Make several lanterns and hang them from the trees or from shepherd's hooks.

NOTICE: This pamphlet is protected by copyright. Reproduction in whole or in part is strictly prohibited. It is sold on the condition that it is used only for non-commercial purposes. All other rights reserved by Anita M. Wheeless


