Imperial Logo Square:
Notes:
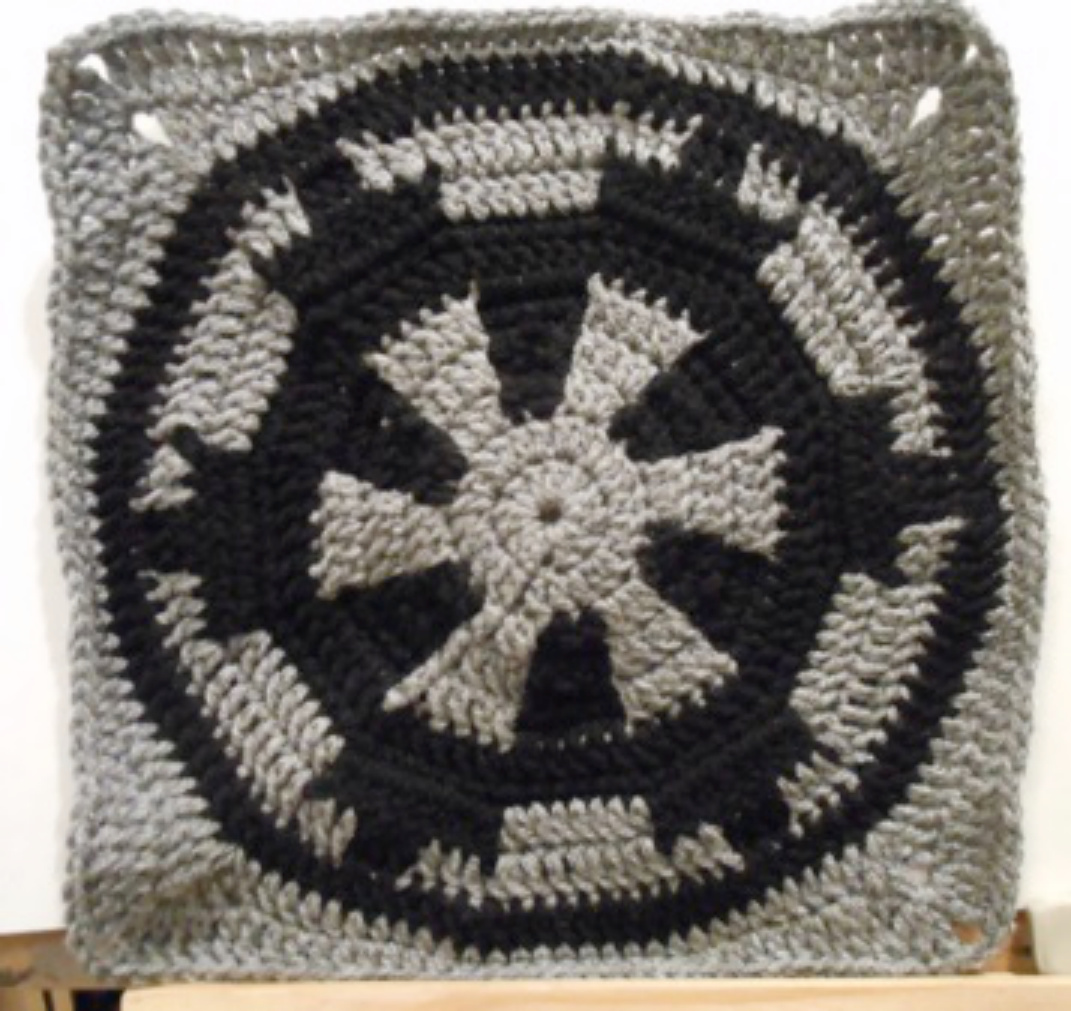
This pattern was created by Mallory Walleck and is available for free on Ravelry.com. Please do not sell the pattern itself or reprint it without crediting the author. Using an H (5mm) hook and worsted weight yarn, the finished product is approximately an 11-12 inch square. Using a G (4mm) hook, the finished product is a 9.5 inch square. You will need to carry the yarn throughout this pattern in order to switch between colors (alternatively, you can manually switch colors, but this could prove to be more difficult and time
consuming). To carry the stitch, hold the color you are not currently using behind or on top of the loops of the row you are working; this way the opposing color gets incorporated into your stitches. To switch colors, begin the stitch with the previous color, waiting until the final yarn over to change color strands. For example, in a double crochet: yarn over with strand A, insert hook into stitch, yarn over with strand A and pull up a loop, yarn over with strand A and pull through 2 loops on your hook, drop strand A and yarn over with strand B, drawing through the last loops on the hook; continue with B until requested to switch back to A. For a single crochet: insert hook into stitch, yarn over with strand A and pull up a loop, drop strand A and yarn over with strand B, pulling B loop through both loops on hook.
Stitches and Abbreviations:
All terminology referenced throughout this pattern is based on American crochet. If you follow British/Australian convention, you will need to look up a conversion chart, because the same names do not reference the same stitches. Single crochet: SC Half-double crochet: HDC Double crochet: DC Triple or Treble crochet: TC Chain: ch Slip stitch: sl Stitch: st 2DC versus DC 2: 2DC indicates that you should double crochet twice in the same stitch, whereas DC 2 indicates that you should double crochet in the next two stitches.
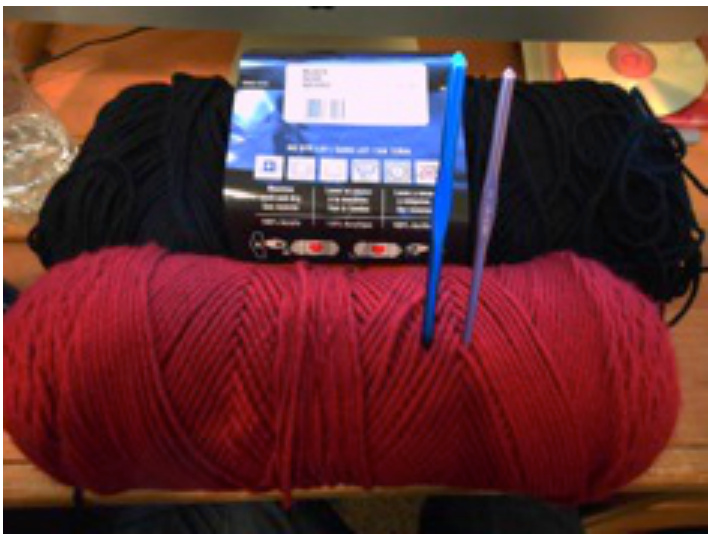
Materials:
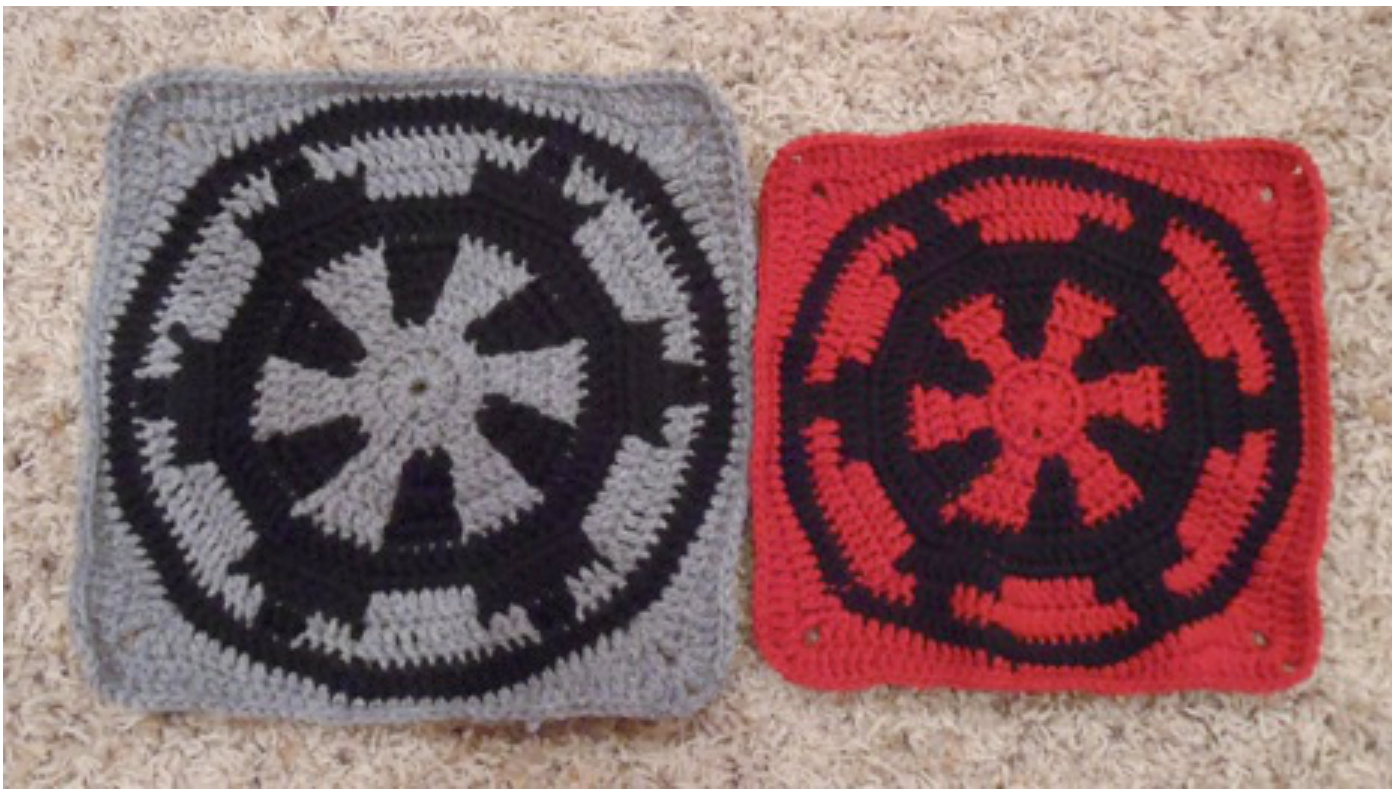
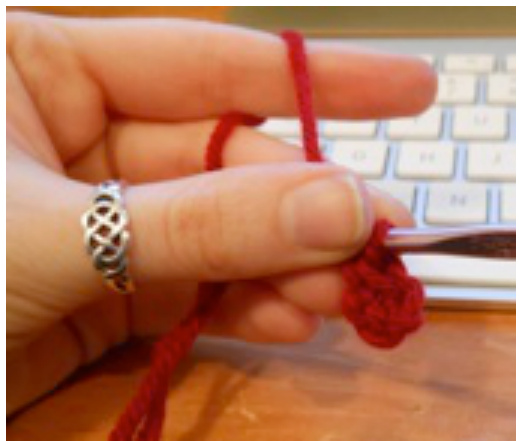
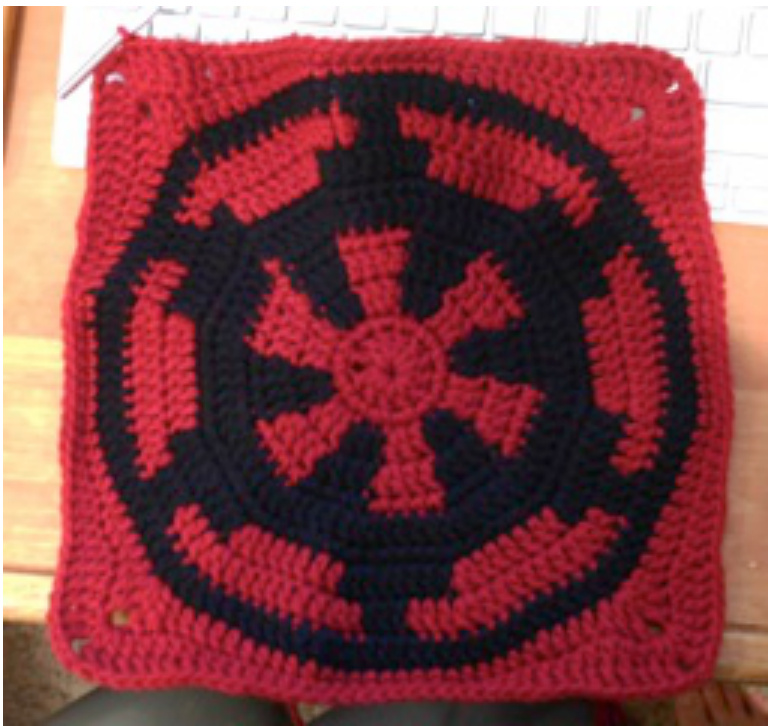
As stated aboveyou will need either a G(4mm) or H(5mm) hook, depending on the size square you wish to achieve. You will also need two colors of worsted weight yarn (you will not need the full skein of either color). 1 used black and grey for the H hook square, and black and red for the G hook square, but you can really use whatever color combination you like. You will also need a yarn needle to weave in ends once the pattern is complete. th color A (red pictured), ch 4. Sl into 4th ch from hook to create a ring.
Row 2: Ch 3. DC in the center of the ring 11 times. Sl into top of beginning ch 3 to join. (Counting the beginning ch 3 as your first st, you should have 12 st.)
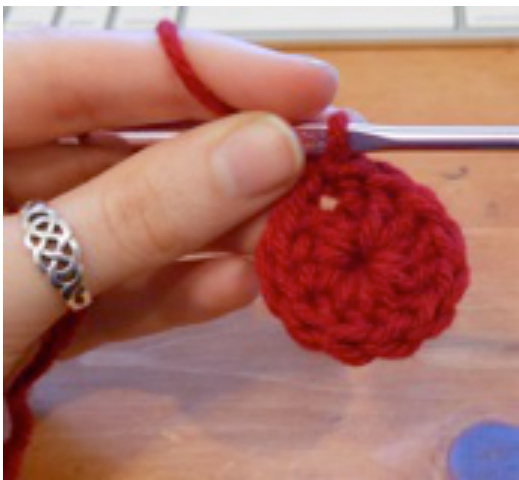
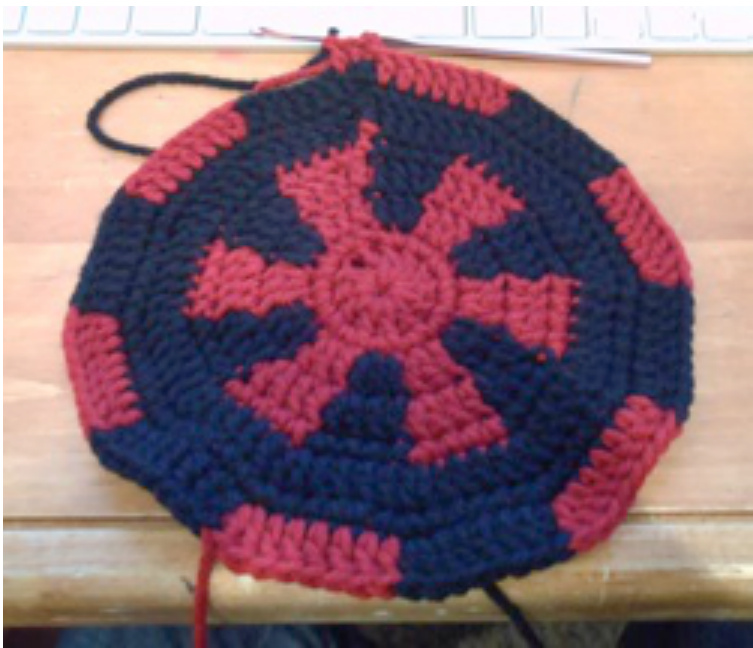
Row 3: Ch 1. 2SC in same stitch as ch 1. 2SC in each of the 11 st around. Sl into first SC. (24 st) Beginning in Row 4 you will be asked to switch between both color A and B. When asked to switch colors, always do it during the last yarn over on the last stitch of the previous color. This is also where you will need to begin carrying the yarn. Row 4: Ch 3. DC in same st as ch 3. DC in next st, switching colors during the last yarn over of the stitch. \*With the new color 2DC in next st; DC, switching over to the other color during the last yarn over\*. Repeat between the \* \* 5 more times, switching over to color A during the last DC. Sl into the beginning ch 3 to join. At this point you should have 6 sections of color A and 6 sections of color B, each 3 DC wide.

Row 5: Ch 3, DC in same st. DC in next 2 st, switching color during the last st. \*2DC, DC 2\* and repeat around, switching between colors for each new repetition. Switch to color A during last stitch of the round and sl into top of beginning ch 3 to join.
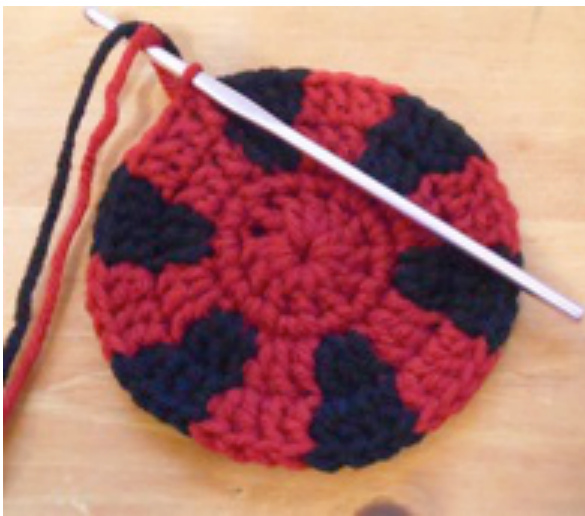
Row 6: Ch 1, 2SC in same st. SC in next 3 st, switching to color B during the 3rd stitch. \*2SC, SC 3\* and repeat around, switching between colors for each new repetition. Switch to color A during last stitch of the round and sl into first SC to join.
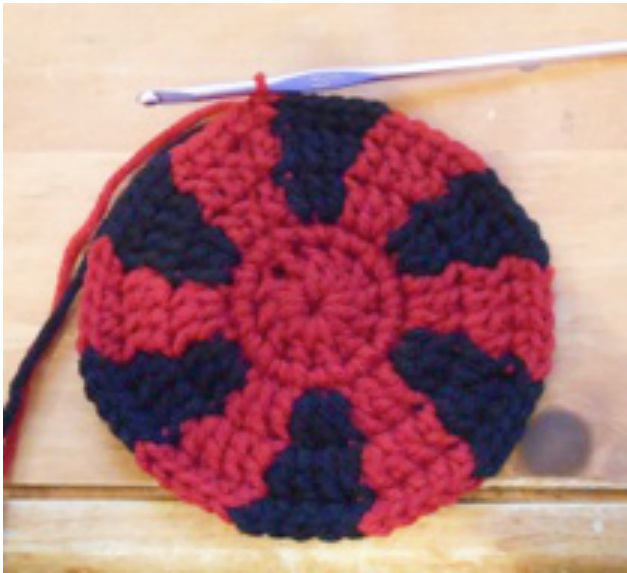
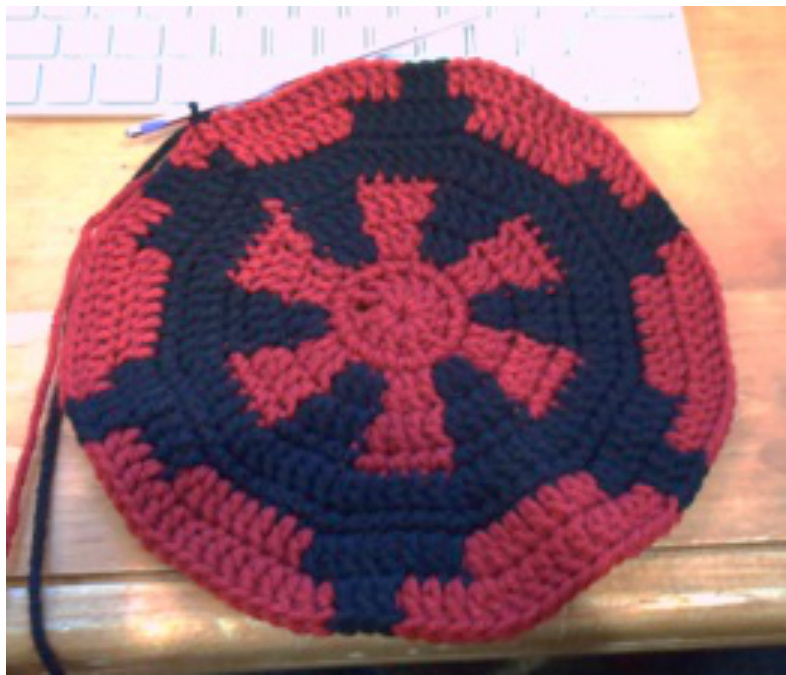
Row 7: Switch to color B for the entire row. Ch 3, DC in same st. DC in next 4 st. \*2DC, DC 4\* repeating over to the end of the round. Sl into top of beginning ch 3 to join.
Row 8: Still with color B, ch 1. \*2SC, SC 5\* repeating around. Sl into beginning SC. Row 9: With color B, sl into next st (if your alignment looks okay, you may not have to do the sl), ch 3 and DC in same st. DC in next 6 st, switching colors during the last st. \*2DC, DC 6\* around, switching colors between every repetition. Sl with color A into the top of the beginning ch 3.
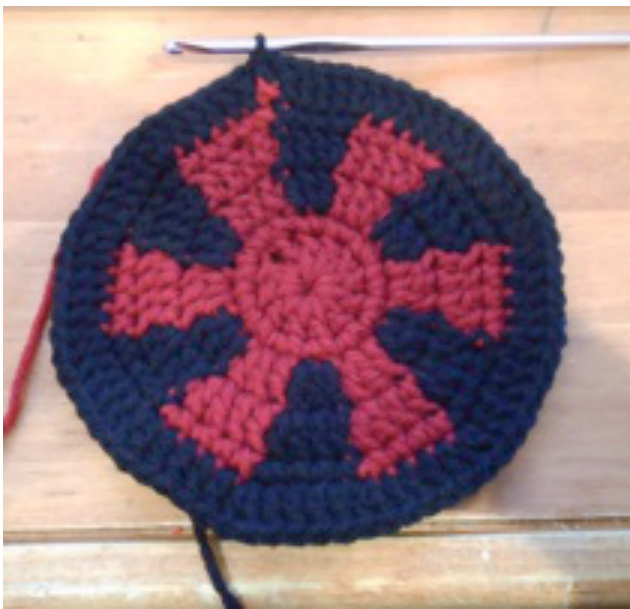
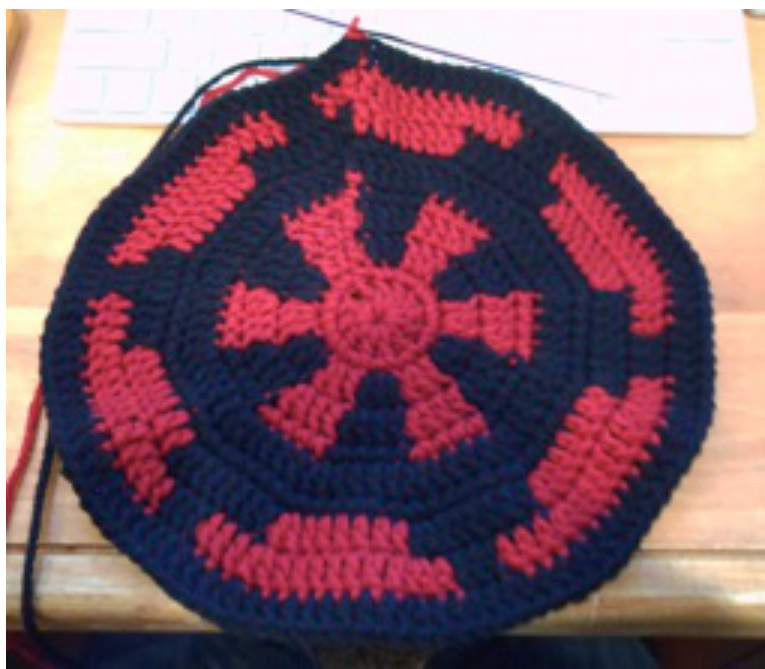
Row 10: Ch 3, DC in same st, DC in next stitch, \*switch colors during the final yarn over of previous st. DC 3, switching colors during last stitch. DC 3, 2DC, DC 7, 2DC, DC 1\*. Repeat between \* \* around. Switch to color B during very last DC, sl in top of beginning ch 3 to join.
Row 11: You will be using color B for the entire row. Ch 3, DC in same st. DC 8. \*2DC, DC 8\*. Repeat between \* \* around. Switch to color A during very last DC, sl in top of beginning ch 3 to join.
You will no longer need color B after this point. Fasten color B off and weave it in anywhere in the next two rows. Row 12: (Ch 4, TC, ch 2, 2TC) in same st. \*DC 5, HDC 5, SC 9, HDC 5, DC 5, (2TC, ch2, 2TC in same st)\*. Repeat between \* \* around. Sl in top of beginning ch 4 to join.
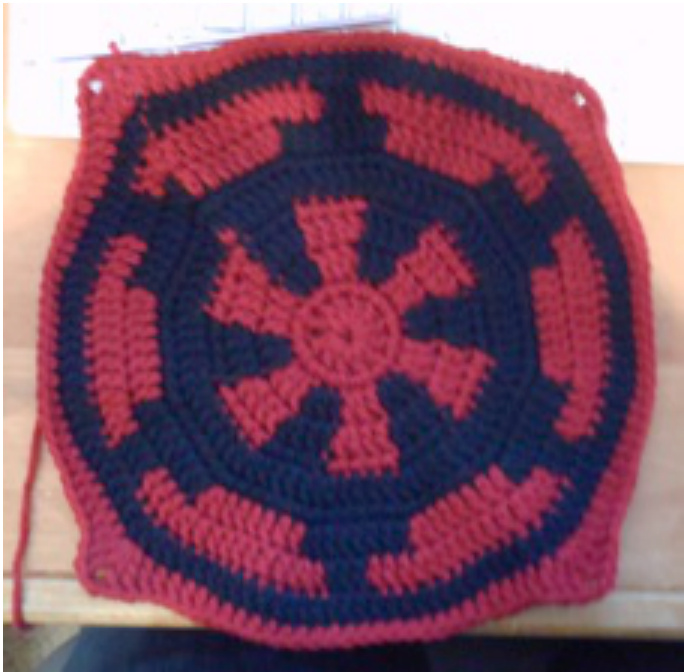
Row 13: Sl into next st and into ch 2 space. (Ch 4, TC, ch 2, 2TC) in ch 2 space. \*TC 4, DC 4, HDC4, SC 9, HDC 4, DC 4, TC 4; (2TC, ch 2, 2TC) in ch 2 space\*. Repeat \* around. Sl in top of beginning ch 4 to join. Finish off; weave in ends.
If you find that the square is not big enough to suit your needs, you can add rows. DC across while working (2DC, ch 2, 2DC) to turn corners in the ch 2 spaces, adding as many rows necessary to obtain the desired size.