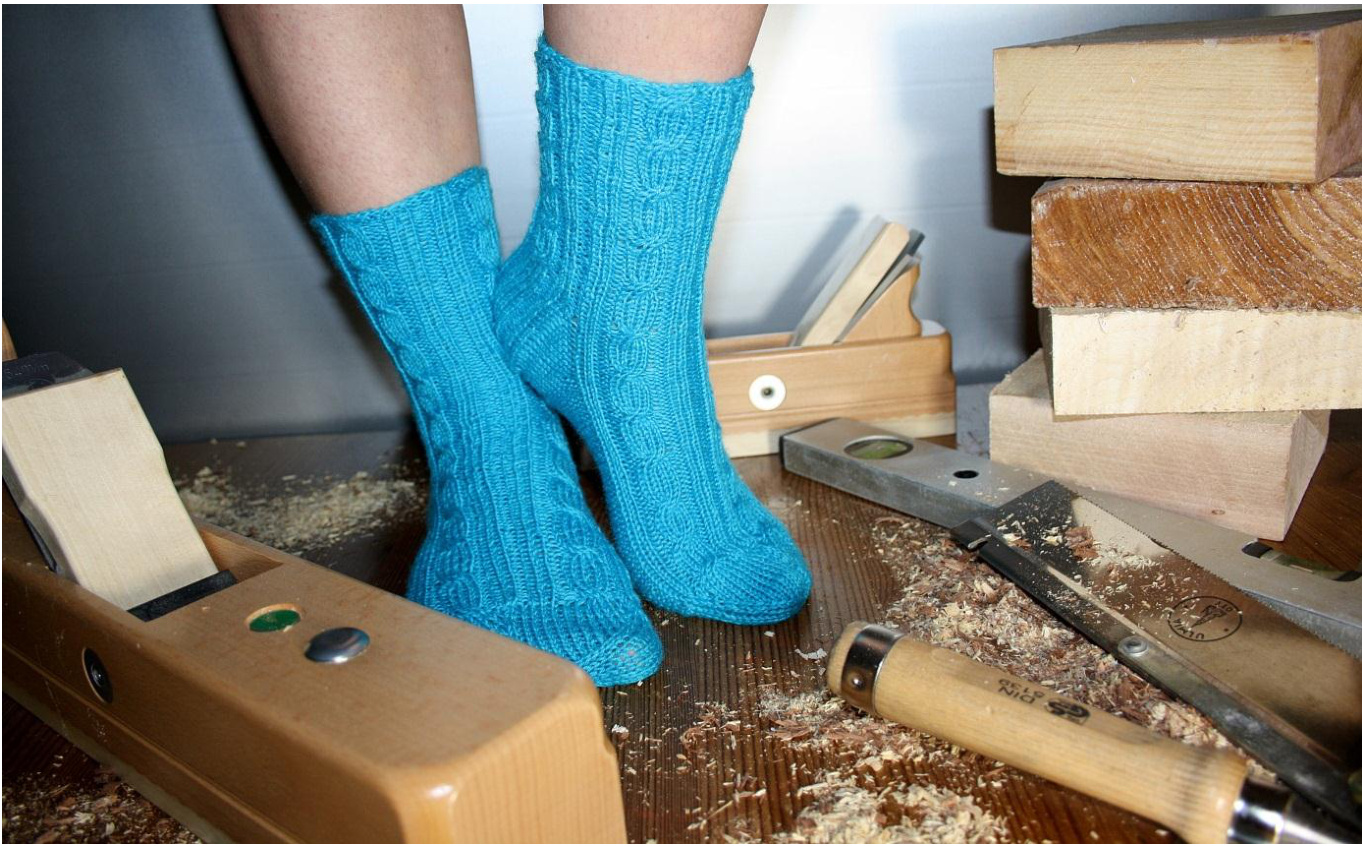
KRUSPUS
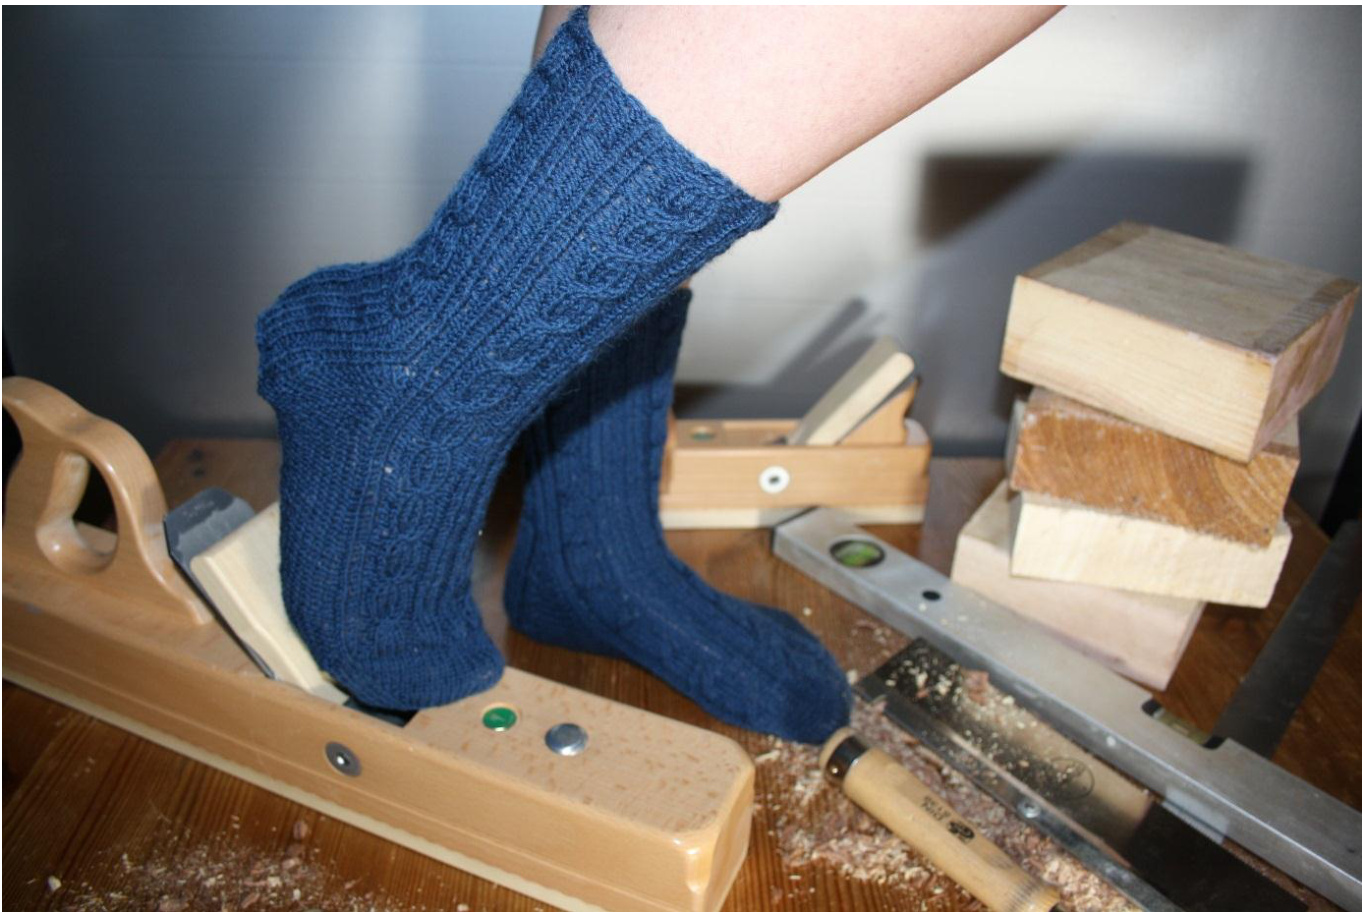
by clarice39.giftgruen handcrafted Kruspus is a classic sock that I kept knitting for my father and that therefore bears his nickname. It features a simple cable pattern, the classic cap heel and a princess sole. A rib structure makes them fit snuggly. The pattern is sectioned into the separate stages of the sock so heel and tip can be chosen freely. The described heel type is a cap heel.
Material:
4-ply sock yarn, aprox. 100 g
Needles:
2.5 mm (between size 1 and 2 Us, 12 Imperial) set of double pointed needles (5 needles) or circular needle Cable needle (optional) Stitch markers (optional)
Swatch:
27 stitches and 25 rows / rounds on 10 × 10 cm or 4" by 4"
Instruction:
cast on 56 stitches edles: 14 stitches per needle (4 needles used, 5th needle for knitting off For 4 needles: needles 1 and 2: 14 stitches per needle, needle 3: 28 stitches and stitch marker after 14 (optinal) For magic loop: 28 stitches per side, stitch marker after each 14 stitches (optional) If that is too small for you, you can cast on more stitches and change up the pattern. For example you can add in purl line next to each cable section and therefore change each repeat to 16 stitches.
Chart and key
For Kruspus with a 14 stitch repeat Kruspus 14 Maschen

And a 16 stitch repeat for choice Kruspus 16 Maschen

Abbreviations
Purl stitch K cable (slide 2 stitches onto cable needle and put behind your work, knit the next 2 stitches, then knit the 2 stitches from cable needle) ssk: slip slip knit = slip 1 stitch as if to knit, slip the next stitch as if to knit. Slide both stitches back onto the left needle and knit through the back loop k: knit stitch p: purl stitch
The leg
Round 1 to 4: work round 1 of chart Round 5: work round 2 of chart From round 6: knit 5 repeats total (1 repeat is: 9 times row 1 from chart, 1 time round 2) After 6 cables: start back side of the heel The backside of the heel Any type of heel can be exchanged for this type of heel. Because of the great fit I prefer the type described here. It is a slightly modified version of a classic cap heel and short rows. Work over needles 1 and 2 only, working back and forth: work 30 rows of chart row No. 1. All edge stitches are knit in every row of in this section.
The cap
The cap section is worked in stockinet stitch. The short rows used will form the rounded shape for the heel. what I describe here is a slightly modified version of the so called “classic heel" (by German standards). The numbers in [] are for the version with 64 stitches. Work routine Row 1 (right side): k6, ssk, k10 [12], ssk, k2, turn your work Row 2 (wrong side): k1, p2tog, p10 [12], p2tog, p1, kl, turn your work Row 3 (right side): k1, ssk, k10 [12], ssk, k2, turn Row 4 (wrong side): k1, p2tog, p10 [12], p2tog, p1, kl, turn Row 5 (right side): k1, ssk, k10 [12], ssk, k2, turn Row 6 (wrong side): k1, p2tog, p10 [12], p2tog, p1, kl, turn Row 7 (right side): kl, ssk, k10 [12], ssk, k1, turn Row 8 (wrong side): p2tog, p10 [12], p2tog, turn. Now: 12 [14] stitches Row 9 (right side): Work all stitches of the cap as knit stitches, pick up and knit 17 stitches along the side of the heel, work needles 3 and 4 in pattern, pick up and knit 17 stitches on the other side of the heel. From next round on you work the princess sole. To work this, work all stitches of needles 1 and 2 (sole) in purl stitches.
The gusset
The decreases on needle 1 and 2 form the gusset. Needle 2 (beginning of the round): purl the last 2 stitches together. Needles 3 and 4: work in pattern Needle 1: p2tog the first 2 stitches Continue the decreases until there are 14 [16] stitches left on each needle.
The sole
Work the sole in purl stitches (princess sole) Work the top side of the foot in pattern
The flat tip
The flat Tipp is worked in stockinet stitch. The number of cable turns is given in relation to the entire sock. For size 38/39: start after 11 cable sections For size 40/41: start after 11.5 cable sections For size 42/43: start after 12 cable sections For size 45/46: start after 12.5 cable sections
Decreases:
Only decrease on the two sides. Round 1: Needles 1 and 3: k 1, ssk, knit to the end of needle, Needles 2 and 4: knit to last 3 stitches, ssk, k1 Round 2: Knit all stitches on all needles Repeat round 1 and 2 6 more times alternatingly, then work round 1 continuously until there are only 2 stitches left on each needle.\*\* Then cut the yarn and pull through remaining 8 stitches. Pull tight and weave in well.
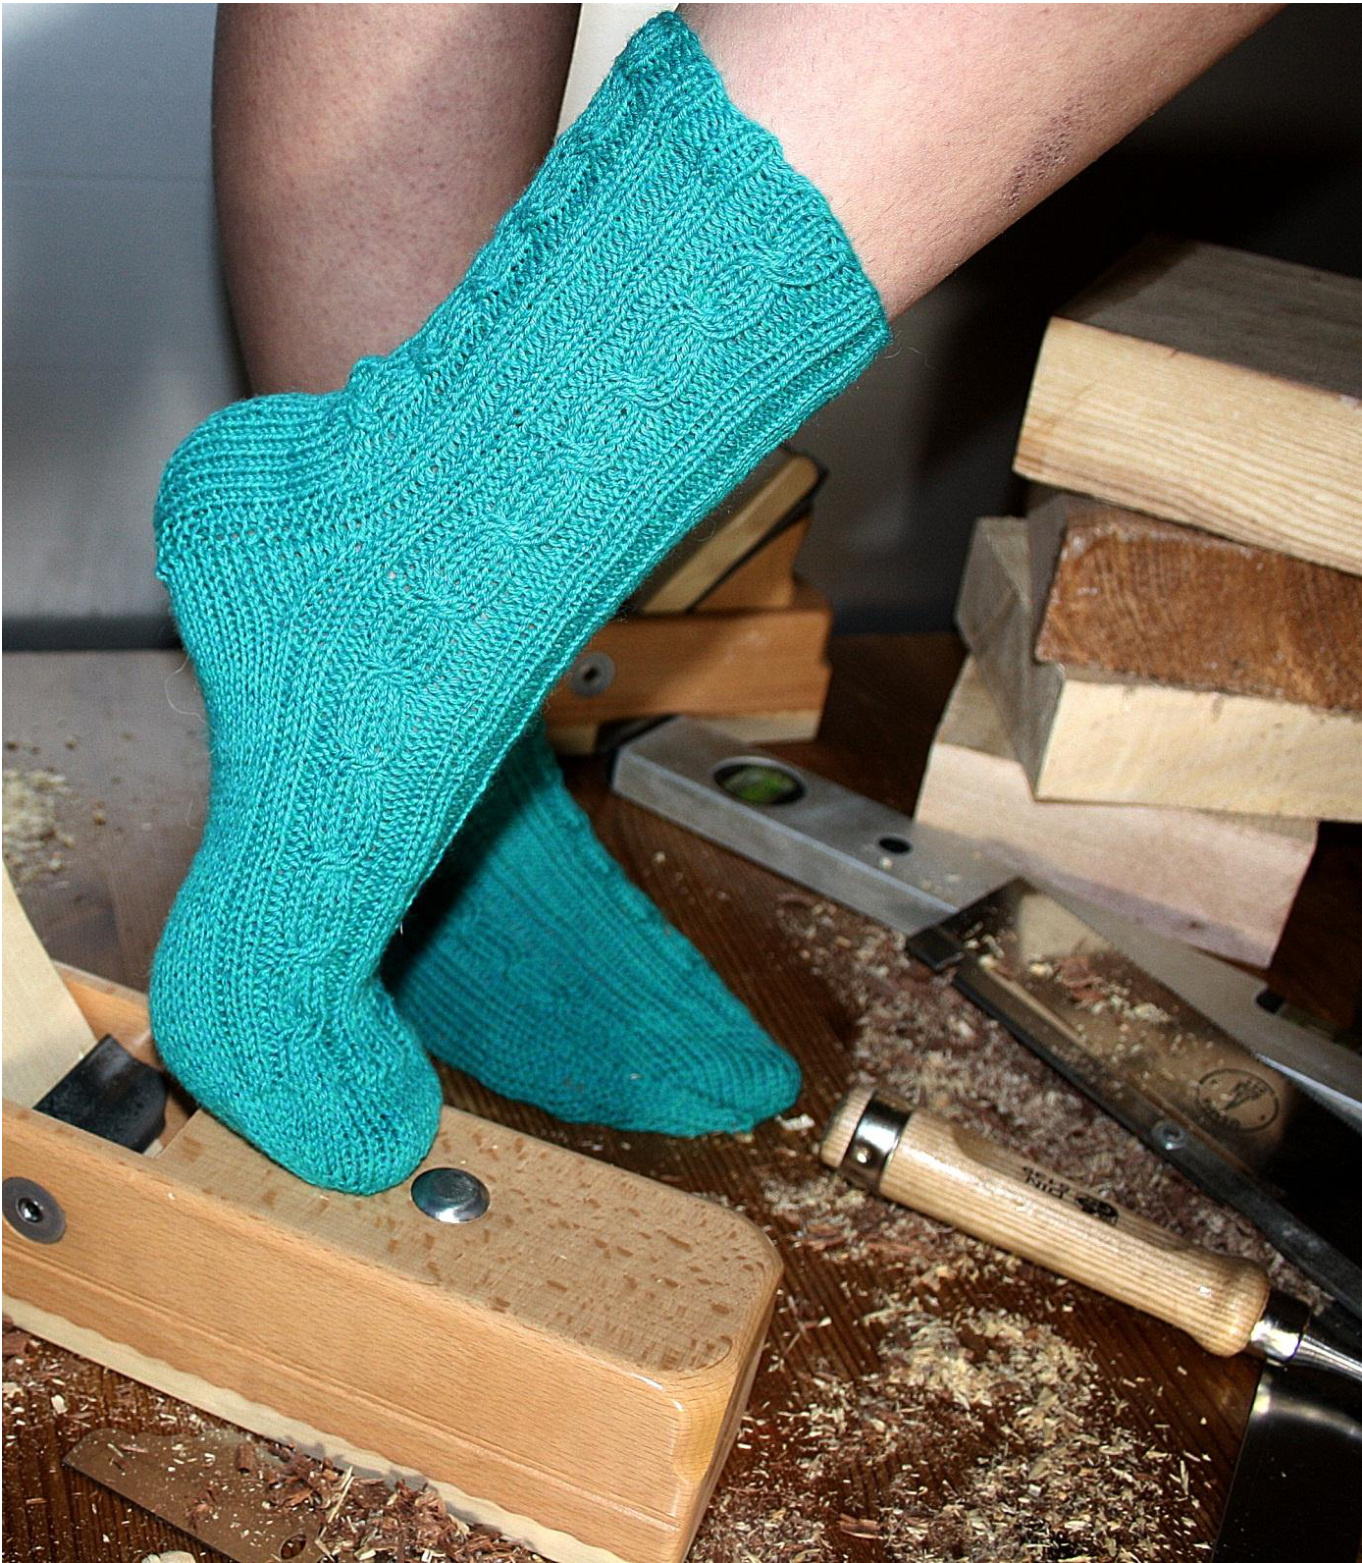
Views, details and adaptations
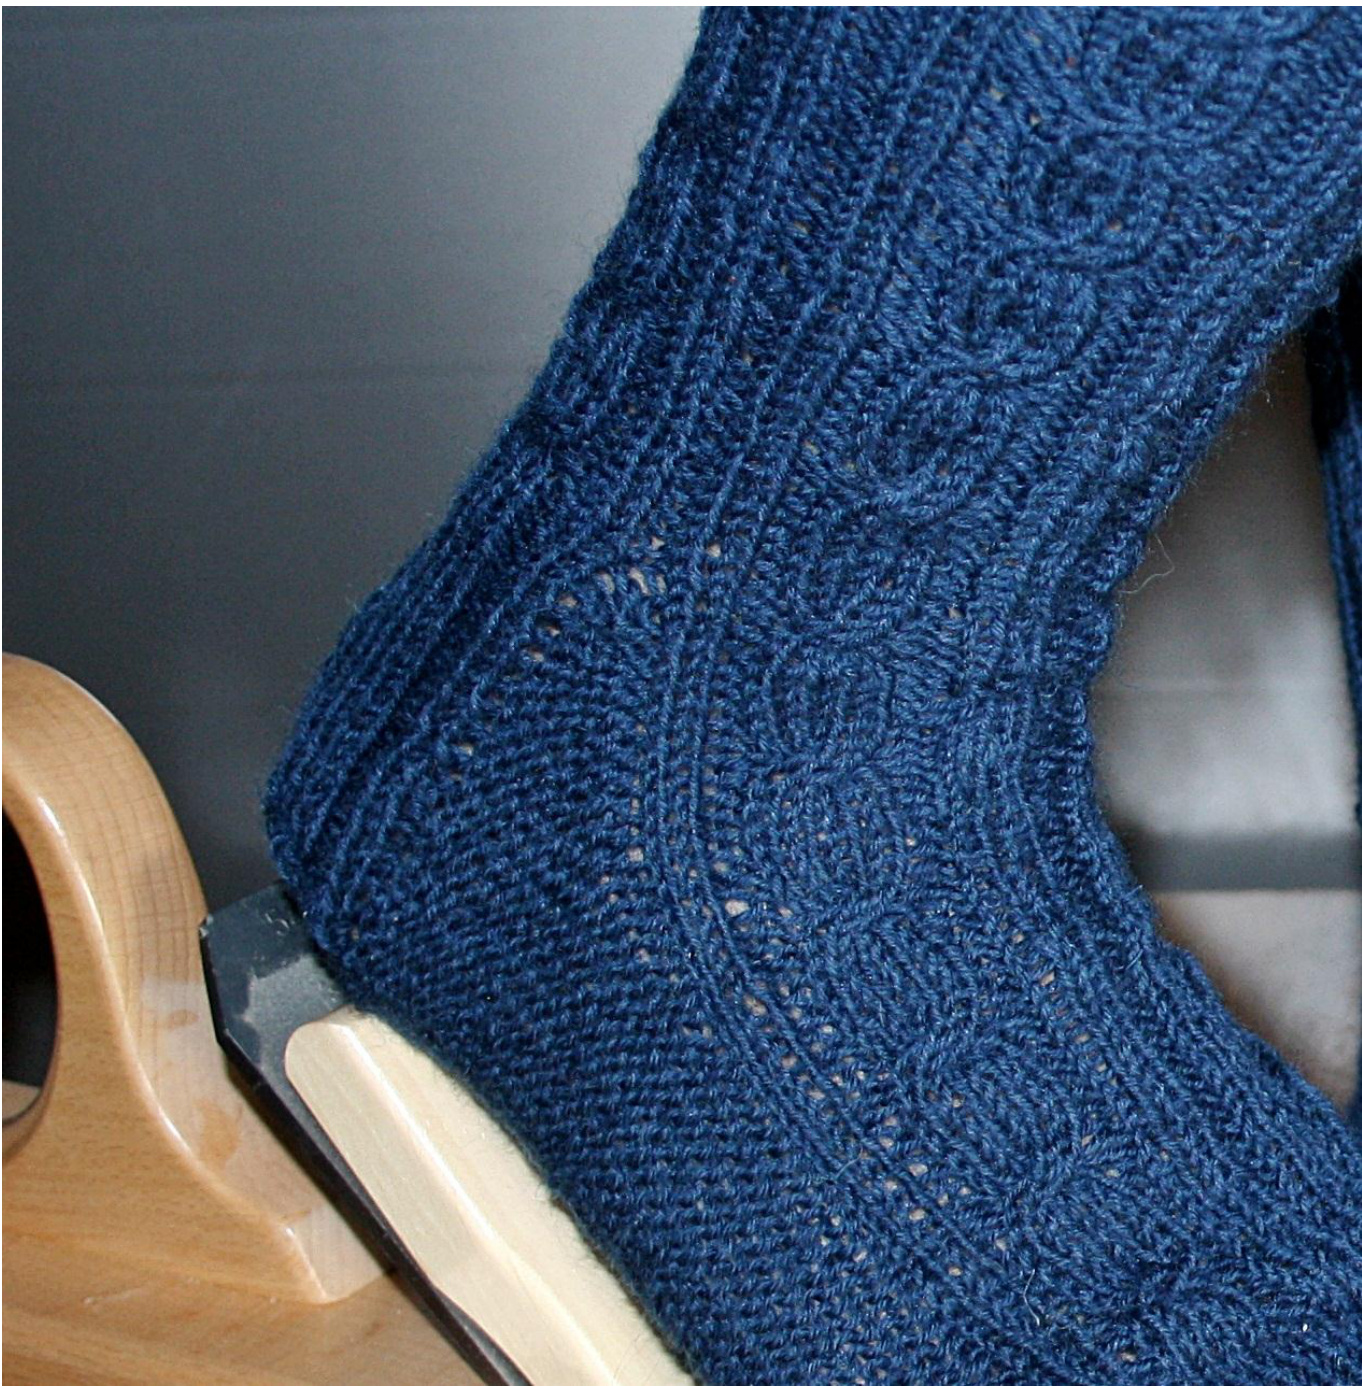
Gusset
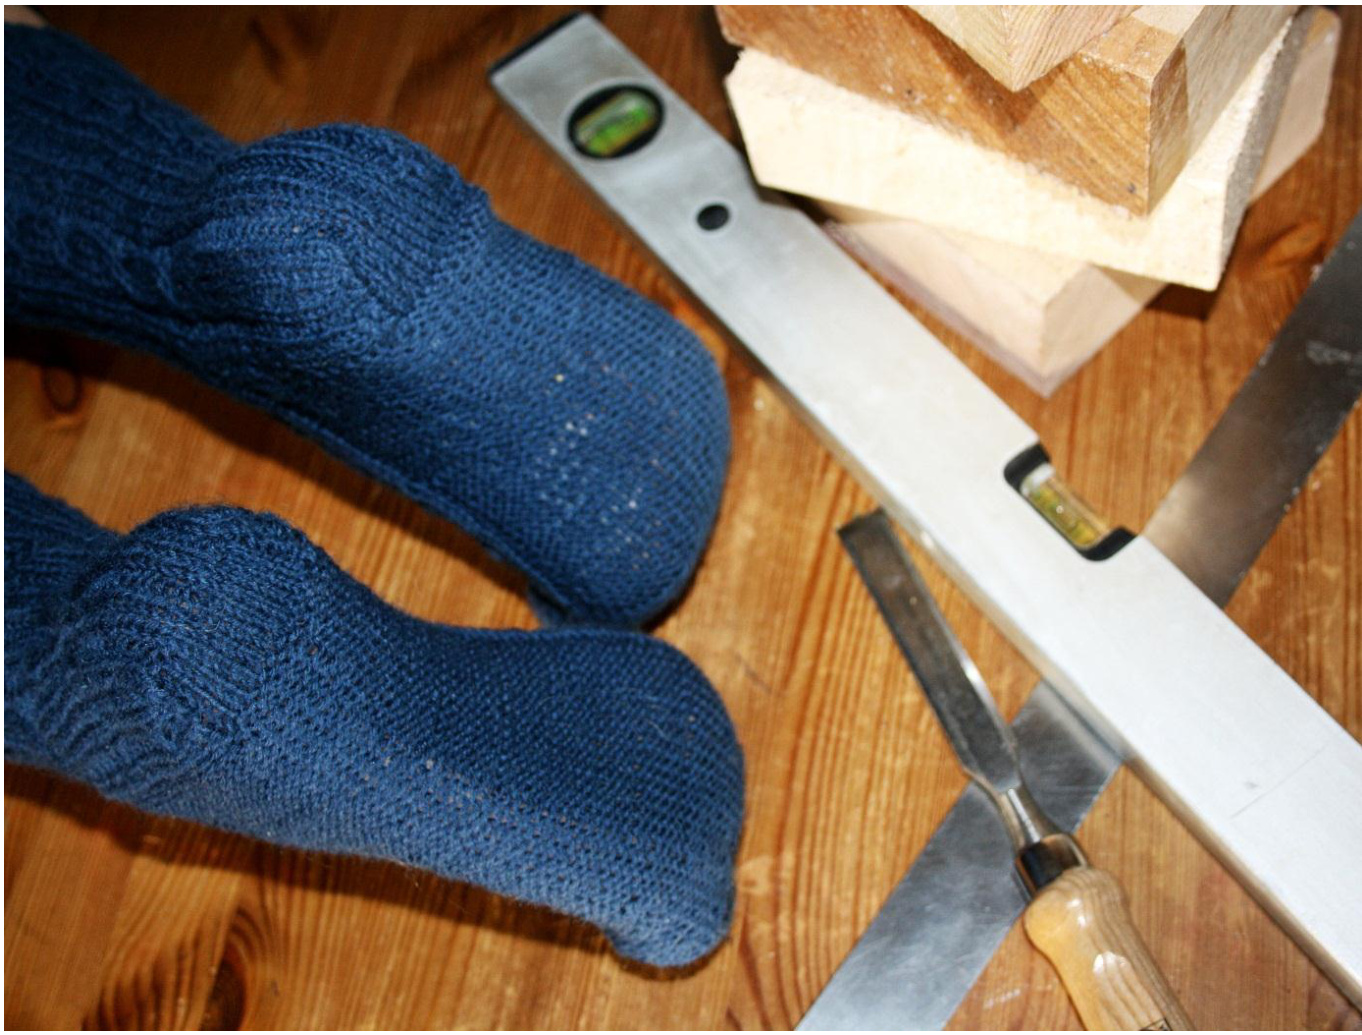
Heel and sole
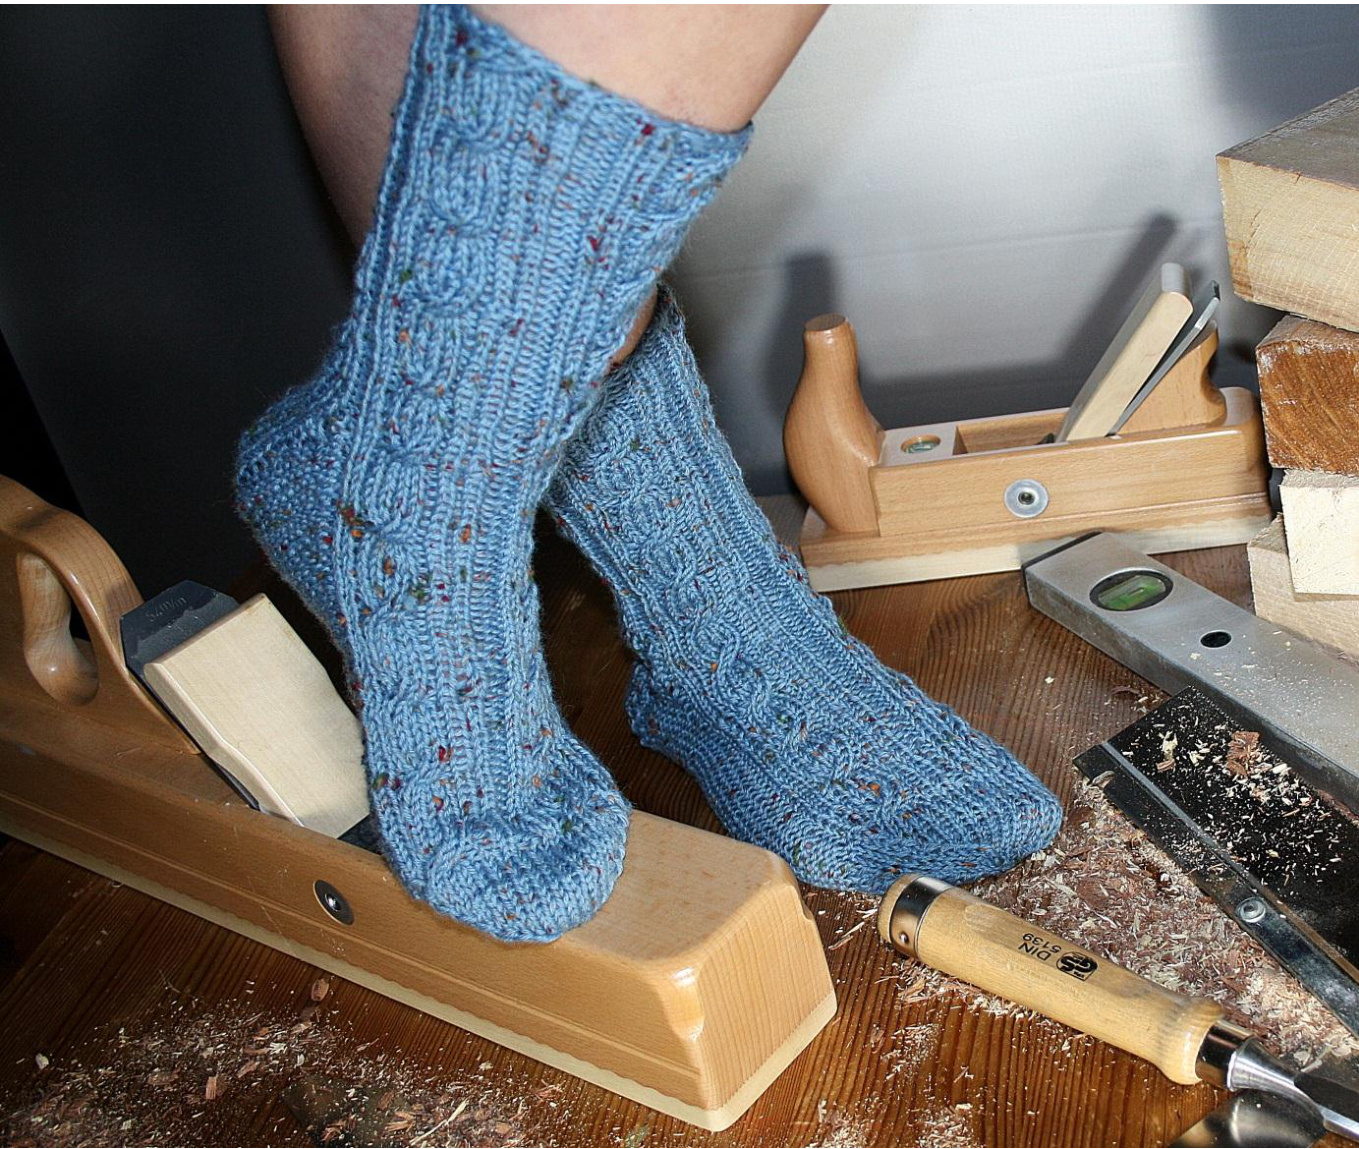
In 6-ply yarn
Sole in knit stitches Thanks to Monika, Lena and Frauke for test knitting and giving me the socks and pictures to present here. I also thank Monika for the excessive lector service and Frauke for this translation.
Princess sole by Frauke

Test socks by Monika.


