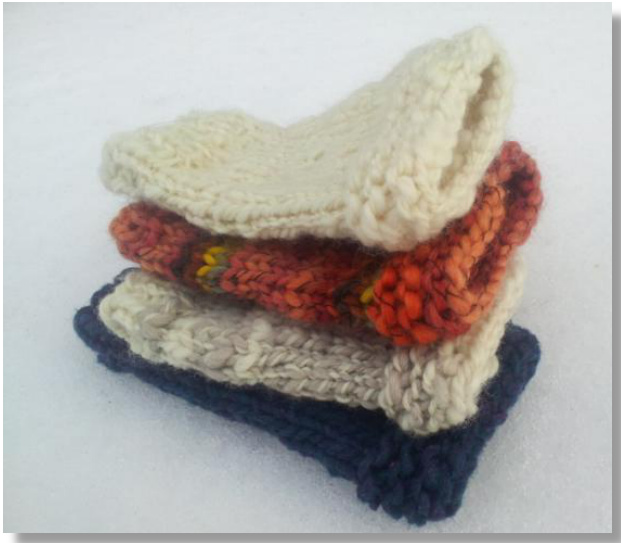
2-Hour Mitts
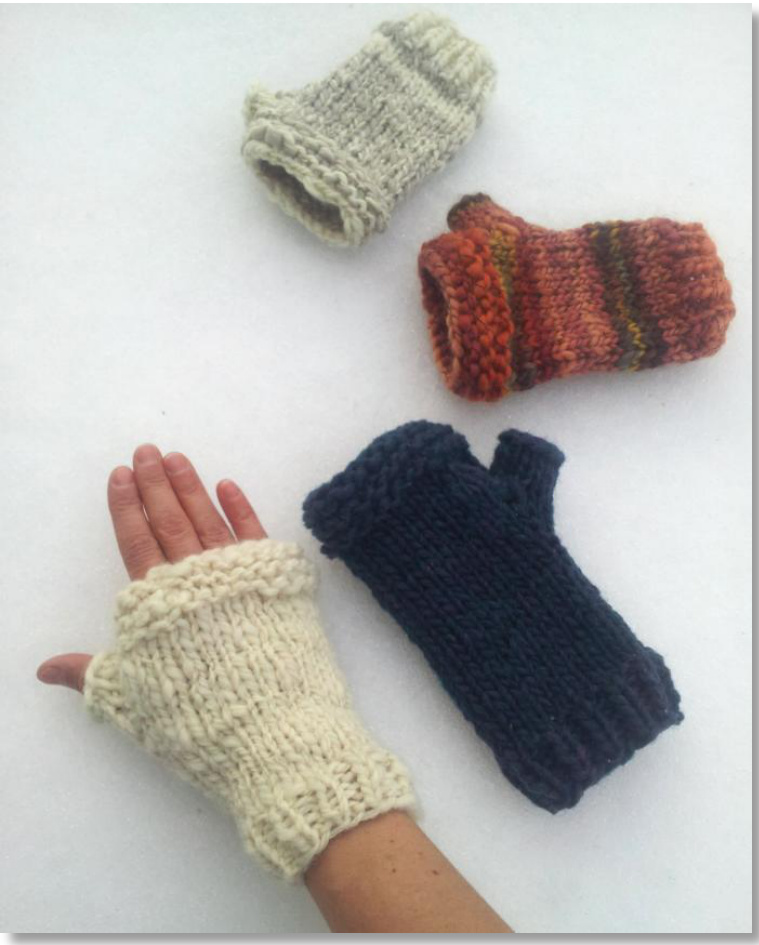
Use your thick & thin handspun or any commercial yarn that works up to 12 st per 4" (thick & thin or not!) to make these super quick and cozy mitts. Worked in the round, with a couple of easy increases for the thumb gusset and a few strategically placed decreases for a better fit, they are easy and take under 2 hours to make! Great for lumberjacking, driving on cold days or looking rugged while playing with your smart phone. And since they take virtually no time to make, at roughly 30 rounds start to finish, why not make some for everyone in your family? Maybe even on the way to the holiday gathering. "Oh really? She is coming too? Wow, it will be so great to see aunt Sally..." (Make sure someone else is driving though, ok?)
Materials:
Yarn: Imperial Stock Ranch Native Twist' (100% Soft Spun Wool, 150yards/183m, 4 oz/100g), 1 skein Tahki Yarn Taos (95% wool, 5% Acrylic, 60yards/55m, 1.75 oz/50g), 2 skeins or Super Bulky weight yarn, approx. 80 yds/74 m Needles: (set of double point needles or needles for your favorite way of working in the round) US Size 10.5 (6.5 mm) for Imperial Stock Ranch Yarn, or size to obtain gauge US Size 9 (5.5 mm) for thick and thin handspun, or size to obtain gauge. Since the two yarns used vastly different needles to get the same result, take time to save time and check your gauge!
Gauge:
12 st and 18-19 rows = 4" over Stockinette Notions: 2 stitch markers, 1 small stitch holder
Finished Size:
7.5"/19cm, ( 8"/20cm) circumference across palm stitches, 7"/18cm or 8"/20 cm long. (changes for longer version shown in italics) Copyright @ 2013 Simone Kereit - OwlCat Designs - Pattern for personal use only. Do not reproduce

Instructions:
make 2 Cast on 22(24) sts. Join to work in the round being careful not to twist. Pm to mark end of round (EoR). R 1-5: \*K1, p1, repeat from \* to EoR R 6-16: Knit all stitches. R 17: K3, M1, k1, M1, k to EoR. R18, 20, 22 & 23: knit all stitches. R 19: K3, M1, k3, M1, k to EoR. R 21: K3, place next 5 sts (thumb stitches) on holder, cast on 5 sts using backward loop, k to EoR. R 24: K3, ssk, k3, k2tog, k to EoR. for longer version only: knit 2 to 3 rounds before continuing toround 25 below R 25: p5 p2tog, p to EoR. R 26, 28 & 30: Knit all stitches. R 27, 29 & 31: Purl all stitches. Bind off.
We hope you enjoy knitting this pattern as much as we did creating it for you!
For more information contact Simone at: OwlCatDesigns@gmail.com You can find us on Ravelry as: OwlCat Designs or:simone77 www.OwlCatDesigns.com Copyright @ 2013 Simone Kereit OwlCat Designs. All rights reserved
Thumb:
Pick up 5 thumb stitches from holder, pick up one stitch between thumb and palm stitches, pick up 5 sts from the stitches cast on previously after setting aside thumb sts, pick up 1 stitch to close the gap to beginning of round. - 12 sts Slip last st from right to left hand needle and ssk together with first st, k3, ssk, knit to end. - 10 sts Knit 3 rows, then bind off loosely. Weave in ends. Stay warm! ABBREVIAIIUNS EoR: End of Round k: knit k2tog: knit 2 sts together M1: liting strand between just worked and next st, insert r needle front to back, turn needle tip to the left and place strand on left needle, knit p: purl p2tog: purl 2 sts together pm: place marker R: round rep: repeat sl: slip, all stitches are slipped knit wise, unless otherwise indicated ssk: [slip 1 st as if to knitj 2 times, slip both sts back onto left needle, knit sts together st: stitch