Chickie-Baby!
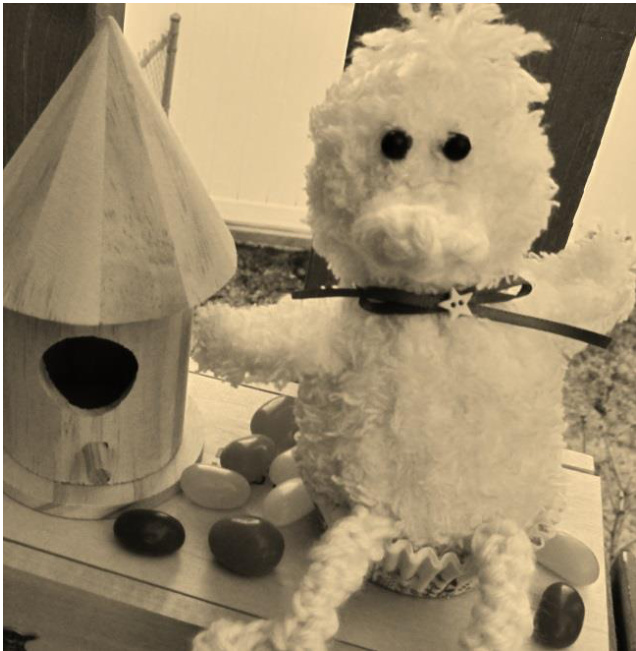
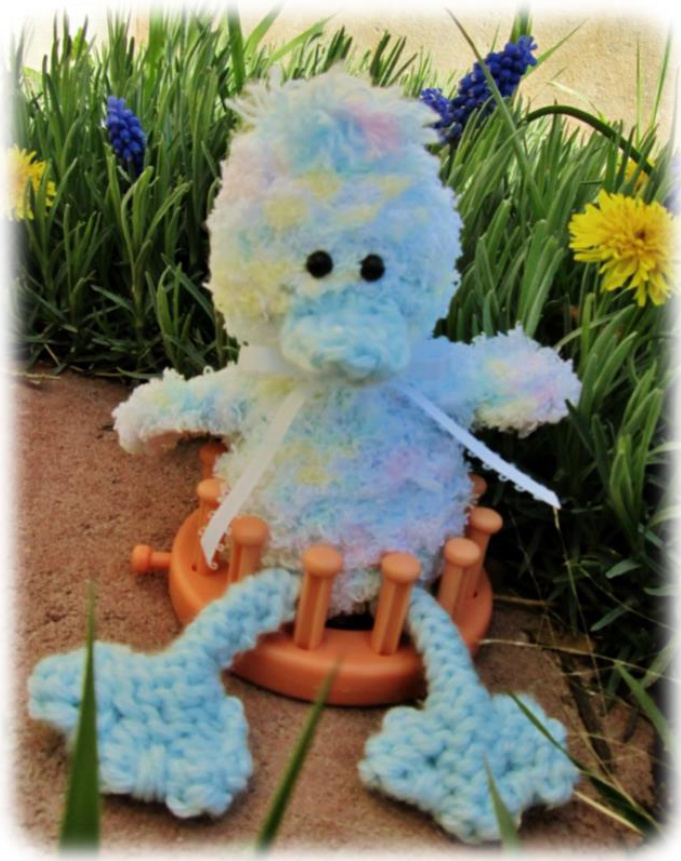
-by Jenny Stark Last spring a darling, cuddly chickie nestled into the hearts of many loom knitters. This spring, fall in love all over again with a smaller model - a sweetlittleChickie-Baby!
Materials
Knitting Loom: Large gauge round loom with 12 pegs. The Knifty Knitter Flower Loom was used for the sample.
Yarn:
Approximately 40 yards of a fluffy novelty yarn in a bulky weight. Bernat Pipsqueak (in Baby Print) was used in the sample. 2 oz. of a worsted weight acrylic yarn. Notions: Tapestry Needle, knitting tool, scissors, fiberfill, two 12 cm buttons for eyes, approximately 16" of ribbon (sample uses a ribbon that is 14 inch wide).
Gauge:
Not essential for this project. Abbreviations: Dec = decrease; Inc = Increase; K = Knit; K2tog = Knit 2 together; W&T = Wrap and Turn Pattern Notes: Techniques used include drawstring cast on, gathered removal method, short row shaping, increasing, decreasing, and some basic sewing. Finished Size: Chickie-Baby measures approximately 8" from head to toe and about 3" from side to side (excluding the wings).
Instructions
Drawstring cast on:
Work with one strand of the worsted weight yarn and one strand of the fluffy, bulky weight yarn, held together as if they are one strand. Cast on 12 pegs using the drawstring cast on method: 1. Make a slip knot and place it on the anchor peg on the front of the loom. 2. Lay the working yarn flat against the pegs and wrap it all the way around the outside of the loom One time.
Chickie-Baby!
-by Jenny Stark 3. Now place the working yarn above the wrapped strands on the nearest peg and knit this peg by lifting the bottom strands over the working yarn. 4. On the next peg, hold the working yarn off to the side (toward the last peg worked) and hook the strands of yarn in front of the peg. Lift the strands over the peg and into the center of the loom. This peg will now be empty. Pass the working yarn across the front of this peg and move to the next peg. 5. On peg 3 (and all remaining odd pegs) repeat step 3. 6. On peg 4 (and all remaining even pegs) repeat step 4. Follow these steps for all pegs. This will complete the drawstring cast on. Now you can take the slip knot from the pegs at the lower end of the loom and continue on to the first round of your project. Rounds 1-12: Knit all pegs. Add a gathering thread: Cut a 16" length of the worsted weight yarn and thread it onto the tapestry needle. Push the tapestry needle up under the stitch on peg one. Pull the length of yarn through the stitch. Stop when only 2-3 inches of the yarn remains at the bottom of the stitch. Move to the next peg and pull the tapestry needle up under the stitch. Pull the length of yarn until all of the slack is gone between the two pegs. Continue this process all the way around the loom, pulling the gathering line up under each stitch. When the gathering line has been pulled up under the last stitch in the round, remove the tapestry needle and leave the gathering line in place. It will be used later to shape the little Chickie's neck. Continue on to the next round.
Rounds 13-24: Knit all pegs.
Continue on to the short row shaping section to create the little Chickie's 'tail'.
Short Row Shaping:
Knit pegs 1-5. Lift the stitch on peg 6, take the working yarn behind the peg and back around to the front (W&T), then replace the stitch above the wrap. Knit pegs 5-2. Lift the stitch on peg 1, W&T, then replace the stitch above the wrap. Knit pegs 2-4. Lift the stitch on peg 5, W&T, then replace the stitch above the wrap. Knit peg 4 and peg 3. Lift the stitch on peg 2, W&T, then replace the stitch above the wrap. Knit peg 3. Lift the stitch on peg 4, W&T, then replace the stitch above the wrap.
Chickie-Baby!
-by Jenny Stark Continue on to the reverse short row shaping section.
Reverse Short Row Shaping:
Knit peg 3. Take the working yarn behind peg 2 and back around to the front (W&T). Note: You will not be lifting any stitches from the peg this time. During the reverse short row shaping, the wraps will be above the loops already on the peg. Knit peg 3 and then peg 4 (on peg 4, knit the stitch and the wrap on the peg over as if they are one stitch). W&T at peg 5. Knit pegs 4-2 (on peg 2, knit the stitch and both wraps on the peg over as if they were one stitch). W&T at peg 1. Knit pegs 2-5, treating all loops on peg 5 as if they are one. W&T at peg 6. Knit pegs 5-1, treating all loops on peg 1 as if they are one. W&T at peg 12. Knit pegs 1-12, treating all loops on peg 6 and peg 12 as if they are one. Working in the round again, knit two more rows. Remove the little Chickie from the loom using the gather bind off method, but do not gather yet. Work at the cast on end and gather the top of the little Chickie closed. This fluffy yarn will not gather as smoothly as some yarns, so carefully work any puckers around the drawstrings, being careful not to pull too hard. When the opening has been cinched closed, use the tapestry needle to weave in the drawstrings securely. Firmly stuff the little Chickie's head with fiberfill. Use the gathering line added earlier to cinch in and shape the neck. Tie the ends to secure them, then weave the yarn tails in. Firmly stuff the little Chickie's body with fiberfill, making sure to fill in the tail section well. Pull the strings from the gathered bind off to cinch the bottom of the body closed. Weave in the yarn tails and set the little Chickie aside for now.
Wings: (make 2)
Work with one strand of the worsted weight yarn and one strand of the fluffy, bulky weight yarn, held together as if they are one strand. Leave the beginning yarn ends about 5" long so they can be used when to sew the wing to the little Chickie. Cast on 4 pegs. Rows 1, 3, & 5: Skip first peg, knit 3. Rows 2, 4, & 6: Skip first peg, purl 2, Knit 1. Row 7: Decrease by moving the stitch on peg 2 and placing it above the stitch on peg 3. Move the stitch on peg 1 over to peg 2 to fill in the gap. Skip the first peg, knit both stitches on the next peg together as if they were one, then knit the last peg. Row 8: Decrease again by moving the stitch on peg 2 over to peg 3. Move
Chickie-Baby!
-by Jenny Stark the stitch on peg 1 over to fill in the gap. Skip the first peg, then purl both stitches on the next peg together as if they are one. Row 9: Decrease one more time by moving the stitch on peg 1 over to peg 2. Knit the two stitches together as if they are one. Cut the working yarn and pull the yarn ends up through the last stitch. Remove the stitch from the loom and pull the yarn ends to tighten up the last stitch. Use the yarn ends from the cast on to sew a wing to each side of the little Chickie's body. Weave in all yarn ends.
Legs/Feet: (make 2)
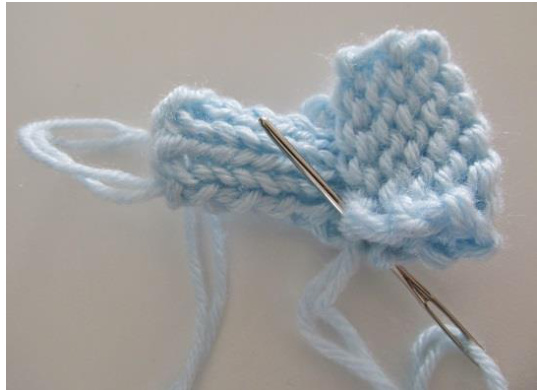
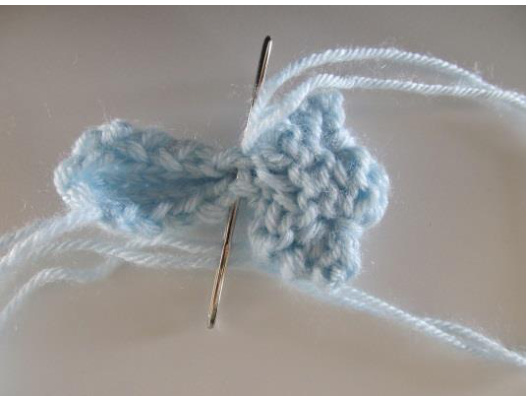
Work with two strands of worsted weight yarn, held together as if they are one strand. Leave the yarn tails long so they can be used for seaming later. Rows 1-8: Knit all 4 pegs. Row 9: Increase by casting on 1 more stitch. Knit to the end of the row. Row 10: Increase again by casting on one more stitch. Knit to the end of the row. Rows 11-18: Knit all pegs. Bind off using the basic bind off method, leaving the yarn tails long so they can be used in seaming. This is what the piece will look like after binding off:

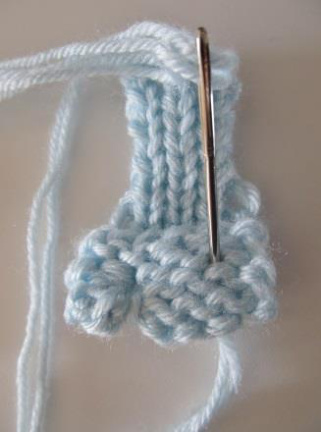
Finishing the foot: Fold the wider foot section in half (up toward the leg section) and use the yarn tails to seam One side of the foot closed. Note: In the sample project, the knit side of the fabric is turned to the inside.
Use the same yarn tails to shape the bottom of the foot. To do this, run the tapestry needle inside the fabric of the foot and bring it out at the fold line (very bottom of the foot), about half an inch from the side you just seamed. Make a tack stitch by inserting the tapestry needle about 3 rows up (count the purl 'bumps) from your exit point and pushing it through to the other side of the foot. Pull the yarn to cinch up the fabric and create a 'toe'. Make 2 more tack stitches in the same spot to reinforce the shaping. Now, run the tapestry needle inside the fabric of the
Chickie-Baby!
-by Jenny Stark foot again and bring it out at the fold line, about half an inch from the other side of the foot (the side you haven't seamed yet) and make another tack stitch to create two more 'toes'.
Reinforce the tack stitch twice (exactly like you did for the other 'toe' shaping), then run the tapestry needle inside the fabric of the foot and bring it out at the bottom of the foot on the side that hasn't been seamed yet. Seam the other side of the foot closed. Roll one side of the leg section toward the other side and stitch it closed, making sure to seam the foot section to the leg section as you work.
Sew the legs to the bottom of the little Chickie (with the seam turned to the back), placing them nearer to the front of the body. Weave in all yarn tails.
Beak:
Work with two strands of worsted weight yarn, held together as if they are one strand. Leave the yarn tails long so they can be used for seaming later. Cast on 3 pegs. Rows 1-4: Knit all pegs. Row 5: K1, Dec (move the stitch on peg 2 over to peg 3 & move the stitch on peg one in to close the gap. K2tog on the peg with 2 stitches. Row 6: Dec again by moving the stitch on peg one over to peg 2. K2tog. Row 7: Increase by casting on 1 more stitch, then knit the next peg. Row 8: Increase again by casting on 1 more stitch, then knit the next 2 stitches. Rows 9-12: Knit all pegs. Bind off using the basic bind off method (leave yarn tails long to use while seaming). The beak should be an hourglass shape just after binding off. Fold the beak in half to create a triangular shape. Use the long yarn tails to whipstitch the sides together. Sew the beak to the front of the little Chickie's head. Weave in all yarn tails. Finishing Touches:
Chickie-Baby!
-by Jenny Stark If desired, you can use some of the worsted weight yarn to add a fluffy tuft to the top of the little Chickie's head. To do this, take short lengths of yarn (about 3" long) and tie them into the knitting at the very top of the head. Keep adding strands until you are happy with the look. Untwist the plies of the yarn, then rub all of the strands between your hands to fluff them up. If needed, clip the tuft to the length you like. Sew the button eyes to the little Chickie, just above the beak. Safety Tip: If making this toy for a younger child, embroider the eyes on, or use safety eyes. Tie a bit of ribbon around the neck and tweet-tweet, the little Chickie is done!