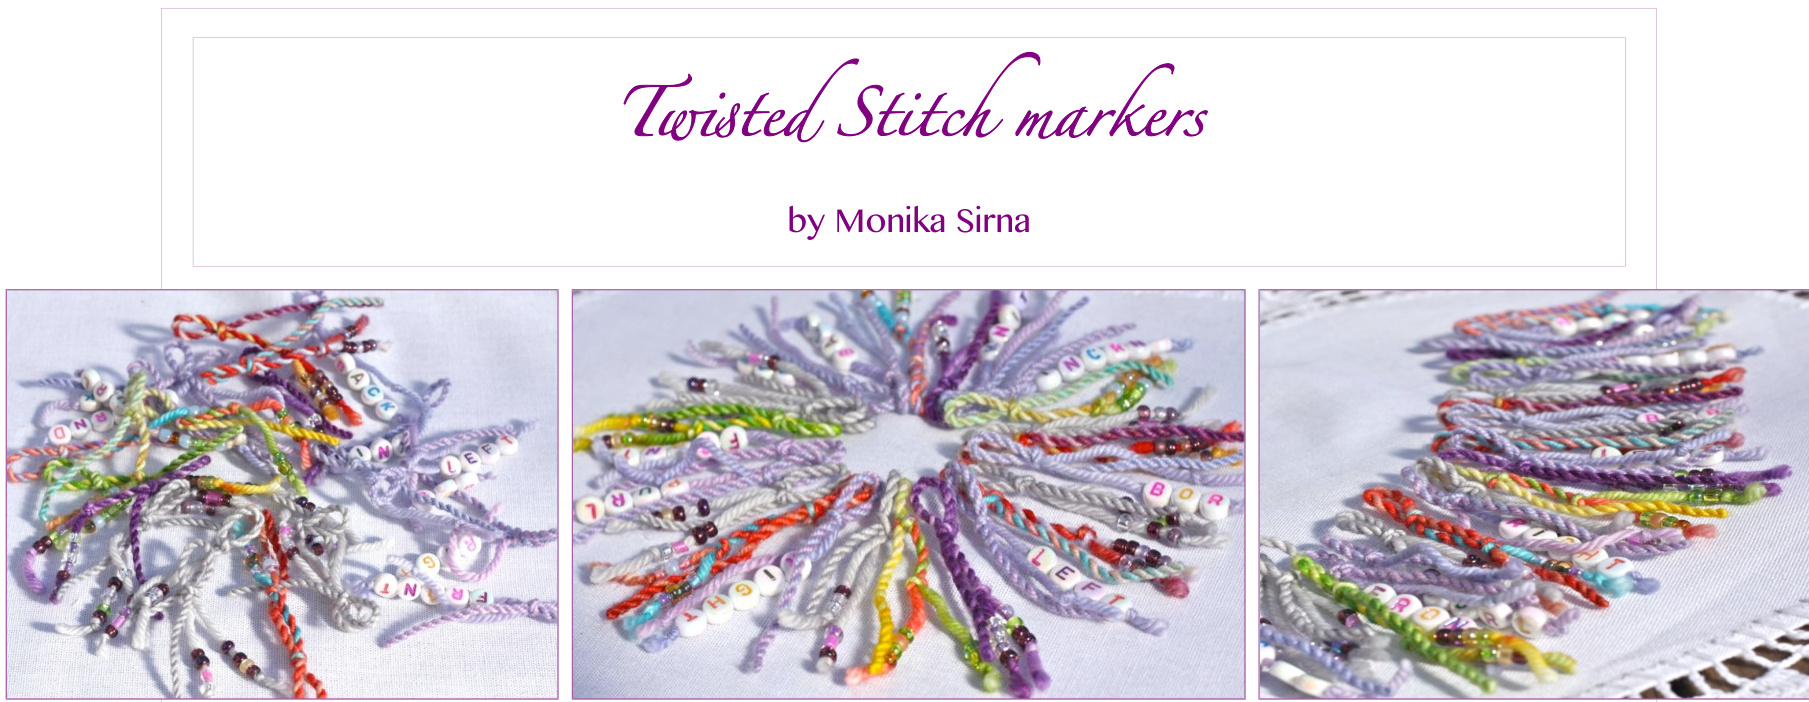
Looking for a great idea how to enjoy leftovers and odd bits of your beautiful handpainted yarns in a different way? Here it is - stitch markers! Endless possibilities, no real cost, finished in no time. My first stitch markers were very simple - just a slip knot on a piece of yarn. Then, I decided to go fancy. I bought all kinds of beads, crystals, wires, rings, you name it..It cost a fortune.. and besides - who needs a hundred stitch markers??? And stil. I was missing how those first little soft loops felt in my hands while knitting.. Here you go, the best of both - twisted and fancy, colorful, cheerful, cheap and beautiful - stitch markers soft on your hands, a delight to your eyes! Finished size: approximately 2-3 inches / 5-7.5 cm You need: scrap yarn - fingering to DK weight optimal, at least 15-20 inches / 40-50 cm long beads (optional)
How to make a stitch marker:
1. make a twisted cord
Starting with a piece of single yarn, that is about five times longer than the desired length of the finished stitch marker, twist the yarn until the cord begins to double-twist itself (see the Picture 7). When you have added enough twists, fold the cord at the midpoint and let it twist back on itself. Secure the ends with a knot if necessary. Picture 1:

@ 2012 Monika Sirna \~ e-mail: mdcim7@gmail.com \~ All rights reserved, design or pattern not for sale, not for commercial use. Selling products made from this pattern is prohibited under the copyright unless written permission granted from the designer. Please respect the copyrights. Tips: - if using thinner thread (like embroidery cotton) you can make braided cord instead - make one stitch marker in a different color to use as beginning of the round marker
2. make a slip knot
Making sure the loop is big enough to fit around your preferred needle size, make a slip knot (see the Picture 2).
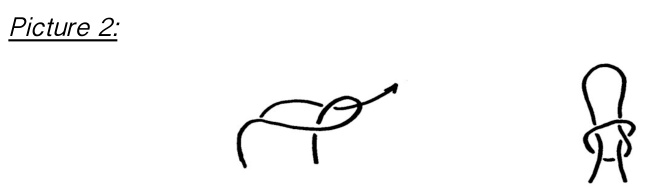
Tips: - if you want to have the same size loops on all of your stitch markers make the slip knot while placing the loop aroundyourbiggestdiameterknittingneedleorwoodenspoonhandle
3. decorate the ends (optional)
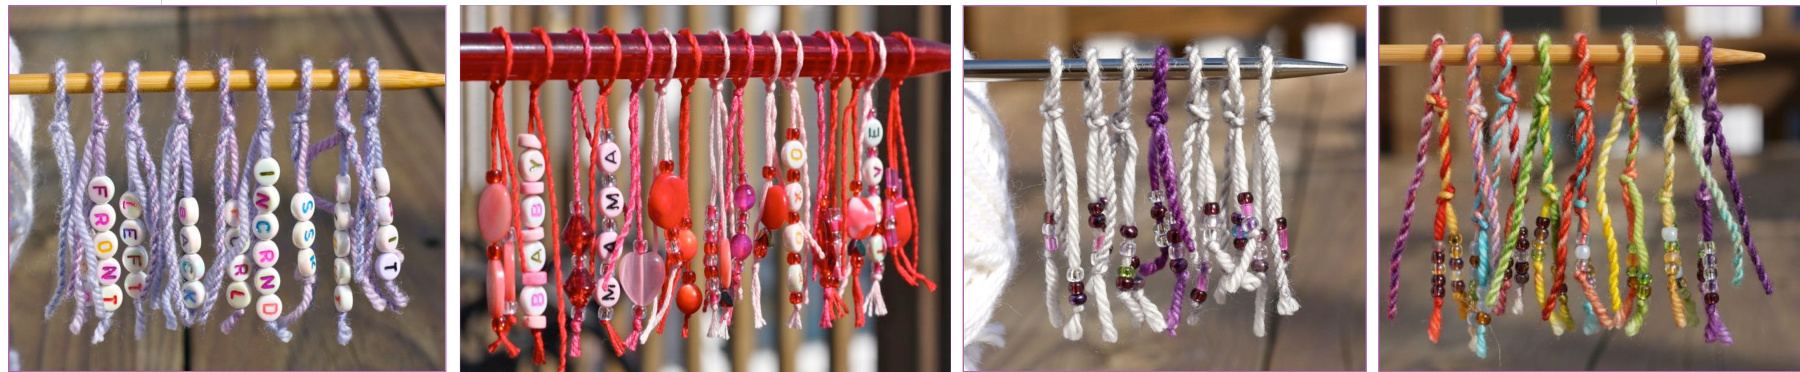
Decorate, some/all of the ends with beads of your choice, securing them with a knot, trim ends if necessary. Tips: - use small crotchet hook, or dental floss threader to place beads on the yarn - using beads with numbers and/or letters you can make stitch markers as: knit, purl, ws, rs, k2tog, ssk, bor, left, right, front, back, rnd1, rnd2, sr1, sr2..
4. enjoy, share, gift to your knitting friends
Links:
twisted cord: http://www.youtube.com/watch?v=3mB_eWFLHLY slip knot: http://www.knittinghelp.com/video/play/slip-knot
@ 2012 Monika Sirna \~ e-mail mdcim7@gmail.com \~ Allrights reserved, design or pattern not for sale, not for commercial use. Selling products made from this pattern is prohibited under the copyright unless written permission granted from the designer. Please respect the copyrights.


