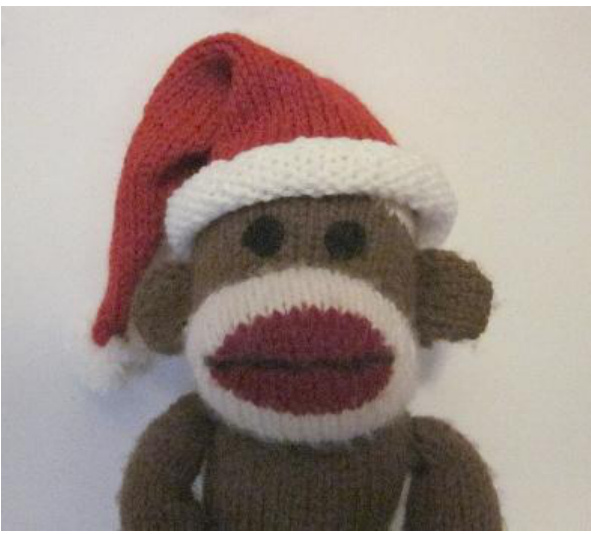
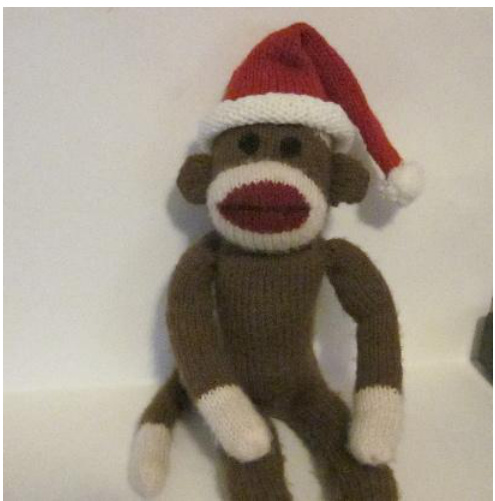
Machine Knit Sock Monkey Santa Hat
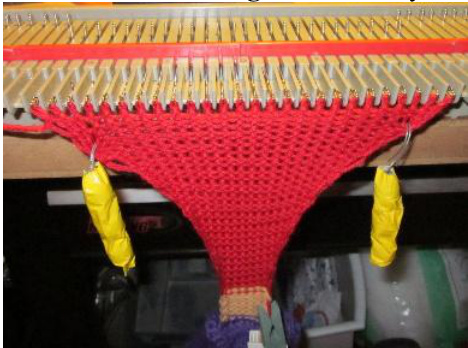
Knitted on the Bond ISM/USM. Yarn- Wool Ease white, red Other materials: yarn needle Keyplate- 2 and 3 Gauge- not essential. You want a firm fabric with a nice drape. A Row Counter is helpful in knitting this pattern. Abbreviations used in this pattern: $\mathrm{\bfWY=}$ waste yarn $\mathbf{RC}{=}$ row counter $\mathrm{WP=}$ working position FWP $\mathrel{\mathop:}$ forward working position. You will be starting at the top of the hat and knitting down to the brim. When changing yarn colors, leave a long tail (about a foot) to use to sew up seamslater. Instructions: Using keyplate 2 (or keyplate used to knit sock monkey), Open cast on 8 stitches with waste yarn. Knit 6 rows. Set RC to 0oo. Change yarn to red and knit 2 rows. Increase one stitch on carriage side by placing last unused needle before knitting begins in FWP , making sure the latch is open, and knitting the row. Repeat for other side. You have now increased two stitches. (10 stitches total, $\mathrm{{RC}}{=}4\rangle$ Knit one row . Repeat the increase and knit, increase and knit, knit sequence until you have 40 stitches on the needles. It will be necessary to hang extra weights and move them frequently to keep stitchesknittingsmoothly.
Knit 4 rows. $\mathrm{{RC}}{=54}$ Change to keyplate 3 (or 1 size larger than just used) Knit 12 rows. $\mathbf{RC}{=}\,66$
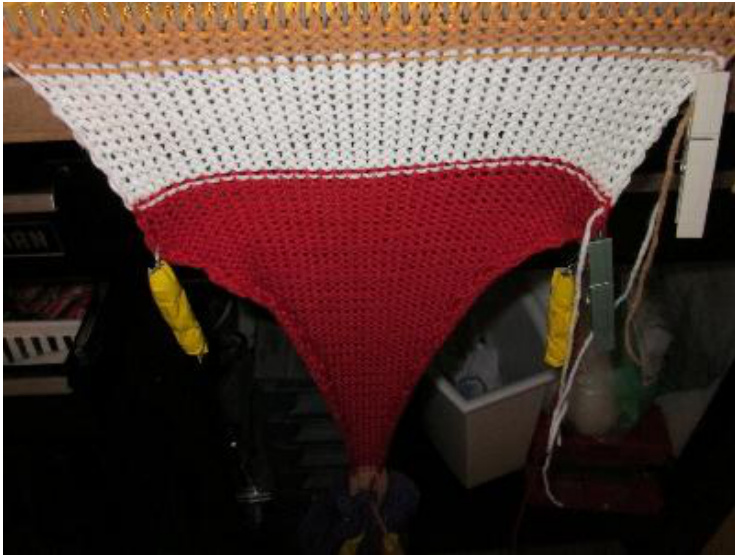
Change to waste yarn and knit 4 rows. Remove from machine.
Finishing
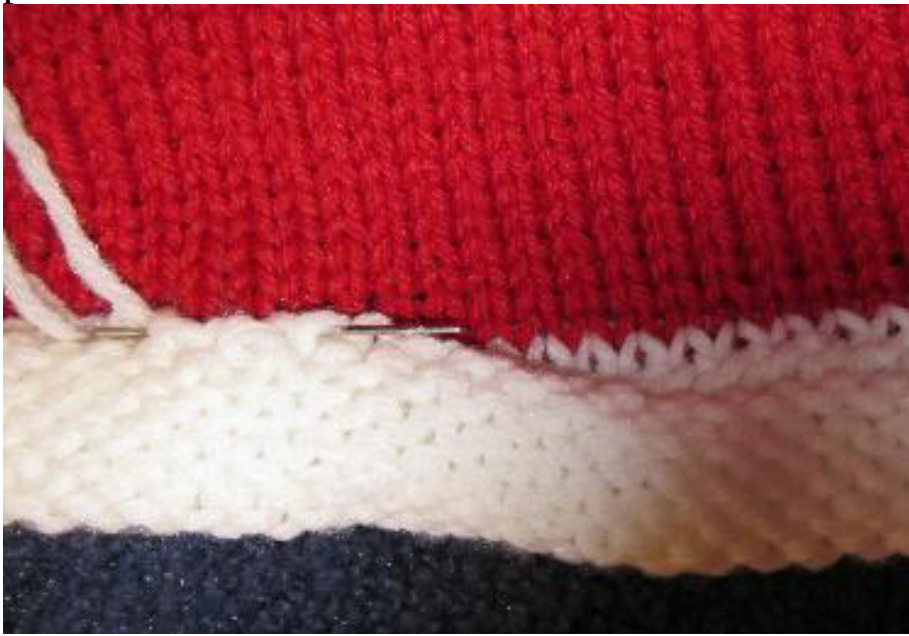
Thread the white yarn tail in the yarn needle. Fold the purl side of the white section up onto the knit side of the white section to create the fluffy white brim of the hat. Leave the waste yarn on and let it fold inside the white tube. Being sure the waste yarn tail is outside the white tube, seam the last row of white stitches before the waste yarn begins to the first row of white stitches after the red rows. You will be seaming so that the purl side of the white stitches will be showing with the knit side of the red stitches.

This will leave a row of waste yarn showing. Pull the tail of the waste yarn to remove it from the tube after you are finished seaming. You can stop forming the brim here if you are happy with the look. I like to take one more step to make it look nice and fluffy. Push on the bottom of the brim rolling it slightly upward to cover the seam you just made. Using white yarn make a stitch every couple of columns through the hat on the top of the white section to hold the brim in this rolled position.
This creates a nice fluffy brim. Seam the sides of the white brim together in back using the overcast stitch. Make sure and sew through all the layers of knitting. Weave in all white ends. Seam the red section of the hat together in the back using the mattress stitch. This is a little more difficult than normal as the increases are all on the edges. I found that the neatest seam was created by not using any of the larger edge stitches for seaming. Instead, use the first column of regular size stitches after the large edge stitches. You will need to change stitch columns for seaming every couple of stitches. Work slowly and pull the seam straight every few stitches to keep the tension correct. Seam until you reach the waste yarn at the top of the hat. Remove the waste yarn and run the red yarn tail through all the red top stitches. Pull tightly. Weave in all red ends.

The only thing left is to create a white pom-pom for the end of the hat. I like to wrap the yarn around two fingers about 50 times, then thread the yarn between my fingers and tie tightly with a double knot. Keep the ends of the tie yarn long to sew the pom-pom onto the hat with.
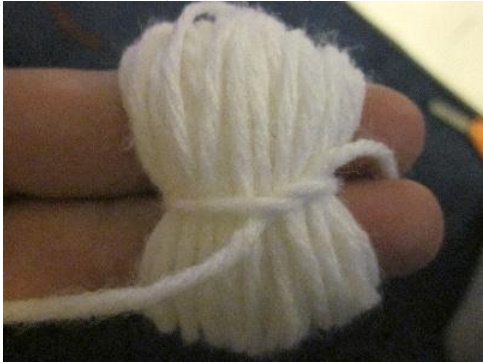
Cut through all the loops to create the pom-pom. Trim all ends except the tie yarn ends to a nice size and fluff the pom-pom.

Sew the pom-pom to the top of the hat firmly and weave in all ends. Your hat is now complete! Merry Christmas!

Copyright 2010, Handmade by Suzanne This pattern is for personal use only.


