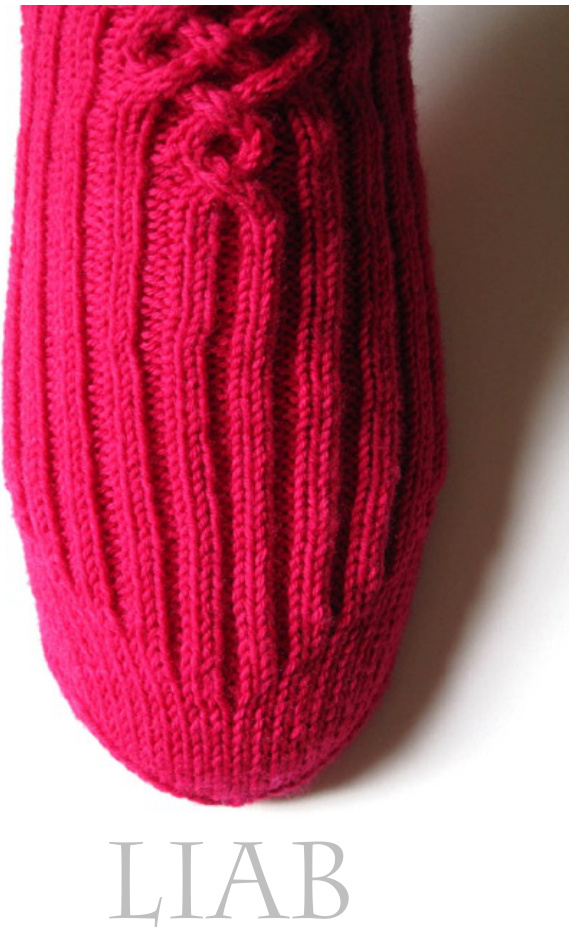
LIAB
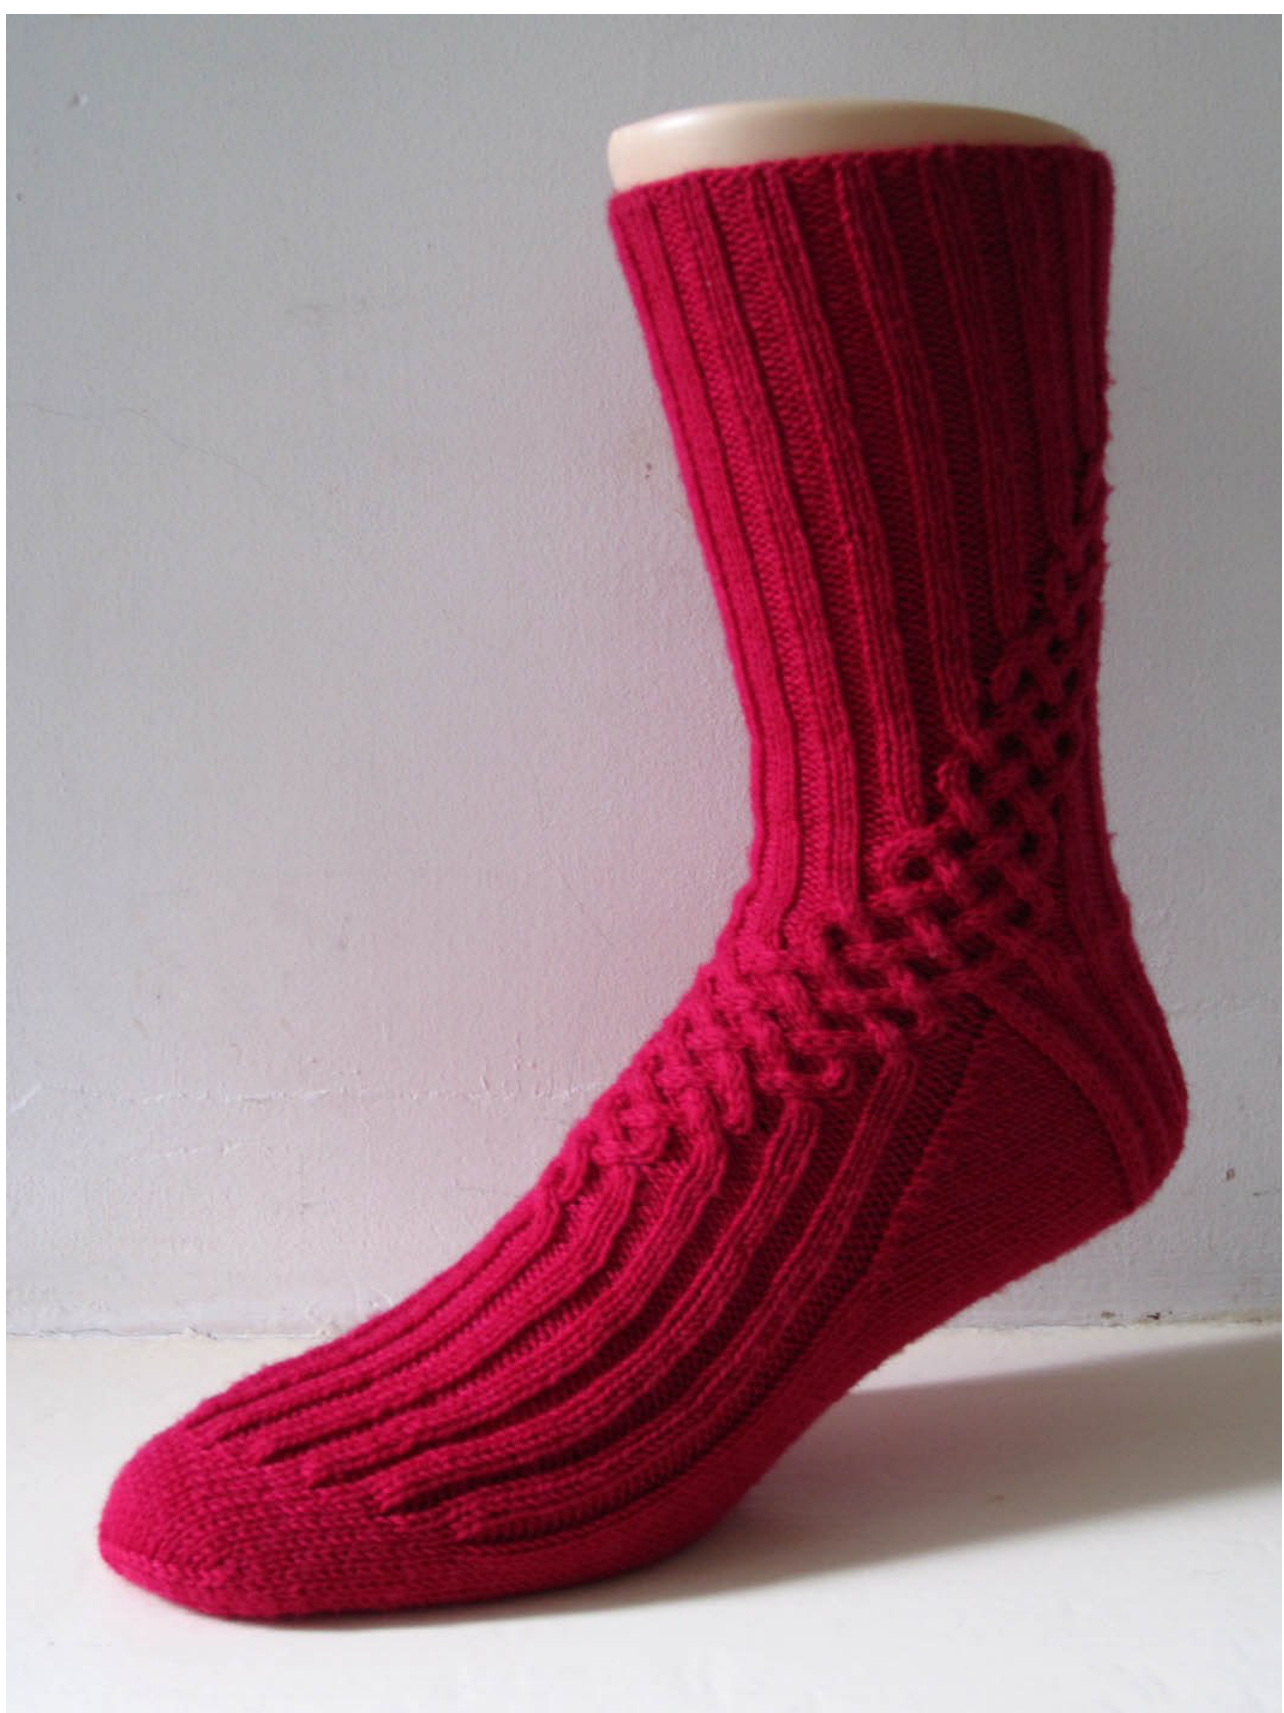
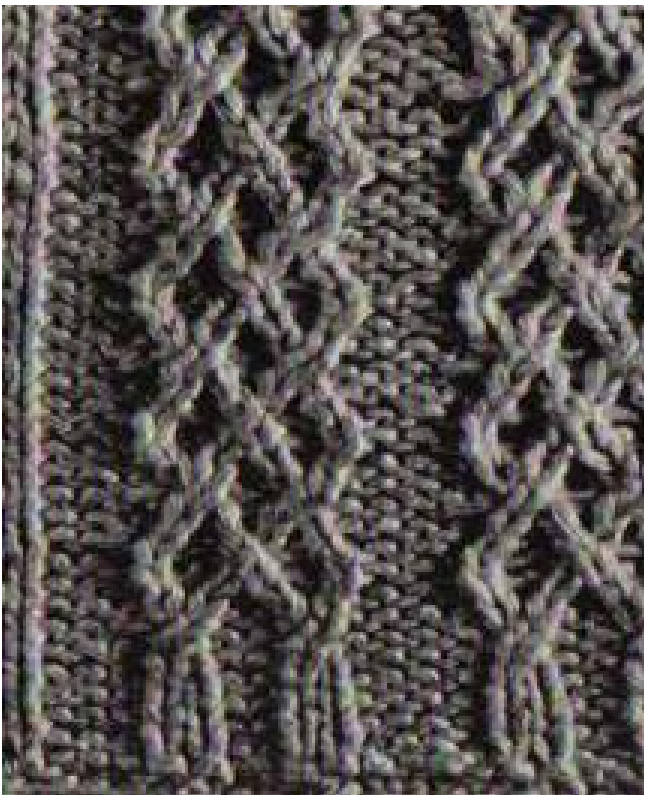
COPYRIGHT ? GENERAL HOGBUFFER 2012 In traditional Alpine knitting, there are a fair few variations of the Liab pattern: offene Liab (open love), brennende Liab (burning love) and vergessene Liab (forgotten love) to name just a few. They are generally worked with single twisted stitches travelling, but I found this version was close enough in appearance to warrant my borrowing the name. I found it very apt, seeing as the pattern meanders in and out of the basic rib ground, since we all know that the path of true love rarely runs smooth...
Size:
Due to the complexity of the chart, only one size is charted. However, the stretch in the pattern is substantial and should cover a wide range of sizes, and the length is flexible, anyway. As a general rule, this sock is designed to fit people who would wear a plain sock with 64 sts circumference, but the foot can be adapted fairly easily, should you need to go smaller or larger.
Material:
150 g Sock wool in 4 ply / fingering weight, since the cables eat a lot of yarn. I used 67 g per sock in size 42 (UK 8 1/2). I suppose if you make a shorter leg and have a smaller size, you may just make it with a 100 g skein, but I would not recommend putting yourself through the anxiety...
Needle size:
2.5 mm or size needed to get the right dimensions. You will need 2 circulars, which I will call needle 1 and needle 2. If you have 3 circs, even better, as you can then put all the instep sts on a separate needle and don't have to move the sts around with the movement of the cables, but it's not vitally necessary. Or you could use DPNs for the lot.
Further requirements:
Tapestryneedle Stitch markers (although you could do it without if they irritate you) 2 DPN's will be helpful even if you work on circs, but they are not absolutely essential.
Cuff:
Using your favourite cast-on method cast on80 sts and close to a round, taking care not to twist the cast-on. Work K2, P2 rib for as many rounds as you would like your cuff to be, I did 18 rounds for my sample. In the last round of the rib, do not work the last purl st on needle 2, but slip it onto needle 1 instead, this is the beginning of your round. You can also slip the last st of needle 1 onto needle 2, if you want to have equal numbers on both needles, but I find it easier to start a needle with a K st, so I worked the leg part with uneven numbers.
Leg:
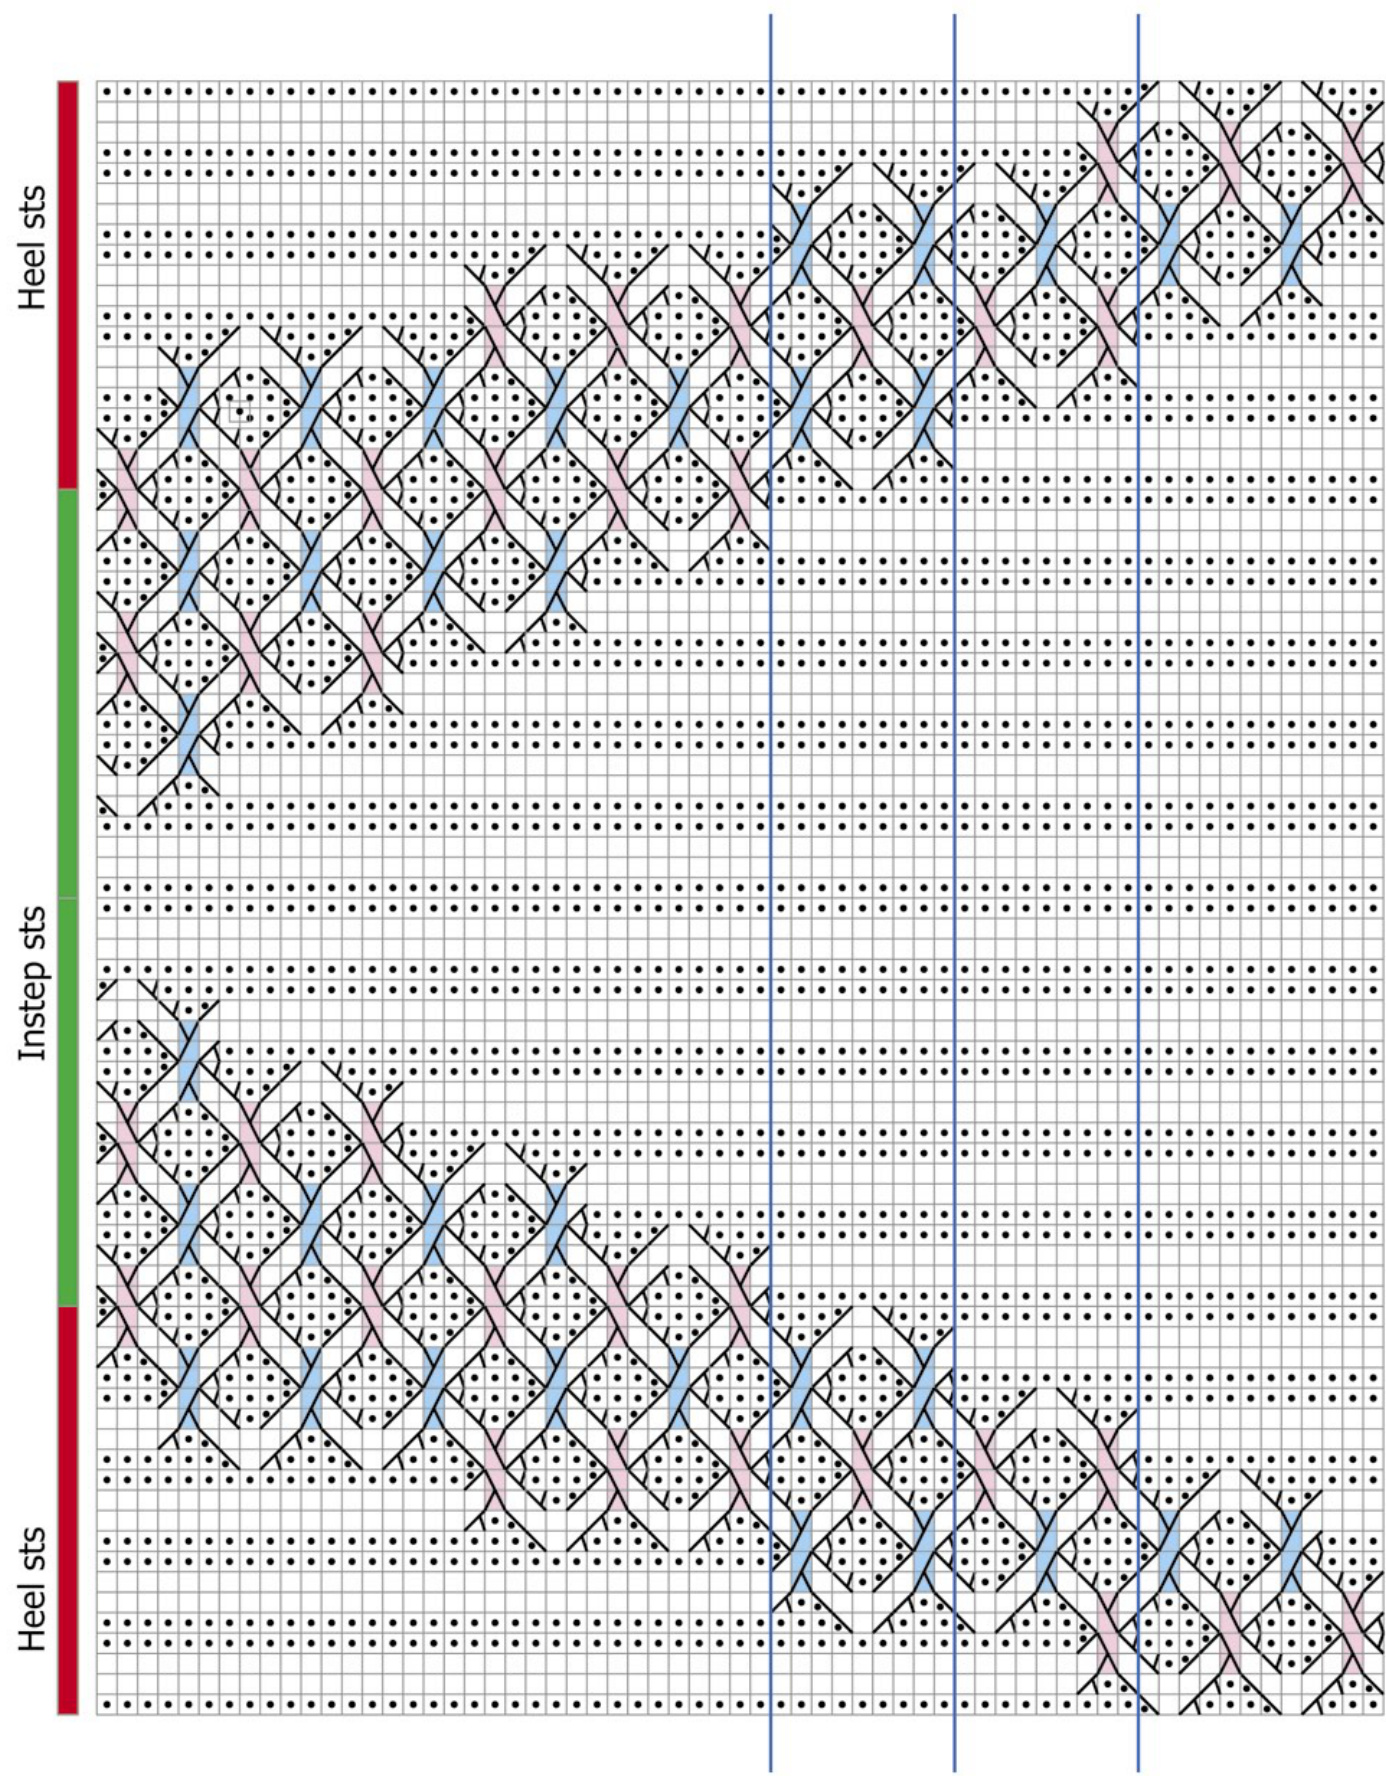
Following the leg chart, work the leg. Every st is charted, so there are no repeats. Depending on how many rounds of ribbing you worked you may find the leg a bit on the long side. With 18 rounds rib, my leg to the beginning of the heel is 7 12 inches / 19 cms. If you want to shorten the leg, you need to do it at the beginning rather than the end, as you need the chart to line up with the instep chart. You could start at any row where you have a K2 P2 sequence, but I have marked a few suggestions in blue on the chart. The pattern will not flow as well, but the only other alternative would be to completely re-chart the design. Feel free to do this, if you are feeling adventurous...
Heel:
Row 1 (partial row): K1, [sl2, K2] 8 times, sl2, K1, turn Row 2: sl1, purl to last st, sl1, turn Row 3: K1, [sl2, K2] 18 times, sl2, K1, turn The last two rows for the pattern, repeat them until you have reached the required depth of your heel flap, ending on a Ws row. This is basically a double rib version of the traditional slip stitch heel. The reason you need to slip both the edge sts in the Ws row is that otherwise, you end up slipping the first 3 sts in the RS rows. I have worked a total of 40 rows (incl. the first partial row) for my sock, and I would advise you to err on the generous side, as the cabling is tight over the instep, and you may need the extra depth. On the last WS row, decrease the sts to 32 as follows: Sl1, [P2, P2tog] 4 times, P6, [P2tog, P2] 4 times, sl1 Turn the heel as follows: Row1: [K1, sl2] 5 times, K2, SSK, K1, turn (leaving 12 sts unworked) Row2: sl1, P3, P2tog, P1, turn (again leaving 12 sts unworked) Row3: sl1, K to 1 st before gap, SSK, K1, turn Row4: sl1, P to 1 st before gap, P2tog, P1, turn Repeat rows 3 and 4 until you have used up all the sts either side. You should be ready to work a K row, with 18 sts on your needle.
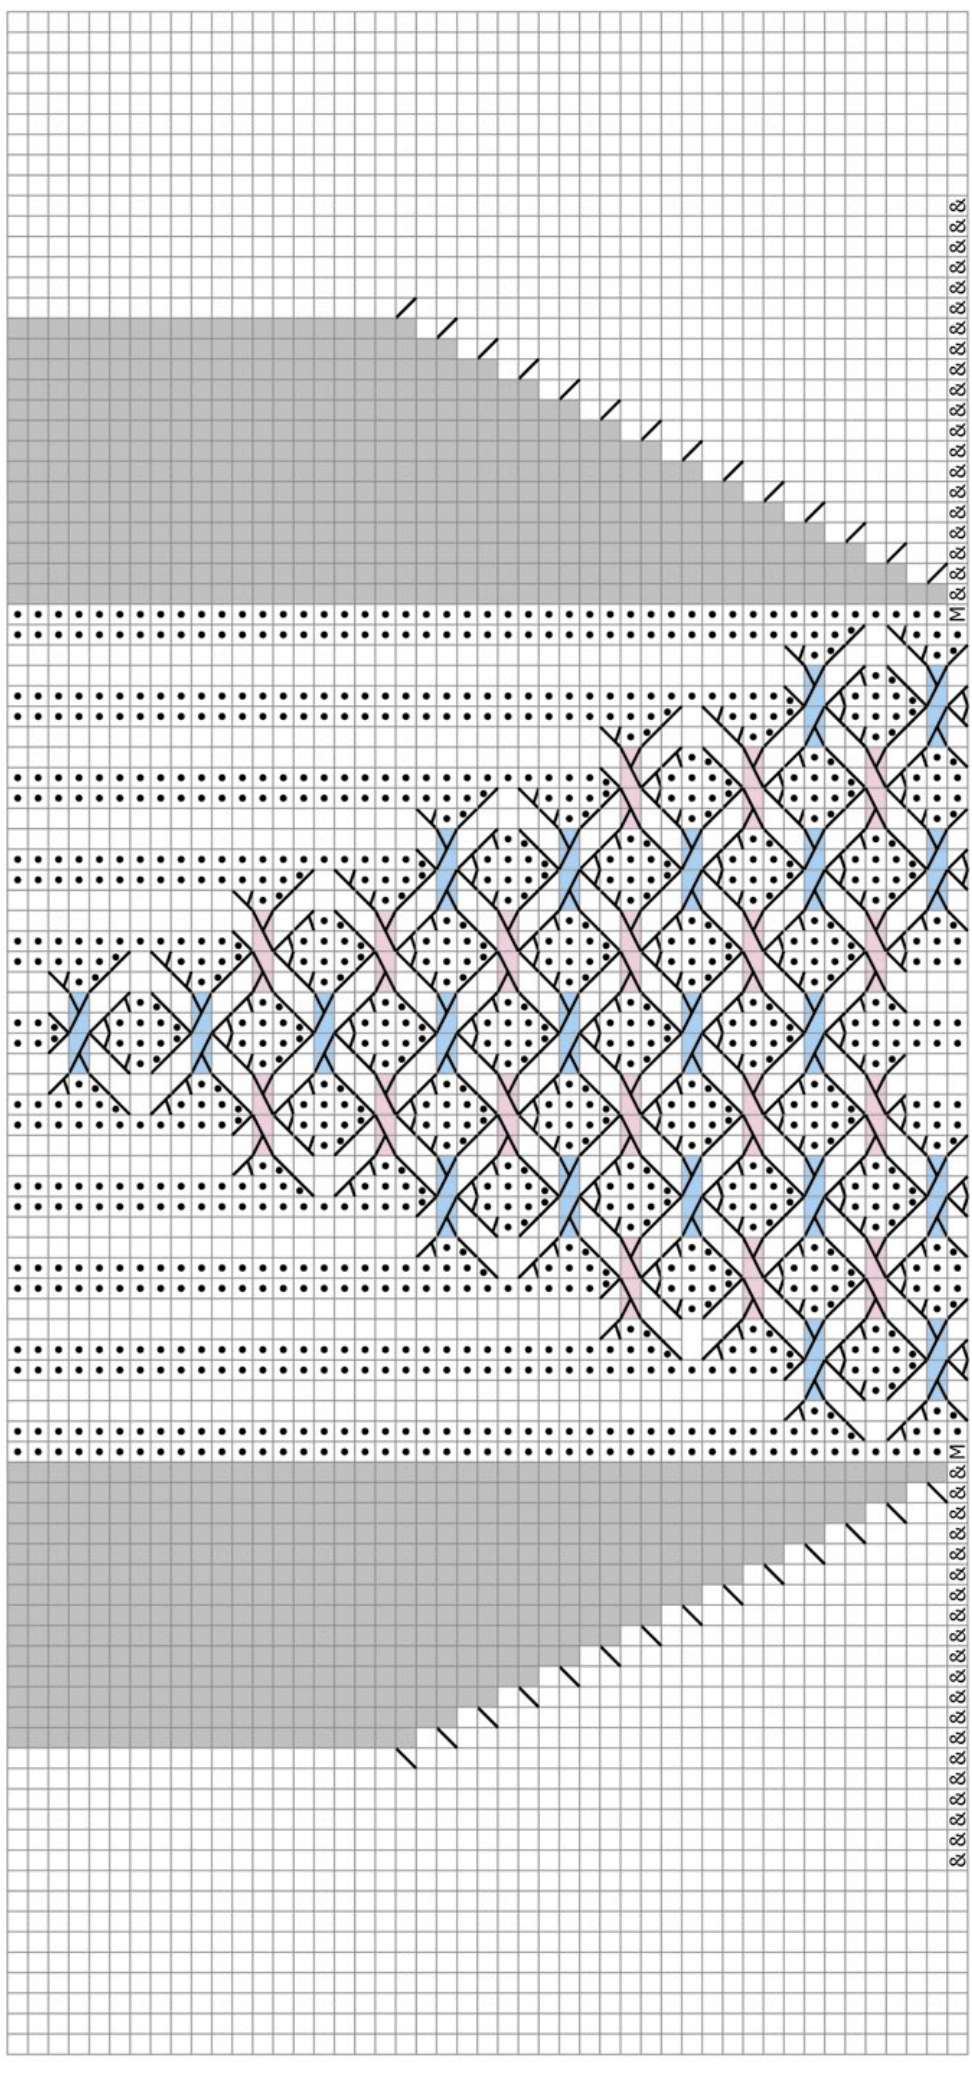
Gusset / Instep:
Using needle2, K9. This is the centre back. Using neelde1, K9. Pick up and knit 1 st in each slipped stitch down the side of the heel flap. You will pick up half the number of rows you knitted; for my 40 rows I picked up 20 sts. M1 in the gap before your instep sts. These 21 sts are marked with "&" on the chart. Work across the instep sts according to the first row of the instep pattern. M1 in the gap before the heel flap, pick up and knit 1 st in each slipped st up the other side of the heel flap. Make sure you have picked up the same number of sts as before. K the 9 sts to the centre back. You have thus worked the first round of the instep chart. Work the remaining rounds of the chart to complete the gusset and until the end of the cables. If you have worked less rows for the heel flap, you will have picked up less sts in round 1, and therefore you will need to stop decreasing earlier. The gusset ends when you have reached 72 sts in total. However, if you want to make the foot slimmer or wider, this is the moment to adjust this by either decreasing less or more to give you the desired number of sts.
Foot:
Keep working the foot plain, i.e. knit the sole sts and work the 2 by 2 rib on the top of the foot as established, until you have 2 1/2 inches / 6 cms less that your total foot length. The toe is longer than normal, so if you want to substitute a different toe version, work the foot longer as required.
Toe:
The idea behind the toe construction is that first, you will decrease away all the purl sts, and then you will work a short band toe as usual.
Round 1: K to 1 st before the first 2 purl sts, SSK, K2tog. Work as established until 1 st before the last 2 purl sts, SSK, K2 tog, K to end. (68 sts) Round 2: Work all sts as they appear. Round 3, 4 + 5: as round 2 Round 6: as round 1 (64 sts) Round 7, 8 + 9: as round 2 Round 10: as round 1 (60 sts) Round 11 + 12: as round 2 Round 13: as round 1 (56 sts) Round 14 + 15: as round 2 Round 16: as round 1 (52 sts) Round 17: as round 2 You should now have only the 2 purl sts in the very centre of the foot, the next round will decrease them and start the band toe. Round 18: K10, K2tog, K12, SSK, K2tog, K12, SSK, K10 (48 sts) Round 19: K all sts Round 20: K9, K2tog, K2, SSK, K18, K2tog, K2, SSK, K9 (44 sts) Round 21: K all sts Round 22: K8, K2tog, K2, SSK, K16, K2tog, K2, SSK, K8 (40 sts) Round 23: K7, K2tog, K2, SSK, K14, K2tog, K2, SSK, K7 (36 sts) Round 24: K6, K2tog, K2, SSK, K12, K2tog, K2, SSK, K6 (32 sts) Round 25: K5, K2tog, K2, SSK, K10, K2tog, K2, SSK, K5 (28 sts) Round 26: K4, K2tog, K2, SSK, K8, K2tog, K2, SSK, K4 (24 sts) Round 27: K3, K2tog, K2, SSK, K6, K2tog, K2, SSK, K3 (20 sts) Round 28: K2, K2tog, K2, SSK, K4, K2tog, K2, SSK, K2 (16 sts) Round 29: K1, K2tog, K2, SSK, K2, K2tog, K2, SSK, K1 (12 sts) Round 30: K2tog, K2, SSK, K2tog, K2, SSK, (8 sts) Cut yarn, leaving about 10 inches / 25 cms and graft the toe closed. Turn sock inside out and darn in all loose threads. Work a second sock, if you would like to own a pair.
Further options:
Of course, you can easily substitute other types of heels and toes if you prefer. For a short row heel, omit all the gusset decreases and just work the cables according to the instep chart on top of the fot. Pattern for personal use only, Copyright @ General Hogbuffer 2012
Glossary:
DPN double-pointed needles St, sts stitch, stitches Kknit Ppurl SI slip K2tog knit 2 stitches together SSK \~ slip, slip, knit. Slip 2 stitches separately as if to knit, insert left needle into these two stitches from the right and knit onto right needle. P2tog purl 2 stitches together
Glossary of symbols used:
knit on right side, purl on wrong side

purl on right side, knit on wrong side no stitch

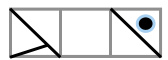
knit 2 tog on right side, purl 2 tog on wrong side

slip, slip, knit on right side, purl, purl, purl 2 tog tbl on wrong side make one, by lifting the thread between sts and knitting it tbl

pick up and knit one stitch
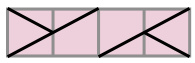
C2B: put next 2 sts onto a cable needle and hold at the back of work. K2, K2 from cable needle, or cable without a cable needle.
C2F: put next 2 sts onto a cable needle and hold at the front of work. K2, K2 from cable needle, or cable without a cable needle.
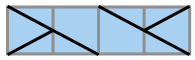
CP1F: put next 2 sts onto a cable needle and hold at the front of work. P1, K2 from cable needle, or cable without a cable needle.

CP1B: put next st onto a cable needle and hold at the back of work. K2, P1 from cable needle, or cable without a cable needle.
LEG CHART