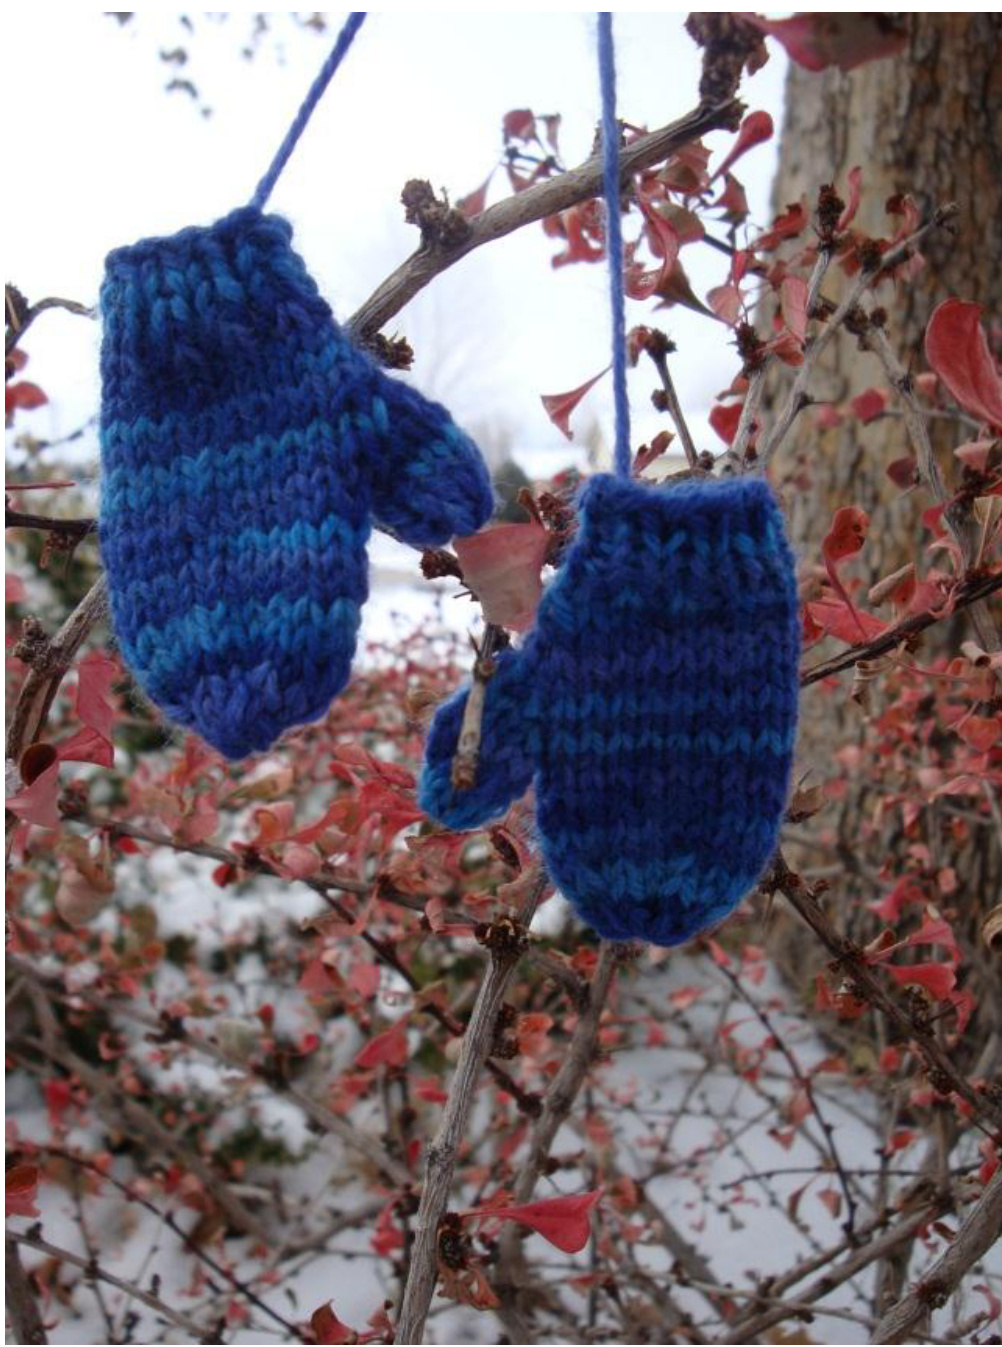
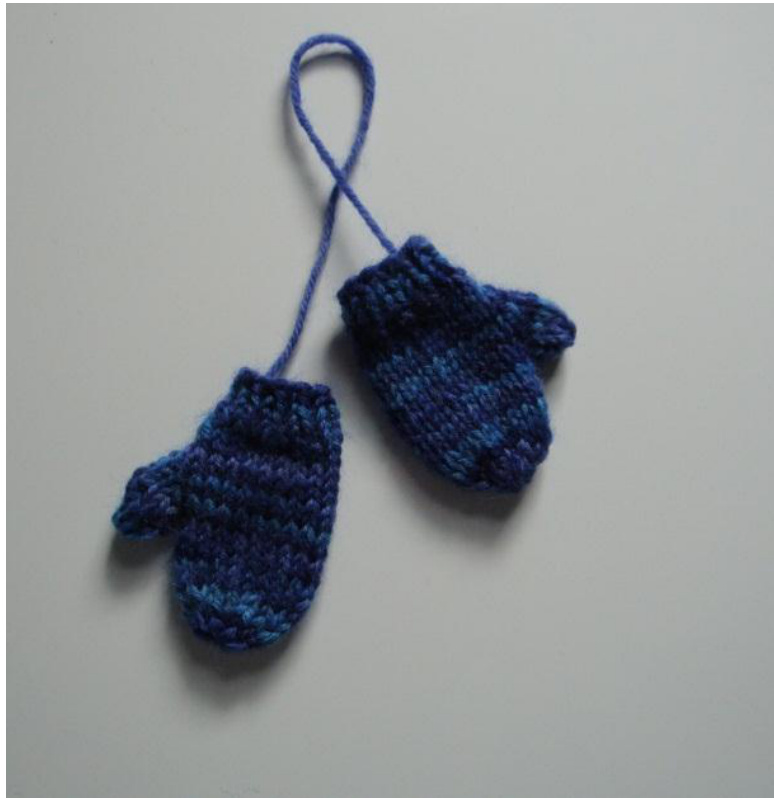
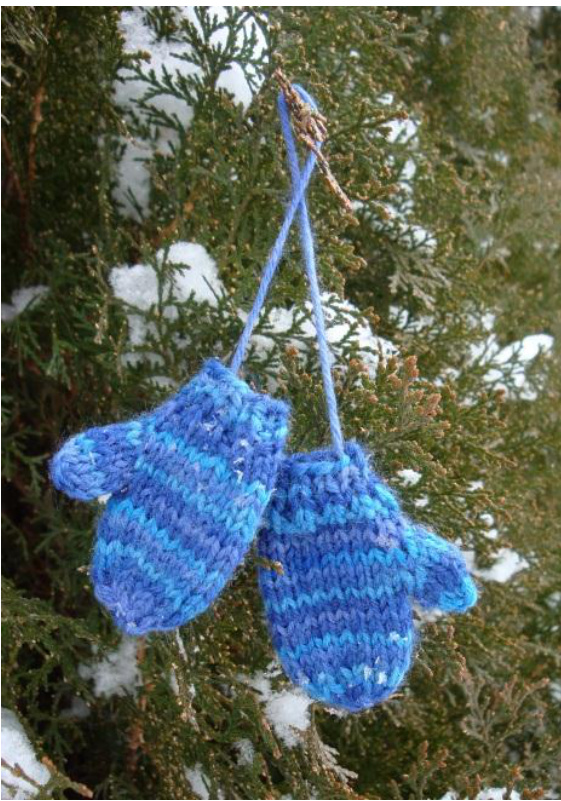
Mini-Mitten Ornament
By Kim Fluck / www.kimsknittingkorner.blogspot.com I enjoy making miniature ornaments each year for my Christmas tree. This year, I made miniature mittens following a number of patterns I found on Ravelry. The tiny size of the mittens and the length of my double pointed needles made me feel I was "allthumbs" while knitting, especially the mitten's tiny thumbs. Ironic! I actually went so far as try to knit on wooden tooth picks and it seriously would have worked if it weren't for the fact the tooth picks splintered easily. I learned bits and pieces from each pattern I tried and I incorporated what I've learned from making full-sized mittens in order to come up with my own pattern which is quick and easytoknit.
Feel free to use this pattern however you would like. Make them for yourself, for family, for friends.. make a gazillion of them and sell them at a craft fair. Enjoy! ur mini-mittens and share them with me on Ravelry (Ravelry ID: kimfluck)(
Mini-Mitten Orpamentow kim ac oroea
Supplies:
Small amount of fingering (sock) weight yarn Set of US Size 2 (2.75 mm) double pointed needles Darning needle (large eyed needle) One stitch marker
Abbreviations:
K1 = knit 1 P1 =purl 1 K2tog = knit 2 together PM = place marker SM = slip marker DPN = double pointed needles
M1R: An increase. From back, lift loop/bar between stitches with left needle and knit into front of loop. M1L: An increase. From front, lift loop/bar between stitches with left needle and knit into back of loop. See videos for M1R and M1L increases here: http://www.knittinghelp.com/videos/knitting-glossary A note about M1R and M1L increases: I used to avoid patterns which used these increases because they confused me terribly. Where the pattern calls for an increase, you can substitute any increase you prefer where one extra stitch is created (make 1 [M1] or knit in the front and the back of a stitch [kf&b]). You can do all M1R or all M1L. I just recommend making whatever increase you find most comfortable and whatever increase does not make a big hole in your knitting.
Description: The mitten is knit from the cuff to the top, fingertip portion of the mitten. Shortly after you finish the ribbed cuff, you being to create extra stitches. These extra stitches are soon set aside and placed on a scrap of yarn to be dealt with later. Before you know it, the hand and fingertip portion of your mitten will be complete so you can devote your attention to the stitches on hold which become a thumb after just a few quick rounds.
Mipi-Mitten Orpamentr wom rae oeos
INSTRUCTIONS: Cast on 18 stitches (I use a long-tail cast-on); join to knit in the round (on three DPNs), being careful not to twist the stitches (6 stitches of each needle). Rounds 1 - 4: (k1,p1) repeat to end of round (ribbing) Rounds 5 - 6: knit all stitches Rounds 7: M1R, PM, then knit to end of round (19 stitches) Round 8: knit all stiches Round 9: M1R, K1, M1L, SM, then knit to end of round (21 stitches) Round 10: knit all stitches Round 11: M1R, K3, M1L, SM, then knit to end of round (23 stitches) Round 12: knit all stitches Round 13: M1R, K5, M1L, SM, then knit to end of round (25 stitches) Round 14: put first seven stitches on a scrap of yarn using darning needle (these stitches will later become the thumb); remove the marker and knit to the end of the round (18 stitches in round; 7 stitches on hold). Round 15 - 18: knit all stitches to end of round Round 19: (K1, k2tog) repeat six times to end of round (12 stitches) Round 20: knit all stitches to end of round Round 21: k2tog six times (6 stitches) Cut yarn leaving a tail approximately 6 inches in length; thread yarn onto darning needle and slip through the 6 stitches, pulling tightly to gather. Insert needle into the top/center of the mitten and draw the needle and yarn out the bottom opening of the mitten. Pull snuggly to make the tip of the mitten more rounded and less pointy. For the thumb, divide the remaining 7 stitches onto three DPNs (3 stitches on the first needle and 2 stitches on each of the remaining 2 needles). Join yarn to the needle holding 3 stitches. Knit 3 rounds. To decrease for the tip of the thumb, k1 and then k2tog three times to the end of the round (4 stitches remain). Cut yarn leaving a tail approximately 6 inches in length; thread yarn onto darning needle and slip through the 4 stitches, pulling tightly to gather. Insert needle into the top/center of the thumb and draw the needle and yarn out the bottom opening of the mitten. Pull snuggly to make the tip of the thumb more rounded and less pointy. Weave in all loose ends to finish. You can make a one-mitten ornament or a two-mitten ornament. If making a two-mitten ornament, connect the mittens with a length of yarn, securing with knots inside the mittens where the knots are not visible. (Tip: I cast on my mittens with a long-tail cast-on so I used the tail from the cast-on to connect the two mittens). If making a one-mitten ornament, make a loop with yarn to hang the ornament.


