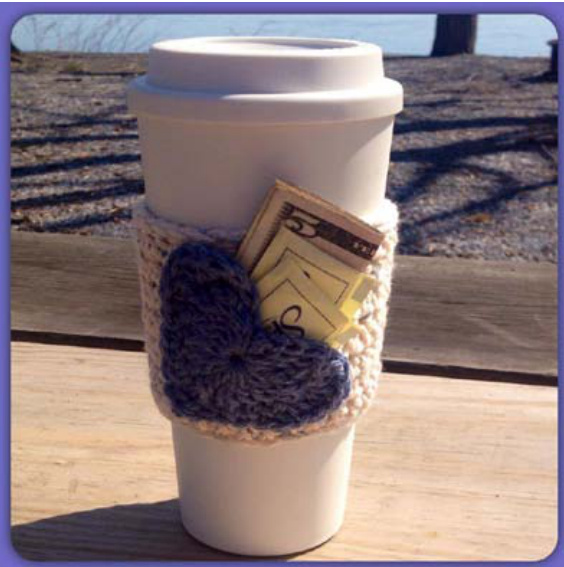
Open Heart Pocket Hot/Cold Drink Sleeve Pattern
Materials
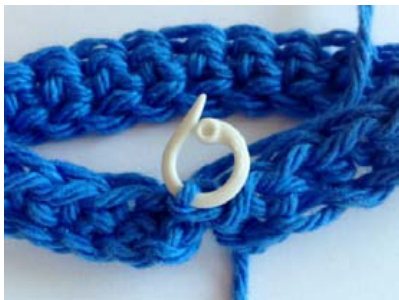
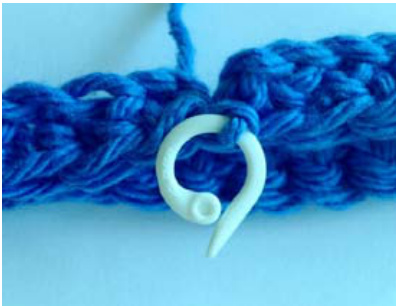
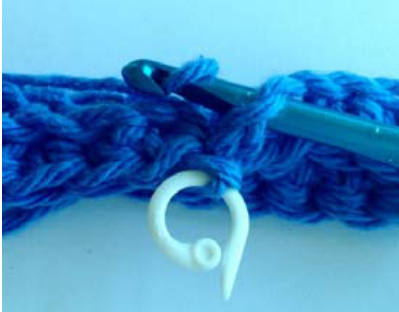
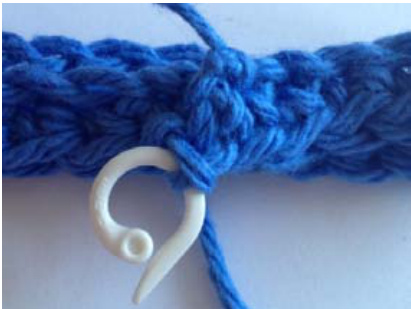
This is a very basic and straightforward sc drink sleeve. I used to do an increase row or two but later found out that it wasn't necessary. It looked good on paper and worked for the most part but ultimately the slight stretch in the yarn was a better fit over time with just sc. The only time an increase seems necessary is in the instance that you hold two strands together. Note: When creating the chain and joining it is easy to twist the chain. To avoid this...I hook the second round and then join...I'm tellin'ya- works a miracle! I will try to explain this as I go.
Basic Drink Sleeve:
Ch 28 (or enough to just fit around your cup- remember it will stretch a bit) Do not join. R1: Sc in 2"d ch from hook, sc around. (27 sc) -Join with ss st to 1"t sc. -Remove hook from yarn and place a stitch marker to hold your loop. -Turn work so your chain is on top facing up. Insert your hook into the last chain space and pick YO to pick up the tail of the yarn, create a sl st and fo. It will flatten out after you weave in ends. (If you have trouble with this step skip it, use a yarn needle to pull the tail through after you finish and tie off, weave in end.Do not stress out )
R2: ch 1, sc in same stitch as join (mark), sc around. Do not join.(27 sc) (you may be tempted to sc in the join loop, do not. It does not count as a Stitch. R3-11: Remove stitch marker, sc in first st (mark) and each stitch around. (27 sc) (if you want a taller sleeve just keep going!) R12 (optional): sl st around (I like to stop at my last sl st , remove my hook, insert my hook from the back of the stitch and pull that tail through and make my fo knot in the inside so you cannot see it.) Weave in ends.
That's it! Very simple You could follow the same method with hdc if you like also, just adjust your chain count. Play around, try a different hook size. Many people prefer an I hook for sc.
Open Heart Pocket Hot/Cold Drink Sleeve Pattern
Heart Applique
(This is a combination of a few patterns, I did not originally write this heart) I believe it is round 1 from little birdie secrets and round 2 from skip to my lou. Start with a magic circle, ch 3. (or ch 4 and work stitches in first ch). R1: All in the circle (or ch space): 3 tr (mark the first tr, it will help in the second round), 3 dc, ch 1, 1 tr, ch 1, 3 dc, 3 tr. Ch 3, sl st back into the circle (or ch space).
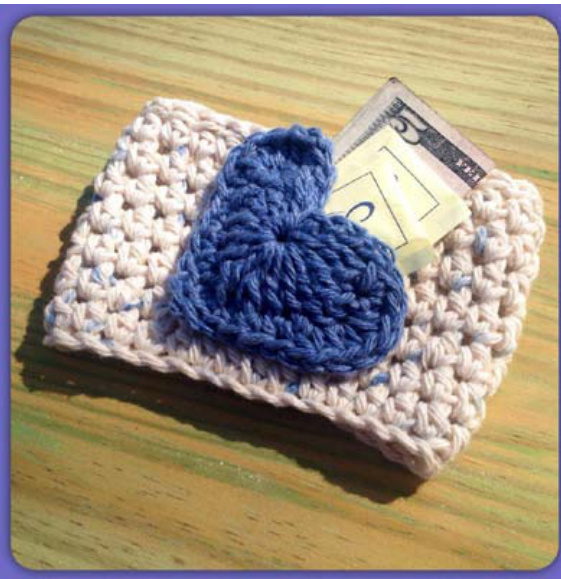
R2: Ch 3, in first trc hook a sc and hdc, in next st hook 3 hdc, in next st 2 hdc, sc in next four st. ch 1, dc in trc, ch 1, sc in next four st, 2 hdc in next st, 3 hdc in next st, hdc and sc in next st, (tighten loop as much as possible at this stage) ch 3 and slip stitch in center. Fo and leave long tail for sewing. (tip: tie the loose end and original tail together in the back to anchor your magic loop closed.) Weave in ends. To make heart a pocket: Weave your yarn end under a few stitches so you are beginning to sew at the end of one of the hearts top arches. Position on front of sleeve, stitch to sleeve leaving the top of the heart open and unattached.


