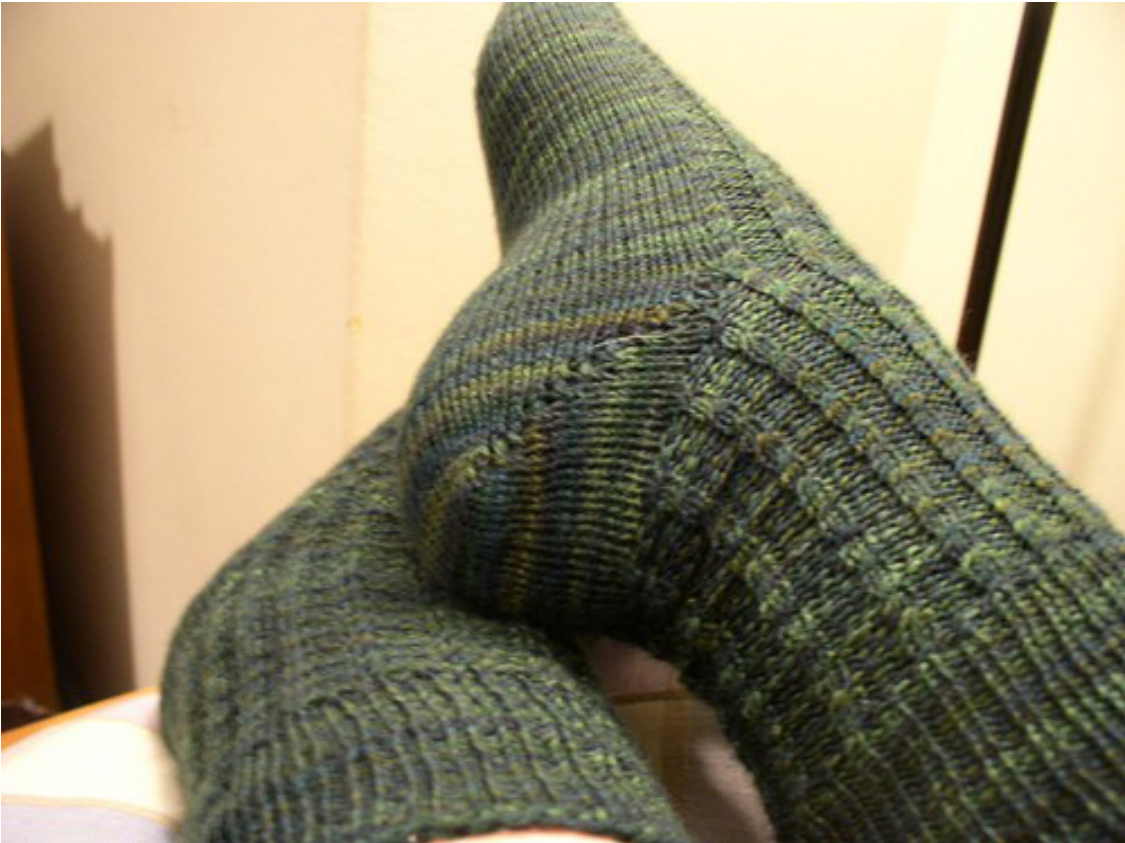
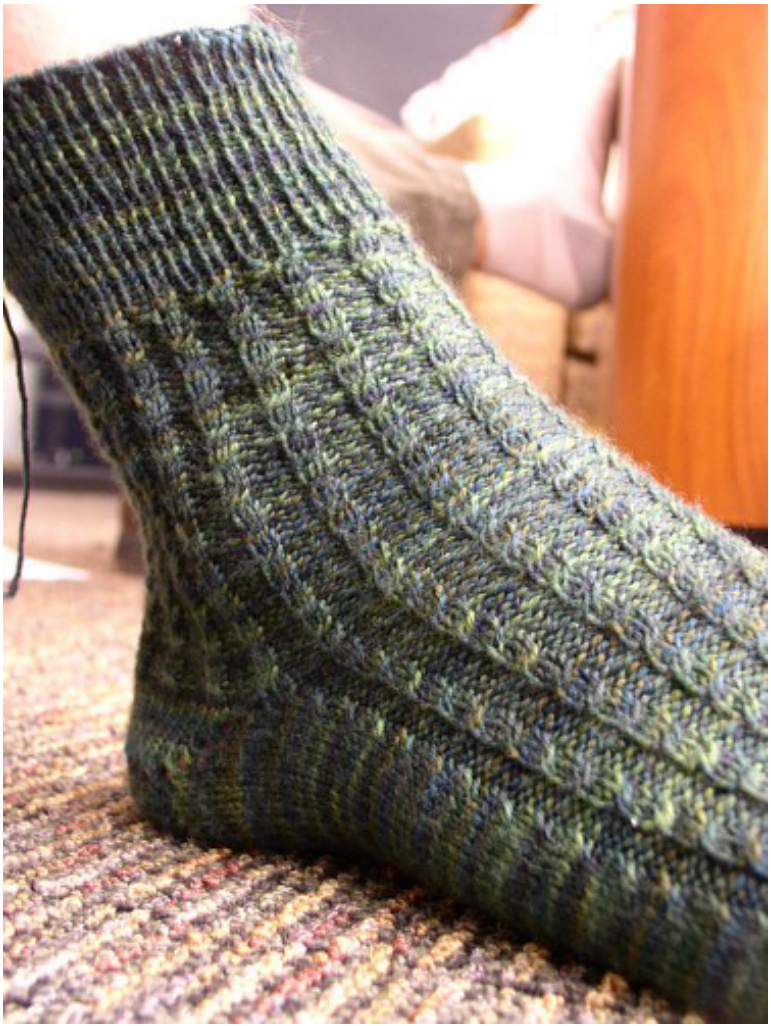
NO Green Socks!
A sock pattern
By Samantha Edgerly
Gauge: I don't really“do gauge for socks. 'd say, though, Iknit these at about 32 sts p $4^{\circ}$ Yarn: Cascade Heritage Paints Needles: $2.25\;\mathrm{mm}$ , US size 1.—magic loop or a set of 5 dpns is described. Pattern: Cable pattern: on a multiple of 4 sts. Round 1-3: k2, p2, repeat. Rd 4: slip the two knit sts on to your right needle, take the first slipped one and insert your left needle into it, then pull out the right needle, catching the second slipped st onto the left needle, so now the two sts are crossed. P2. repeat. (If you really feel the need to cable the little tiny cable with a cable needle, go ahead.) I did them toe up--to be perfectly honest, it doesn't really matter. Toe: Do a figure eight cast on, as described here: http:/knitty.com/ISSUEwinter02/ FEATtiptoptoes.html, cast on twenty stitches. Knit one round. Divide sts on dpns or magic loop dpns will have 5 sts on each, magic loop will have 10 on each side of needle. Now, increase for the toe as follows. Round 1: \*Knit 1, make one right leaning (mlr), k8, make one left leaning (m11), $\mathrm{k}1^{*}$ ,twice in total Rd 2: knit around. Rd 3: \*knit 1, mlr, k10, m1l, $k1^{*}$ twice in total. Rd 4: knit around.
Start cable pattern on front 34 sts, but there will be an extra k2 cable on the end, to make it symmetrical.
Knit the bottom of the foot plain, continuing cable pattern plus an extra 2 sts cable at the end, until the entire foot incl. the toe measures 1.5 inches less than the finished foot should measure. Techinically, the start of the cable pattern is the beginning of the round, so when you're at the proper measurement, stop there. End after round 4 of cable patern.
Heel:
Work back across the sts just knit from the last row, p 32. P 32, w&t, cont. W&t, until there are 11 saved sts on each side, and 10 sts in the middle. See Knitty.com for help, if needed! Or just do your own heel! Cont, and purl to the first wrapped stitch, pick up the wrap with the stitch and purl them together, turn. Knit to the wrapped stitch, knit the wrap and stitch together, turn. Cont on like that until all wrapped stitches have been purled/knit together. Knit across the finished heel and cont. with round 1 on the front of the leg. Leg: knit round 1 of cable pattern all around the leg, and con't with the preceding rounds, and knit the leg just 1.5 short of how long you want it. Cuff: I did 1x1 ribbing, you can do any sort of ribbing, as long as it can fit in 68 sts. Knit whatever ribbing you choose for 1.5 inches. Cast off—VERY loosely, with a needle two sizes bigger.
Make another sock. Tada! A pair. This is for personal use only, do not sell the socks you make from this pattern.


