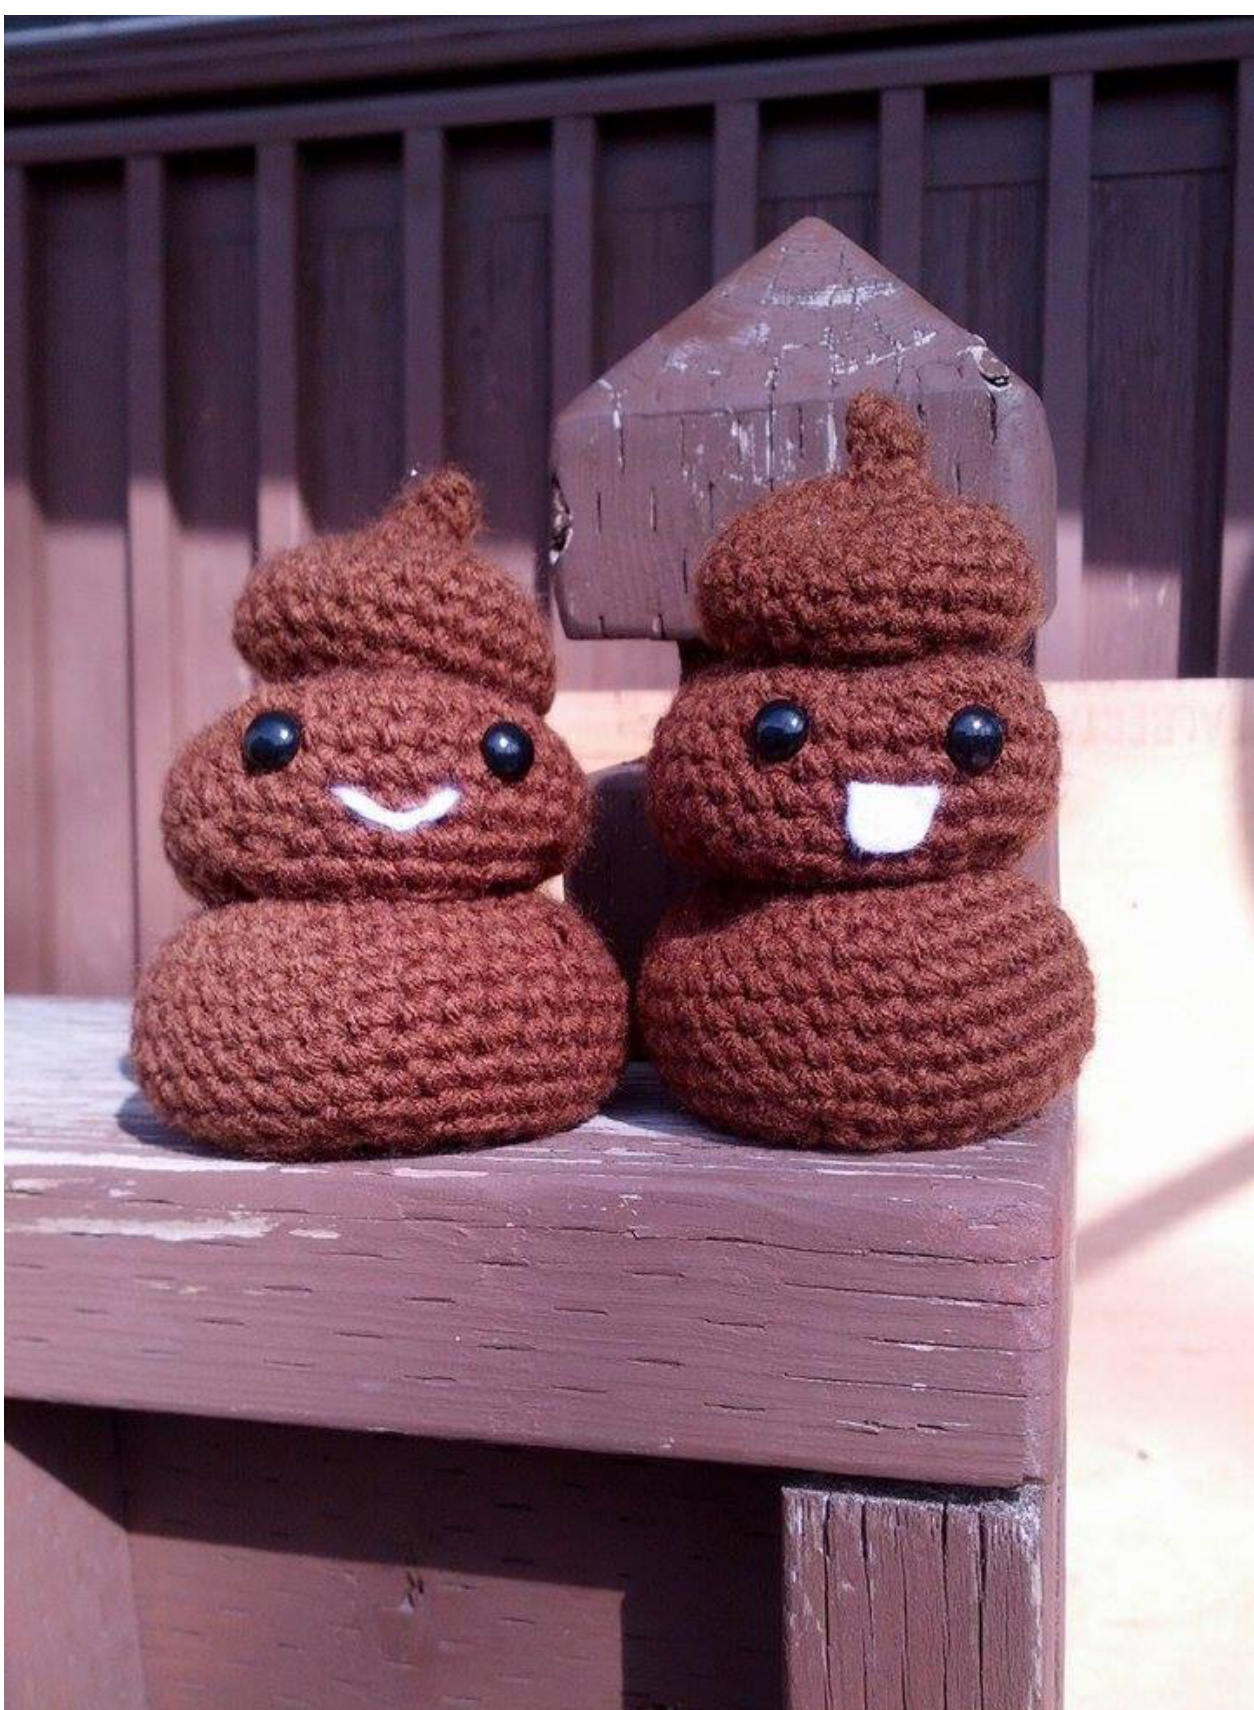
Cute Smiling Poop crochet pattern
By Ange Rattai Captured In Crochet @2015, Ange Rattai
Materials:
Worsted weight yarn - acrylic in any brand Size F hook (3.75 mm) 9 mm safety eyes Scrap of white yarn White sewing thread (to set smile in place) Polyfil stuffing for a soft toy, or decorative gravel for door stopper Stitch marker Yarn needle and darning needle Optional - white felt to add background to eyes to make it like the imogee, or to add a big grin.
Notes:
The smiling poop is worked in rounds using a magic ring start. Be sure to use a sharp darning needle to secure the magic ring be sewing through the strands of yarn, not just weaving around them, and then sew through the same strand so it cannot undo itself. The success of the shape relies on the final sewing and firm stuffing, be sure to leave a good 2 feet length of yarn when completed so the sections can be compressed and sewn into their final shape. Increases and decreases are worked unevenly through the piece so that it keeps the smooth round shape, evenly increasing will make obvious points in the work. To create a door-stop add an extra round of increases (4 stitches) and decreases to each section, and stuff each section with gravel, or other weighty filler (if using fine pellets, put into a nylon stockingfirst) To create a mini version for hanging from a car rear view mirror, use sport weight yarn, and a d hook, and follow the regular instructions, but use smaller eyes or beads instead. When stuffing with the poly-fil, stuff tightly, and compress the poop as you go, so that the smooth round shape is maintained once you sew through the object layers.
Instructions:
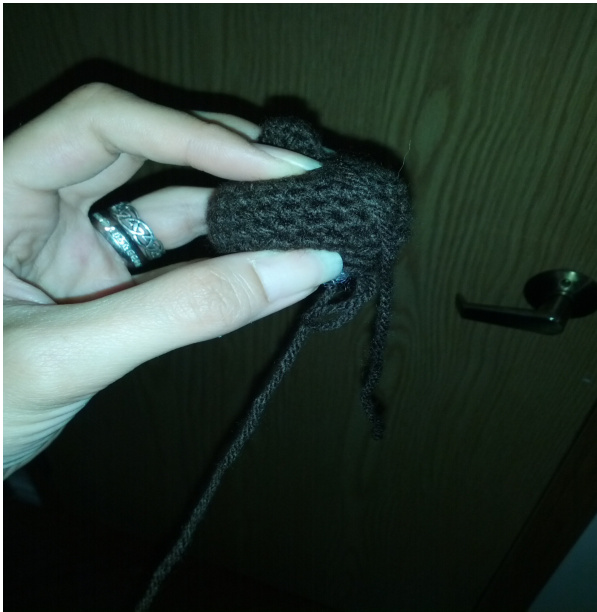
Round 1 - Magic ring, SC 4 in ring (4) Round 2 - 1 SC in each st (4) Round 3 - SC 1, inc, SC 1, inc. (6) Use the tail of magic ring to pull the work right-side out and secure your magic ring (alternatively, leave the tail hanging out and sew it in at the very end to create a nice pointed tip.) Round 4 - 2 SC in each stitch (12) Round 5 - SC 2, inc, SC 2, inc in next 3 stitches, SC 4 (16) Round 6 - [SC in next 3, inc]x4 (20) Round 7 - SC 2, inc, (SC 4, inc)x3, SC 2 (24) Round 8-10 - SC in each st for 3 rounds. (24) Round 11 - SC 4, Dec (x4) - Decrease by using the back loop only of the second SC stitch, this ensures no holes in the work. (20) Round 12 - SC, Dec, [SC 3, Dec]x3, SC 2 (16) Pause here to stuff - the top section should be stuffed a little more lightly, so you can stitch in some character to the top of the poop, adding dents as you sew through. Squish it down with both hands so the section looks full and you can see if any spots are too soft, once filled it should appear as it will once completed, kind of like a fat hamburger patty.
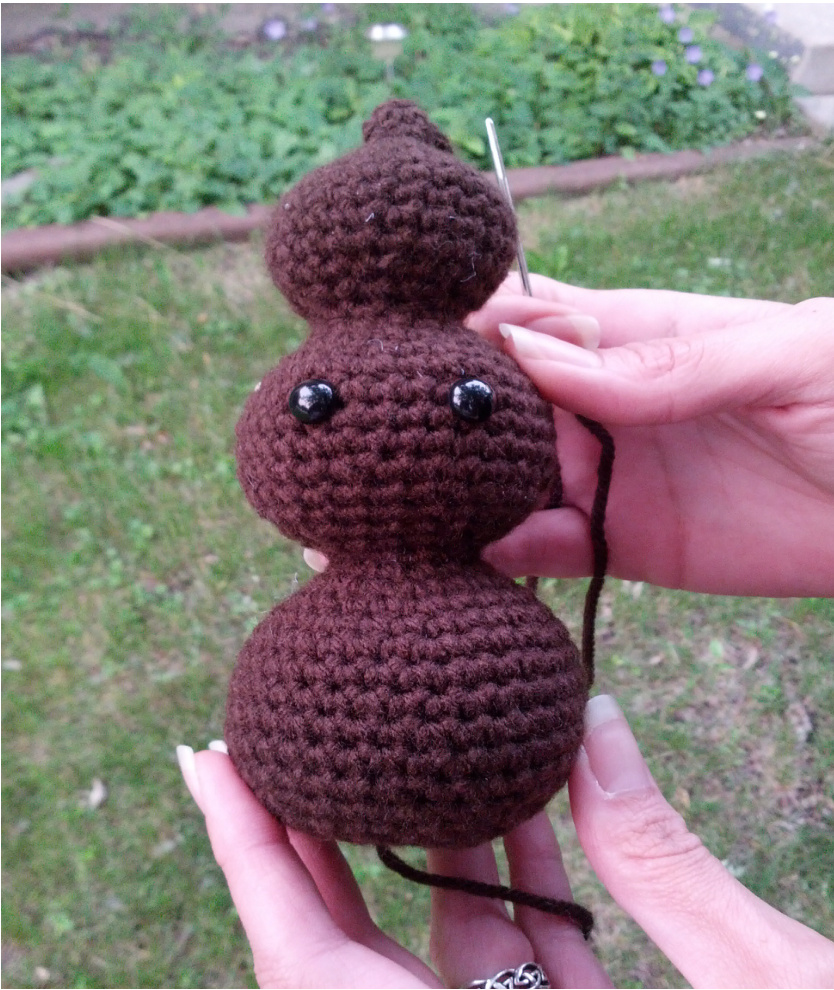
Round 13 - Dec, [SC 2, Dec]x4, SC 2 (12) Round 14 (middle section) SC 2, inc (x4) (16) Round 15 - SC 3, inc (x4) (20) Round 16 - SC 2, inc, SC 2, [inc SC 4] x2, inc, SC 4 (24) Round 17 - SC 5, inc (x4) (28) Round 18 - Inc, SC 6 (x4) (32) Round 19-21 - SC in each st for 3 rounds. Round 22 - Dec, SC6 (x4) (28) Round 23 - Sc 2, Dec (SC 5, Dec) x3, SC 3 (24) Round 24 - SC 4, Dec (x4) (20) At this point insert the safety eyes, insert between round 19 and 20 with 3 full stitches in between. Round 25 - SC 3, Dec (x4) (16) Round 26 - SC2, Dec (x3) (12) Stuff middle section, ensuring to squish down into firm shape. Round 27-31 - Repeat rounds 14 through 18 Round 32 - SC 7, inc (x4) (36) Round 33-36 SC in each stitch for 4 rounds (36) Round 37 - SC 7, Dec (x4) (32) Round 38 - SC3, Dec, [SC 6, Dec]x3, SC 3 (28) Round 39 - SC 5, Dec (x4) (24) Round 40 - SC 4, Dec (x4) (20) Round 41 - SC 3, Dec (x4) (16) Round 42 -SC 2, Dec (x4) (12) Finish off, leaving a 24-36" tail. Stuff firmly, squishing into shape as you go, so that it is the correct shape when sewn through. And ensure it is stuffed evenly all around. See pictures below for before and after sewing.
Finishing:
Weave tail through the remaining stitches to close hole. Once hole is closed, then using a yarn needle, sew up through all layers and back down through the bottom section to secure all layers into a tight shape. There aren't really any rules to this, sometimes you will sew through just two layers, other times all three, or even just one to get it to sit just how you want it. When I finish the center of the bottom tends to be kind of hollow, like a deep thumb print. Weave in end securely, perhaps add a knot in a tucked in space between the layers. If you left the Magic ring tail to make a fine tip at the top, sew that up now too. Using white yarn, and darning needle, add the smile, I usually make it 1 row below the eyes, starting and ending in a straight line in the middle under each eye, and then use the sewing. thread and tiny stitches to pull it into a smile shape. You can also use felt to create a big grin if youprefer. Before final sewing, once hole is closed -
Squish your poop! And hold onto him like this while you sew the first couple of stitches straight up through the bottom, and down through the top. Pull stitches tight and stay within a row of the middle so the stitches stay hidden.
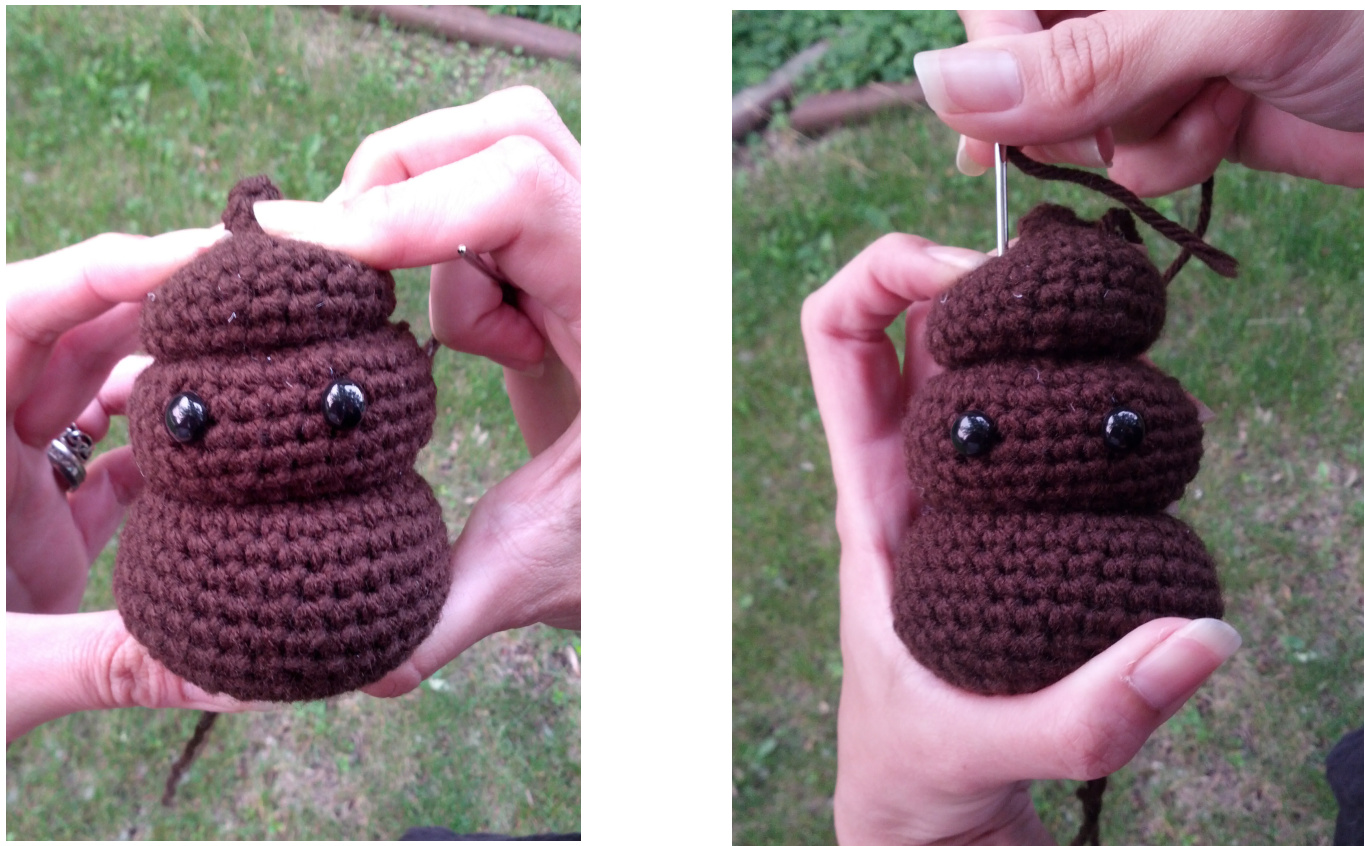
Once your smile is sewn on he is all done! You can give him just like this, or pop it into a cupcake liner, or ice cream cone for those with a more wholesome expectation. ;-) Images in this pattern may not be shared without permission. No part of this pattern may be re-posted or copied or sold without the author's permission. If you need assistance with this pattern feel free to send me a message on Facebook or Ravelry, I am happy to help! :)


