(beside the seaside...) Beside the Sea
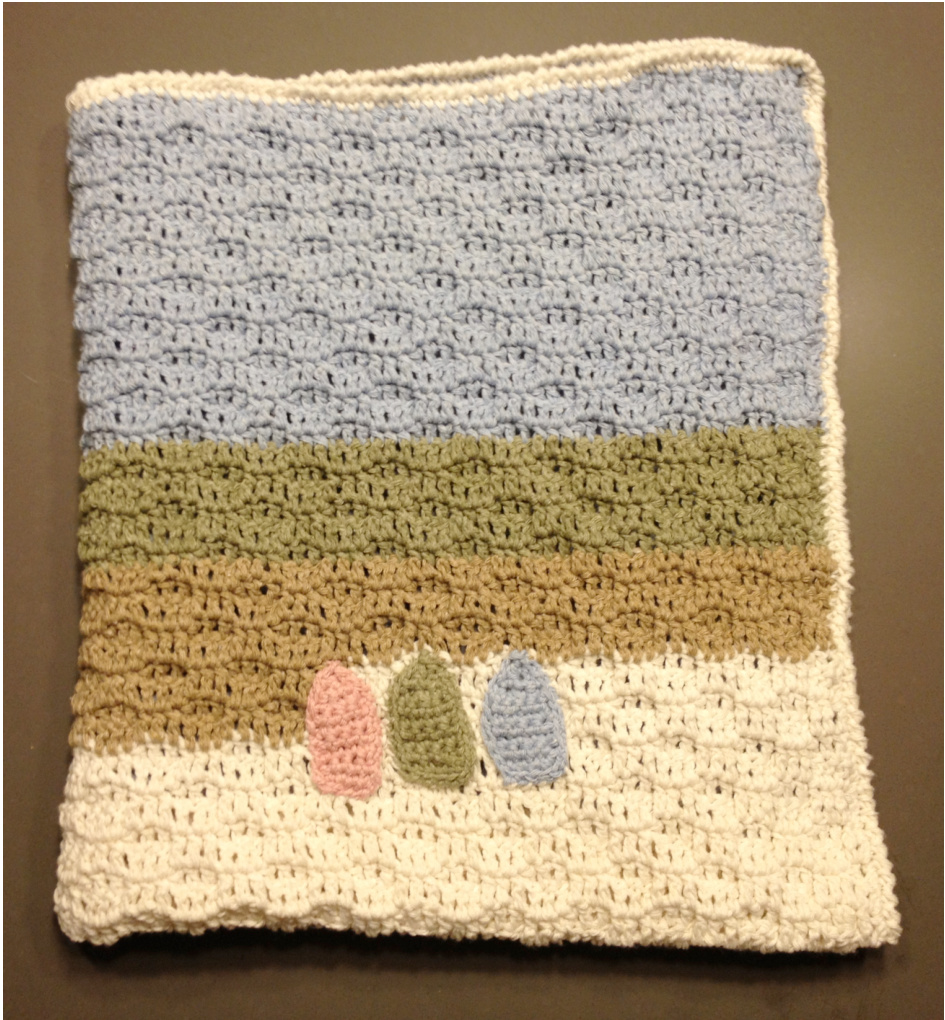
This is a gorgeous drapey baby blanket for my friend who lives by the south coast of the UK. I designed it as a rather abstract representation of the beach although the wave pattern is robust enough to look good in a plain or self-striping yarn if you didn't want to add different colours.
Finished size
I made this blanket around a pram or cot size. The final measurements are 70cm (27.5 inches) x 61cm (24 inches) with 18 pattern repeats across. Increasing/decreasing the size of the finished product is easy. To increase or decrease the width of the pattern add or subtract chains in multiples of 6 stitches (add 2 stitches for the foundation Ch).
Hook
A 4mm (G) hook was used for this project but of course use a hook appropriate to the weight of your yarn. For this particular yarn I would recommend not to use too sharp a hook as it does split slightly.
Yarn
I used Sirdar Simply Recycled DK, which is lovely and smooth to work with even if it splits a little. And of course it's machine washable! 51% cotton, 49% acrylic 50g ball = 130 metres (142 yards) Blue Shade 4 balls Cream Shade 1 ball Green Shade 1 ball Brown Shade 1 ball Pink Shade 1 ball or scraps
Gauge
I used a DK yarn for the drape it allows but in fact this stitch would look good in any yarn weight. Gauge is not important for this project.
Abbreviations (American)
Ch chain SC single crochet SC2tog single crochet two together DC double crochet FP-DC front post double crochet Slst slip stitch chain double crochet double crochet two together treble crochet front post treble crochet slip stitch
ReliefWaveStitch
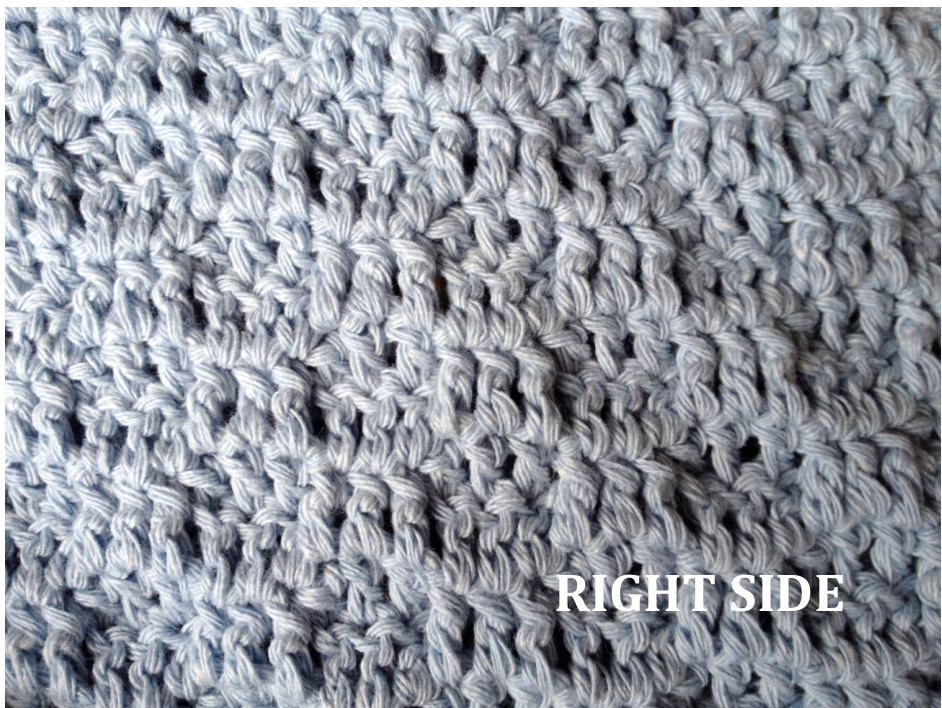
This stitch is worked over two repeated rows. Row 1 is performed by alternating three DC with three FP-DC. The next row is DC (in both loops) across.
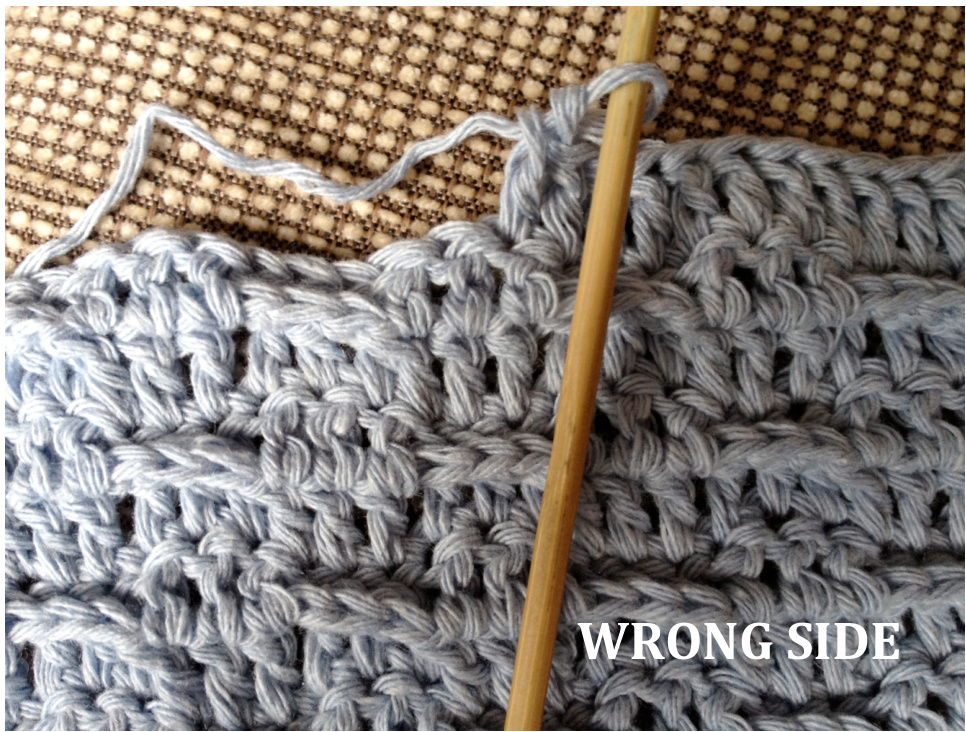
The alternation in stitches is key to the pattern. Remember to cieck periodically along the project that you have placed the three FP-DC in the correct places as this will offset the wave effect in subsequent rows.
Pattern
Blanket
1. In blue Ch 116 a. To increase or decrease the width of the blanket add or subtract chains il multiples of 6 stitches. 2. DC into 4th Ch from hook and each Ch to end, Ch3, turn. 3. Ch3 (counts as first DC), \*FP-DC in first 3 stitches, DC in next 3 stitches \*\*, continue pattern between \* and \*\* to end, Ch3 and turn. 4. 1DC in each stitch across including 3rd Ch of turning chain, Ch3 and turn. 5. Ch3 (counts as first DC), DC in next 2 stitches, \*FP-DC in next 3 stitches, DC in next 3 stitches \*\*, continue pattern between \* and \*\* to end. End with DC in 3rd Ch of turning chain, Ch3 and turn. 6. 1DC in each stitch across including 3rd Ch of turning chain, Ch3 and turn. 7. Repeat rows 3 to 6, aligning the waves carefully, until the blanket is as long as you wish. For this project I did: Blue \~40 rows Cream \~20 rows Brown \~5 rows Green \~5 rows Blue \~20 rows When changing colours try to do it on a right side row.
Edging
1. Attaching the colour of your choice work a single row of SC around all 4 sides of the blanket. 2.Work a single row of crab stitch (reverse single crochet) around all four sides.
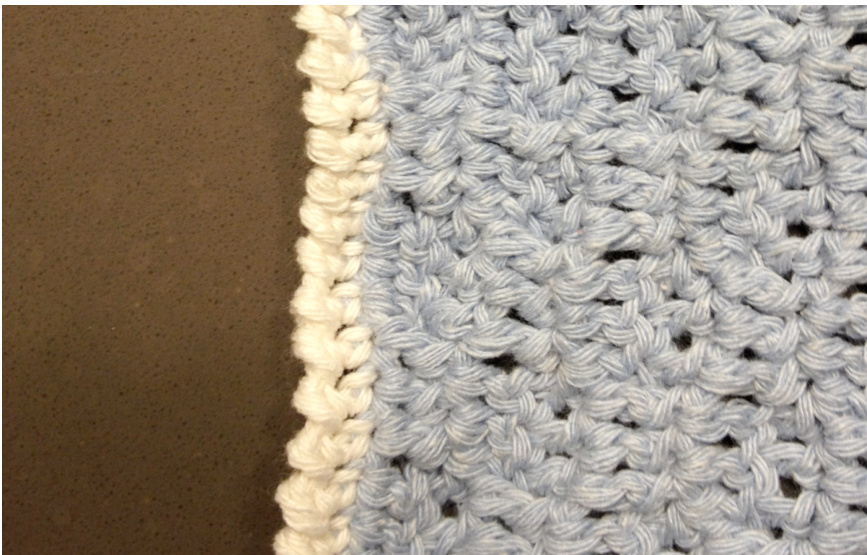
3. Fasten off and sew in ends using a darning needle.
Additions
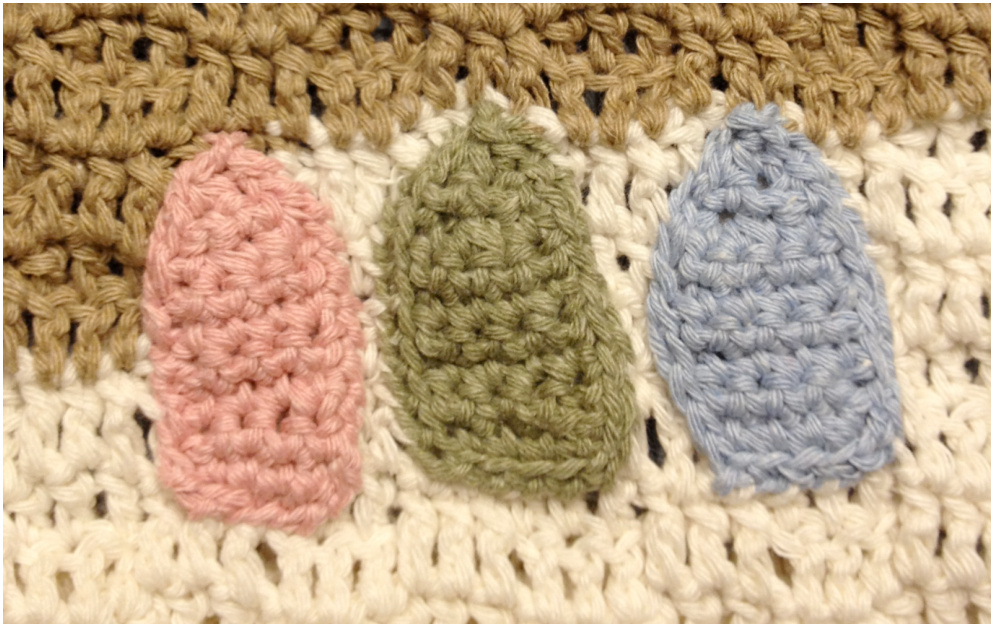
Beach huts (make as many as you like).
1. In colour of your choice Ch5. 2. 1SC in 2nd Ch from hook and each Ch across, Ch1, turn. 3. 1SC in 1st SC and each across, Ch1, turn. 4. Repeat last row 6 times. 5. 1SC, SC2tog over next 2 stitches, 1SC, Ch1, turn. 6. 1SC, SC2tog over next 2 stitches, Ch1, turn. 7. SC2tog over next 2 stitches. 8. Slst around and fasten off before sewing in place on the righ side of the blanket.
Boat (can be done in any colour combination)
Base
1.In brown Ch9 2. 1SC in 2nd Ch and in each Ch across, Ch1, turn. 3. 2SC in 1st SC and across ending with 2SC in last stitch 4. Repeat last row 3 times. 5. Slst around and sew in place on right side of blanket.
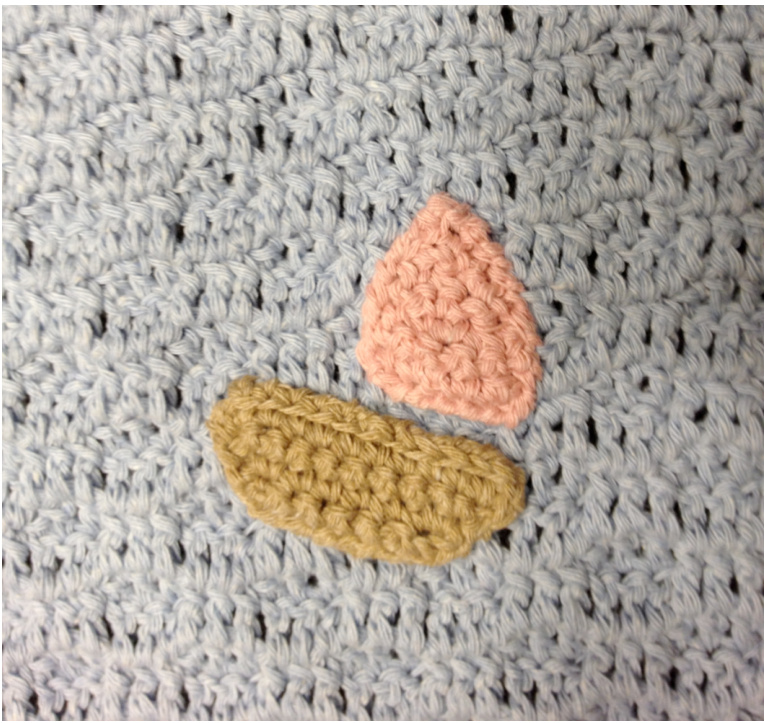
Sail
1. In Pink Ch6 2. 1SC in 2nd Ch and each Ch across, Ch1, turn. 3. 1SC across, Ch1, turn. 4. SC2tog in 1st 2 stitches, 1SC in each SC across, Ch1, turn. 5. 1SC in each stitch across until last 2 stitches, SC2tog in last 2st, Ch1, turn 6. Repeat rows 4 and 5 twice. 7. Slst around and sew in place on right side of blanket.


