Please
NOte: This pattern may not be redistributed in any form, or knit for profit. Knitting for non-profit purposes is permitted. Thank you.
& don't forget
to check LAYLOCK.org frequently for the latest news and patterns.


Overview:
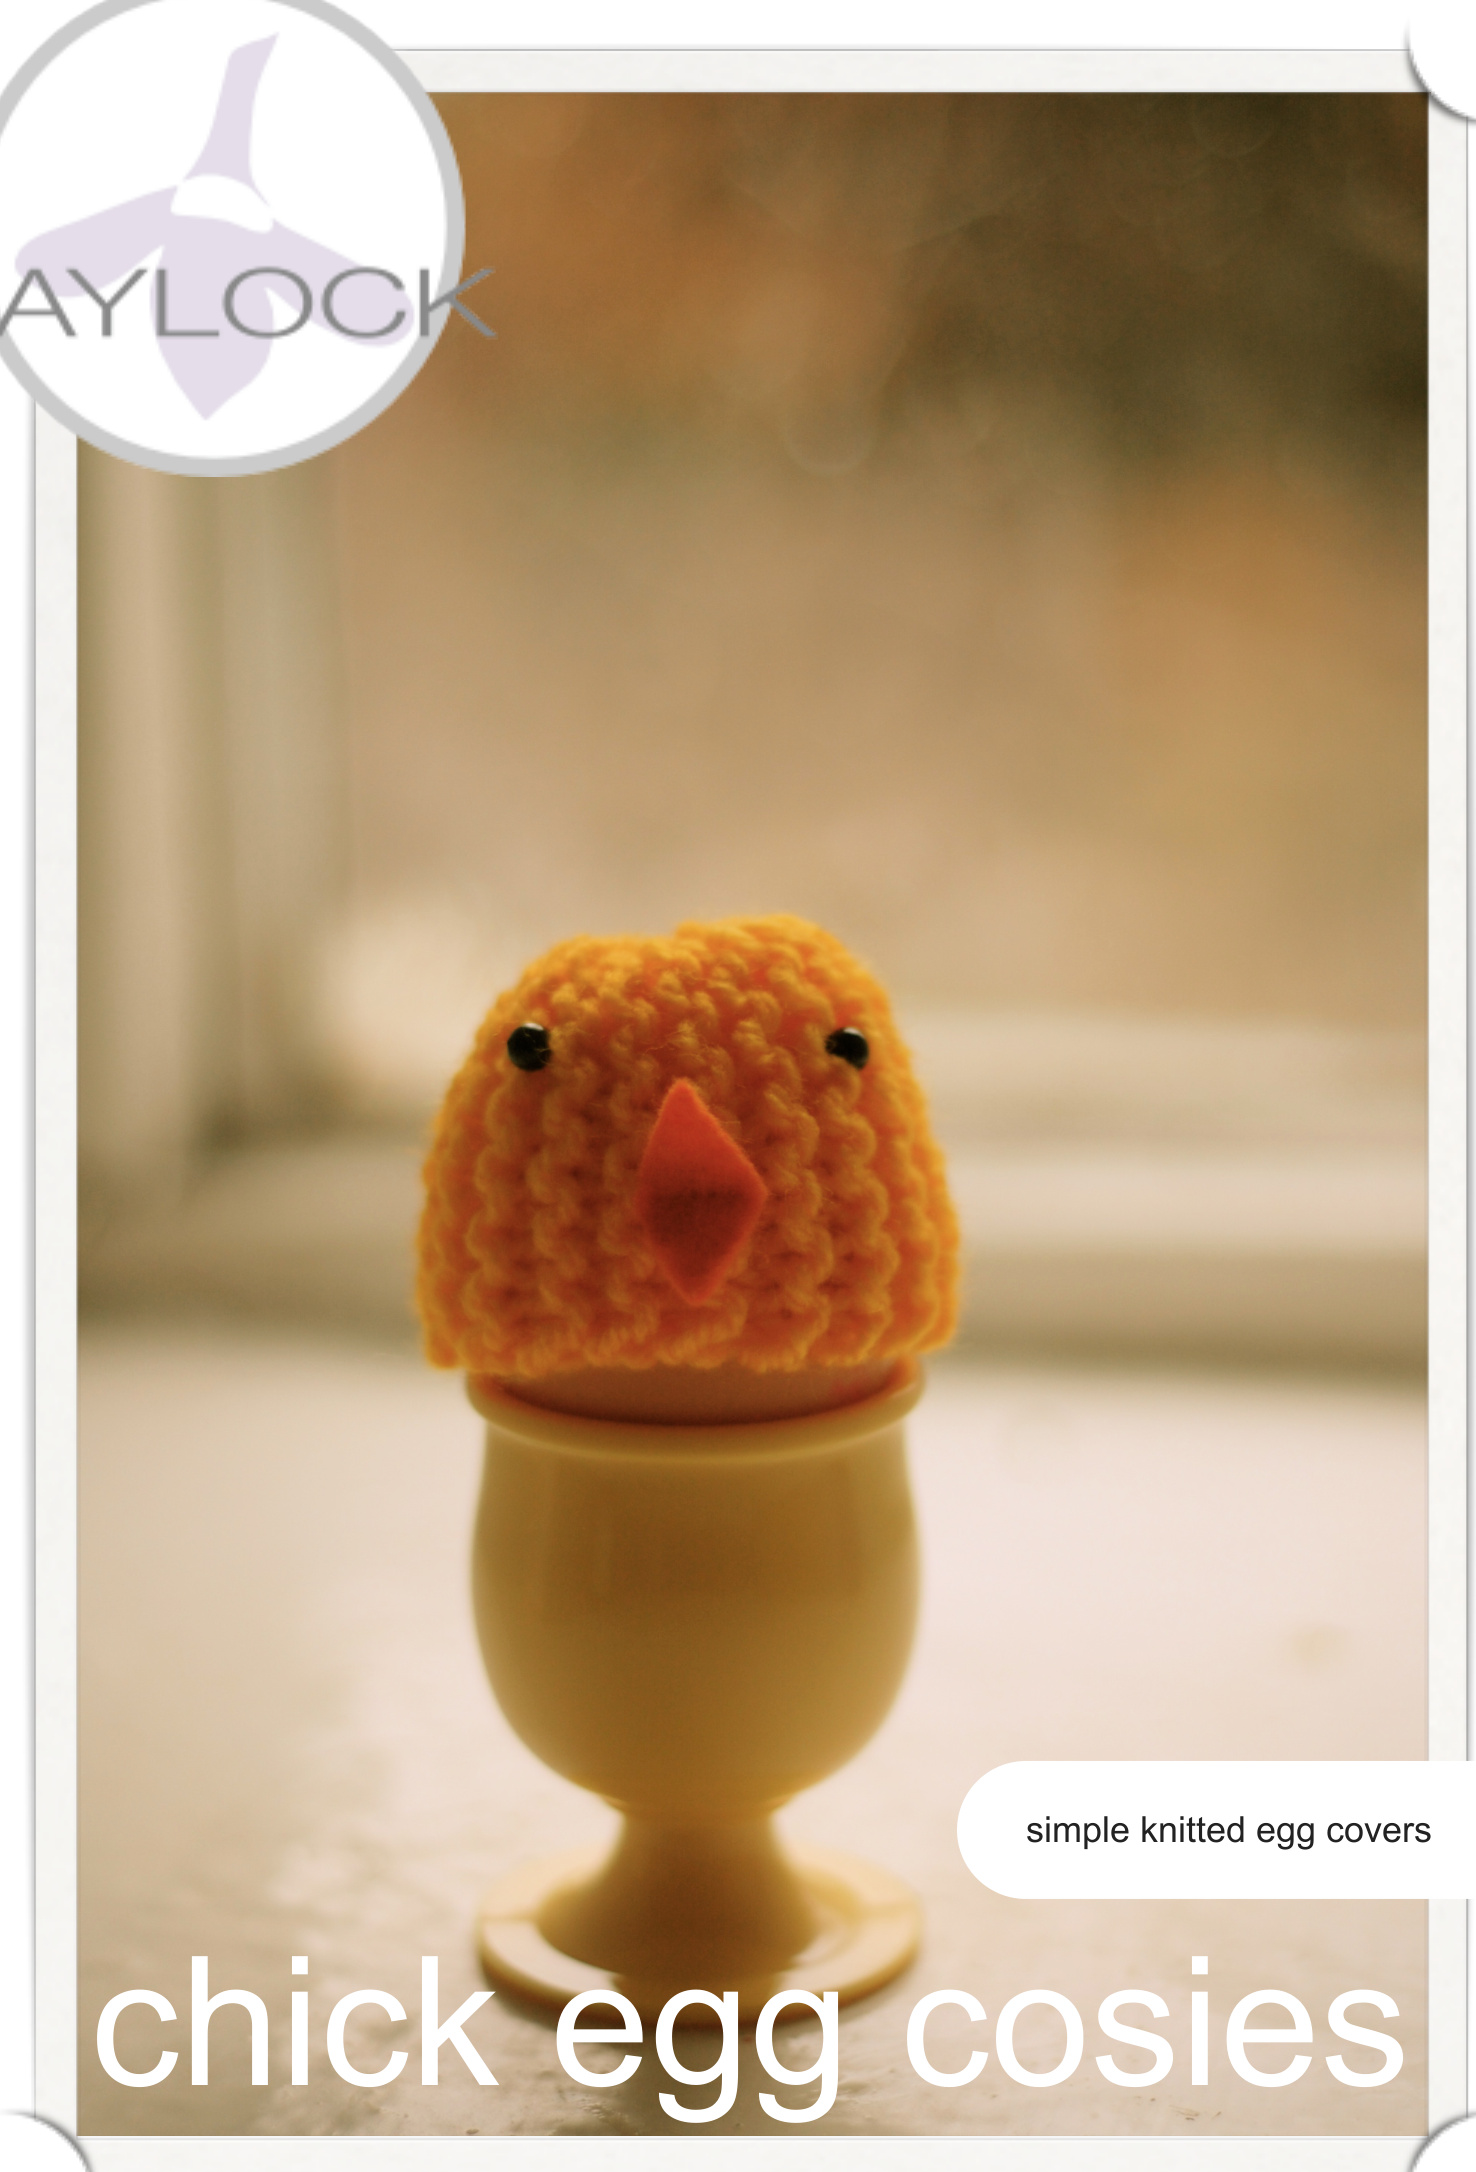
>Knit flat sideways, > in garter stitch, > with short rows to shape, ) seamed up the back, > with a small piece of felt for the beak, > and two beads for eyes, sewn on last.
Get
Yarn:
Needles:
Gauge: And: →A small amount of worsted / aran weight yarn. $4.5\mathsf{m m}$ . or whatever suits the yarn you're using. Unimportant! > A short length of thread, → a small piece of orange felt to make a beak, 2 beads for eyes.

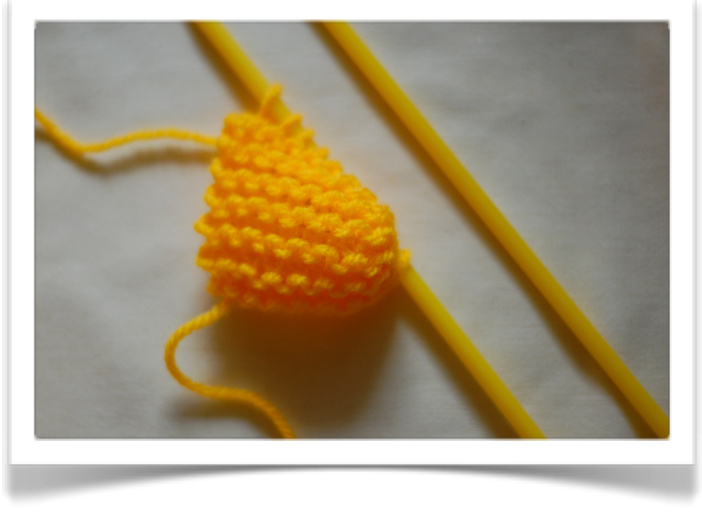
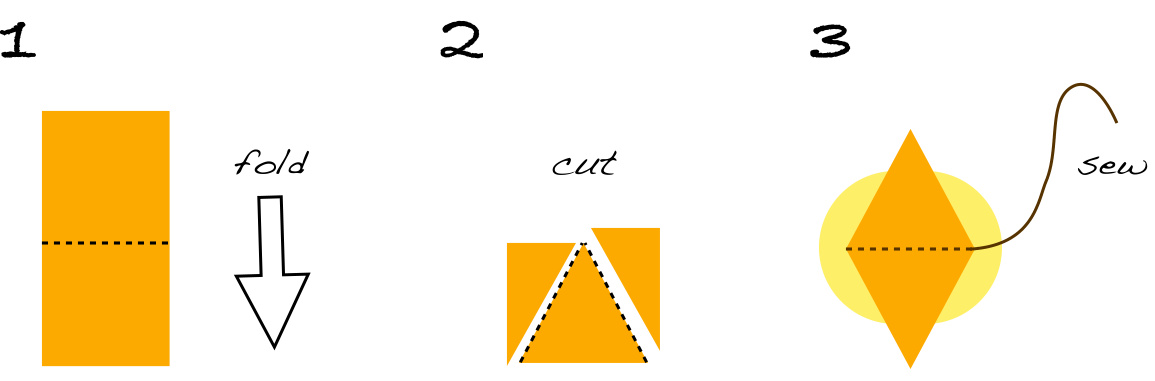
CORO ROW 1: K to last 2 sts, wrap and turn. ROW 2: K across. Repeat rows 1-2 until the 'top' looks circular (try fitting an egg into the half-knitted cosy & see if the two edges meet at the top). ROW 3: K to last 3 sts, wrap and turn. ROW 4: K across. ROw 5: K to last 4 sts, wrap and turn. ROW 6: K across. Cast off. Sew up seam. Cut out a beak shape from the orange felt. Fold in half and sew on. Sew on beads, or embroider for eyes.
WRAP & TURN?
What does “"wrap & turn" mean? See the 'Short Row Tutorial' on the next page!
CHEEP!
See the last page for instructions on how to cut the beak.
TIP
Sewing the eyes further apart will make your chicks look cuter!
That's it! Make a batch for breakfast!
SHORT ROW TUTORIAL
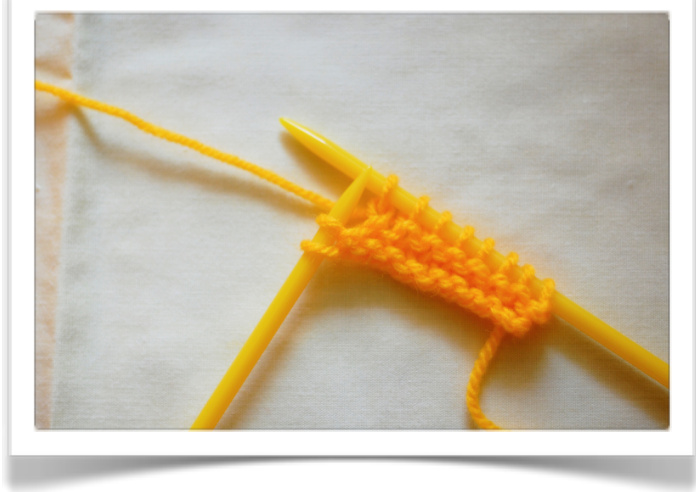
Knit to last two sts. Slip the next st purlwise onto the right needle.
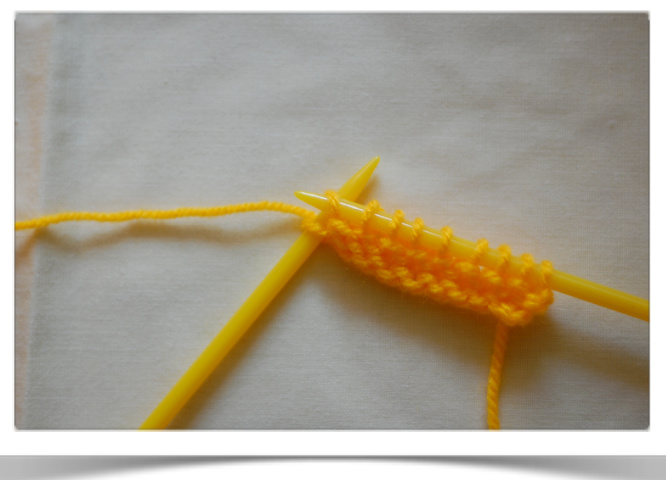
Bring the yarn from the back to the front.
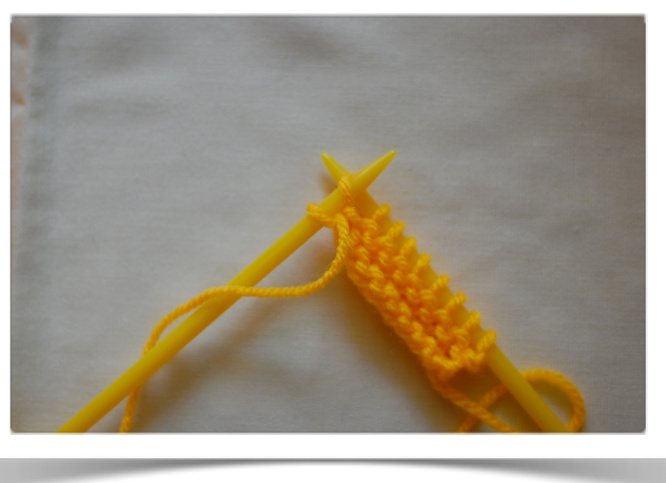
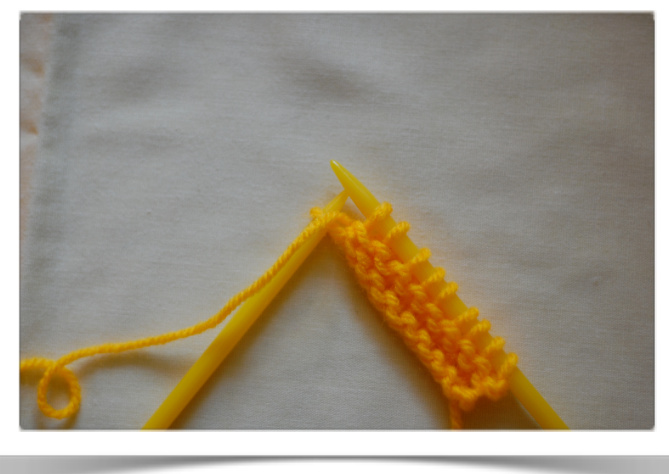
Slip the same st from the right needle, back onto the left needle.
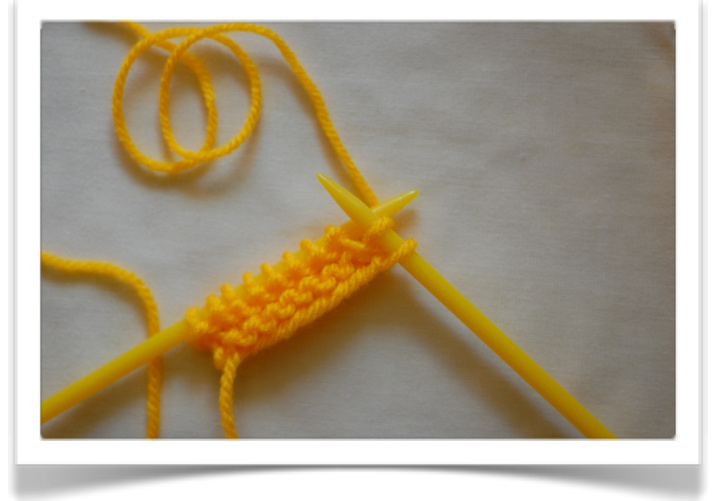
Turn your work around. Knit back across all sts as usual. Congratulations, you've knit a short row! Easy, isn't it? Notice you didn't knit the last two sts on the needle at all. That is why it is called a short row. A few more short rows, and your egg cosy will begin to take on its rounded shape.
HOW TO CUT THEBEAK
Don't have yellow yarn? Try making a bluebird, or a white or brown bunny (just cut some long ears from felt!). Check out Ravelry to see what some creative knitters have come up with!


