
Zero socks - Free test version
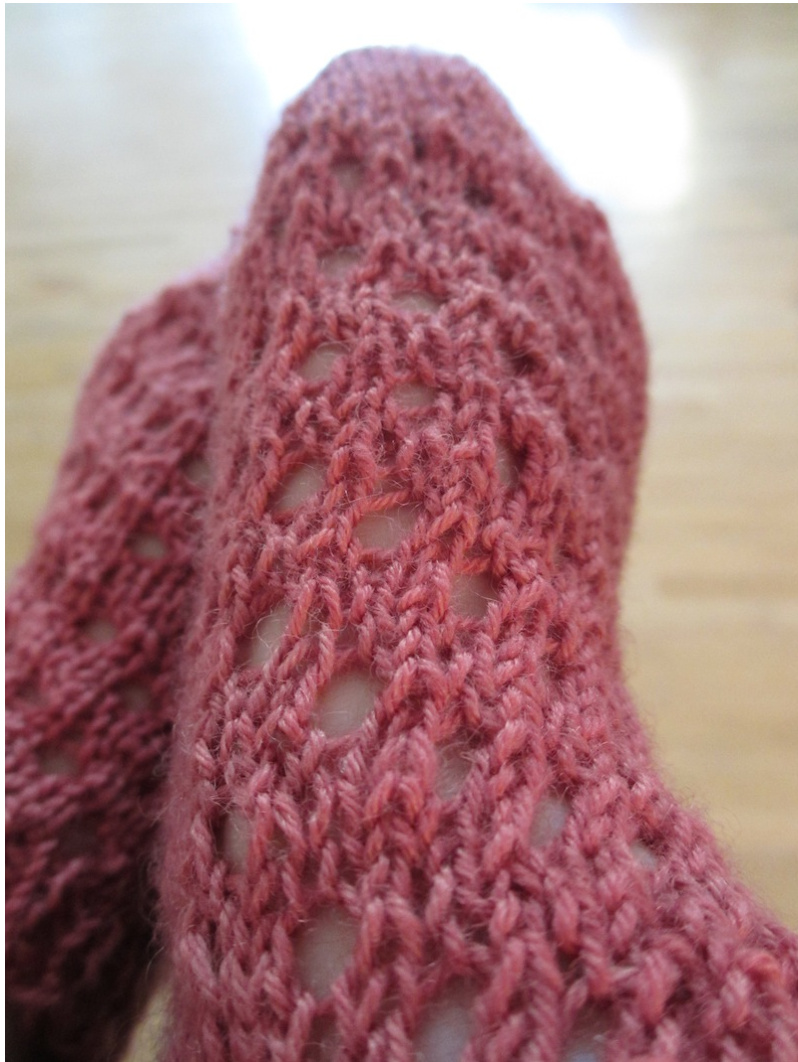
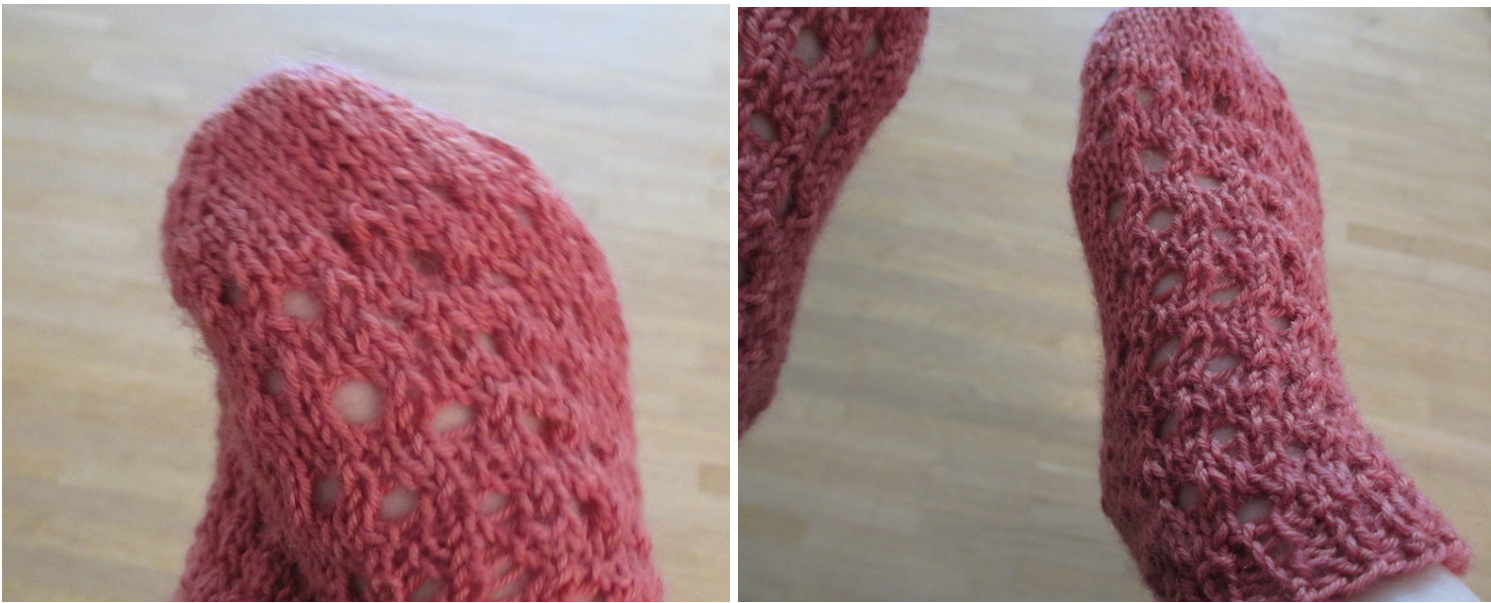
a quick little kids sock knit These socks have been designed using the Super Sock Calculator for kids sizes 6-12 months, 1-3 years, 3-5 years, 5-7 years, 7-9 years and are decorated with a simple lace pattern. They are knit toe-up on circular needles and I encourage you to try and knit them two at a time using my videos to guide you. The heel is turned with short-rows. Sizes: Kids sizes 6-12m [1-3y] 3-5y [5-7y] 7-9y Finished measurements: circumference of foot: 11 [14] 15.5 [16] 17.5 cm / 4.25 [5.5] 6 [6.25] 6.75 inches, length of foot: 10 [13] 15.5 [18.5] 20 cm / 4 [5] 6 [7.25] 7.75 inches.
Materials:
Yarn: 4-ply sock yarn such as The Natural Dye Studio DAZZLE HT SOCK, 80-200 yards Needles: 3mm / US 2.5 circular needles - at least 100-120cm / 40-50 inches long Notions: yarn needle, blocking pins Gauge: Gauge is very important to ensure that the socks fit the size you are trying to make. Try to match a gauge of 26 stitches per 10cm / 4 inches.
Pattern notes:
Abbreviations:
k: knit k tbl: knit through the back loop p: purl rs: right side of knitting ws: wrong side of knitting kfb: make a stitch by knitting both front and back loop yo: yarn over (see video) k2tog: knit 2 together (see video) repeat \*\*: repeat everything between the previous stars
Casting on at the toe:
You begin Judy's magic cast-on with 6 [8] 8 [10] 10 stitches on each needle. (See video: starting at the toe) I suggest to knit both socks at the same time as such: Cast-on for the first sock and knit the first needle. Push this sock down on the needles and cast on for the second sock and knit the first needle. Now work the first sock again by knitting the first needle of stitches through the back loop (k tbl) and the second needle normally. Always work the second sock identically to the first. It is easier to explain by showing you in the video. The increase is worked on every second round as follows: \*Kfb, knit till 2 stitches before end of needle, kfb, k1\* (repeat \* on second needle) and repeat all again on second sock. Knit a round Continue to work increases on every second round with a plain knit round in between till you reach 14 [18] 20 [22] 24 stitches on each needle.
Eyelet pattern for foot:
The pattern is only knit on the top of the foot, so only on one of the needles. On the sole of the foot you will knit stockinette stitch. 1. \*k2, yo, k2tog\*, (repeat \*\* 3 [4] 4 [5] 5 times), knit 2 [2] 4 [2] 4, knit the soles 2. knit 3. knit .. k2, \*k2, yo, k2tog\*, (repeat \*\* 2 [3] 4 [4] 5 times), knit 4 [4] 2 [4] 2, knit the sole 5. knit 6. knit Repeat this pattern until you reach approx. 8.5 [10.5] 13 [16] 16.5 cm / 3.25 [4] 5 [6.25] 6.5 inches from the toe. Henriette Roued-Cunliffe | www.roued.com | facebook.com/eddiesroom | @HenrietteRoued
Turning the heel:
Here I would suggest using shadow wrap short-rows, but you can use any other type of short-rows too. You work the heel on half of the stitches, so in this case on the needle where you didn't knit the pattern. (See video: turning the heel) I knit the heel of each sock one at a time and then continue in the round with both afterwards. 1. Knit till 1 before end, make a shadow stitch for this stitch by knitting into the stitch below, leave stitch with shadow stitch as a twin stitch on left needle and turn 2. Purl till 1 before end, make shadow stitch for this stitch by purling into the stitch below, leave stitch with shadow stitch as a twin stitch on left needle and turn Repeat while stopping 1 stitch earlier each time till there are 4 [5] 6 [6] 7 twin stitches on each side and 6 [8] 8 [10] 10 normal stitches in between. Now pick up stitches again as follows. 1. Knit till first twin stitch, knit together and make a shadow stitch more for the next twin stitch creating a triplet stitch, leave on left needle, turn 2. Purl tillfirst twin stitch, purl together and make a shadow stitch more for the next twin stitch creating a triplet stitch, leave on left needle, turn Note that when you repeat this you are first knitting or purling till the first triple which is then knit or purl together before creating a new triplet stitch out of the following twin stitch. Repeat till last triple knit stitch, knit this and do the same for the second sock. Note that the last triple purl stitch is first knit together when you continue in the round up the ankle.
Knitting the leg:
Once you have heels on both socks, continue to knit round, but now working the eyelet pattern all the way round the socks. Repeat the eyelet pattern 3 times or until you reach your desired length.
Eyelet pattern for legs:
1. \*k2, yo, k2tog\*, (repeat \*\* 7 [9] 10 [11] 12 times) 2. knit 3. knit 4. \*yo, k2tog, k2\*, (repeat \*\* 7 [9] 10 [11] 12 times) 5. knit 6. knit
Finishing off:
Finish off with 8 rows of k2, p2 rib. Get help with the video about finishing off. Bind-off with Jeny's Surprisingly Stretchy Bind off: yo from back to front, k1, pass yo over knit stitch, \*yo from back to front, k1, pass yo over knit stitch, then pass previous stitch over last stitch to bind off\* (repeat \* till end). Weave in ends and block. Thank you for buying and knitting this pattern. I look forward to seeing your finished project linked to the Ravelry Pattern page. You are also very welcome to share your photos on any of the social networking sites listed below or on my blog. The copyright for this pattern is mine, but let me just tell you a little about what you can do with the pattern. If you have paid you are free to download it, print it and knit it yourself. You are free to send a link to the pattern page (either on my website or Ravelry) so that your friends, family, students, customers or someone you met on the internet can buy it, download it, print itandknit ithemselves. You are free to give away your knited items made from this pattern. If you wish to use this pattern in any other way than described above, for example for teaching, charity or commercially, please contact me and we can talk about it.


