Elesant Simplicity
A toe-up, 2 at a time sock pattern for the besinnins knitter By Kay Compton @ 2011
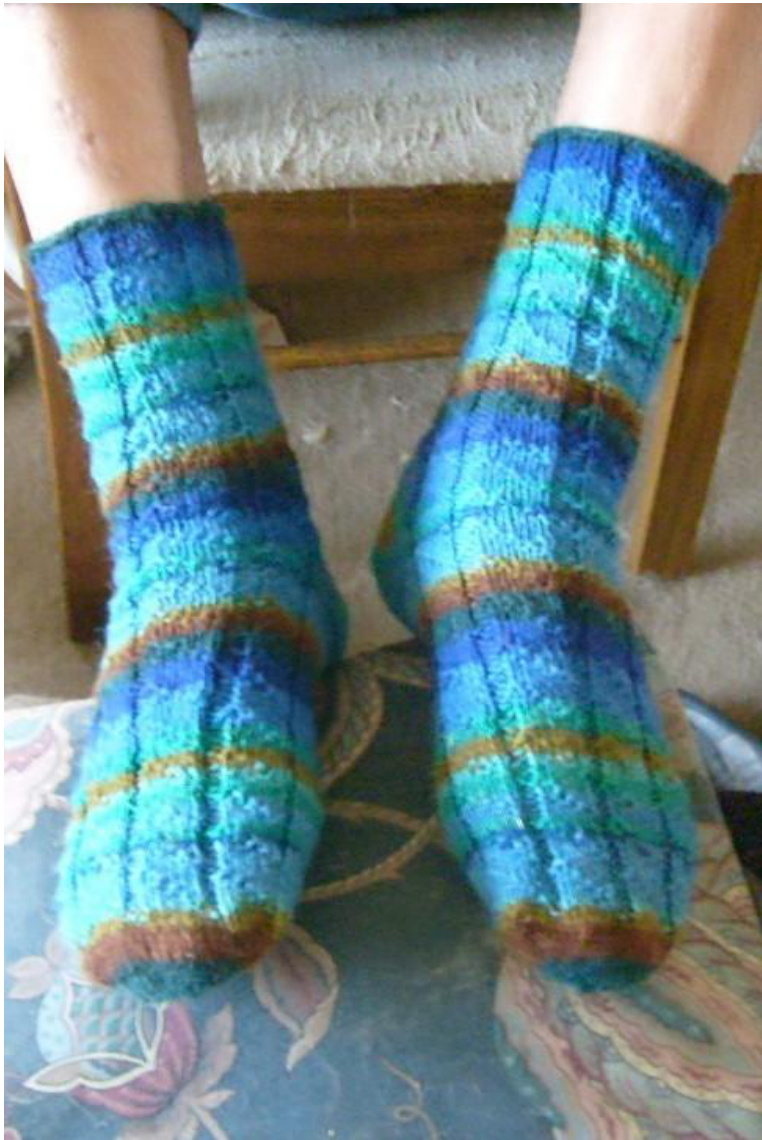
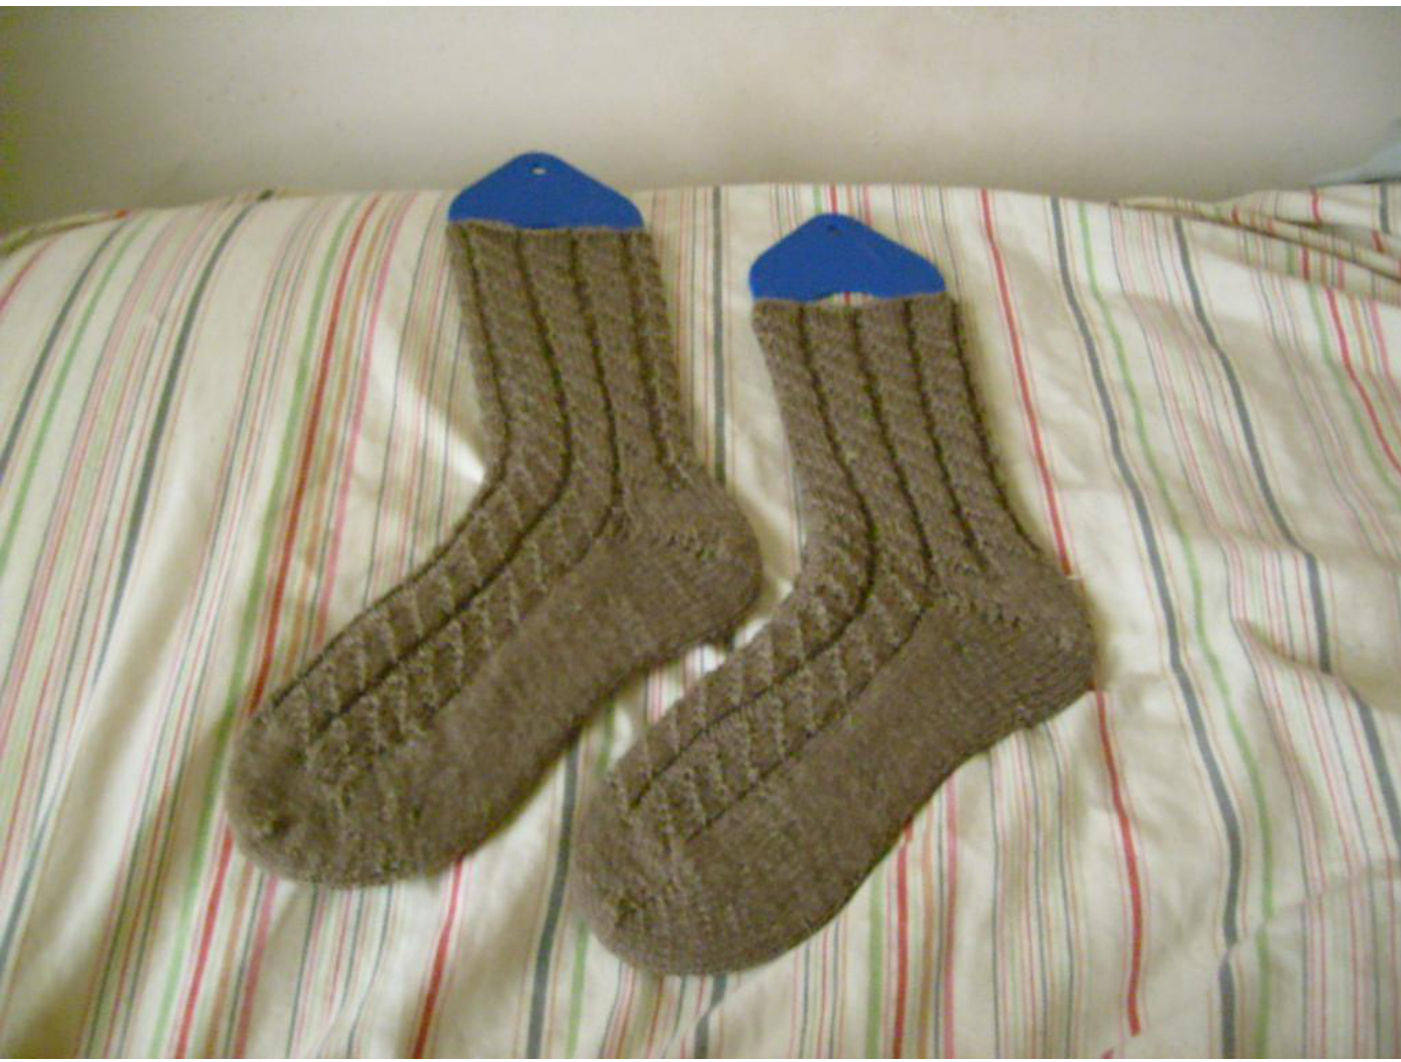
I designed this pattern for my husband who wanted a pair of handmade socks. I didn't want to knit just 'plain vanilla' socks, so I came up with this simple but elegant pattern to create some visual interest while still keeping the pattern nearly brainless.
MATERIALS:
100 gm sock yarn - any weight from light fingering to DK will work. I used a heavier weight yarn for these, because that's the yarn my husband chose. 1 32" (or longer) circular needle, size Us #2 (3.0mm) ·2 stitch markers ·1 stitch holder
ABBREVIATIONS:
DPNs = Double Point Needles CO = cast on K(#) = Knit(that number of stitches) P(#) = Purl(that number of stitches) S(#) = Slip(that number of stitches) Purl-wise, unless otherwise directer SSK = S1, knit-wise, S1 (Purl-wise), stick left needle thru front of BOTH stitches, and K thru the back loop of Both stitches together K2Tog = Knit 2 stitches together P2Tog = Purl 2 stitches together BO = bind off CHART:
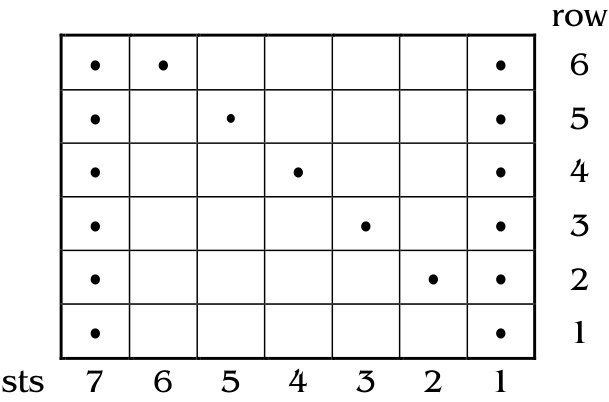
Key: = knit = purl
Toes:
Cast on 10 stitches, using the Magic Loop technique (if you need coaching on this technique, you will find some wonderful videos at www.knittinghelp.com and also, check out Silver's Sock Class (www.cometosilver.com/socks/), Place stitch marker on very first Sstitch. Row 1: k1, k1TBL, k to last 2 stitches, k1, k1TBL Row 2: k all stitches Repeat these 2 rows on both sides of toe until you have a minimum of 28 stitches per side. Pattern repeat is 7 stitches, so total number of stitches per side must be divisible by 7, and even numbers always seem to work best. with the heavier weight yarn, I ended up with 28 sttiches on sole and 28 stitches on the instep. Pattern is written for 28 stitches per side (56 total stutches). Adjust as needed for weight of yarn) It does not matter if you start with the sole of the foot or the instep pattern on side A - both sides should have the same number of stitches. On sole side, Knit all stitches. On instep side, work pattern: 1. \*P1, k5,p1\* repeat from \* to \* until all stitches on instep have been worked 2. \*p2, k4,p1\* repeat from \* to \* until all stitches on instep have been worked 3. \*p1,kl,pl,k3,p1\* repeat from \* to \* until all stitches on instep have been worked 4. \*p1,k2,pl,k2,p1\* repeat from \* to \* until all stitches on instep have been worked 5. \*p1,k3,pl,kl,p1\* repeat from \* to \* until all stitches on instep have been worked 6. \*p1,k4,p2\* repeat from \* to \* until all stitches on instep have been worked
Heel:
You will work one heel at a time . Work 1st heel to end then work second heel. On sole side: 1. k all stitches to last stitch, wrap last stitch and turn (w&t) 2. p all stitches to last stitch, w&t 3. k all stitches to last stitch before wrapped stitch, w&t 4. p all stitches to last stitch before wrapped stitch, w&t 5. k all stitches to last stitch before wrapped stitch, w&t 6. p all stitches to last stitch before wrapped stitch, w&t 7. k all stitches to last stitch before wrapped stitch, w&t 8. p all stitches to last stitch before wrapped stitch, w&t 9. k all stitches to last stitch before wrapped stitch, w&t 10. p all stitches to last stitch before wrapped stitch, w&t 11. k all stitches to last stitch before wrapped stitch, w&t 12. p all stitches to last stitch before wrapped stitch, w&t 13. k all stitches to last stitch before wrapped stitch, w&t 14. p all stitches to last stitch before wrapped stitch, w&t 15. k all stitches to last stitch before wrapped stitch, w&t 16. p all stitches to last stitch before wrapped stitch, w&t 17. k all stitches to last stitch before wrapped stitch, w&t 18. p all stitches to last stitch before wrapped stitch, w&t 19. k all stitches to wrapped stitch, w&t (This stitch will be double wrapped) 20. p all stitches to wrapped stitch, p wrapped stitch and turn 21. s1, k all stitches to wrapped stitch, k wrapped stitch and turn 22. s1, p all stitches to wrapped stitch, p wrapped stitch and turn 23. s1, k all stitches to wrapped stitch, k wrapped stitch and turn 24. s1, p all stitches to wrapped stitch, p wrapped stitch and turn 25. s1, k all stitches to wrapped stitch, k wrapped stitch and turn 26. s1, p all stitches to wrapped stitch, p wrapped stitch and turn 27. s1, k all stitches to wrapped stitch, k wrapped stitch and turn 28. s1, p all stitches to wrapped stitch, p wrapped stitch and turn 29. s1, k all stitches to wrapped stitch, k wrapped stitch and turn 30. sl, p all stitches to wrapped stitch, p wrapped stitch and turn 31. s1, k all stitches to wrapped stitch, k wrapped stitch and turn 32. s1, p all stitches to wrapped stitch, p wrapped stitch and turn 33. s1, k all stitches to wrapped stitch, k wrapped stitch and turn 34. s1, p all stitches to wrapped stitch, p wrapped stitch and turn 35. s1, k all stitches to wrapped stitch, k wrapped stitch and turn 36. s1, p all stitches to wrapped stitch, p wrapped stitch and turn 37. s1, k all stitches to wrapped stitch, k wrapped stitch and turn 38. s1, p all stitches to wrapped stitch, p wrapped stitch and turn 39. Knit all stitches You have now finished the heel. At this point, move to the second heel and repeat the above
Les:
When both heels are completed, you will begin the pattern again, this time across all stitches. Work pattern for desired ledgth of leg, again ending at the 6th row of the pattern. Now repeat row 1 5 times for a cuff, and cast off LoosLY.
Copyright notice: I am sharing this pattern with you for free. You can use and share this Pattern for free. You CANNOT sell this pattern OR the products of it.


