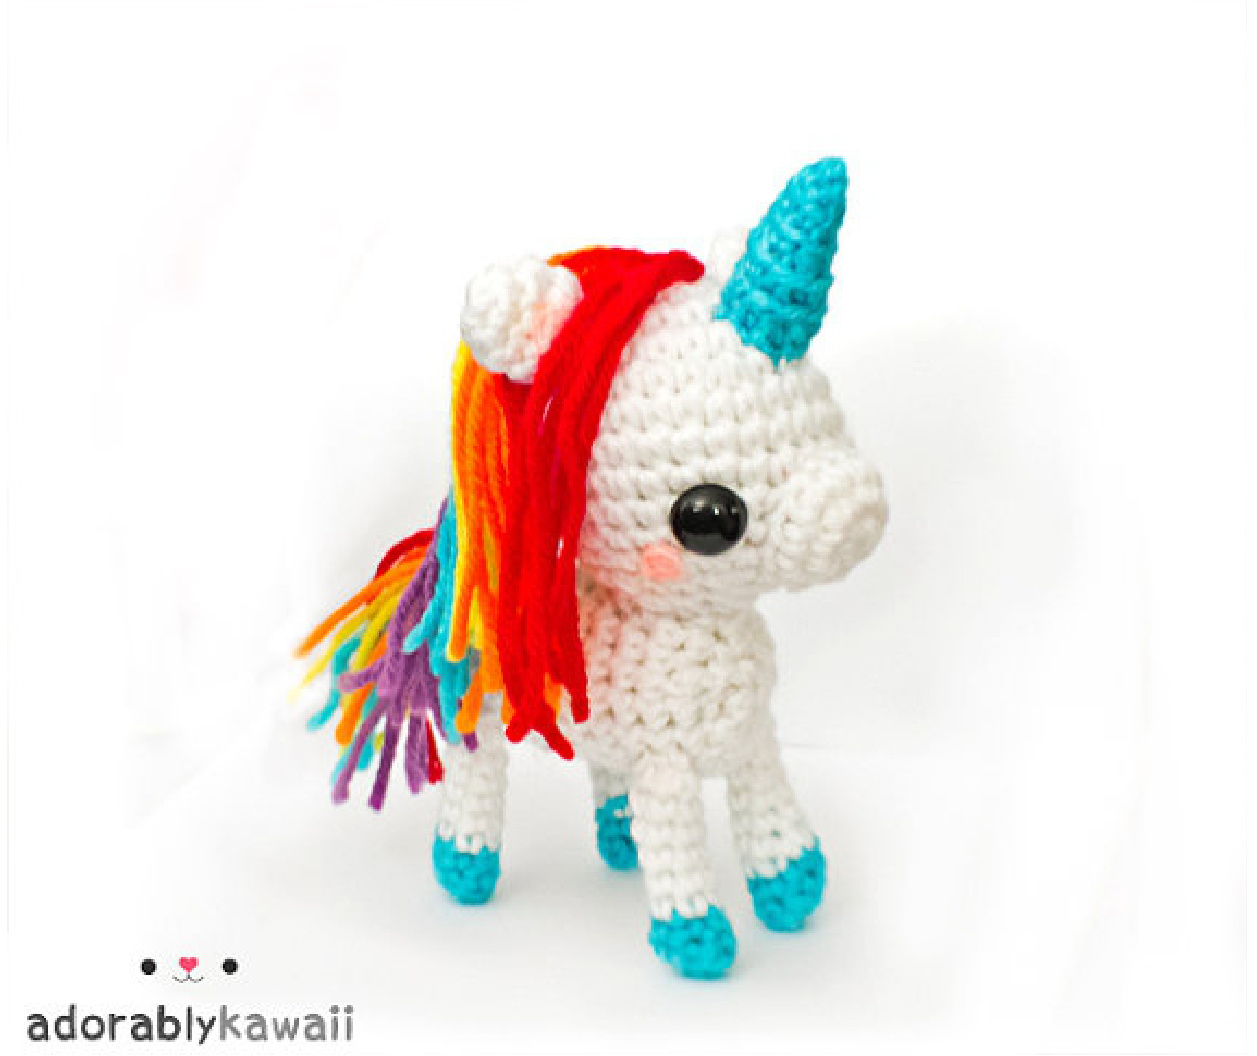
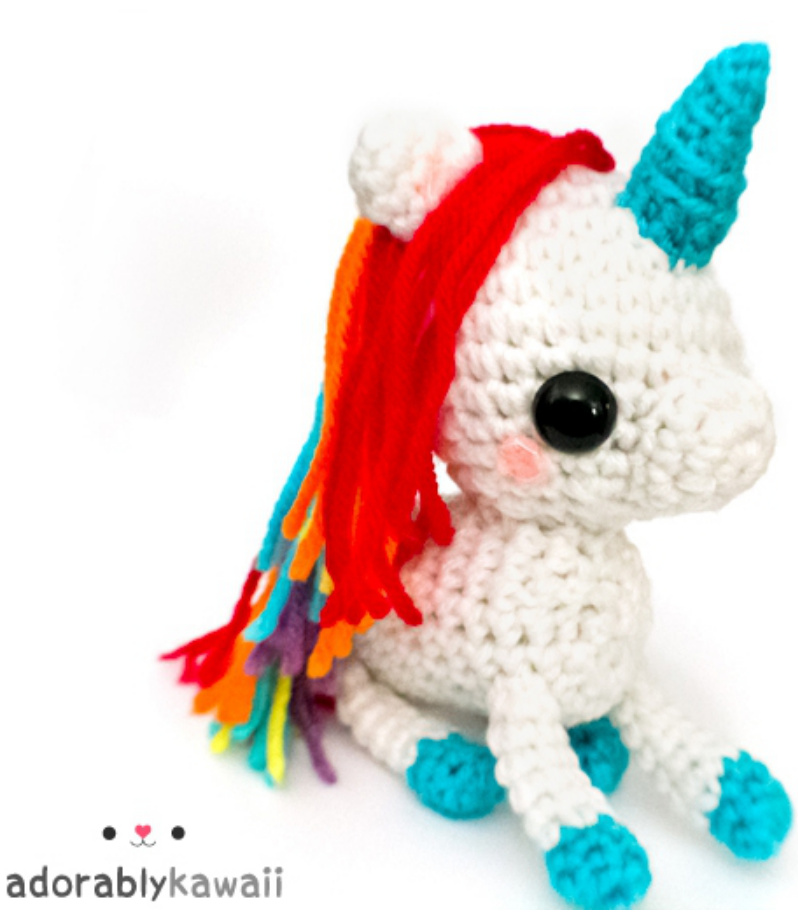
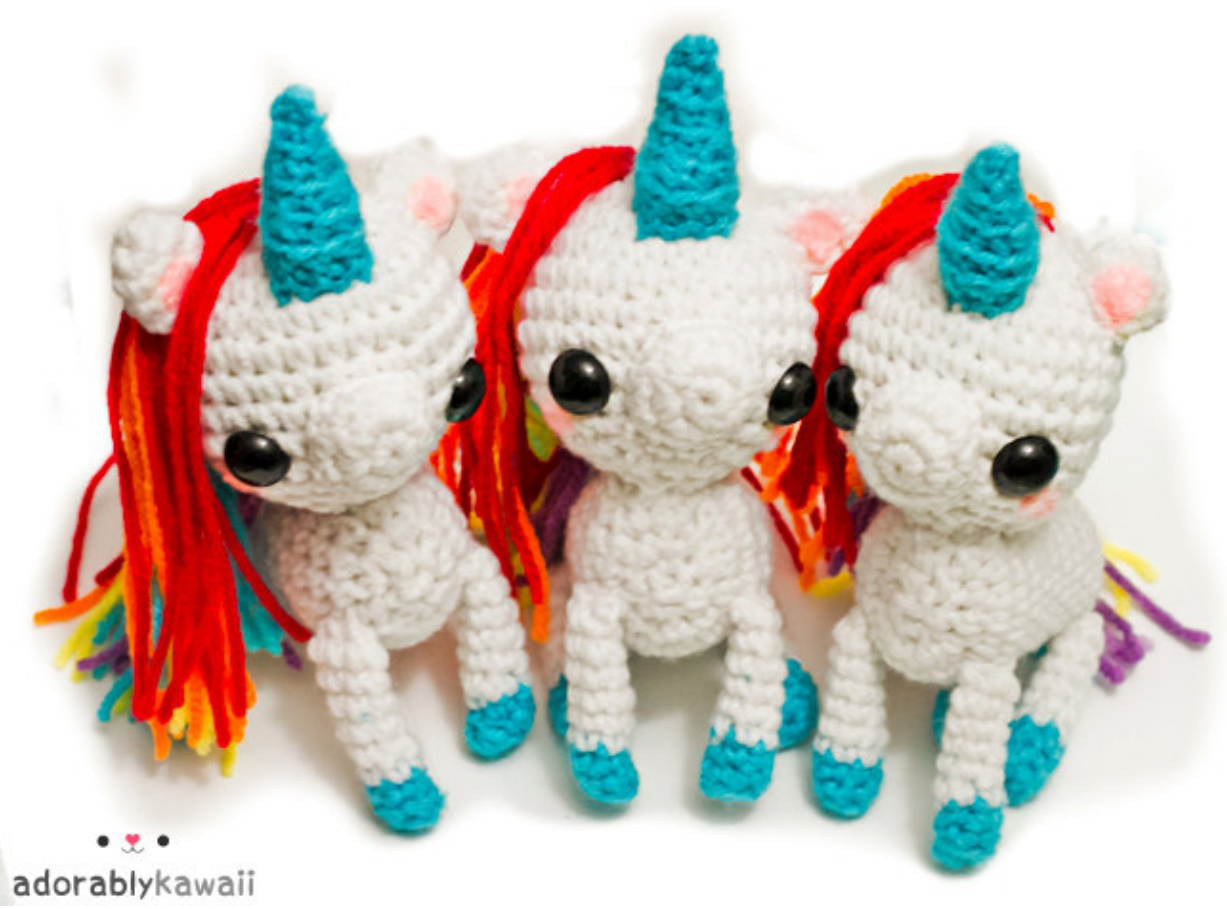
Rainbow Unicorn Amigurumi Pattern by adorably kawaii
Look over the pattern carefully before starting.
Materials:
Tools:
· E/3.5mm hook · Yarn needle · Embroidery needle Worsted weight yarn in white, turquoise, red, orange, yellow, and purple. (I used Red Heart Super Savers) Pair of 15mm safety eyes Pink felt Transparent nylon thread or pink embroidery thread Stuffing
Size:
Approximately 7" (17.7cm) tall. Results will vary depending on your tension and your yarn & hook choice.
Note on Gauge/Tension:
It's important to make sure the hook size you're using is the appropriate size for your yarn as well as for your tension. Tension varies from person to person and from day to day. It can change slightly throughout the project and result in larger or smaller stitches and rows which can affect proportions and the overall size.
Abbreviations:
BLO - back loop only Sl st - Slip stitch Sc - Single crochet St(s) - Stitch(es) 2 sc - 2 single crochet increase R# - Round/Row # Sc2tog - 2 single crochet decrease Rep - Repeat
Stitches:
Single crochet - Insert the hook into the stitch, yarn over, draw up a loop, yarn over, and draw yarn through both loops on the hook. over, draw up a loop in each of the next two stitches, yarn over, and draw yarn through all three loops on the hook. 2 single crochet increase - Two single crochet stitches into one stitch. 2 single crochet decrease - Yarn Slip stitch - Insert hook into the stitch, yarn over, draw up a loop, and then draw through the loop on the hook.
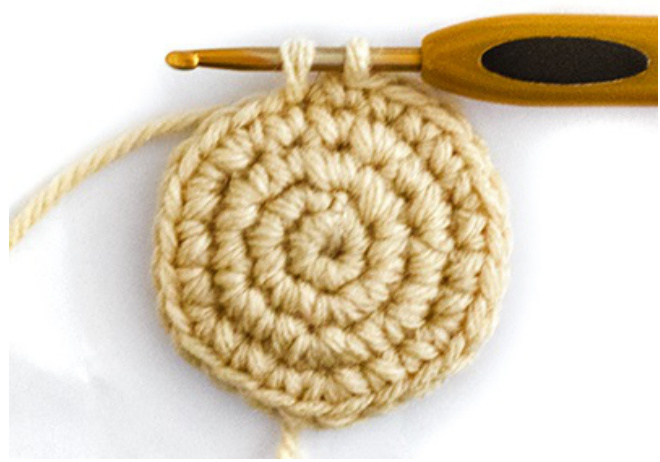
Magic Ring:
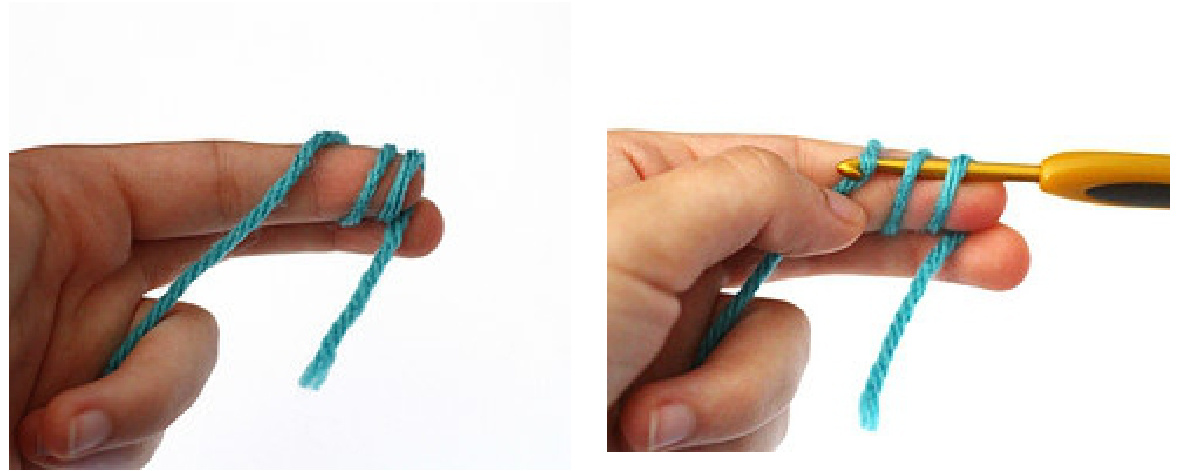
A few inches from the end of the yarn, wrap two loops over your finger. While the loops still on your finger, insert the hook from right to left into the loops and pull the working yarnthrough.
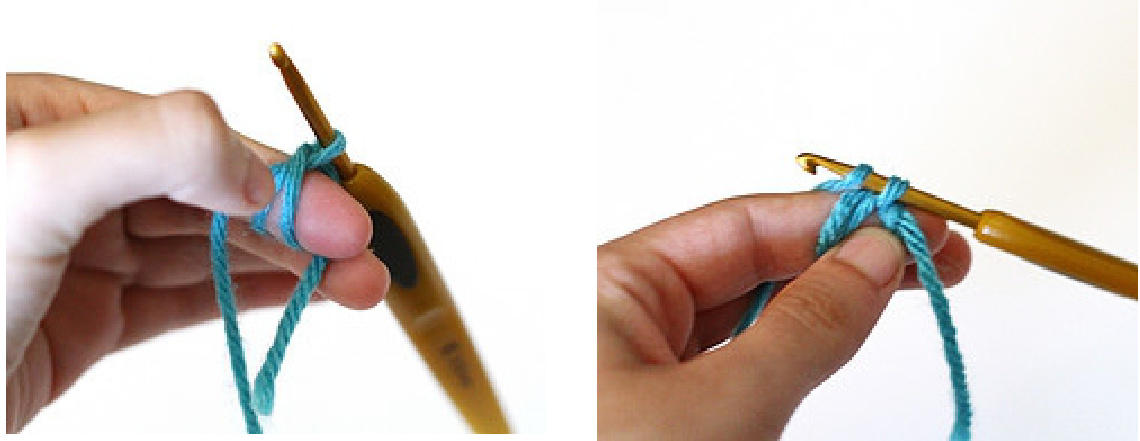
Carefully take the loops off your fingers and chain one. This doesn't count as the first stitch.
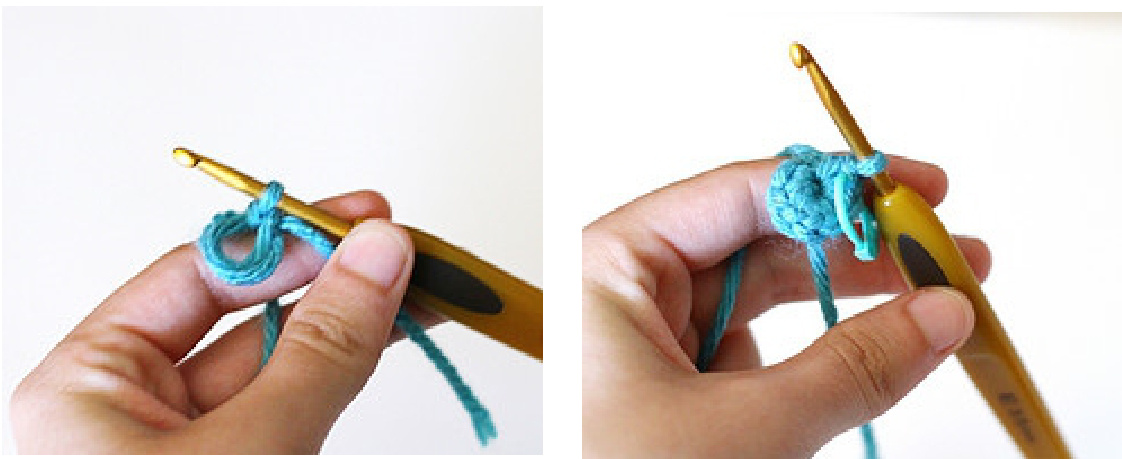
Insert the hook into the two loops again and pull up a loop. Yarn over and draw through both loops. This counts as the first single crochet stitch. Continue for the rest of the stitches. Then pull the yarn tail to close the hole.
Color Changes:
When you get to the last stitch in the current color, insert hook into the next stitch, yarn over, and draw up a loop.
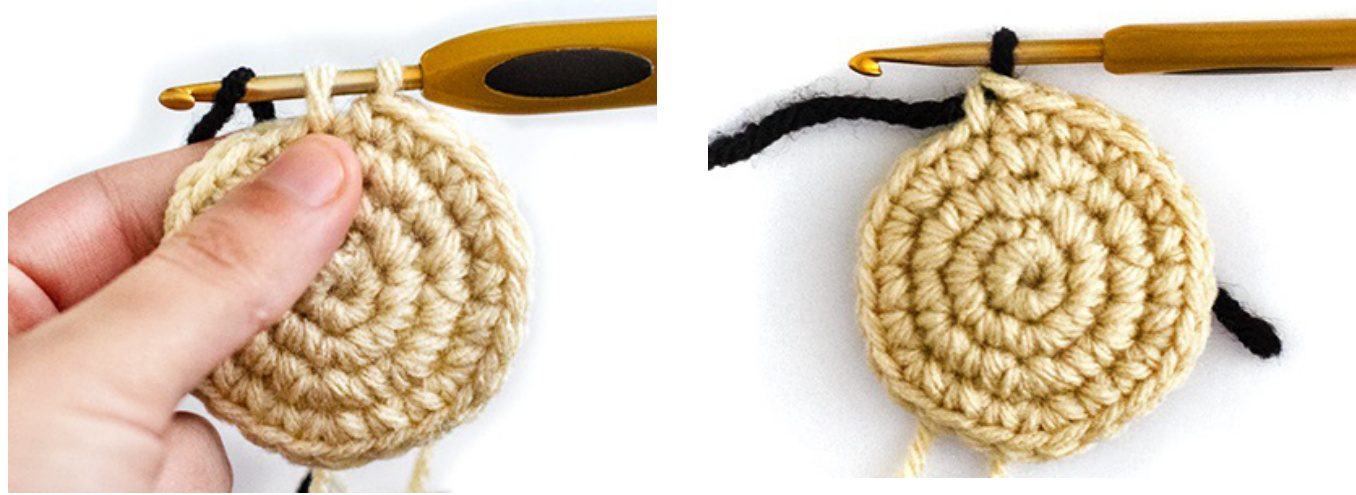
with the new color and draw through both loops on the hook.
Head:
With white yarn, R1: 6 sc into magic ring. R2: 2 sc in each st around. (12 sts) R3: \*2 sc in st, sc in next st\* rep to end. (18 sts) R4: \*2 sc in st, sc in next 2 sts\* rep to end. (24 sts) R5: \*2 sc in st, sc in next 3 sts\* rep to end. (30 sts) R6-9: Sc in each st around. R10: \*Sc2tog, sc in next 3 sts\* rep to end。 (24 sts)

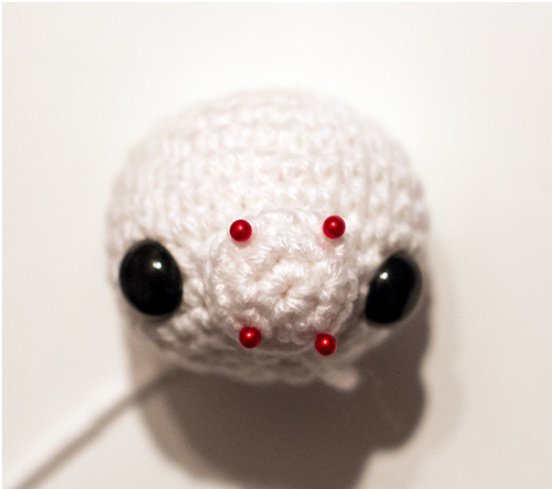
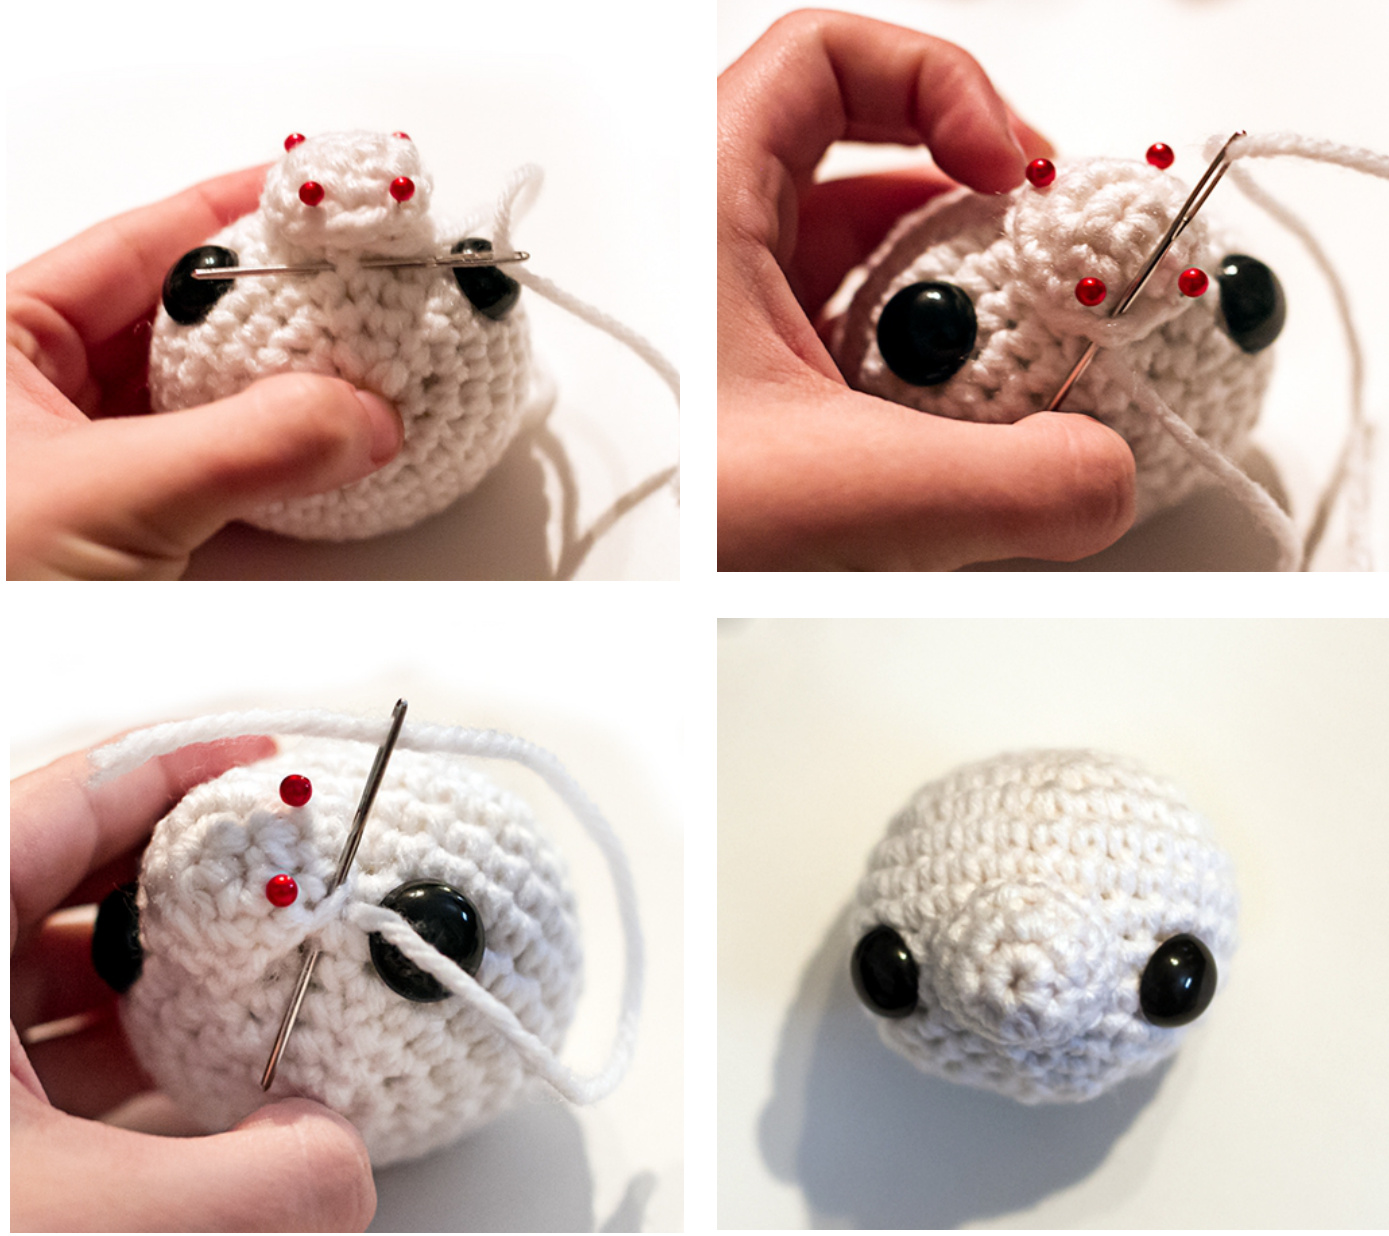
Put the safety eyes above the last rnd with 8 sts in between. Wait until you stuff after R13 to put on the washers to make sure you like the placement. R11: Sc in each st around. R12: \*Sc2tog, sc in next 2 sts\* rep to end. (18 sts) R13: \*Sc2tog, sc in next st\* rep to end. (12 sts) Stuff. R14: \*Sc2tog\* rep to end. (6 sts) Fasten off, leaving a tail. Thread yarn onto yarn needle and insert the needle through the front loop of each stitch. Pull the tail tight to close the hole.
Snout:
With white yarn, R1: 6 sc into magic ring. R2: 2 sc in each st around. (12 sts) R3: Sc in each st around. Sl st in next st to join. Fasten off, leaving a tail for sewing. Stuff. Sew snout onto head.
Ears (Make 2):
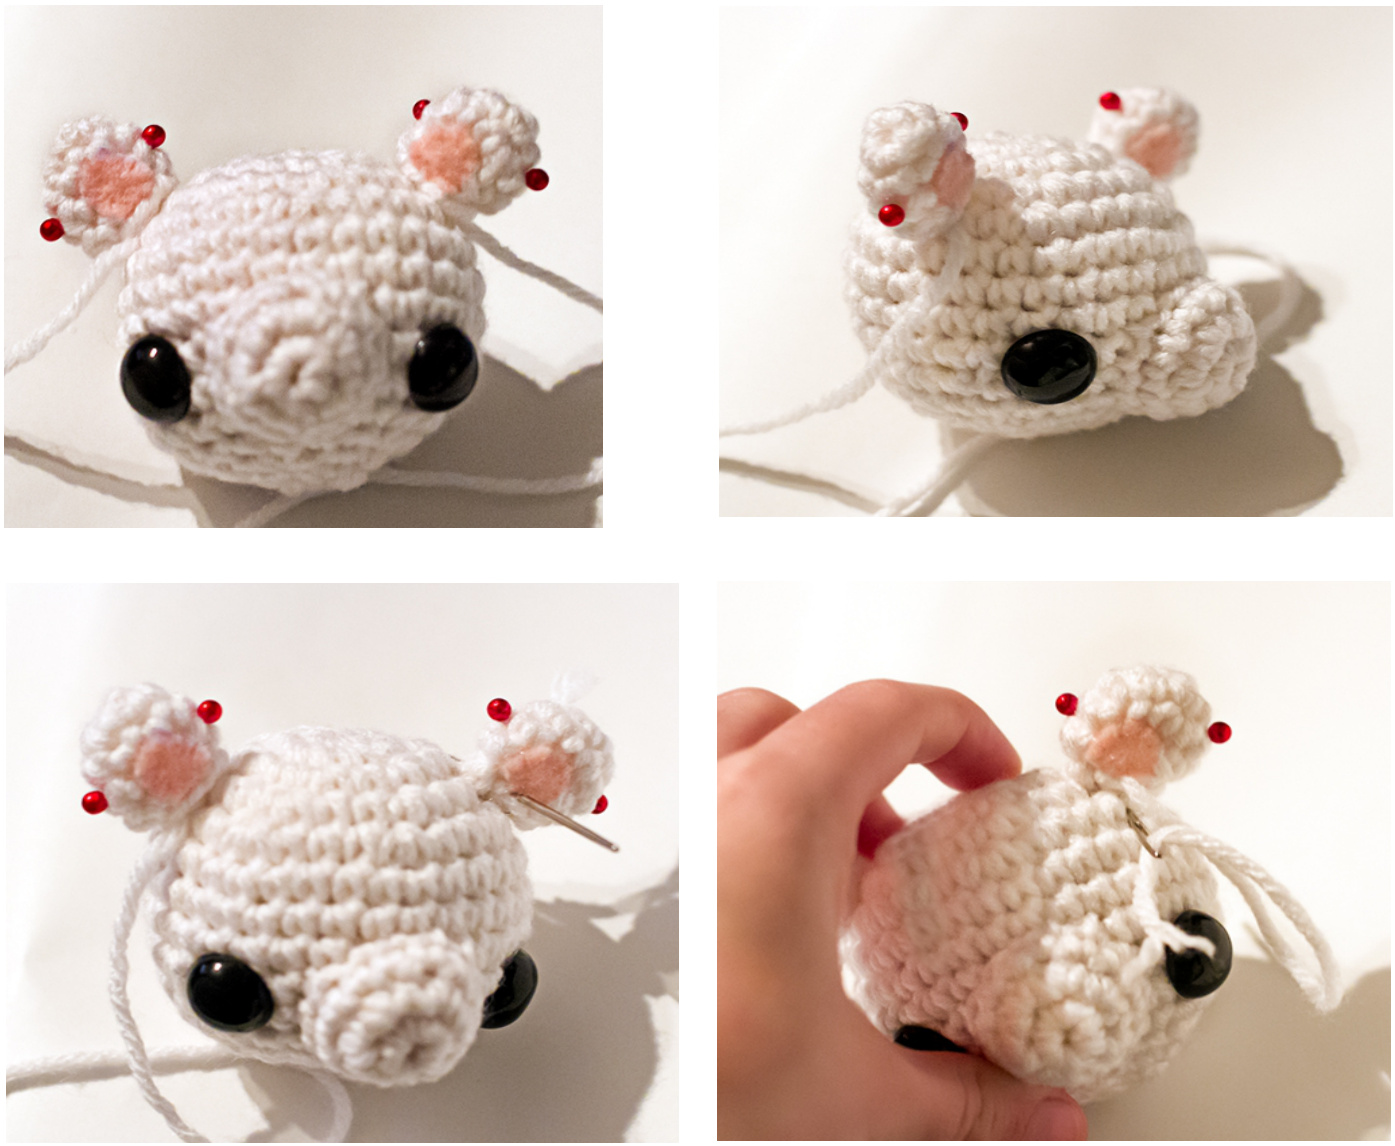
With white yarn, R1: 6 sc into magic ring. R2: \*2 sc in st, sc in next 2 sts\* rep to end. (8 sts) R3: Sc in each st around. R4: \*Sc2tog, sc in next 2 sts\* rep to end。 (6 sts) Fasten off, leaving a tail for sewing.
Inner Ears (Make 2):
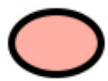
Cut out this template in pink felt:

With transparent nylon thread or pink embroidery thread, sew on the inner ears to the crocheted ears. Sew ears Onto the head.
Blush (Make 2):
Cut out blush template in pink felt:
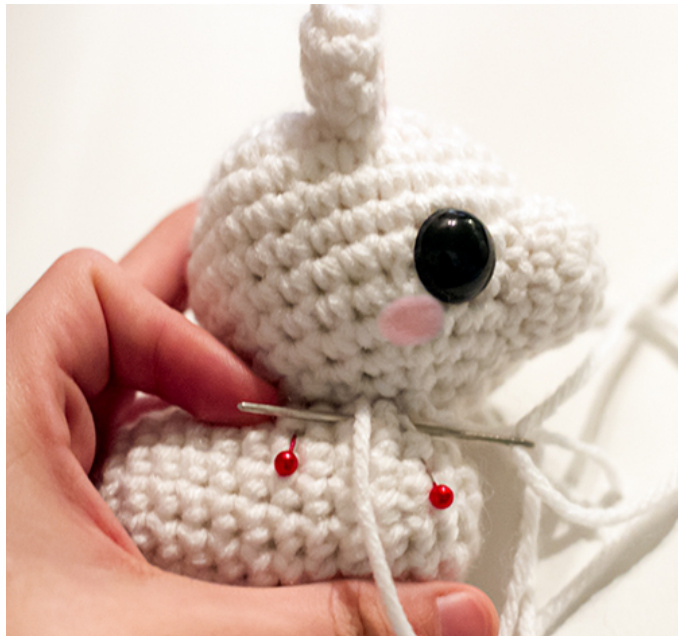
With transparent nylon thread or pink embroidery thread, sew on the blush under the outer corner of the eyes.
Body:
With white yarn, R1: 6 sc into magic ring. R2: 2 sc in each st around. (12 sts) R3: \*2 sc in st, sc in next s+\* rep to end. (18 sts) R4-13: Sc in each st around. R14: \*Sc2tog, sc in next st\* rep to end。 (12 sts) Stuff. R15: \*Sc2tog\* around. (6 sts) Fasten off, leaving a long tail for sewing. Thread yarn onto yarn needle and insert the needle through the front loop of each stitch. Pull the tail
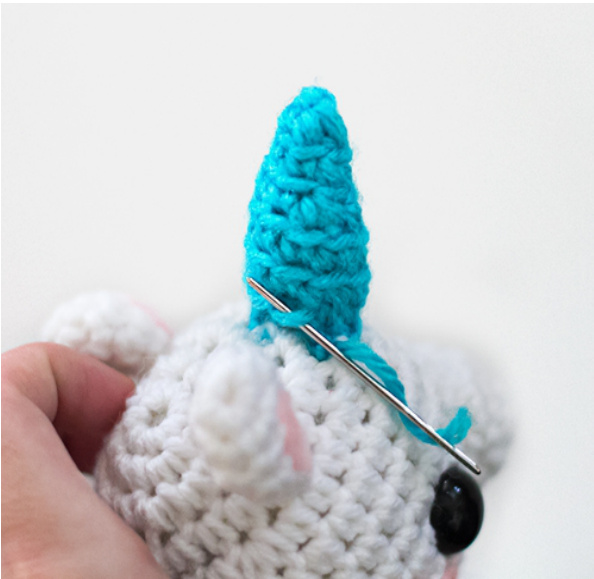
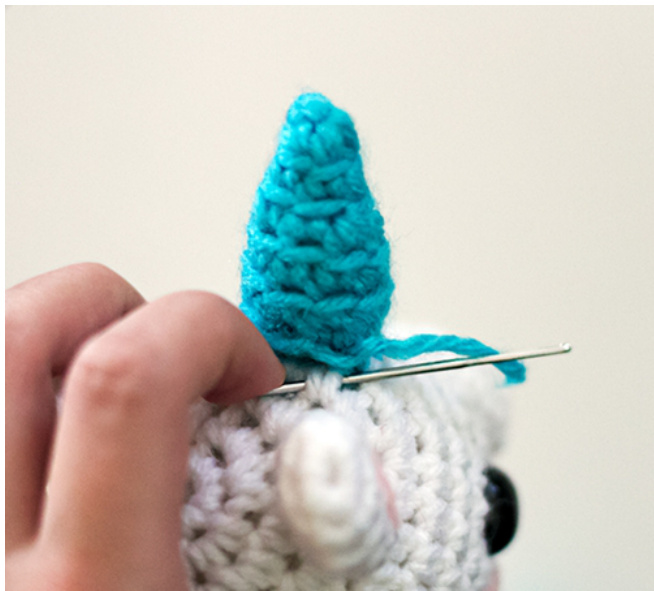
Horn:
With blue yarn, R1: 6 sc into magic ring. The following rounds are all worked in the BLO: R2: \*2 sc in st, sc in next s+\* rep to end。 (9 sts) R3-4: Sc in each st around. Start stuffing. R5: Sc2tog, sc in next 5 sts, sc2tog. (7 sts) R6: Sc in each st around. Finish stuffing. tight to close the hole. Then insert needle out through the top of the body and use the tail to sew the head onto the body.
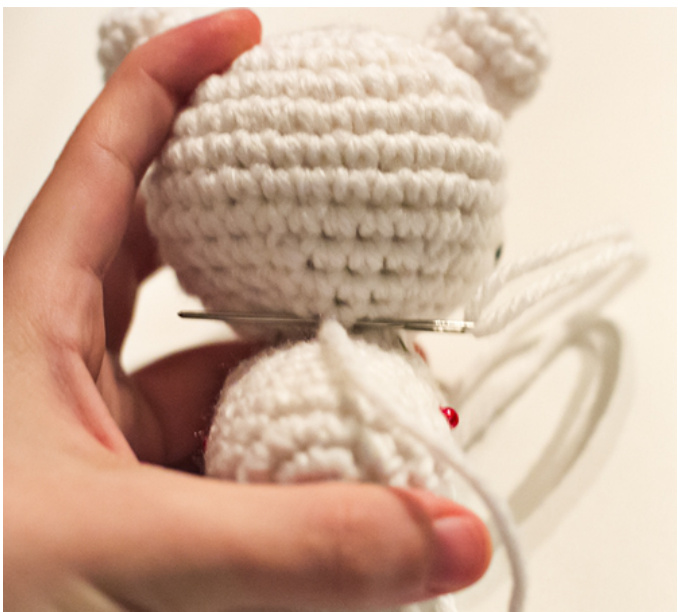
R7: Sc2tog, sc in next 3 sts, sc2tog. (5 sts) R8: \*Sc2tog\* x2, sc in last st. (3 sts) Fasten off, leaving a tail for sewing. Sew onto the head.
R3: Sc in each st around.
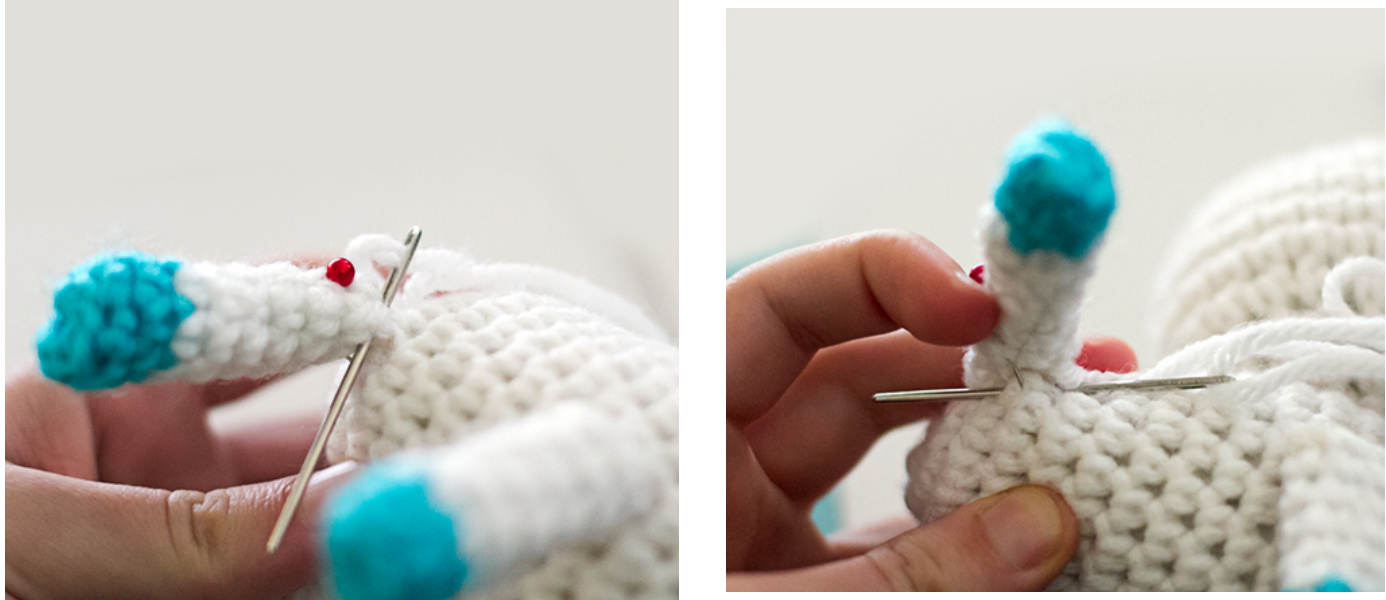
Legs (Make 4):
With blue yarn, R1: 6 sc into magic ring. R2: Sc BLO in each st around Change to white yarn and fasten off blue yarn, R4-9: Sc in each st around. Don't stuff. Fasten off, leaving a tail for sewing. Sew legs onto the body.
Mane:
Cut four 9.5" / 24cm strands of yarn in each color: red, orange, and yellow. Cut four 6" / 15cm strands of yarn in each color: blue and purple.
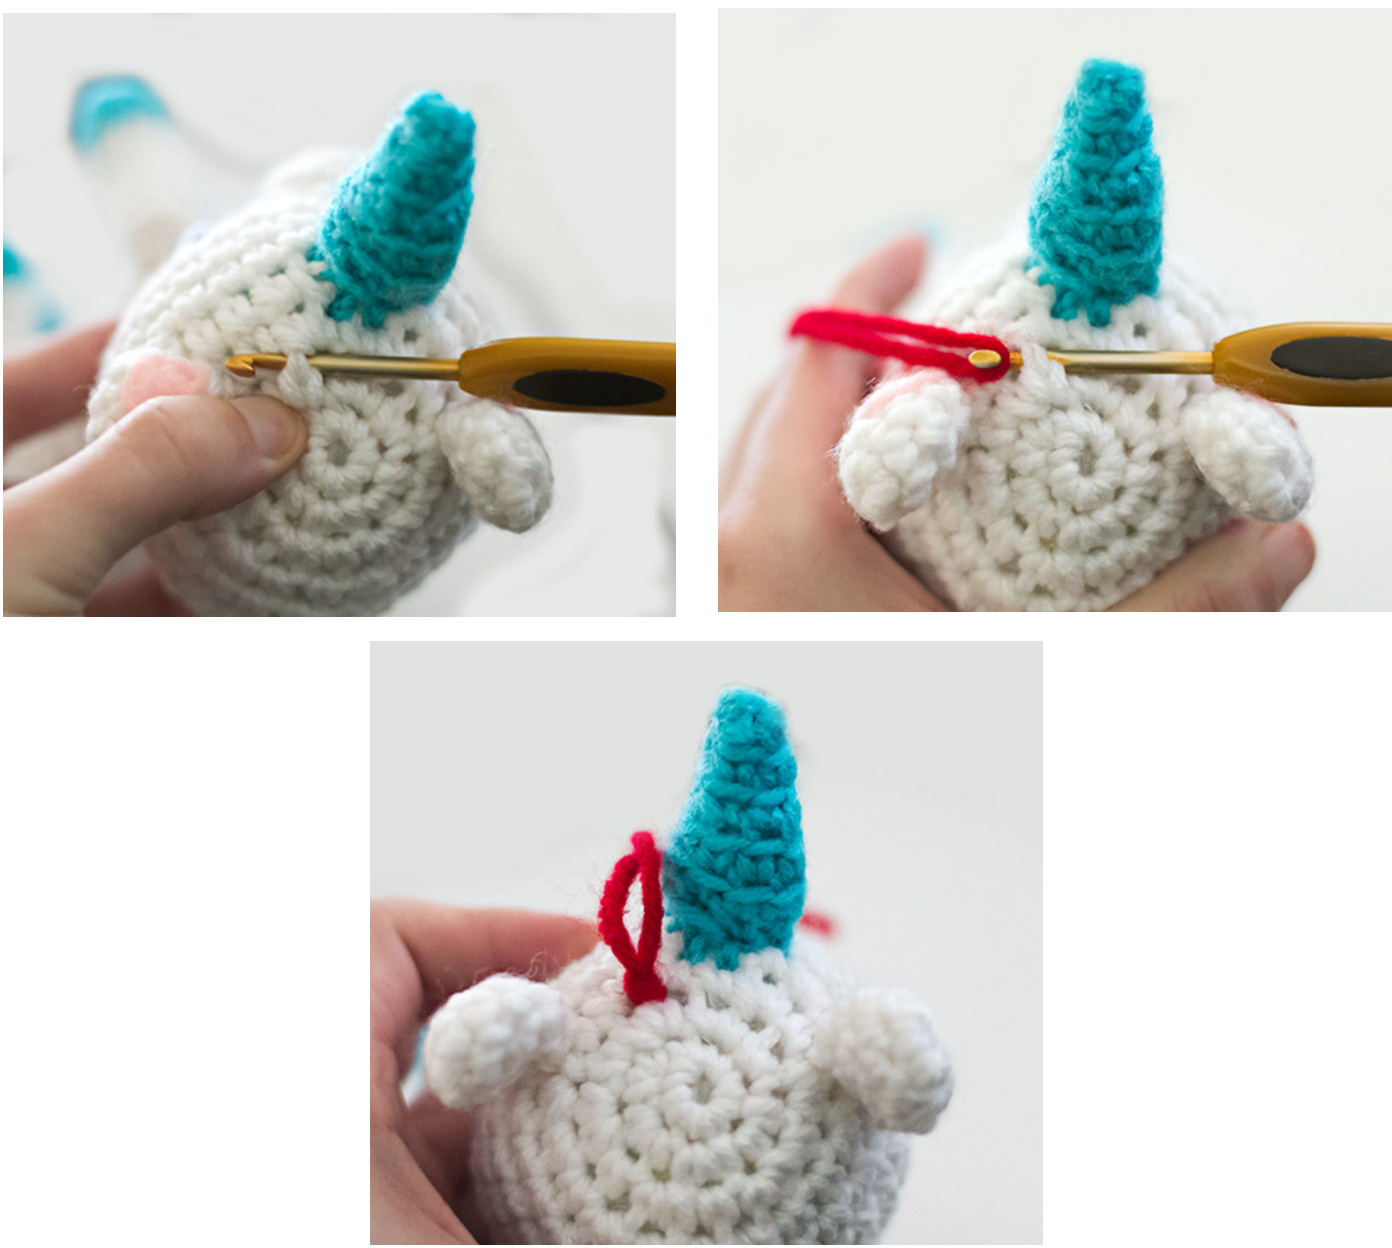
To attach the strands:
Fold the strand evenly in half. Insert hook in between and under a stitch and come out on the left side of the stitch. Hook the folded strand and pul up a loop. Yarn over the two strands and pull the yarn ends through the loop. Pull tight.
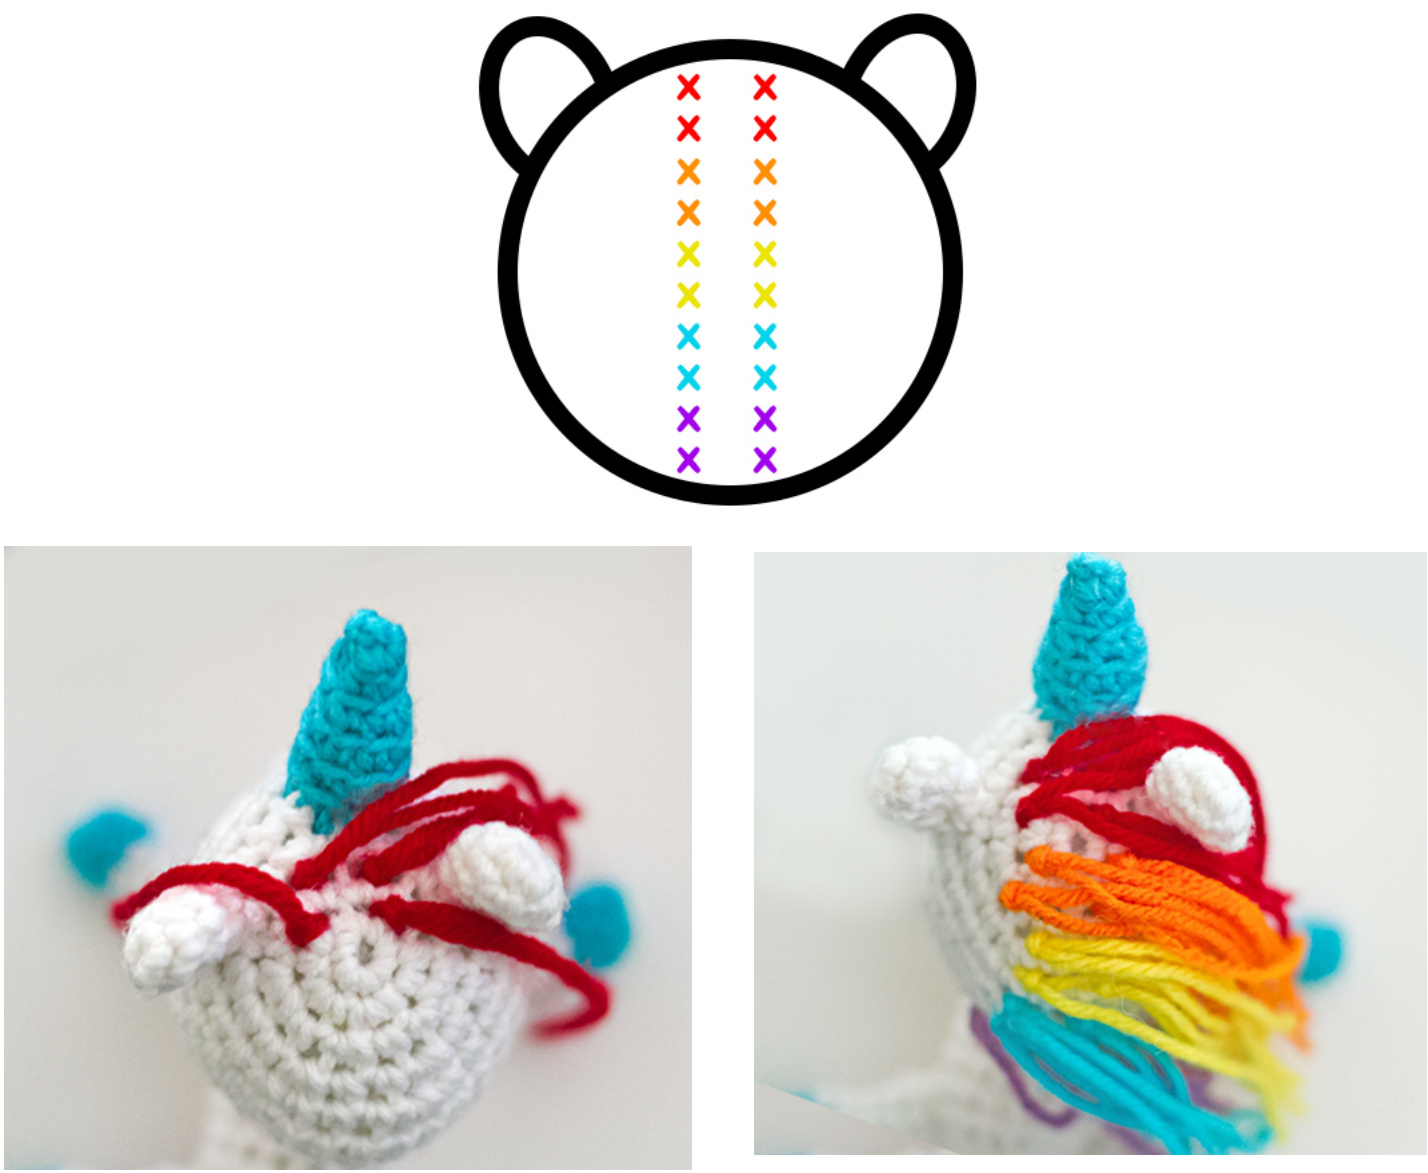
Placement of colors:
There should be about 1-2 stitches spacing in between each strand.
Trim to desired lengths.
Tail:
Cut two 4.5" / 11cm strands of yarn in each color: red, orange, yellow, blue, and purple. Mark two center stitches on the body where you want to place the tail. Attach one set of rainbow strands into the first center stitch. Repeat for the second centerstitch.
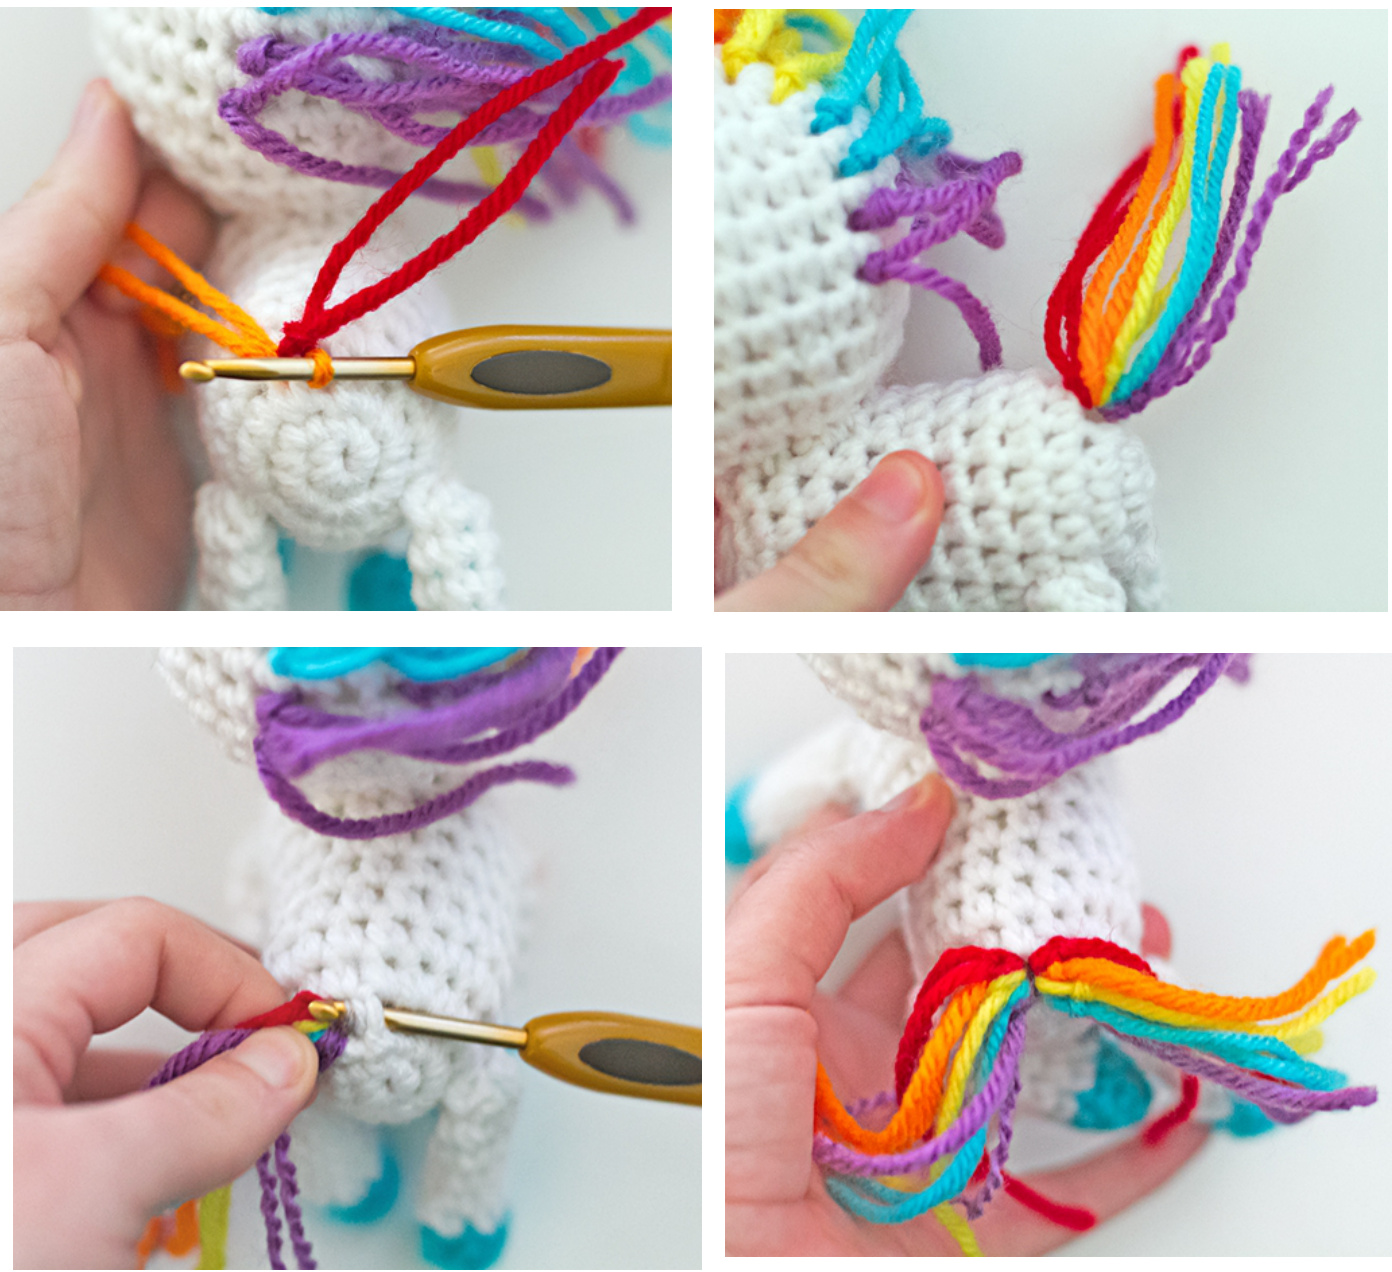
Trim to desired lengths.

@ Adorably Kawaii. Pattern is for personal use only. Please don't redistribute/resell the pattern in any way or form. If you post the finished items you make online, my only request is that say something like "Pattern designed by Adorably Kawaii - www.adorablykawaii.com" Email: adorablykawaii@gmail.com Website: http:/ /www.adorablykawaii.com


