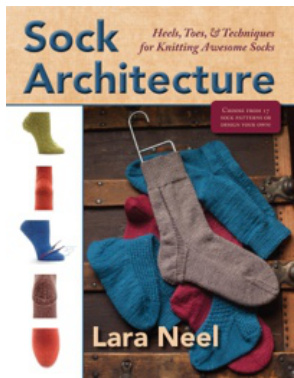
Fork In the Road Socks by Lara Neel
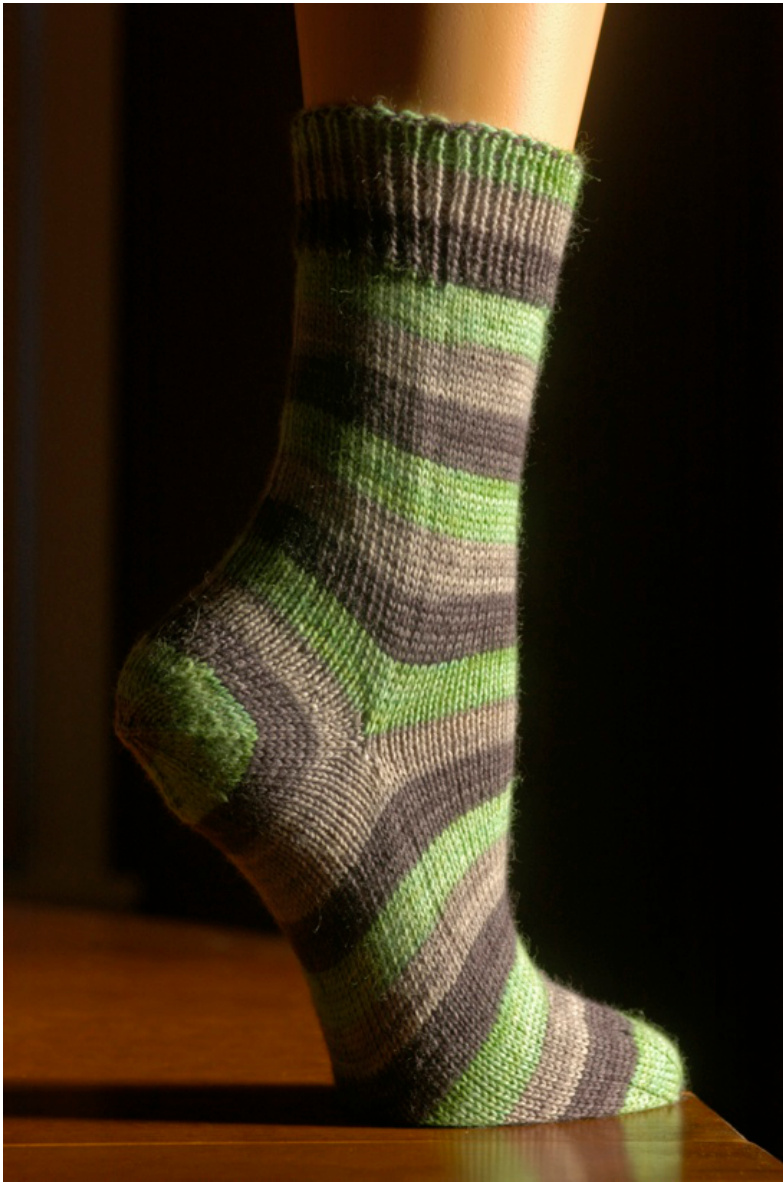
I want to show off the design possibilities for self-striping yarn and my favorite afterthought heel. However, to keep the length of the foot easily customizable, the sock needs to be made out of order and from the top down. The "afterthought' heel is made after the leg and before the foot. So, an unusually-shaped sock, worked in the most common top-down order of things. Along the front of the sock, the stripes should be all the same depth, with just a little extra work from you when joining new yarn for the foot. An extra-deep stripe forms under the heel. It looks like a fork in the road, to me. If you think you don't like the fit of afterthought heels, I hope you'll try this wonderful version. It is automatically customized to fit the wearer, and I have never known anyone who tried it who didn't fall in love. In my book, Sock Architecture, I call it the thumb-joint hat top heel. To make it fit perfectly, you will have to measure the feet and part of the thumb of the wearer, which should confuse them greatly. It's always fun to scare the muggles, isn't it? The toe shaping matches the heel, and happens very fast, to create a somewhat blunt toe shape. There is no grafting, but you will have to use a provisional cast on for the heel. You can use any kind of provisional cast on you like, but I do have a video (vime0.com/101286979) to help, if you don't know one. Just a few words of warning. If you are making the largest size, there is a very small chance you could run out of yarn, since you will have to take some yarn out of the equation to line up the stripes on the front of the sock. Consider buying two skeins of yarn or making the heel in a contrasting color. If you buy two skeins of yarn, you will have a lot left over, but at least you won't run short.
Sizes
Women's Extra Small (Women's Medium/Men's Small, Men's Medium/Large); shown in size Women's Medium Finished Measurements Foot circumference: 7 (8, 9)"/18 (20.5, 23) cm Finished leg length: adjustable to fit Finished foot length: adjustable to fit
Materials
Simply Socks Yarn Company Poste Yarn Striping (75% superwash Corriedale wool, 25% nylon; 393 yd/359 m per 100g skein); color: Giant's Causeway; 1 skein US#1 (2.25 mm) needles or size needed to achieve gauge One stitch marker Yarn Needle Waste yarn, of the same thickness, for making provisional caston A stitch holder or spare circular needle the same size or smaller than your working needles. Gauge 32 sts and 44 rounds = 4"/10 cm in St st
Cast On and Leg
Make sure you are starting at the beginning of a stripe sequence. You may need to pull some yarn out of your ball to reach the beginning of a new stripe. Cast on 56 (64, 72) sts. Distribute sts among your needles as you prefer, and join without twisting to work in the round. Place a marker for the start of the round. Work in [k1, p1] ribbing for 2"/5 cm. Knit every st until the leg is 2"/5 cm shorter than your desired final sock. Stop when the yarn is either about to change to a new color or has just changed to a new color.
Divide Stitches and Cast On for Heel
Work across the first 28 (32, 36) sts for the heel and place the next 28 (32, 36) sts on hold, on a stitch holder or spare circular needle. Using a provisional cast on, cast on 28 (32, 36) sts. These sts will form the bottom half of the heel. Join, without twisting, to work the heel sts in the round. Place a marker for the start of the round. You could also use my Extra Needle Technique, explained on page 29 of Sock Architecture.
Work the Heel
Knit all stitches until the heel is as deep as the distance between the tip of the intended wearer's thumb and the first joint in the thumb (mine is about 1.25", or just over 3 cm, long).
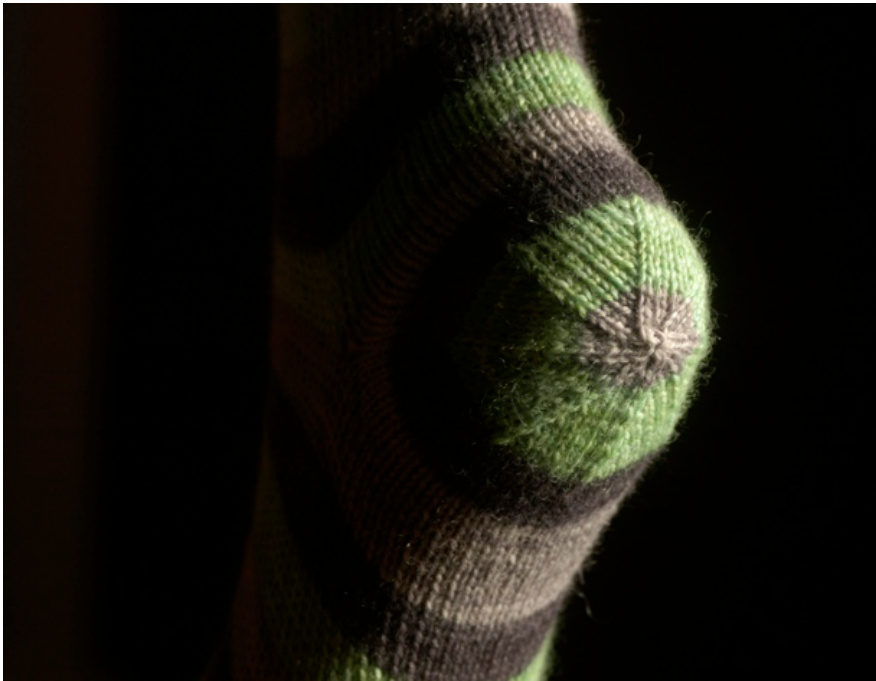
Heel Shaping
Rnd 1 and all odd-numbered rounds: Knit. Rnd 2: [K5 (6, 7), k2tog] around. 48 (56, 64) sts Rnd 4: [K4 (5, 6), k2tog] around. 40 (48, 56) sts Continue, knitting one less stitch between decreases on even-numbered rounds, until you have 16 sts. Work Rnd 1 once more, then k2tog around twice (4 sts total). Break yarn, leaving a 6-inch tail. With a darning needle, thread the yarn through the remaining stitches. Go through twice, if you want the extra security. Pull the stitches tightly, bring the yarn to the inside of the sock.
The Rest of the Foot
Return to where you left sts on hold. Slide the on-hold sts and the sts from your provisional cast on onto working needles. To keep your stripes uniform, find the beginning of the next stripe sequence for the front of the leg and join on new yarn starting from there. Place a marker for the start of the round. Knit every st until the leg is 1 (1.25, 1.5)"/2.75 (3, 3.5) cm shorter than your desired final sock.
This free pattern is a companion piece to Sock Architecture, a book to inspire the most awesome socks you ever knit. Design your own or enjoy the 17 patterns in the book. Available at cooperativepress.com, on Amazon and everywhere great craft books are sold. ISBN: 9781937513634
Toe Shaping
Work as for Heel Shaping.
Finish Your Sock
If you find you have gaps where the heel meets the body of the sock, use a piece of matching yarn and darn over the holes. Darn in all ends and block gently.