Textured Clutch
by Barbara Rottman
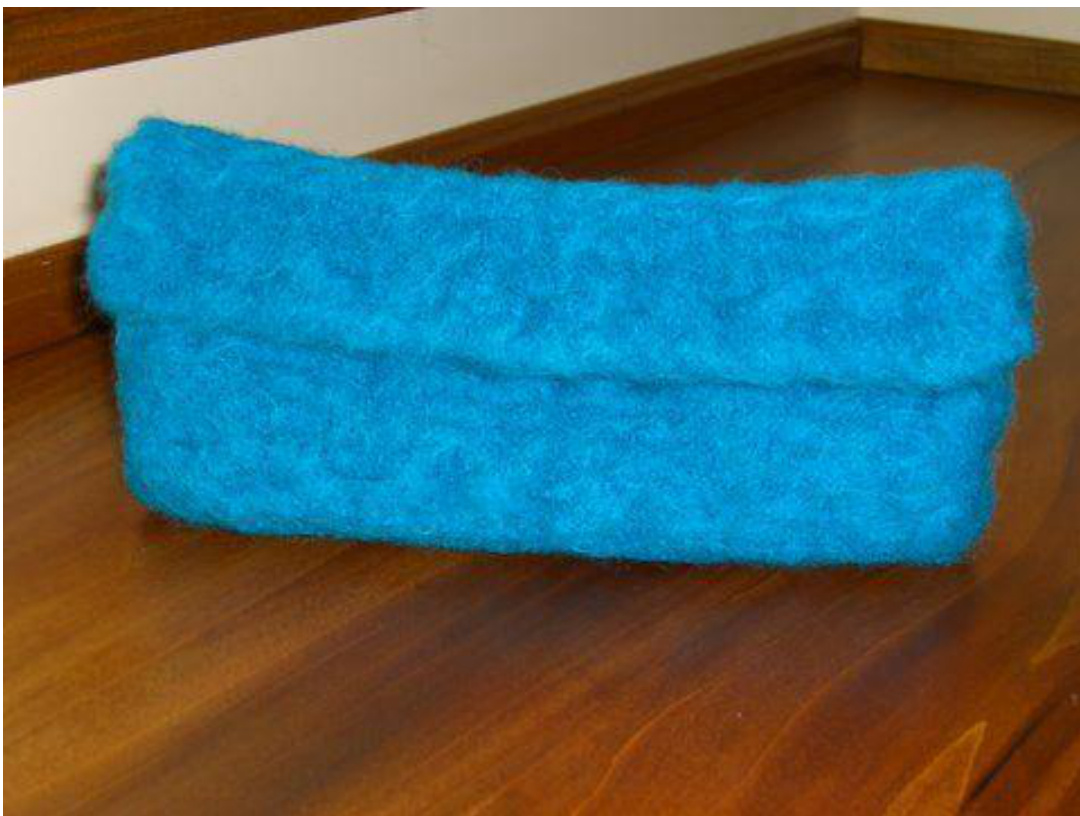
This is a simple beginner project to practice cable and felting techniques. This small felted clutch bag distinguishes itself with a textured surface. Use it as a handbag, travel kit, cosmetic case or holder for your knitting notions.
Materials
Yarn: one hank Caledon Hills Worsted (100 grams) Needles: size 10.5 straight or circular Miscellaneous: one 1" button; about 18" satin ribbon 1/8" wide
Gauge
Gauge is not important since this item will be machine felted.
Finished Size
Approximately 10 x 5 x 2 after felting.
Pattern Notes
Hold 2 strands of yarn together throughout. Bag will be at a loose gauge until it is machine felted.
Abbreviations
KKnit PPurl C4F (Cable 4 Front) Slip next 2 sts to cable needle and hold at front of work, knit next 2 sts from left needle, then knit sts from cable needle C4B (Cable 4 Back) Slip next 2 sts to cable needle and hole at back of work, knit next 2 sts from left needle, then knit sts from cable needle Forked Cable (multiple of 8 stitches +2 over 10 rows) Row 1 (Wrong side) Purl Row 2 P3, K4, \*P4, K4 (repeat from asterisk), end P3 Rows 3 - 7 repeat rows 1 and 2 twice more, then row 1 Row 8 K3, P4, \*K4, P4, end K3 Row 9 Purl Row 10 K1, \*C4F, C4B end K1
Instructions
Cast on 42 stitches using 2 strands of yarn held together. Work forked cable pattern rows 1- 10 until piece measures approximately 15 inches, ending with row 10. Cast off. Fold bag at approximately 6 inches, matching cable pattern rows at side seams. Sew seam on each side. Seam will not show after felting, but best results are achieved by weaving the side seams together. If you have seam edges, be sure to keep them on the inside of the bag.
Machine Fulling or Felting
Place the bag in an old pillow case or lingerie bag to protect your washing machine from lint. Fill machine at low level on hot water/cold rinse cycle. Add a drop or two of detergent such as Joy liquid soap, and run normal cycle. Check bag every 5 minutes or so to be sure strap is not twisted and that bag is felting to desired size. Stop machine after most water has been drained, but before the spin cycle has completed. This will prevent deep and sometimes permanent creases from forming in the felt. Remove bag from machine and shape bottom, sides and fold flap over front of bag. If not sufficiently felted, repeat machine cycle again. Allow bag to sit on a flat surface until completely dry. Since the felt is thick, this may take up to two days. You may wish to lightly stuff the bag with plastic bags or bubble wrap to maintain shape. To aid in shaping the bag bottom, cut to size a piece of Styrofoam or foam core board. Check your bag regularly as it dries, stretching and shaping as needed to ensure desired shape.
Finishing
Center button on bag front just below flap; attach to bag. Thread the ribbon through a wide eye needle. Insert the needle through the felt in the bag flap and centered over the button. Skim the ribbon through the flap for about 1 14". Bring ribbon under button and around to top of button, and tie in simple bow to close bag. Trim ribbon and tie knots at ends of ribbon. Attach commercial handles, if desired.


