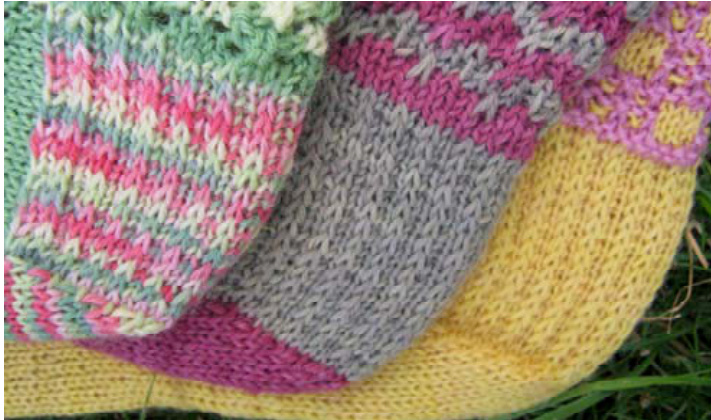
Summer Pick'n'Mix Socks ByJaneLithgow
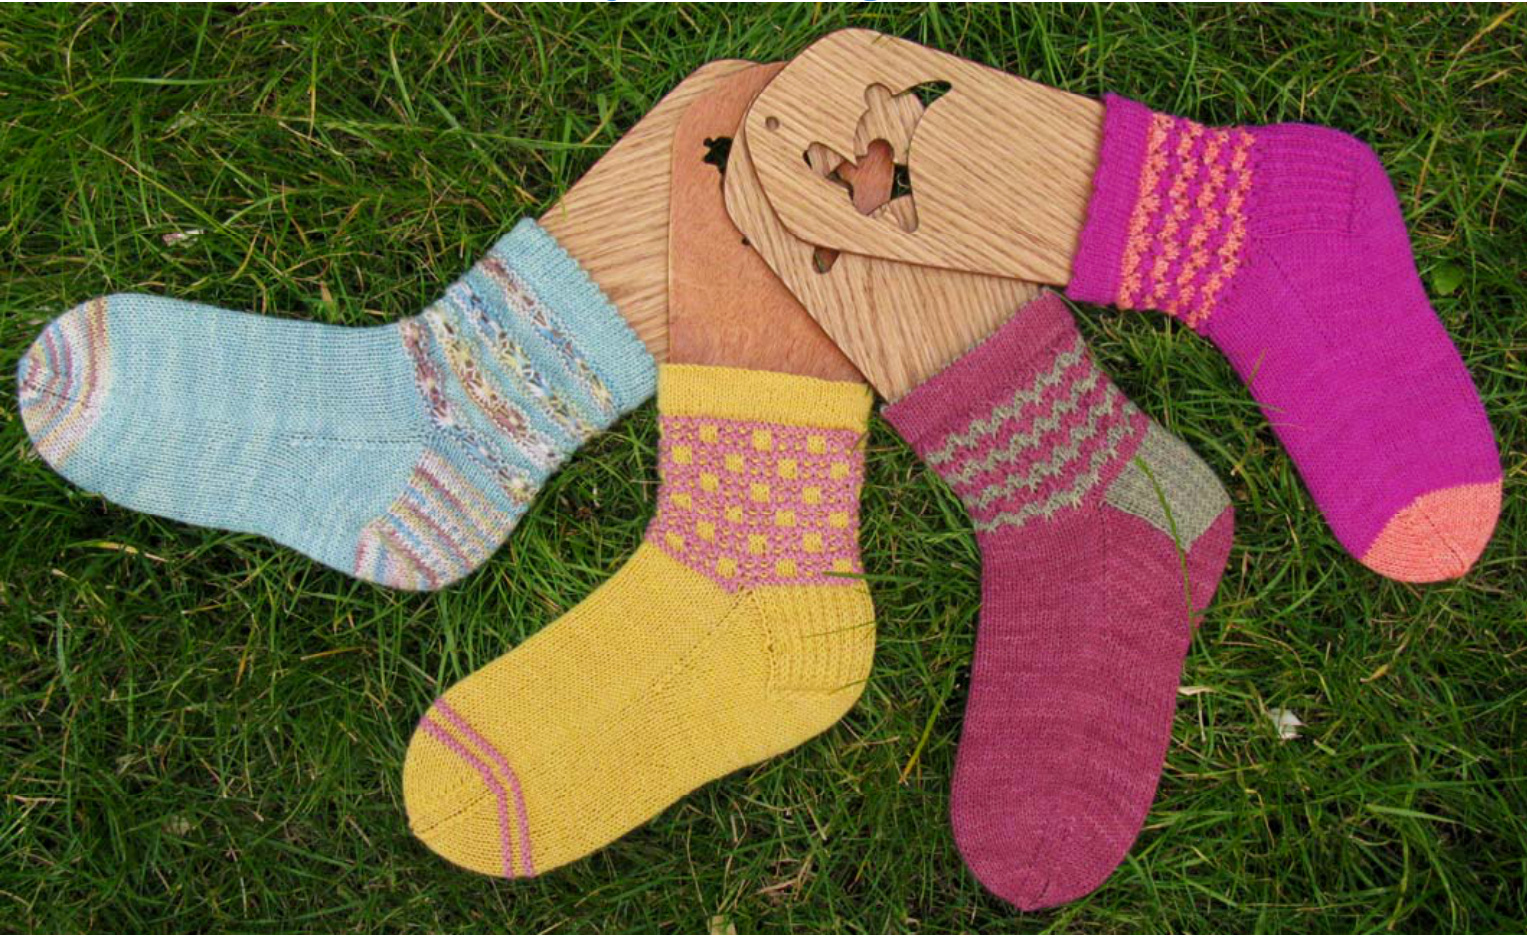
Summer is a perfect time to knit socks. Unfortunately, the British summer means that it can also be a good time to wear socks, particularly if you're a geek like me who isn't ashamed to wear them with her Birkenstock sandals. It's nice though, to remember that it is still summer so I have been designing with that frivolous carefree season in mind. Here we have a collection of edgings, leg details and heel and toe options for you to take your pick from and knit litle confections of socks that are meant to be seen so that it doesn't feel too bad when the summer breeze turns chilly.
Pattern Notes
These socks willfit an average sized woman's foot. This is less of a pattern and more a menu of options for you to choose from. There are four cuff patterns, four stitch patterns for the leg, three heel treatments and four toe styles. You can use solid or hand painted yarns or a combination of both. The patterns will work with highly contrasting yarns or toning solids and hand paints although the Battenberg cuff would probably look best in a highly contrasting pair of yarns. The stitch patterns have been chosen to show the range of pattern styles that can be used to manipulate colour. They include a novelty stitch, a mosaic stitch, a slip and dip and a lace stitch. Colour work doesn't have to be daunting and with a bit of imagination you can create socks that are uniquely yours.
Materials
50g main and 25g contrast sock yarn Note; These quantities are approximate and will vary according to your own Pick 'n' Mix preferences. Yarn used: Yarn Yard Bonny 75% wool 25% nylon. Set of 2.25mm double pointed needles (DPN) (or size to get gauge) Note Leg patterns 1, 3 and 4 use four DPNs, you may find it easier to use five needles for pattern 2. Blunt tapestry/darning needle Copyright Jane Lithgow June 2008. Please don't distribute without my permission
Abbreviations
MC - main colour CC - contrast colour CO - cast on St - stitch(es) K - knit P-purl RS - right side WS - wrong side Sl1 - slip 1 stitch from left to right needle K2tog - knit 2 stitches together P2tog - purl 2 stitches together SSK - slip, slip, knit (slip 2 St from left needle to right needle and knit through both stitches) PSSO Pass slipped stitch over YO Yarn over RHN Right hand needle LHN Left hand needle M1 Make 1 stitch by lifting the horizontal bar between the stitches and knitting into the back of it.
Gauge
Approximately 7 St - 1 in (2.5 cm) using stocking stitch
Commence pattern
With MC CO 60 St very loosely (over 2 needles) divide onto 3 needles and start working in the round:
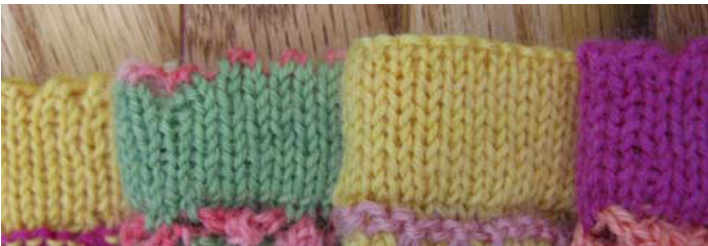
Cuff edging 1 Picot edge K 10 rows
Next row (Picot row):( K2tog, YO) to end. This will form the picot edge when the cuff is folded. K 9 rows Next row: Bringing cast on edge up inside the cuff K1 row picking up edge loop of cast on with every stitch and knitting both together to form picot edge. Alternatively the cuff can be folded along the picot edge and the cast on edge can be stitched down to the back of row 9 to form the cuff.
Cuff Edging 2 Two colour picot edge
As Edging 1 except work 1" 10 rows and picot edge with CC then complete with MC.
Cuff Edging 3; Plain edge
As Edging 1 except replace picot row with purl row. Cuff Edging 4 Scalloped edge As Edging 1 except replace picot row with scallop: (K2 YO K2tog) to end.
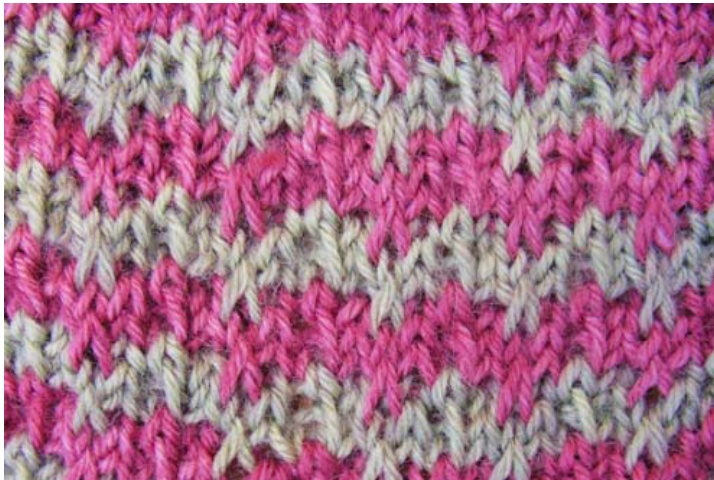
Leg Pattern 1 Haystacks

Change to CC without cutting MC This is a novelty stitch pattern heavily adapted from the Vogue Knitting Stitchionary 3.lt creates an open, vertically elongated stitch which gives a slightly longer more open cuff. This stitch creates a little 'bundle of loops' wrapped around twice to form a 'haystack' motif. It is important not to pull this wrap too tight or you will create a tight band of yarn around the sock, although if you leave them too loose you will lose the effect of the wrapping. Use your common sense (or a bit of trial and error if necessary)! Row 1 CC Purl Row 2 CC (K1, [K1 wrapping yarn around needle 3 times, 5 times.]) Repeat these 6 stitches to end of round. Row 3 CC K1, Sl 5 letting wraps drop, bring yarn to front, slip 5 stitches from RHN to LHN, pass yarn to back, slip 5 stitches from LHN to RHN, pass yarn to front, slip 5 stitches from RHN to LHN, pass yarn to back. Repeat these 6 stitches to end. Row 4 CC K Note As the loops that you will be working into on this row are large, take care to keep work level in case the fallow needle decides to slip out while you're not looking. Row5MCP Rows 6 to 9 MC K Repeat these 9 rows 3 times (4 repeats in total). Copyright Jane Lithgow June 2008. Please don't distribute without my permission
Leg pattern 2 Battenberg
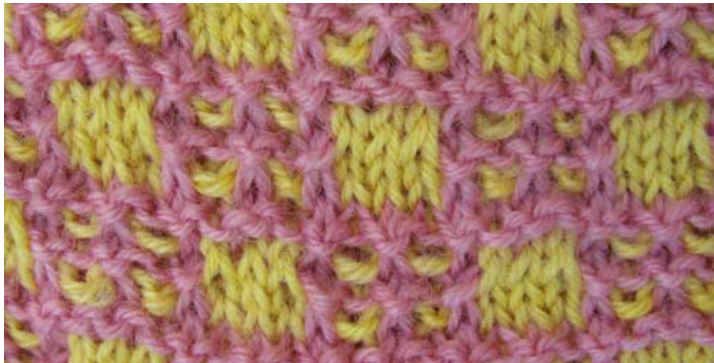
This is a mosaic stitch adapted from the Vogue Knitting Stitchionary 3. It compresses the work both horizontally and vertically so extra stitches have been added to give additional ease and accommodate the stitch pattern. Extra rows are also worked compared to other stitch patterns to give an adequate cuff length.
Change to CC
As this pattern is an 8 stitch repeat and runs over 16 rows it is best expressed in the form of a chart. The chart is read from right to left, starting at the bottom right hand corner. In row 1 of the first repeat M1 4 times evenly all round i.e. after every 15th stitch. 64 stitches total. It may also be helpful to change from four DPNs to 5 by distributing the stitches 16 to a needle (two pattern repeats per needle).
| 16 | ||||||||
| 15 | V | |||||||
| 14 | 二 | v | V | V | ||||
| 13 | v | V | ||||||
| 12 | ||||||||
| 11 | ||||||||
| 10 | 二 | |||||||
| 9 | ||||||||
| 8 | < | |||||||
| 7 | V | |||||||
| 9 | V | V | 二 | |||||
| 5 | V | V | V | |||||
| 4 | = | = | < | |||||
| 3 | ||||||||
| 2 | 二 | = | = | = | ||||
| 1 | ||||||||
| 8 | 7 | 6 | 5 | 4 | 3 | 2 | 1 |
On the last row, decrease four stitches evenly, 60 stitches.
Leg Pattern 3 Little Arrows
This pattern is adapted from A Treasury of Knitting Patterns by Barbara Walker. It is probably the simplest of all the cuff designs and creates a cool, open pattern with good vertical and horizontal elasticity. Change to CC and work 1 row Rearrange stitches so that there are 18 stitches on needles 1 and 2 and 24 stitches on needle 3. Row 1 (YO, SSK, K1, K2tog, YO, K1) to end Rows 2 and 4 K Row 3 (K1, YO, SI 1 K2tog PSSO, YO, K2) to end Rows 5 to 8; As rows 1 to 4 using MCRepeat rows 1 to 8 four times then rows 1 to 4 once. Leg Pattern 4 Bargello
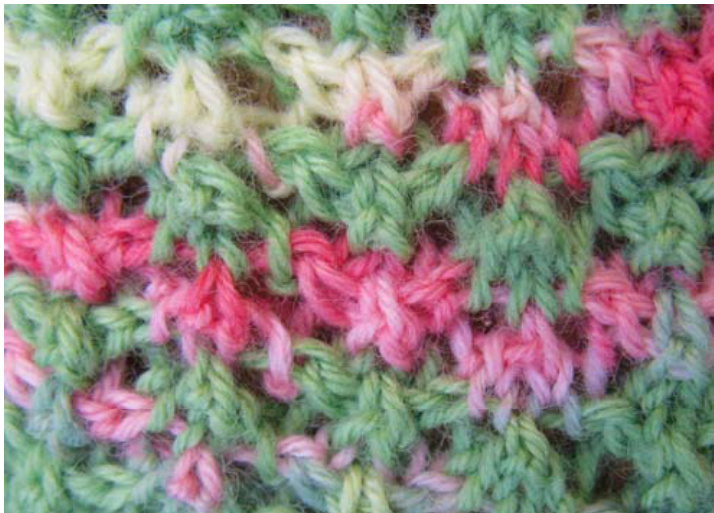
No symbol - Knit This is known as a 'Slip and = -Purl is formed by both slipped stitches and by drawing V Slip stitch loops up from below the line of the needles. Copyright Jane Lithgow June 2008. Please don't distribute without my permission Stitches are vertically compressed compared to patterns 1 and 4 so more rows are required to create the required cuff length. This pattern is adapted from A Second Treasury of Knitting Patterns by Barbara Walker,
Special abbreviation
ML Make loop. Insert RH needle into the next stitch 2 rows below and pull up a loose loop of yarn, K the next stitch then pass the loop over the stitch just knit. Set up rows: In MC K2 rows Next row MC (K3 K1 wrapping yarn around the needle twice) to end.
Main pattern
Row1 CC; (K1, ML, K1, Sl1 dropping extra wrap) repeat to end. Row 2 CC; (K3, Sl1) repeat to end Row 3 CC; K to end. Row 4 CC (K3, K1 wrapping yarn around the needle twice. Rows 5 to 8 using MC repeat rows 1 to 4 Repeat rows 1 to 8 three times in total then Rows 1 to 3 once more. Next row; using CC K to end.
Heel Flap Version 1
K15, turn work P30, turn work. You will be working back and forth on these 30 stitches Rearrange stitches so that there are 15 stitches on the two fallow' needles and 30 on the working needle. Row 1 (Sl 1, K1) repeat to end Row 2 P to end Repeat these two rows 14 times (15 repeats total) Turn the heel Starting on right side: Sl1, K16, SSK, k1, turn Sl1, p5, p2tog, p1, turn Sl1, k to 1 St before gap, ssk, k1, turn Sl1, p to I St before gap, p2tog p1, turn Continue working these two rows until all ST are worked and you have 18 St left on this needle.
Heel variations
Version 2 Change to CC before commencing heel flap (you will need to break the MC yarn) Change back to MC before commencing the gusset Version 3 Change to CC before commencing heel flap (you will need to break the MC yarn) Change back to MC two rows before end of heel flap.
Gusset (start on RS )
Needle 1 - Transfer half the St from heel flap to new needle, then pick up and k 15 St from one side of heel flap Needle 2 K 30 stitches across instep Needle 3 - Pick up and k 15 St from other side of heel flap, then k remaining St from heel flap. Row 1 Needle 1 Kt until last 3 St on needle 1, k2tog, k1. Needle 2, K. Needle 3, K1, SSK, K to end.
Row 2 K
Repeat Rows I and 2 until there are 60 stitches in total. K until foot is desired length minus 2 inches.

Toe Shaping Version 1
Needle 1 - K until last 3 St. K2tog, K1. Needle 2 - k1, SSK, k until last 3 St, k2tog, k1. (omit K2tog on row 1 only) Needle 3 - k1, SSK, k to end Copyright Jane Lithgow June 2008. Please don't distribute without my permission Knit one round. Repeat these two rounds until you have 16 St on needle 2 and 8 St on each of needles 1 & 3. Repeat Row 1 until 4 St remain on needle 2 and 2 St on each of needles 1 and 3. 8 stitches in total. Break yarn and thread through remaining stitches to form a rosebud toe. Darn in all loose ends. Toe Variations Version 2 Change to CC and complete toe as for Version 1. Jane can be contacted at jane@lithgow1438.freeserve.co.uk Follow her knitting and spinning adventures at http://janesprobablyknitting.blogspot.com/ Version 3 Join in CC and work as follows: Rows 1 and 2 of toe shaping CC Rows 3 and 4 of toe shaping MC Repeat to end Version 4 Join in CC and work as follows: Row 1 of toe shaping K CC Row 2 of toe shaping P CC Rows 3 and 4 CC Repeat rows 1 and 2 CC Change to MC and complete as version 1. Copyright Jane Lithgow June 2008. Please don't distribute without my permission


