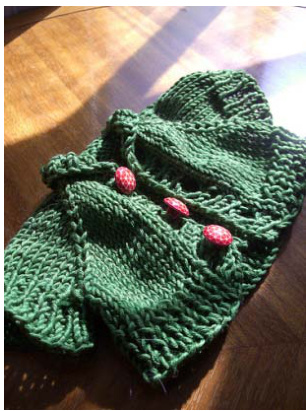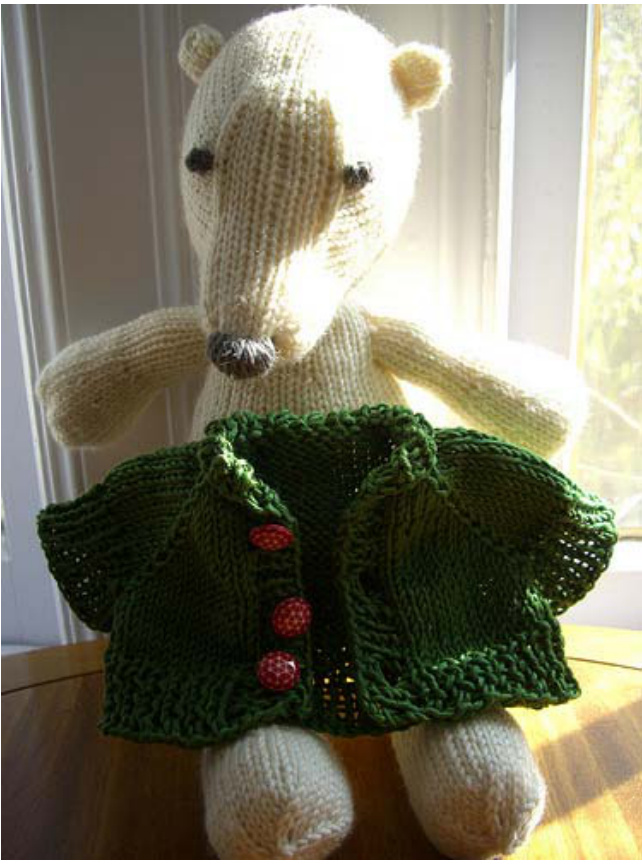
Sweater for Ysolda Teague's Otto Bear
By Snowden Becker
SUPPLIES
Shown in an unidentified DK weight cotton from my stash. I used about half of a $50\mathrm{g}$ skein. One set US size $4/3.5\mathsf{m m}$ dpns One small US size $4/3.5\mathsf{m m}$ circular needle (optional) Three small buttons $(3/8-\%^{\prime\prime}$ diameter)
SIZE
One size is given; this will fit the small version of Otto the bear in Ysolda Teague's terrific pattern (available for purchase on Ravelry or her blog: http://ysolda.com/wordpress/2008/04/17/otto/). If you want to make a sweater for the bigger bear, just use the same weight yarn you used for the bear (or slightly heavier) and the same size needles (or one size larger) and the proportions will work out fine.
GAUGE
24 sts/28 rows $=4^{\prime\prime}$ in stockinette on US size 4 needles (or whatever gauge you've gotten when working the Otto bear pattern—the sweater is based on the bear's dimensions)
INSTRUCTIONS
Body:
Using dpns (or circular needle if desired), cast on 20 sts., placing markers after 3, 6, 14, and 17 sts. Distribute sts as follows if using dpns: 5 sts on needle 1, 10 sts on needle 2, 5 sts on needle 3. Row 1 (WS): SI first st purlwise, then p to end of row. Row 2 (RS): SI first st knitwise, (K to last st before marker, m1r, k1, sm, k1, m1l) four times, k to end of row. Rows 3-22: Repeat these two rows 9 times. (100 sts)
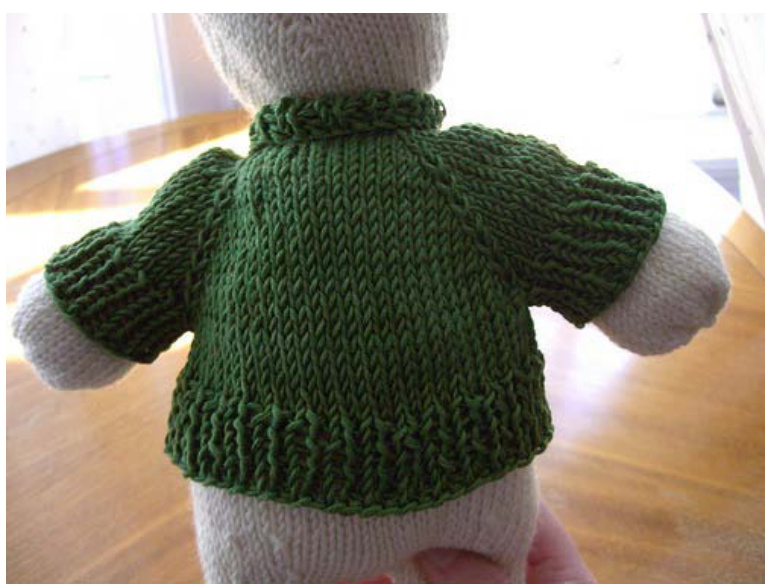
Row 23: SI first st purlwise, $*_{P}$ to marker, place the next 23 sts on waste yarn and $c/0\,4$ sts using backward loop method; rep from \* once; p to end. Rows 24-29: K all sts on RS rows, p all sts on WS rows, slipping first st of each row. Rows 30-35: Work six rows of k1, p1 rib, slipping first st of each row. Bind off loosely on RS row, leaving last st on needle; do not break yarn. (You should finish at the bottom of the right front edge.)
Button band and collar:
Pick up one st in every slipped st up the right front edge, one st in each of the cast-on sts around the neck, and one st in every slipped st down the left front edge. If using dpns, put the front edge sts and the neck sts each on their own needles. Row 1: K1, p1 to end. Row 2: K1, p1, \*k2tog, yo, (k1, p1) twice; rep from \*once, k2tog, yo, kfb of next two sts, (k1, p1) six times, kfb of next 2 sts, work to end in rib patt as set. Rows 3-5: Work 3 more rows of k1, p1 rib and bind off loosely.
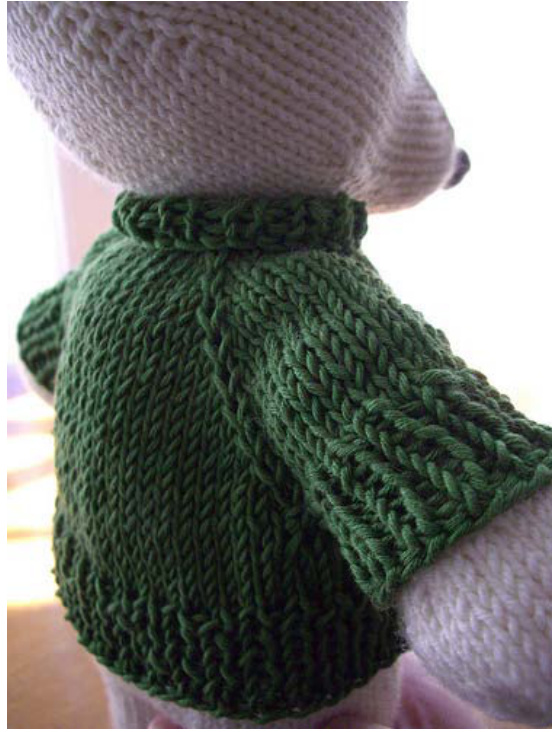
Sleeves:
(Both worked the same.) Pick up sts from waste yarn or holder and distribute on 3 needles: 2 sts on needle 1, 10 sts on needle 2, 11 sts on needle3. Using working needle, attach yarn, pick up and knit 2 sts in the cast-on underarm sts on the body nearest the sts on needle 1, then k the sts on needle 1 onto the working needle. K to end of needle 3, pick up and knit 2 more sts from the underarm. (The end of the row will be the midpoint of the underarm sts.) Transfer 3 sts from end of needle 3 to needle 1, placing marker if desired to indicate end of row. Work 8 rows of k1, p1 rib (you will begin and end the row with k sts) and bind off loosely.
FINISHING
Weave in ends. Sew on buttons to match placement of buttonholes. Then dress Otto in his new sweater!