THE 78 9 HAT TO KNIT
KNIT WITH ANY WORSTEDWEIGHTYARN
Use size US 7, 8, or 9 circulars & DPNs 5 Brim Options ·3 Needle Options 2 Top Options When my mom decided to learn to knit, I taught her to make hats one skill at a time. I developed this basic hat pattern for her with several variations.This pattern is really nothing original, just a handy collection of ideas for simple hat making using worsted weight yarns. She started knitting on 16" circulars in size 8, and as she added needles to her collection, I added to new sizes and options to the pattern. She has experimented with the instructions. Some have come out a little big or small, but most are perfect for your average adult. She has made a pile of beautiful hats from these simple instructions. Hope they are helpful to you as well. - Kim, Yarns of Italy
The 7 Hat
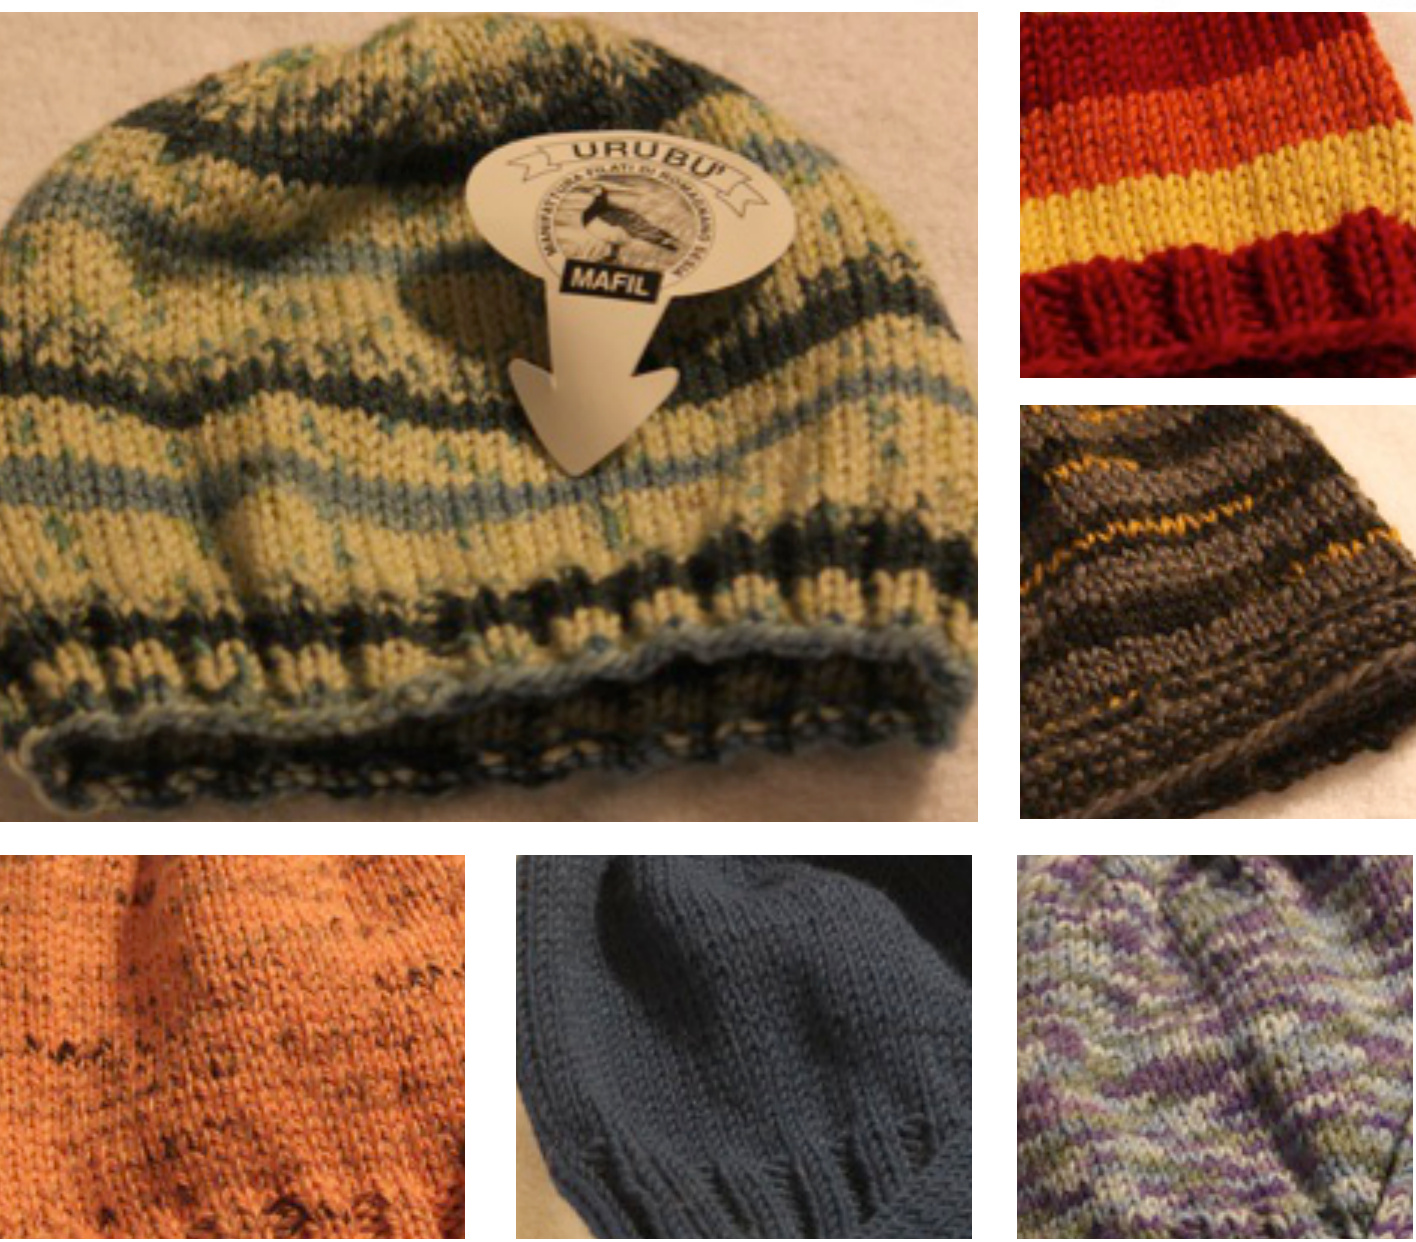
This uses US size 7 16" circular and DPNs and any light worsted weight yarn, such as YOl's self-patterning Urubu. This will work for any worsted weight yarn that calls for size 7 needles OR contains between 100-120 yards in a 50g ball. Cast on 96 stitches. Do not join. Turn and work first row of edge option. JOIN in round, and continue edge option for desired length (We recommend at least 1-1.5"). Change to stockinette and knit in round until hat from cast on to needles is as long as the length of your hand from base of hand (where your hand meets your wrist) to the tip of your fingers. If you're making this hat for a bigger or smaller person, get their hand measurement and use this for the length. Work decrease of choice (listed at the end of the pattern under "Toptions,” beginning with Row 1.
The 8 Hat
This uses US size 8 16" circular and DPNs. It will work with an average worsted weight yarn that calls for size 8 needles or contains between 90 & 100 yards in a 50g ball), such as YOl's Brughiera or Supernova. Cast on 88 stitches. Do not join. Turn and work first row of edge option. JOIN in round, and continue edge option for desired length (she usually does 1-1.5"). Change to stockinette and knit in round until hat from cast on to needles is as long as the length of your hand from base of hand (or hand of recipient). Work decrease of choice (listed at the end of the pattern under "Toptions,” beginning with Row 3.
Why am I measuring my HAND to make a hat?
The length of your hand is the same length as the straight part of each of these hats. For some magical reason, your hand from the base of your hand (where it meets your wrist) to the tip of your longest finger is the same length as a hat needs to be to reach the base of your ears and to the top of where your head starts to curve in at the angle the hat will sit on most heads. Weird, but true. If you want to make a hat for someone, measure their hand to get theperfect length.
The 9 Hat
Use US 9 16" circular and DPNs along with a heavy worsted weight yarn (like YOl's Ontario) This will work for any worsted yarn that calls for size 9 needles OR contains between 80 & 90 yards in a 50g ball.) Cast on 80 stitches. Do not join. Turn and work first row of edge option. JOIN in round, and continue edge option for desired length (she usually does 1-1.5"). Change to stockinette and knit in round until hat from cast on to needles is as long as the length of your hand (or hand of recipient). Work decrease of choice (listed at the end of the pattern under "Toptions,” beginning with Row 5. If you have any questions about this pattern or yarns to use, contact us at: alessandro @yarnsofitaly.com on FB: Yarnsofltaly on Etsy: Yarnsofltaly on Ravelry: Yarns of Italy on the web: www.yarnsofitaly.com Edge OptionS: Each one of these works with all the sizes listed above. · 2x2 Rib: (Knit 2, Purl 2) around the hat. · 1x1 Rib: (Knit 1, Purl 1) around the hat. This will create a snugger fit. · Controlled Roll: Knit every row around for 1", the purl one or two rows to help stop the rolling. · Rolling Edge Rib: Knit every row around for 1", then (Knit 2, Purl 2) around for 1". This will give you the snug fit of a rib, with the hip rolled edge. · No Roll, No Rib: (Knit 1 row, Purl 1 Row) for 6 total rows. This will keep the edge from rolling without the snug fit of a ribbing. ToptionS: Each one of these will work with the hats shown above if you begin at the row indicated by your hat instructions. Change to DPNs when the circular needles are larger than your project and the loops start to pull. Basic Decrease: This creates a rounded top to the hat. The 7 Hat begins with: The 8 Hat begins with: The 9 Hat begins with: Row 1: (K10, K2tog) around. Row 2 and all EVEN rows up to Row 10: Knit around. Row 3: (K9, K2tog) around. Row 5: (K8, K2tog) around. Row 7: (K7, K2tog) around. Row 9: (K6, K2tog) around. Row 11: (K5, K2tog) around. Row 12: (K4, K2tog) around. Row 13: (K3, K2tog) around. Row 14: (K2, K2tog) around. Row 15: (K1, K2tog) around. Row 16: (K2tog) around. Cut yarn to 12" length, and put on a yarn needle. Thread through stitches in order, and pull tight. Weave in ends. Flat Top Increase: This creates a flatter top to the hat that makes the hat more of a cylinder than a dome. It also uses less yarn, so if you're running a little short, this may be thebetter option. The 7 Hat begins with: The 8 Hat begins with: The 9 Hat begins with: Row 1: (K10, K2tog) around. Row 2: (K9, K2tog) around. Row 3: (K8, K2tog) around. Row 4: (K7, K2tog) around. Row 5: (K6, K2tog) around. Row 6: (K5, K2tog) around. Row 7: (K4, K2tog) around. Row 8: (K3, K2tog) around. Row 9: (K2, K2tog) around. Row 10: (K1, K2tog) around. Row 11: (K2tog) around. Cut yarn to 12" length, and put on a yarn needle. Thread through stitches in order, and pull tight. Weave in ends.


