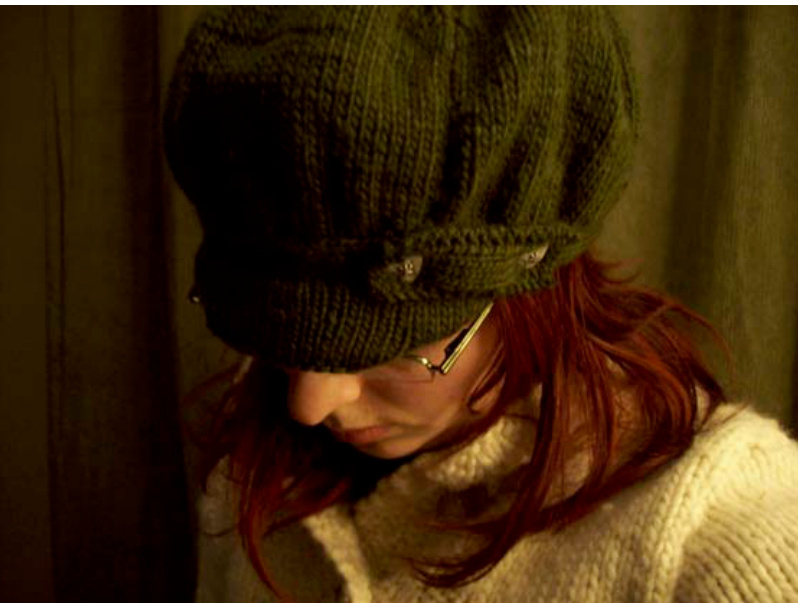
Starcap
By Stephanie Voyer http://alamaille.blogspot.com
Yarn Used: Malabrigo merino worsted color Olive ( $100\%$ merino, 100gr / 216yd ) Quantity: 1 skein You will need plastic or carton to make cap. I used a wax carton from orange juice with plastic wrap to keep it waterproof. Take a color that will not be visible through your yarn even if cap is made with smaller needles. Needles: 4mm straight $/\,4.5\mathrm{mm}$ straight / 5mm circular and dpn.
Abreviations:
RS: right side WS: wrong side Sl: slip K2tog: knit 2st together K3tog: knit 3st together BO: Bind off CO: Cast on. This hat is made of4 parts. $1^{\mathrm{{st}}}$ Headband $2^{\mathrm{nd}}$ Hat $3^{\mathrm{rd}}$ Cap $4^{\mathrm{th}}$ Fake tab
Headband:
VVI11T.J111111/DLRS: S11, K6 WSP7 Continue those 2 rows til you have 145rows (of enough to fit your head when joining beginning and end of band) BO allstitches and make a seam to join beginning and end of band.
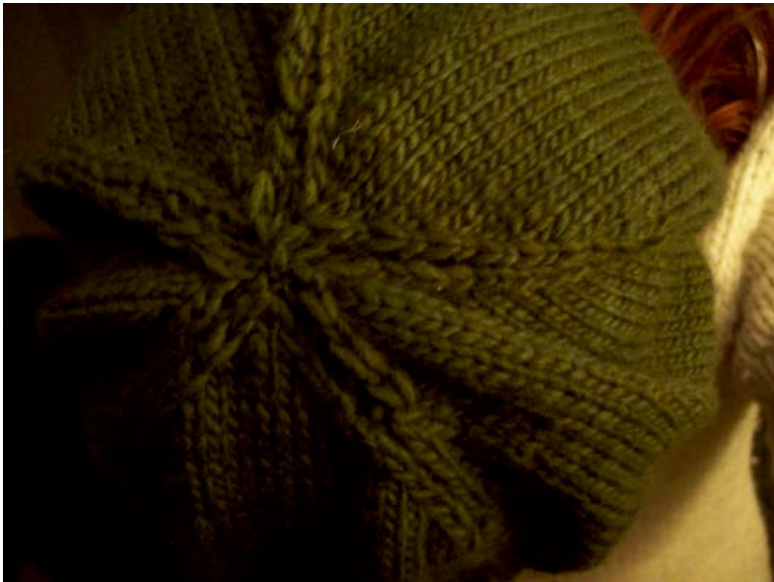
Hat:
Pick up 145 st. at headband left side when looking at RS (not edge of slip stitch) and start knitting with $5\mathrm{mm}$ circular needles. Place a stitch marker at beginning. Row 1: K 28, sl 1. Repeat til end of row Row 2: K all stitches Repeat those 2 row til pce meas. $3~^{1}\!/\!/\!\!/\,^{,,}$ from head band (ending with row 1) Then start decreases: Ssk, K 24, K2tog, k1. Repeat til end of row. row 1, row 2, row 1 Ssk, K 22, K2tog, k1. Repeat til end of row. row 1, row 2, row 1 Ssk, K 20, K2tog, k1. Repeat til end of row. row 1, row 2, row 1 Ssk, K18, K2tog, k1. Repeat til end of row. K row 1 Ssk, K16, K2tog, k1. Repeat til end of row. K row 1 Ssk, K14, K2tog, k1. Repeat til end of row. K row 1 Ssk, K12, K2tog, k1. Repeat til end of row. K row 1 Ssk, K10, K2tog, k1. Repeat til end of row. Ssk, K8, K2tog, sl1. Repeat til end of row. Ssk, K6, K2tog, k1. Repeat til end of row. Ssk, K2tog, k2tog, K2tog, sll. Repeat til end of row. Ssk, K3tog. Repeat til end of row. You now have 10st left. Pass sewing needle in all stitches left and weave end.
Cap:
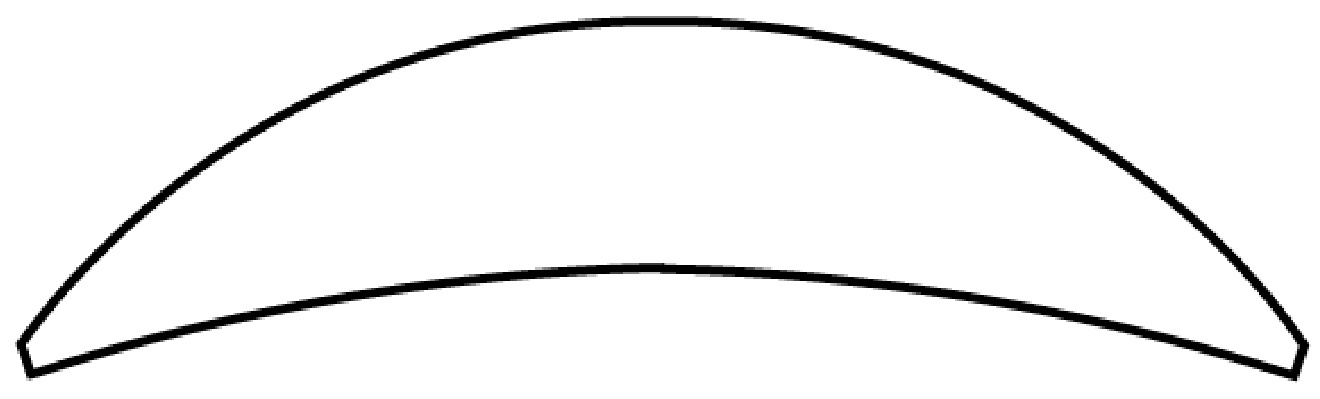
Pick up 30st starting $1\ ^{1}/{}_{4}^{\bullet}$ left from headband seam and ending $4\,1/2^{\circ}$ right from headband seam with $4\mathrm{mm}$ needles. It will be tight, but it's normal, that will make cap shape It is knit stockinette stitch and follow decrease and increase below. Increase are done with knitting on cast on method Work 4 rows. RS: BO2, K all WS: BO2, P all Repeat those 2 rows one more time. Work 2 rows RS: BO4, K all WS: BO4, P all RS: P all(this is the turning edge of cap) WS: CO4, P all RS: CO 4, K all Work 2 rows WS: CO2, P all RS: CO2, K all WS: CO 2, P all RS: CO2, K all Work 4 rows BO all stitches. Ist make side of cap sewing. Put you rigid cap inside and then make a seam with cap joining it with edge of headband WS. (Your rigid cap must fit perfectly in your knitting to have a curve) Refer to below pattern, but you can adjust with your knitting
Fake tab:
Co 8 st with 4mm needles. Work in moss stitch for 4 rows. Continue for inch with RS row K all stitch WS row: K2, P4, K2 The finish with 4 moss stitch rows and BO all stitches. Sew tab with button on headband.
CAP pattern:
Question? Comments? Email me birana007 $@$ yahoo.ca


