Super Chibi Mushroom Amigurumi
An 8BitBaconBit Design by Vivian Lee
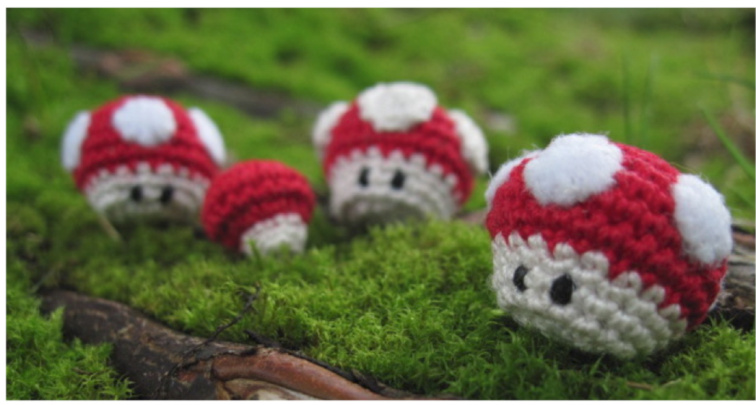
InSpired by the long-running Super Mario Bros. Series, this adorable little power-up mushroom is here to brighten your day!
MATERIALS:
Crochet thread (size 10) in RED Crochet thread (size 10) in WHITE Small scrap of crochet or embroidery thread in BLACK Regular sewing thread in WHITE 1.4mm crochet hook Embroidery needle Tiny bit of polyfill Small piece of white felt Stitch marker of some kind Good lighting so you can see what the heck you're doing
NOTES:
Work the stitches tightly for best results, as you do not want the polyfill to show through. You can experiment with different size hooks depending on your thread. The idea is to have a tightly woven surface. Like most amigurumi, this pattern is worked in the round so using a stitch marker to keep track of where your round begins is recommended. I actually used a small piece of bent wire as my stitch marker because the normal stitch marker is too big. The pattern is for a red/white super mushroom, but you can easily change up the colors to make a 1-up, poison, or any other type of mushroom your heart desires.
ABBREVIATIONS:
MR =magic ring Sc = single crochet St =stitch Inc = increase (work 2 sc into a single st) Invdec = invisible decrease (hook through the front loops only of the next 2 st, yarn over, pull through both loops, yarn over again and pull through remaining 2 loops). Numbers in [brackets] indicate the total number of stitches you should have at the end of each round.
INSTRUCTIONS:
Start with the RED thread and work from the top down. RND1: Create MR [6] RND2: Inc 1 in each st around [12] RND3: (Sc 1, inc 1) repeat until end of round [18] RND4: (Sc 2, inc 1) repeat until end of round [24] RND5: (Sc 3, inc 1) repeat until end of round [30] RND6: Sc around [30] RND7: Sc around [30] RND8: Sc around, at the last stitch yarn over with the WHITE thread instead of the red [30] At this point, continue with the new WHITE thread. After you've worked the first few stitches in the next round, cut the red thread, leaving enough to tie a knot using both the tails of the red and white thread. Make sure you tie it tightly and close to where the new and old thread joins so that the stitches will remain tight and uniform on the outside. Stuff both tails inside the cap of the mushroom. RND9: (Sc 1, invdec 1) repeat until end of round [20] RND10: Sc around [20] Stuff the cap of the mushroom with a bit of the polyfill. You might have to wrestle with it since it is so small (l used a blunted hairstick). Don't stuff it too full at this point or some of the polyfill might get stuck in your stitches. RND11: Sc around [20] RND12: Sc around [20] Before going further, take your scrap of BLACK thread and embroider the eyes. Tie the loose ends securely and stuff inside the mushroom. Some people might prefer to embroider the eyes after the mushroom is completely sealed, and you can certainly do that. This is just how I did mine. Add more polyfill at this point to round out the stem, stuffing firmly. RND13: Invdec around [10] Cut the yarn, leaving a long tail. Pull the tail through your last loop on the hook to finish off. Now thread the tail through your embroidery needle and work clockwise through the front loops only from the inside to outside pulling each stitch taut. This will close the hole. Thread the tail through the center of the bottom of your mushroom and pull through the back before trimming. Cut 5 small circles out of the white felt. Sew them on using the regular sewing thread, starting with the center one and spacing each of the other circles in equal distance around the cap of the mushroom. That's it! For personal use only. Please do not sellitems created from this pattern or redistribute in any way. Thank you for respecting the hard work of independent designers. 2014 Vivian Lee. All rights reserved.


