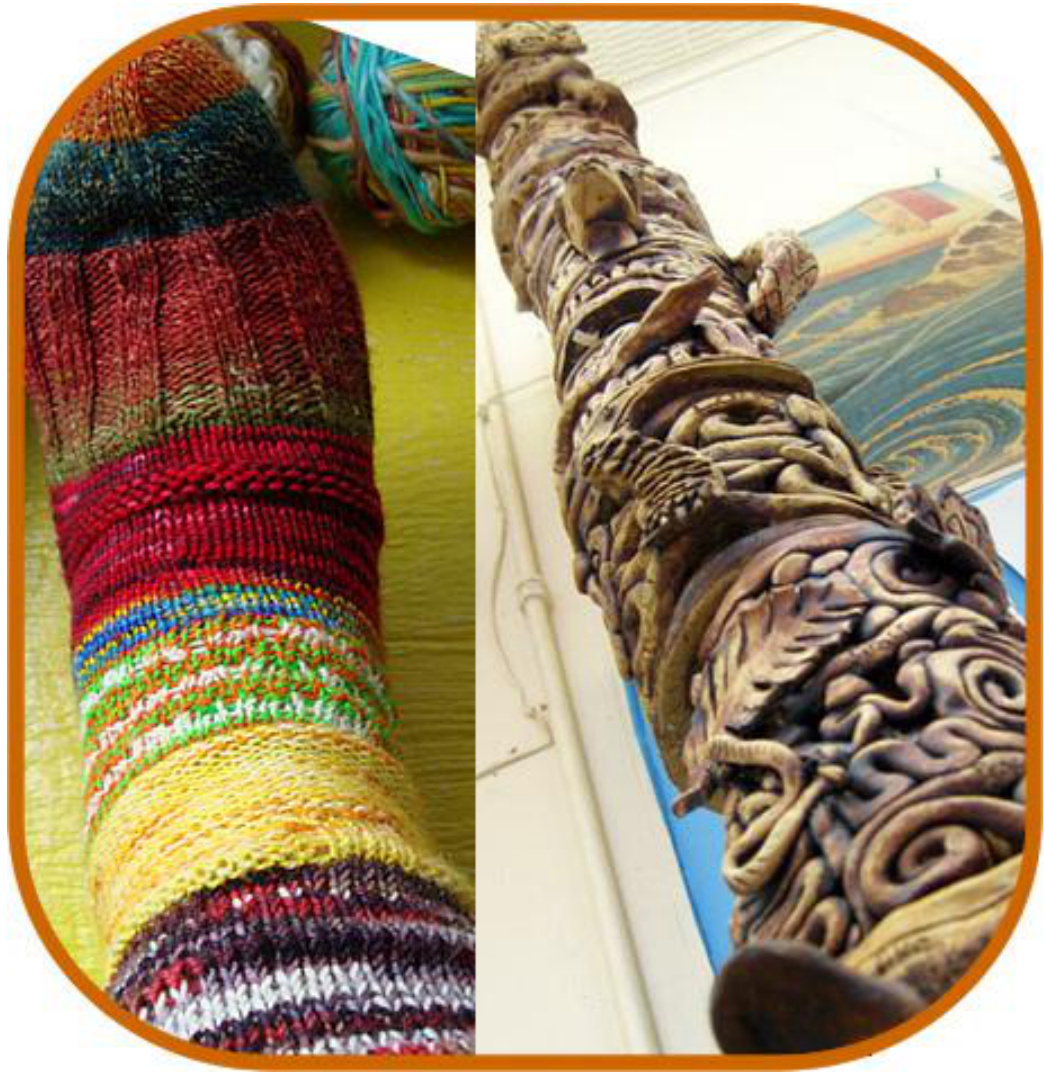
Totem Pole Socks
This pattern has all of the foundations to provide you with a pattern to knit a pair of socks, however the stitch patterns and yarns/colourways you choose to use will allow you to be the artist and designer of your very own pair of socks. Each colourway has it's own stitch pattern, and pile sort of like the carvings on a totem pole. Iam referring to this design as'structured freeform' because it is easy and allows a lot of creativity. This design is specifically
for using up all those scraps of sock yarn that you collect. TIP (SiziNG): The size is for a medium as I knit for my size 8.5 foot and medium sized calf. However, if you have a favourite fitting cuff, heel, or toe, you can incorporate them. You can also cast on as many stitches as you would like to fit around your leg - ensure that any of the stitch patterns you decide to use are divisible by the number of stitches that you cast on. TIP (YARN, ATTACHING, WEAVING): This pattern is designed for using up sock yarn scraps or simply attaching different coloured yarns together for a unique design. It is suggested to use only fingering or light fingering weight yarns in this design in order to obtain gauge. Gauge is not as crucial in this design as it is for others as you are changing your stitch patterns but still maintaining the same number of stitches. When joining the yarns, you can choose to use a yarn swift and ball winder to hold the yarn for you OR you can hand wind into a ball. When you reach the end of the last yarn and the beginning of the next yarn - it is time to attach them together. To attach: Simply tie the two yarns together with a single knot, ensuring you leave enough of each of the yarns as a loose strand that can be woven in at the end. You will want to ensure as least 4 inches allowing you to thread the yarn on your needle and make a few stitches to weave in neatly. \*Do not tie more than one know when attaching or a hole will be visible on your knit fabric and you might feel the texture of the double knot against your skin. $\pmb{*}\pmb{\Delta}$ good lengthfor each scrap is about 12 - 20 yards. Yarn weight : Fingering / 4 ply (14 wpi) Needles: ·1 set of $152-2.75\:\mathrm{mm}$ (or your preferred size for gauge) Designed for double pointed needles but you could also use circulars. ·Tapestry needle Yardage: 350 - 400 yards (320 - 366 m)
DIRECTIONS:
Cuff: Cast on 66 stitches. K2, P2 for 12 rounds, ensuring not to twist your stitches when you join. TIP: You can choose, for both socks, to measure your scrap to the same length and use one colourway for the entire cuff, before moving on to the next colourway and beginning your design elements. Or, you can just knit and not really care. $\circledast$ Leg: This is where the fun begins! For the duration of the leg's length you will likely work through about 5-7 different yarns and with each yarn, you can choose a new stitch pattern. TIP: Stitch patterns with more purls are more bulky so they will pop out a little bit (ie. Moss stitch). If you are concerned about bulkiness on the leg, save your purl-heavy stitch patterns for the top of the foot (unless you worry about that also...oh dear!). Lace patterns are fantastic for this sock design.
Check the bottom of this pattern for a few stitch designs that I found really fun!
Colourway 1-your stitch design Colourway 2 - your stitch design Next series of colourways - All your design choices. Once you have knit down about 6 inches, try on your sock. Here you can decide if the leg cuff fits just right, or if you can keep knitting and add additional sections to your totem pole. Otherwise, it is time to start your heel. Make sure you still have 66 stitches on your needles. Heel Flap: Worked across 30 stitches (Ensure you have 36 stitches on the other 2 needles - this will be the front of the sock) Row 1 [WS]: SI 1, p29. Row 2 [RS]: [SI 1, k1] 15 times. Repeat these 2 rows 14 times more, then work Row 1 once more; 31 rows have been worked. Turn Heel: Row 1 [RS]: Sl 1, k16, ssk, k1. Turn work. Row 2 [WS]: Sl 1, p5, p2tog, p1. Turn work. Row 3 [RS]: Sl 1, k6, ssk, k1. Turn work. Row 4 [WS]: Sl 1, p7, p2tog, p1. Turn work. Row 5 [RS]: Sl 1, k8, ssk, k1. Turn work. Row 6 [WS]: Sl 1, p9, p2tog, p1. Turn work. Row 7 [RS]: Sl 1, k10, ssk, k1. Turn work. Row 8 [Ws]: Sl 1, p11, p2tog, p1. Turn work. Row 9 [RS]: Sl 1, k12, ssk, k1. Turn work. Row 10 [WS]: Sl 1, p13, p2tog, p1. Turn work. Row 11 [RS]: Sl 1, k14, ssk, k1. Turn work. Row 12 [WS]: Sl 1, p15, p2tog, p1. 18 heel flap sts remain.
Gusset
K first 9 heel flap sts. This will now be the beginning of the round. Using a new needle, k remaining 9 sts of heel flap, then pick up and k 16 sts (1 st in each slipped st) along adjacent edge of heel flap. This needle is now designated Needle 1. Using next needle (Needle 2), work in stitch pattern you have chosen. Using next needle (Needle 3), work in stitch pattern you have chosen. Using remaining needle (Needle 4), pick up and k 16 sts along remaining edge of heel flap, k first 9 sts of heel flap. 86 sts: 25 sts each on Needles 1 and 4, 36 stitches across Needles 2 and 3, divided how you like based on your stitch pattern. While working instep, continue working in your stitch patterns on Needles 2 and 3. Sts on Needles 1 and 4 are worked in stockinette st.
Gusset Decrease Round:
K to last 3 sts on Needle 1, k2tog, k1; work sts on Needles 2 and 3 in pattern; k1, ssk, k to end of Needle 4.2stsdecreased. Work 1 round in pattern. (your stitch on top of foot, stockinette on bottom of foot) Repeat these 2 rounds 9 times more. 66 sts: 15 sts each on Needles 1 and 4, 36 stitches across Needles 2 and 3 divided how you like based on your stitch pattern.
Foot:
Continue in pattern until work measures approx. 2 inches less than desired length to end of toe. K 1 round, then redistribute sts as follows: Needles 1 and 3 hold 16 sts each, Needles 2 and 4 each hold 17sts. K to end of Needle 1. This point is now beginning of round. The needle which had been Needle 2 now becomes Needle 1, Needle 3 becomes Needle 2, etc.
Toe:
Toe Decrease Round: K1, ssk, k to end of Needle 1; k to last 3 sts of Needle 2, k2tog, k1; k1, ssk, k to end of Needle 3; k to last 3 sts of Needle 4, k2tog, k1. 4 sts decreased. K 1 round. Repeat these 2 rounds 11 times more. 18 sts remain. Slip sts from Needle 2 to Needle 1, and sts from Needle 3 to Needle 4. Graft sts on Needle 1 to sts on Needle 4. You can follow the below instructions for kitchener stitch bind off.
KITCHENER:
Setup (leave):Pfront,back Front:KoffPleave Back:P off,Kleave Repeatlast2rowsuntil allstitcheshavebeenworked.
Weave in Ends Throughout the Project:
To weave in your ends, turn your sock inside out, then thread each of your yarn ends on to your tapestry needle, stitching a few stitches inside. Be careful not to pull too tightly as you can tug stitches in your knit pattern too tightly. I find knitting through the ply of the stitches on the inside of the sock makes a moresecureweave. Now, dance around in your awesome new socks!!
Designer Tips:
If you want to have 2 socks that look the same but use this technique you can easily measure out the same lengths of each colourway you decide to use and document each stitch pattern decision that you make as you work your first sock. Then you can use the same pattern for the second sock - the possibilities are endless! You could knit each of the yarns in the stitch pattern that you used when you made the original socks the yarn was used for - sort of like a book of memories in a pair of socks! Suggestions for Stitch Patterns: (Do a little math to work in these fun stitches - remember they have to fit across either 66 stitches on the leg, or 36 on the top of the foot. You can choose to knit on either side of the multiples). Lozenges Stitch: Breaking up knit and purl diagonals tor an interesting repeat. Multiple ot 8 stitches. Row 1: (P4, K4) to end Row 2: (P3, K4, P1) to end Row 3: (K2, P4, K2) to end Row 4: (P1, K4, P3) to end Row 5: (K4, P4) to end Row 6: (P4, K4) to end Row 7: (K1, P4, K3) to end Row 8: (P2, K4, P2) to end Row 9: (K3, P4, K1) to end Row 10: (K4, P4)t0 end These 10 rows form the pattern. Baby Shale Stitch: Groups of decreases and yarn-over increases alternate to give a gracefully undulating design that's the smallest version possible of the traditional old shale stitch pattern. Multiple of 11 stitches plus 2. Row 1: (Rs) K1, \* [K2tog] twice, [yo, k1] 3 times, yo, [skpo], twice, rep from \* to last st, k1. Row2:P Row3:K Row 4: K These 4 rows form the pattern.

Designer: Cindy Cole is very active in fiber and other arts and loves spinning, knitting, and dyeing yarn. You can find more of Cindy's projects and blog at http://www.studioloo.com or on her podcast- Muststashyo (of moustaches and yarn!) http://www.muststashyo.com.


