NORTHWOOD STITCH
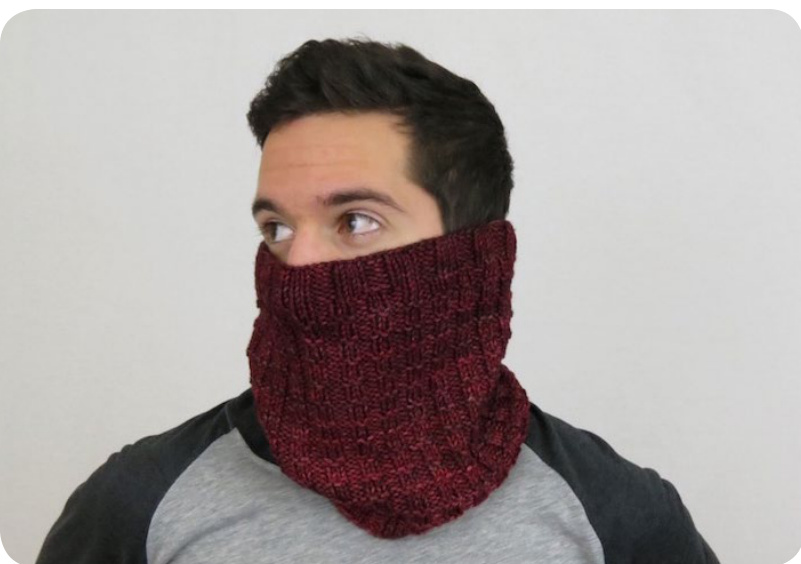
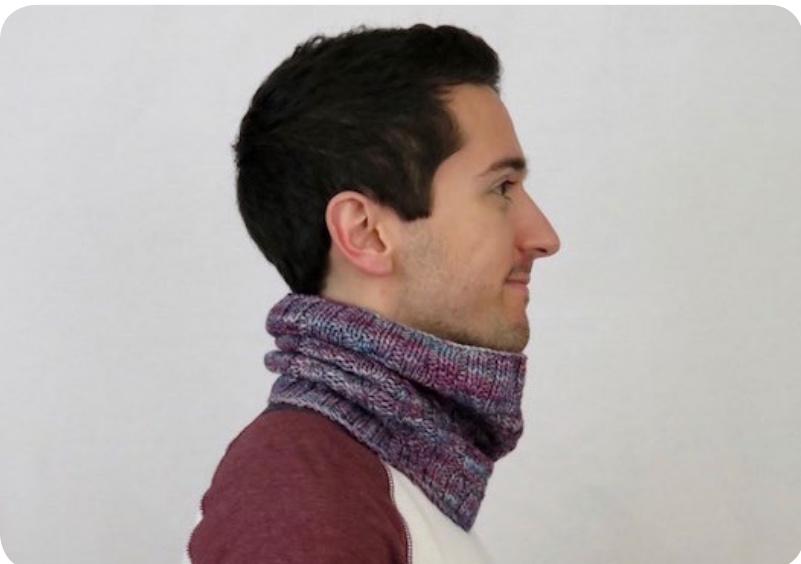
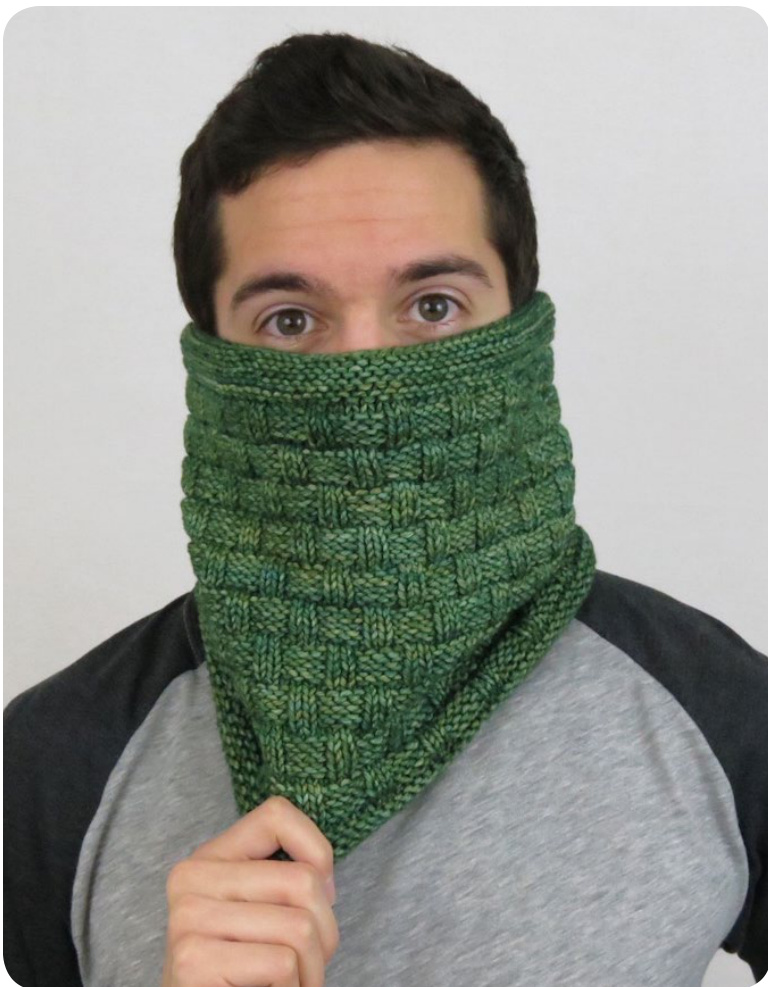
CHOOSE YOUR OWN ADVENTRUE: COWL SERIES This fun design allows you to choose from a bundle of stitch pattern combinations to create and customize a cowl of your own liking!
FINISHED MEASUREMENTS
19 1/2" (50cm) in circumference x 10" (25cm) length after blocking. Suggestions for making an infinity scarf instead of a cowl can be found on pg 5. YARN 210 yds of a worsted weight yarn. Used in: Malabrigo Rios x 1 skein for each cowl. Col 49 (Jupiter / Red), Col 120 (Lotus /Pink-Blue), Col 128 (Fresco Y Seco/Green) and Col 131 (Sandbank/ Tan).
NEEDLES
US 7 (4.50mm) 16" (40cm) circular needle or needle to obtain gauge. NOTIONS 1 Stitch Marker; Cable Needle GAUGE 20 sts = 4" (10cm) in each stitch pattern after blocking. Please read before starting... 96 is a special number in the world of knitting. If you have 96 Cast On stitches on your needle in the round, then you can use any stitch patterns that have a repeat/ multiple of 1, 2, 3, 4, 6, 8, 12, 24, 48 and 96. That covers a lot of different stitch patterns! For this cowl series there are 4 different kinds of stitch patterns provided for each the bottom border, main body and top border. There is aiso a 'choose your own stitch pattern' option for those who want to use a different stitch pattern than those provided. When choosing a stitch pattern, you will choose a number (ex: 1, 2.) for the bottom border, a letter (ex: A, B..) for the main body and a number (ex: 1, 2..) for the top border. Okay! Time to get started on your adventure.
INSTRUCTIONS
Cast On 96 sts. Place your marker to mark the beginning of the round, and choose your stitch pattern for the ‘bottom border' before joining in the round. Slip marker each time you knit around to it. BOTTOM BORDER Choose a number between 1 and 5 for the bottom border stitch pattern: 1. 1x1 ribbing: Round 1: \*(k1, p1) rep from \* to marker Repeat round 1 for 1" from CO edge. 2. 2x2 ribbing: Round 1: \*(k2, p2) rep from \* to marker Repeat round 1 for 1" from CO edge. 3. 3x3 ribbing: Round 1: \*(k3, p3) rep from \* to marker Repeat round 1 for 1" from CO edge. 4. Garter stitch: Round 1: p all sts Round 2: k all sts Repeat rounds 1 & 2 for 1”" from CO edge, ending with rour 5. Choose your own stitch pattern: Repeat stitch pattern for 1" from CO edge. When finsihed knitting the bottom border, move onto the next page for the mainbody.
ABBREVIATIONS
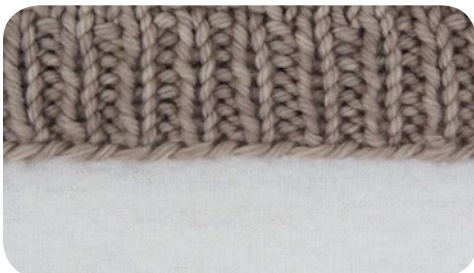
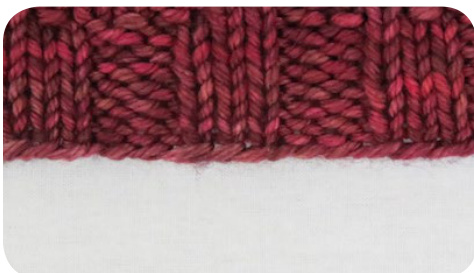
CO = Cast On k = knit p = purl st = stitch sts = stitches rep = repeat \*c4b = cable four back See page 5 for speecial stitch instructions. Border 1 (1x1 ribbing)
Border 2 (2x2 ribbing)

Border 3 (3x3 ribbing)
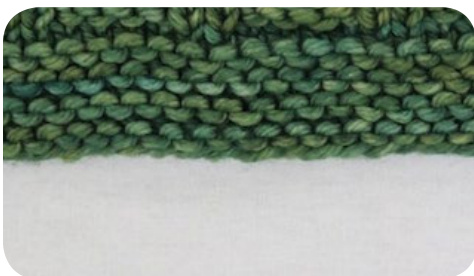
Border 4 (Garter stitch)
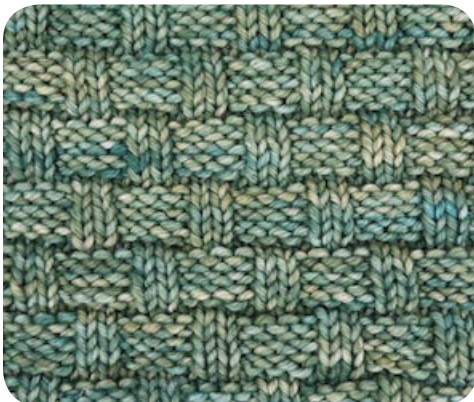
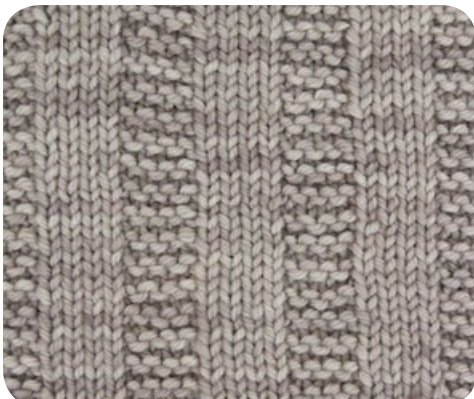
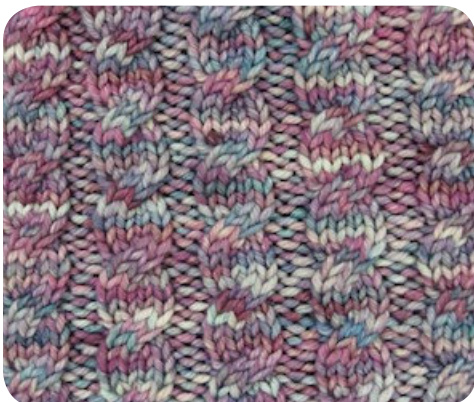
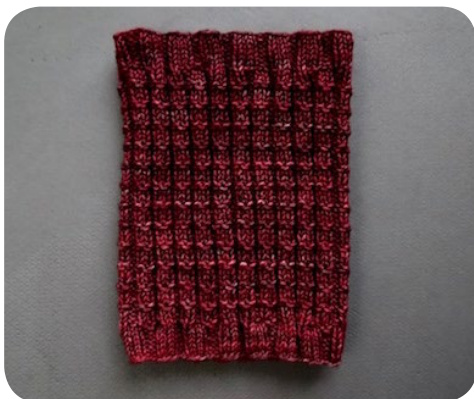
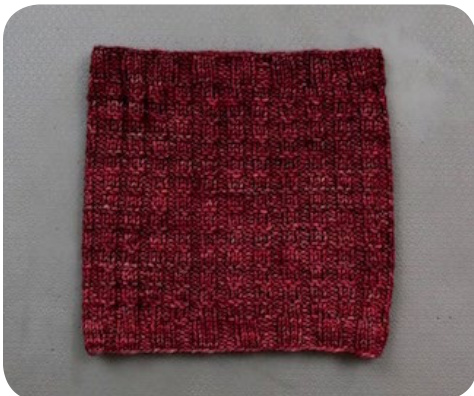
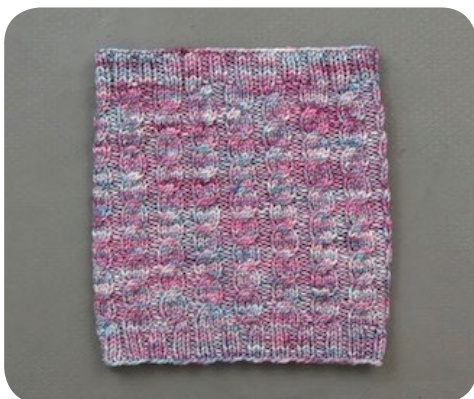
MAIN BODY t, choose a letter between A and E for the main body stitch 1 A. Interrupted Rib (Multiple of 4): Round 1-3: \*(p2, k2) rep from \* to marker Round 4: p all sts Repeat rounds 1-4 until piece measures 9" from CO edge, ending with round 3. B. Basket Weave (Multiple of 6): Round 1 & 2: k all sts Round 3-6: \*(k2, p4) rep from \* to marker Round 7 & 8: k afl sts Rounds 9-12: \*(p3, k2, p1) rep from \* to marker Repeat rounds 1-12 until piece measures 9" from CO edge, ending with round 2. C. 4x4 Garter Rib (Multiple of 8): Round 1: k all sts Round 2: \*(k4, p4) rep from \* to marker Repeat rounds 1 & 2 until piece measures 9" from CO edge, ending with round 1. D. Stacking 4 Stitch Cables (Multiple of 12): Rounds 1-3: \*(k4, p2) rep from \* to marker Round 4: \*(c4b, p2, k4, p2) rep from \* to marker Rounds 5-7: \*(k4, p2) rep from \* to marker Round 8: \*(k4, p2, c4b, p2) rep from \* to marker Repeat rounds 1-8 until piece measures 9" from CO edge, ending with round 3. E. Choose your own stitch pattern: Repeat stitch pattern until piece measures 9" from CO ed; When finished knitting the main body, move onto the next page for the top border. Pattern A (Interrupted Rib)
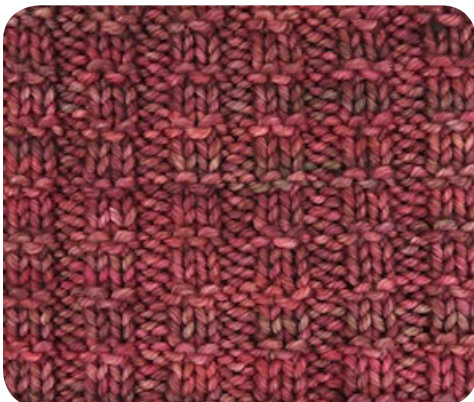
Pattern B (Basket Weave)
Pattern C (4x4 Garter Rib)
Pattern D (Stacking 4 Stitch Cables)
TOP BORDER Lastly, choose a number berween 1 and 5 for the top border stitch pattern (stitch patterns listed are the same for the top border as they are for the bottomborder):
1. 1x1 ribbing:
Round 1: \*(k1, p1) rep from \* to marker Repeat round 1 for 1" from start of top border. 2. 2x2 ribbing: Round 1: \*(k2, p2) rep from \* to marker Repeat round 1 for 1" from start of top border. 3. 3x3 ribbing: Round 1: \*(k3, p3) rep from \* to marker Repeat round 1 for 1" from start of top border. 4. Garter Stitch: Round 1: p all sts Round 2: k all sts t rounds 1 & 2 for 1" from start of top border, ending with r 5. Choose your own stitch pattern: Repeat stitch pattern for 1" from start of top border. When finsihed knitting the top border, move onto the next page for finsihing.
Pattern A (Before Blocking)
Pattern A (After Blocking)
Pattern D (Before Blocking)
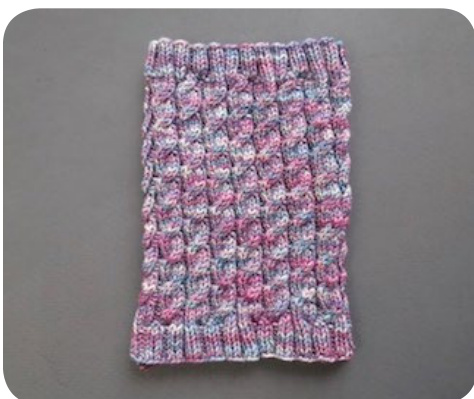
Pattern D (After Blocking)
FINISHING nd off in pattern. Cut yarn and pull the tail through the last Block your piece to the finished measurements listed on page 1. You can either use wet blocking or steam blocking to achieve the desired fabric. Examples of before and after blocking are to the right on pg 4 to show how important blocking is and how much of a difference it makes for your finished piece. Weave in all ends after piece has been blocked and dried. What an adventure! Now you can start another cowl (or infinity scarf) using an entirely different combination of stitches. The possibilites are nearly endless! SUGGESTIONS FOR MAKING AN INFINITY SCARF INSTEAD OF A COWL If you want to create a longer version using the stitch patterns provided, then there's a simple way to do So! All you have to do is Cast On 288 sts (that's 3 times the amount of Cast On sts for the cowl) and follow the pattern as written. Remember, more stitches means more yarn and a longer needle. Use a 32" US 7 circular needle and 3 times the required yarn as used for the cowl. The goal of Northwood Stitch is to bring you fun and clearly written patterns. If you find yourself with any questions, don't hesitate to ask.
\*SPECIAL STITCH INSTRUCTIONS
c4b = cable four back; Slip the next two stitches onto a cable needle and hold them to the back of your work. Knit the next two stitches, and then knit the two held stitches from the cable needle.

@ 2015 Northwood Stitch Design by Denton Foreman denton_foreman@hotmail.com new website coming soon!


