Custard the Kitty
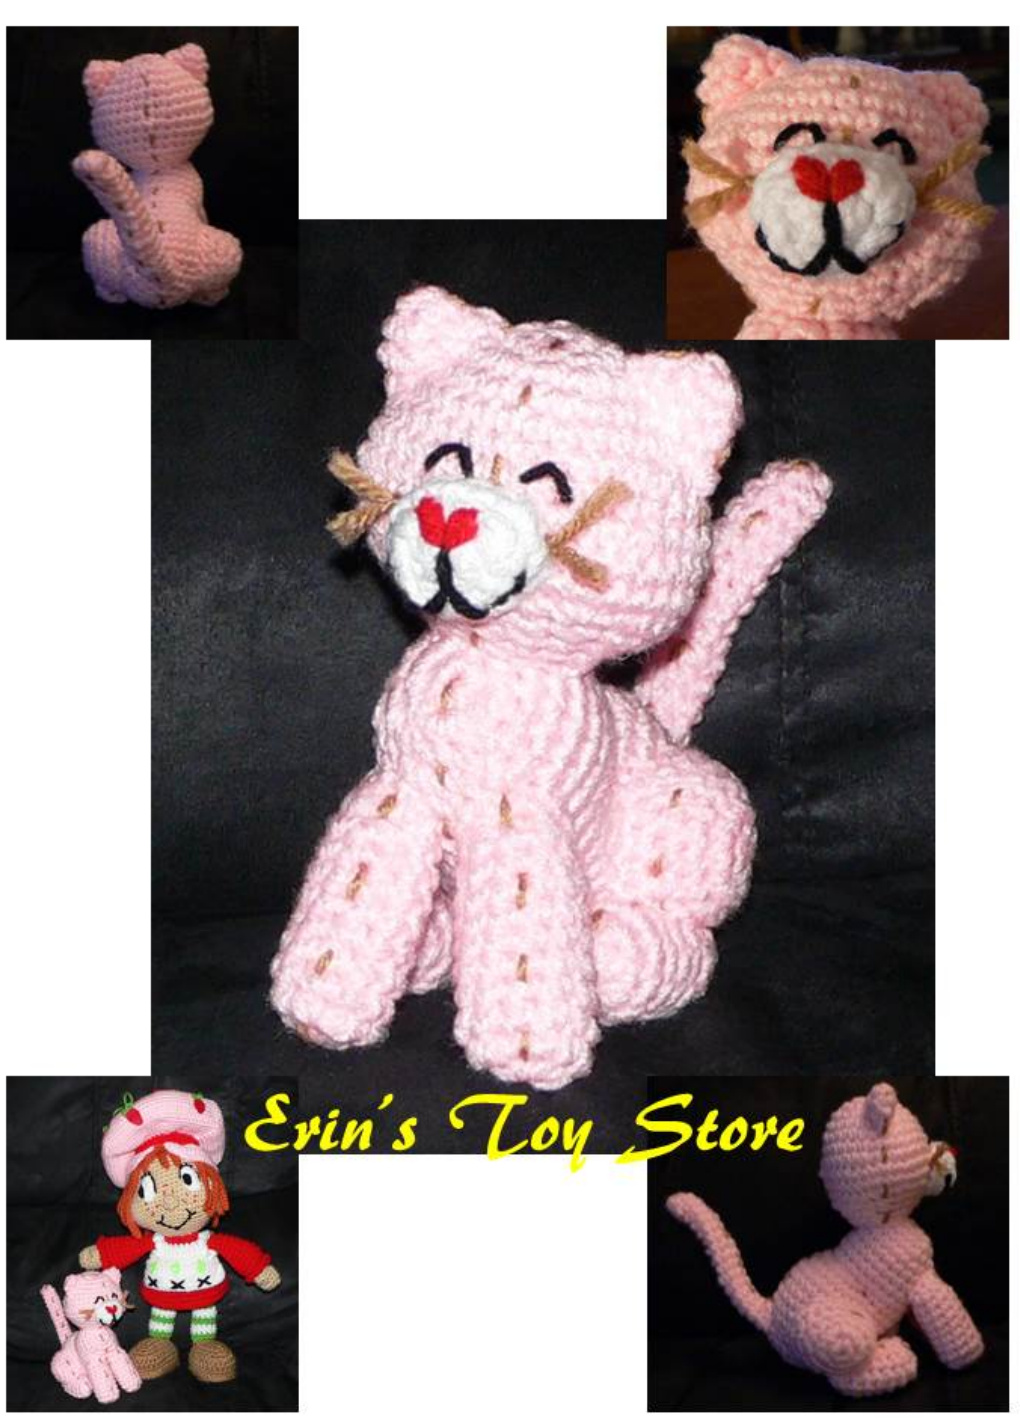
A Crochet Pattern by Erin Scull copyright2013 Materials: (Red Heart Super Saver 4 Ply) Baby Pink Poly-Fill Black (very little) Warm Brown (very little)
You'll Need:
Size G Crochet Hook Straight Pins Large Sewing Needle Scissors Approx. 6" tall and 5" 1ong (not including length of tail) when complete This is a work licensed under the Creative Commons Attribution Noncommercial-No Derivative Works 3.0, if you need more information about this go to: http:/ /creativecommons.org/licenses/by

Please do not share, copy, reproduce or sell this pattern or any doll made by this, thanks!
ADpreviations: Rnd./Rnds.- round/rounds Sc- single crochet Sc Dec- single crochet decrease Hdc- half double crochet Hdc Dec- half double crochet decrease Dc- double crochet Ch- chain Sl St- slip stitch Sk- skip Lp St- loop stitch BLO- back loops only FLO- front loops only Tog- together F/O- fasten off Magic Ring- (ch2, sc # in 1st ch from hook) If you need help with any of these stitches you can check this wonderful site out for some help: http: //www.anniesattic.com/crochet/content.html?type_id
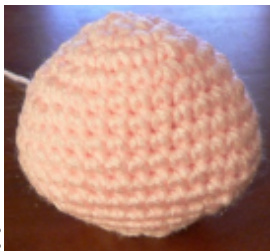
Head: Using Baby Pink (Note: When working in rnds. After joining a rnd., in the next rnd. your first st starts in joining st. This principle applies to whole pattern.) Rnd. 1: 6sc in magic ring, join w/sl st, ch1 (6) Rnd. 2: (2sc in each sc), around, join w/sl st, ch1 (12) Rnd. 3: (2sc in 1st sc, sc in next sc), around, join w/sl st, ch1 (18) Rnd. 4: (2sc in 1st sc, sc in next 2 sc), around, join w/sl st, ch1 (24) Rnd. 5: sc in 1st 5 sc, 2sc in next 2 sc, sc in next 10 sc, 2sc in next 2 sc, sc in last 5 sc, join w/sl st, ch1 (28) Rnd. 6: sc in 1st 5 sc, (2sc in next sc, sc in next sc)2x, sc in next 10 sc, (2sc in next sc, sc in next sc)2x, sc in last 5 sc, join w/sl st, ch1 (32) Rnd. 7: (sc in each sc), around, join w/sl st, ch1 (32) Rnd. 8: sc in 1st 5 sc, (2sc in next sc, sc in next 2 sc)2x, sc in next 10 sc, (2sc in next sc, sc in next 2 sc)2x, sc in last 5 sc, join w/sl st, ch1 (36) Rnds. 9-10: (sc in each sc), around, join w/sl st, ch1 (36) Rnd. 11: sc in 1st 6 sc, (sc dec next 2 sc tog, sc in next sc)3x, sc in next 6 sc, (sc dec next 2 sc tog, sc in next sc)3x, sc in last 6 sc, join w /sl st, ch1 (30) Rnd. 12: sc in 1st 6 sc, (sc dec next 2 sc tog)3x, sc in next 6 sc, (sc dec next 2 sc tog)3x, sc in last 6 sc, join w/sl st, ch1 (24) Rnd. 13: (sc dec 1st 2 sc tog, sc in next 2 sc), around, join w/sl st, ch1 (18) begin stuffing and shaping head Rnd. 14: (sc dec 1st 2 sc tog, sc in next sc), around, join w/sl st, F/O (12) leave 6" to sew with. Finish stuffing and set head to the side for now...
Body:
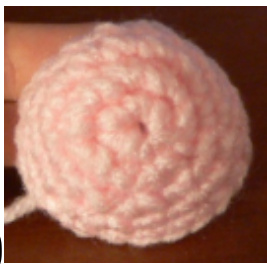
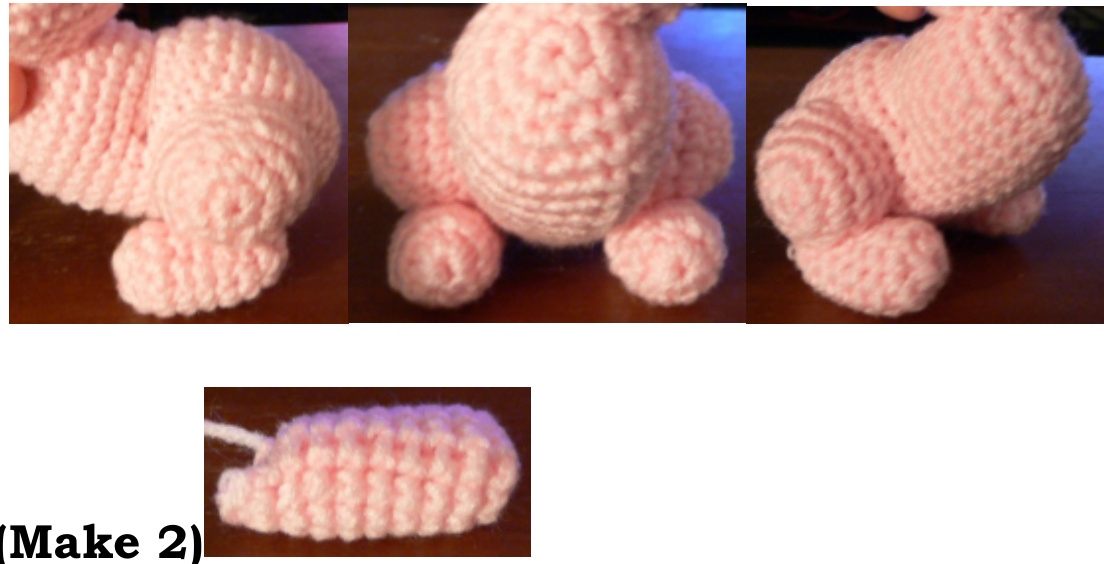
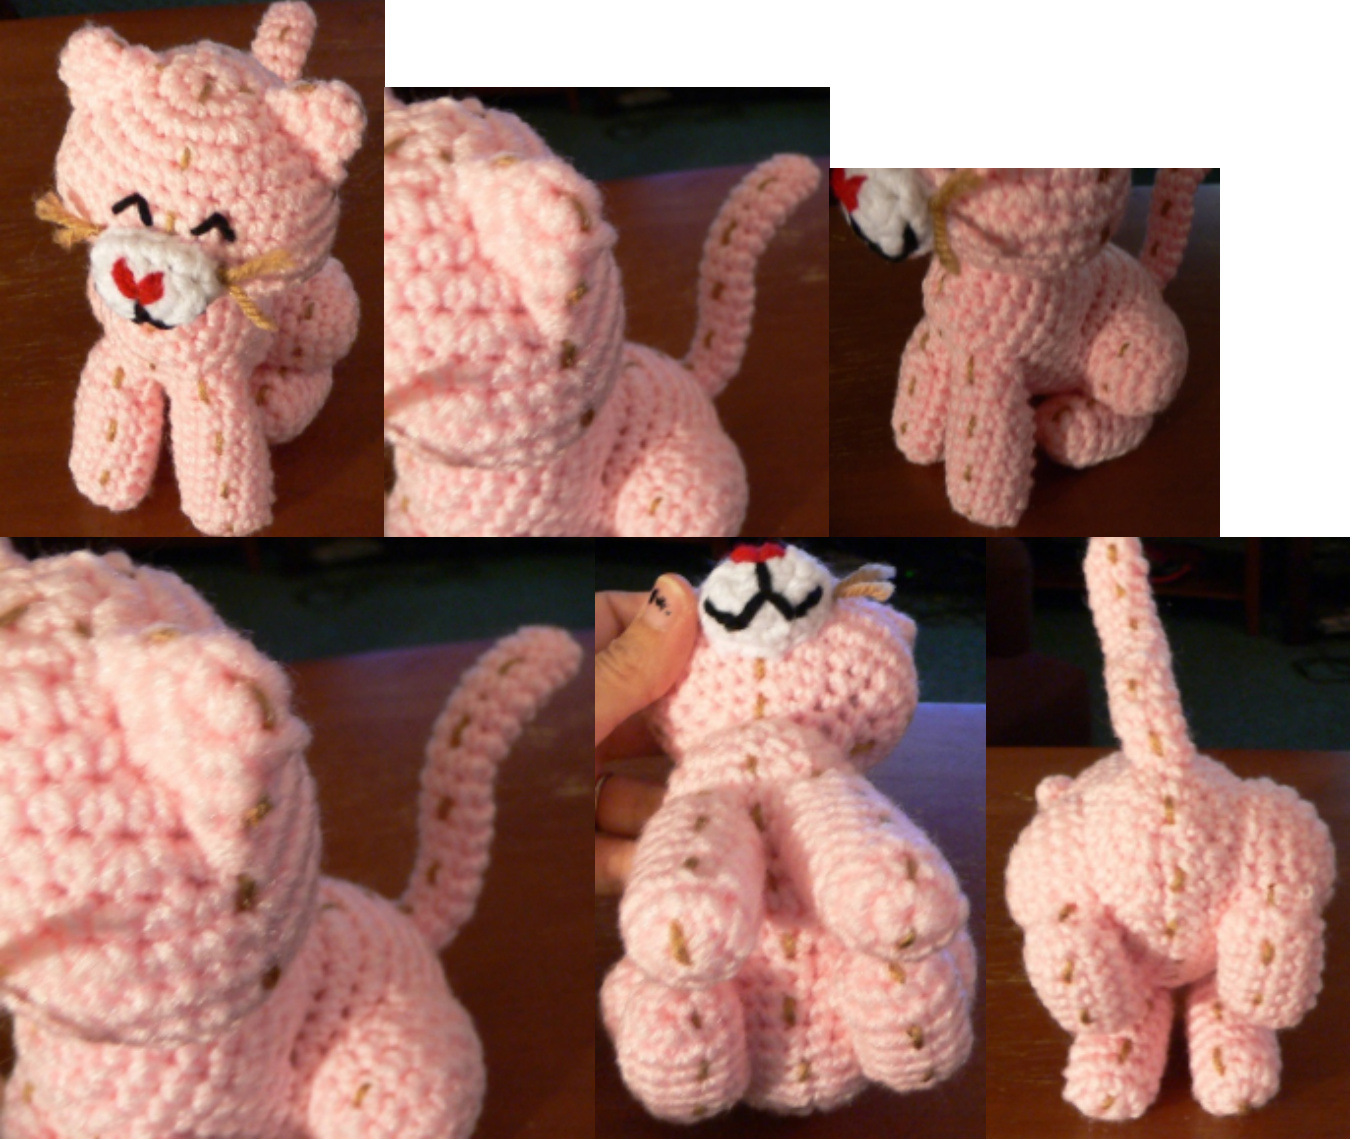
Using Baby Pink Rnd. 1: 6sc in magic ring, join w/sl st, ch1 (6) Rnd. 2: (2sc in each sc), around, join w/sl st, ch1 (12) Rnd. 3: (2sc in 1st sc, sc in next sc), around, join w/sl st, ch1 (18) Rnd. 4: (2sc in 1st sc, sc in next 2 sc), around, join w/sl st, ch1 (24) Rnds. 5-9: (sc in each sc), around, join w/sl st, ch1 (24) Rnd. 10: sc in 1st 10 sc, 2sc in next 3 sc (these increases will make the BACK of the body), sc in last 11 sc, join w /sl st, ch1 (27) Rnd. 11: sc in 1st 10 sc, (2sc in next sc, sc in next sc)3x, sc in last 11 sc, join w/sl st, ch1 (30) Rnds. 12-16: (sc in each sc), around, join w/sl st, ch1 (30) Rnd. 17: (sc dec 1st 2 sc tog, sc in next 3 sc), around, join w/sl st, ch1 (24) Rnd. 18: (sc dec 1st 2 sc tog, sc in next 2 sc), around, join w/sl st, ch1 (18) Rnd. 19: (sc in each sc), around, join w/sl st, ch1 (18) begin stuffing body, NOT firmly! Rnd. 20: (sc dec 1st 2 sc tog, sc in next sc), around, join w/sl st, ch. (12) finish stuffing Rnd. 21: (sc dec 1st 2 sc tog), around, join w/sl st, F/O (6) leave 4" to cinch end closed. To cinch, weave remaining yarn through remaining sc, pull tight, fasten down, and hide remaining yarn. Now with a 6" piece of Baby Pink, thread your needle, run the yarn through the side of the body, between rnds. 10 & 11, coming out the other side between rnds. 10 &11, wrap the yarn around the top of the body and repeat, pull tight, and fasten down the yarn. Hide extra yarn. Refer to picture:
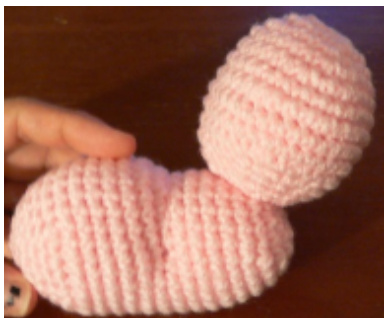
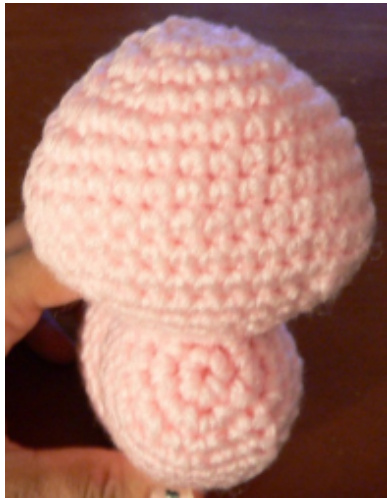
Now sew the head to the body between rnds. 1 & 6 on the body. NOTE: 1 STONGLY suggest you pin this piece and every other piece on BEFORE sewing, to ensure you're happy with the placement.
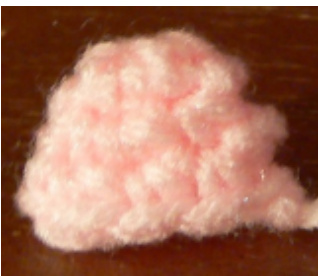
Ear: (Make 2) Using Baby Pink Rnd. 1: 4sc in magic ring, join w/sl st, ch1 (4) Rnd. 2: (2sc in 1st sc, sc in next sc)2x, join w/sl st, ch1 (6) Rnd. 3: (2sc in 1st sc, sc in next 2 sc)2x, join w/sl st, F/O (8) leave 4" to sew ear to head. Sew the ear to the head between rnds. 2 & 7 on the head. Refer to picture:
Muzzle:
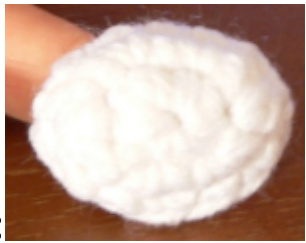
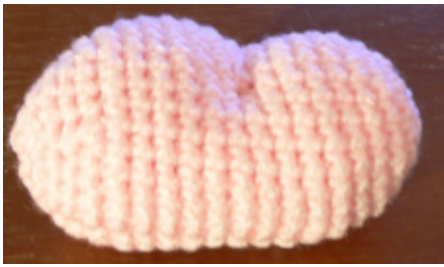
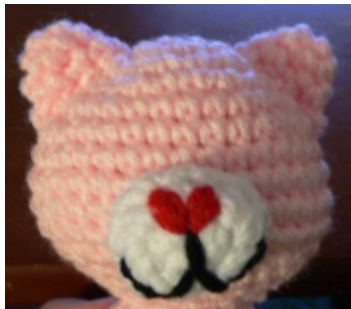
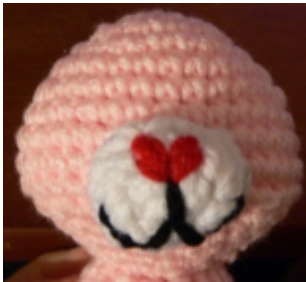
Using White Rnd. 1: (2sc, hdc)2x in magic ring, join w/sl st, ch1 (6) Rnd. 2: (2sc in 1st 2 sc, 2hdc in next hdc)2x, join w/sl st, ch1 (12) Rnd. 3: ([2sc in 1st sc, sc in next sc]2x, 2hdc in next hdc, hdc in next hdc)2x, join w/sl st, ch1 (18) Rnd. 4: (sc in each st), around, join w/sl st, F/O (18) leave 6" to sev muzzle to head. First add the details: embroider the nose using Cherry Red and add the mouth using Black. Then sew the muzzle to the head between rnds. 7 & 12 on the head, stuff lightly! Refer to picture:
Upper Back Leg: (Make 2)
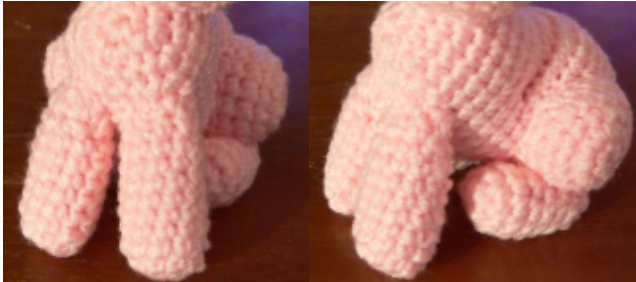
Using Baby Pink Rnd. 1: 6sc in magic ring, join w/sl st, ch1 (6) Rnd. 2: (2sc in each sc), around, join w/sl st, ch1 (12) Rnd. 3: (2sc in 1st sc, sc in next sc)3x, sc in last 6 sc, join w/sl st, ch1 (15) Rnd. 4: (2sc in 1st sc, sc in next 2 sc)3x, sc in last 6 sc, join w/sl st, ch1 (18) Rnd. 5: (2sc in 1st sc, sc in next 3 sc)3x, sc in last 6 sc, join w/sl st, F/O (21) leave 6" to sew leg to body. Stuff the leg lightly and sew th leg with “last 6 sc" facing the front of the body. Sew the upper leg to the body between rnds. 10 & 19 on the body.
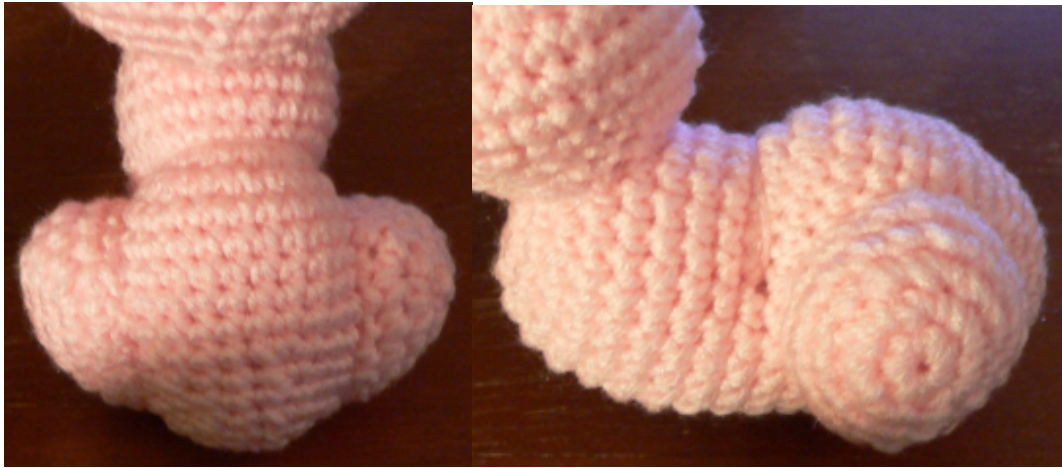
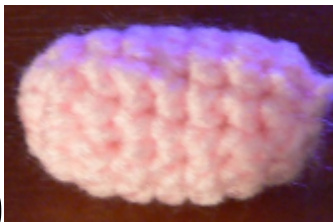
Foot: (Make 2) Using Baby Pink Rnd. 1: 8sc in magic ring, join w/sl st, ch1 (8) Rnd. 2: (2sc in 1st sc, sc in next 3 sc)2x, join w/sl st, ch1 (10) Rnds. 3-7: (sc in each sc), around, join w/sl st, ch1 (10) begin stuffing lightly Rnd. 8: sc dec 1st 2 sc tog, sc in next sc, (sc dec next 2 sc tog)2x, sc in next sc, sc dec last 2 sc tog, join w/sl st, F/O (6) leave 6" to cinch end closed only do not hide extra. Instead use extra 6" to sew foot to the bottom on the upper leg. I don't have any exact placement for this, you be the judge on this one. Refer to picture:
Arm: (Make 2) Using Baby Pink Rnd. 1: 8sc in magic ring, join w/sl st, ch1 (8) Rnd. 2: sc in 1st 3 sc, 2sc in next 2 sc, sc in last 3 sc, join w/sl st, ch1 (10) Rnds. 3-8: (sc in each sc), around, join w/sl st, ch1 (10) Rnd. 9: (sc dec 1st 2 sc tog, sc in next 3 sc)2x, join w/sl st, ch1 (8) Rnd. 10: sc in 1st sc, hdc in next 3 sc, sc in next sc, sl st in next sc, F/O (6) leave 6" to sew arm to body. Stuff the arm lightly and sew the arm, with last rnd. of arm at the top of the body, to the body between rnds. 4 & 9 on the body. Refer to picture:
Tail:
Using Baby Pink
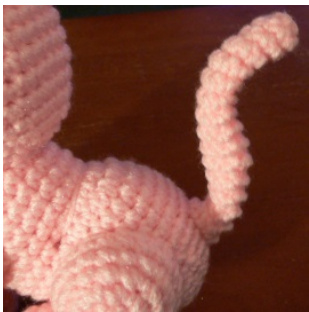
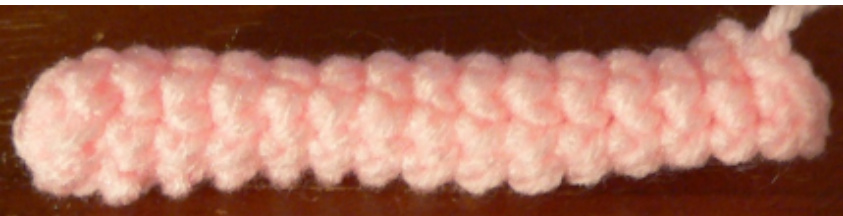
Rnd. 1: 6sc in magic ring, join w/sl st, ch1 (6) Rnds. 2-15: (sc in each sc), around, join w/sl st, ch1 (6) Rnd. 16: sc in 1st 3 sc, sl st in next sc, F/O (4) leave 4" to sew tail to body. Sew the tail to the body, do NOT stuff, between rnds. 16 & 20 on the body.
Finishing:
Using Warm Brown
Part 1:
With a 4" piece of Black add the eyes, using a simple in-and-out stitch.

Part 2:
Add the whiskers, with 2-2" pieces of Warm Brown, using a Single Knot Fringe on the sides of the muzzle. Then cut to the size you want.
Part 3:
With a 12” piece of Warm Brown add the stitch look to the body, using a simple in-and-out stitch. Refer to pictures:
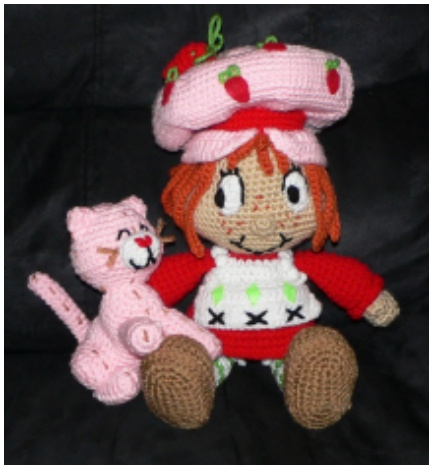
That's all there is! I hope you've enjoyed my version of Custard, Strawberry Shortcake's pet kitty. I know I have! Have a great one! \*Please do not share, reproduce or sell this pattern or any doll made from this pattern. COPYRIGHT NOTICE: All my works are protected by the following Creative Commons license: Attribution-NonCommercial-NoDerivs 3.o. You may not use this pattern or the dolls produced following this pattern for commercial/retail purposes. These patterns are intended for personal use only. Other uses are strictly prohibited. All rights reserved. I do not own the rights to this character and this is not authentic nor do I claim it to be authentic. I only claim the rights to the pattern I wrote, as it is of my own making. \*If you don't sell your doll(s) on Etsy, where I do sell mine, I really don't care. ;) I just don't want to compete to sell my own doll. ?
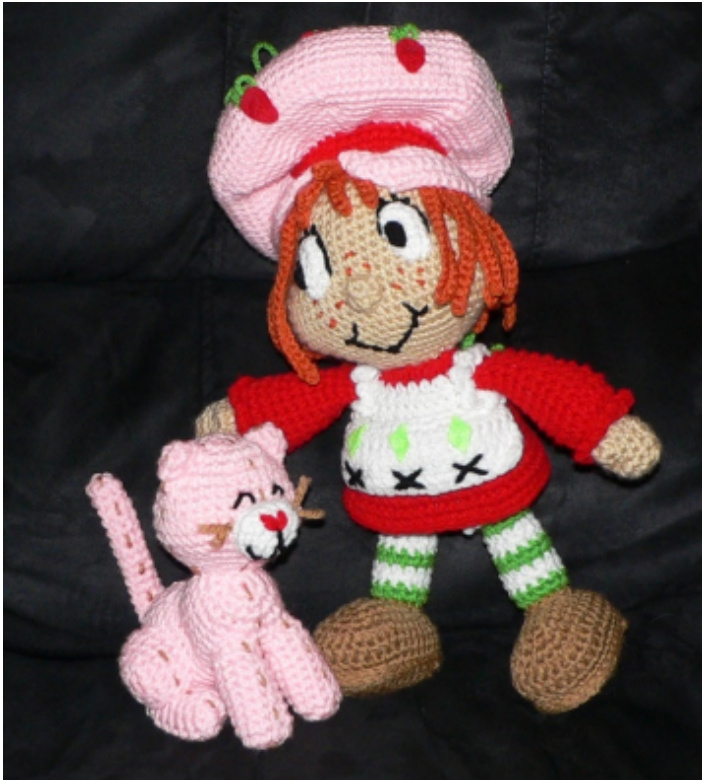
Strawberry Shortcake pattern available here: https: //www.etsy.com/listing/127445127/strawberry-shortcake-a-crochet-pattern?


