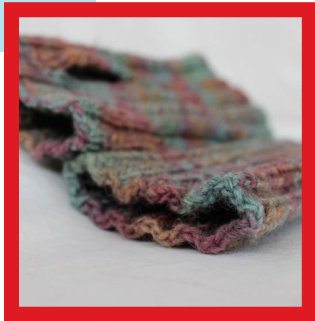
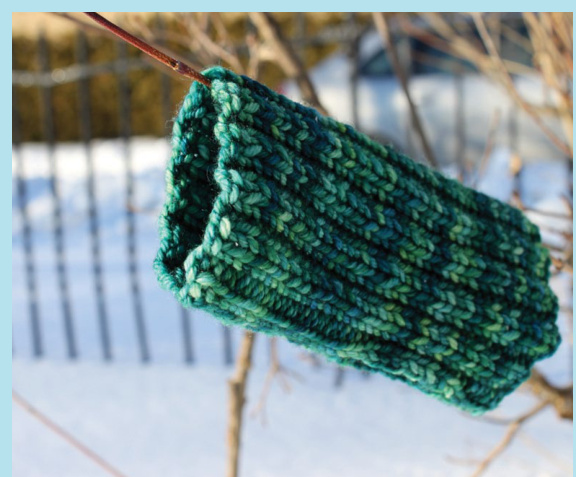
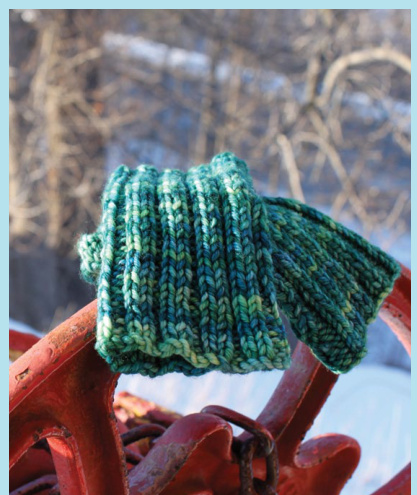
These Wribbed Wristers are practical cuffs which cover both the hand and the wrist. They can be worn by themselves, over gloves or under mittens (and were used by soldiers in wwi). After removing a mitten in cold weather, your hand stays protected while using keys or tools. Indoors, hands stay warm while knitting, reading, or working at the computer keyboard.
This pattern can be knit in a worsted weight yarn or a sport/ double knitting weight yarn.
Skills Used: cast on, knit, purl, cast off, mattress stitch seaming, weaving in ends Size: For a 7.25" hand circumference, ladies? small, choose either 42 sts with worsted weight yarn or 50 sts with sport weight yarn. For a larger size, try adding 4, 8 or 12 sts to the suggested cast on total.
Materials & Equipment:
yarn: 50g Nature Spun worsted weight wool or 50g Lanaloft sport weight yarn from Brown Sheep Company 4 mm (worsted weight yarn) or 3.75 mm (sport weight yarn) darning needle Tension: For worsted weight: 32 stitches over 4 inches in pattern (K2, p2 rib) For DK or sport weight: 34 stitches over 4 inches in pattern (K2, p2 rib). end p2. Repeat Rows 1 & 2 until desired length When pulsewarmer measures 6.25" (7") long or length of your choice, end, ready to work a RS row. Cast off loosely in pattern on RS. (To cast off in pattern when working ribbing, continue to knit the knit sts and purl the purl sts.) Cut yarn and weave in ends. Make two. Finishing: Following the seaming instructions on page 3, and using a separate piece of yarn, work a mattress stitch seam 1'/2 inches (13/4 inches) long from the cast off edge towards the thumb. With another piece of yarn, work mattress stitch seam from cast on edge towards thumb. Leave a 11/2 to 2 inch opening for thumb. Larger sizes require more space for thumb. Try on to measure for an exact fit.
"To save time, take time to check gauge"
Abbreviations:
co cast on kknit ppurl RS right side or public side st(s) stitch(es) WS wrong side or inside \*\* repeat instructions between asterisks () instructions for larger size Construction Notes: Each pulsewarmer is worked Hat. Side edges are seamed together, leaving an opening unseamed for the thumb.
Pattern Instructions:
Cast on 42 (46, 50) sts. Row 1 (RS): \*K2, p2, repeat from \* across, end k2. Row 2 (WS): (WS): \*P2, k2, repeat from \* across,
Joan Janes, 2011. A single working copy for personal use is allowed. Otherwise, no part of this pattern may be reproduced in any form without the written consent of the author. joan@littleredmitten.ca
Mattress Stitch Seam:
Thread tapestry needle with separate piece of yarn (20 inches long). Fold knitting so that right/public side is facing up and edges are side-by-side. You will see four knit sts (two at each edge). When looking between 2 knit sts, you will see a horizontal thread running between them. Insert tapestry needle under this thread and up into next space. Remember that the tapestry needle will always point away from you. Insert tapestry needle under corresponding thread on other edge of knitting. Return to first edge of fabric and insert tapestry needle under next thread by entering the same space from which the yarn from the previous stitch is exiting. Repeat until you have worked 6 to 8 rows on each edge. Pull yarn tight. One knit st from each side will snuggle up to its neighbour forming a 2-stitch column. The other 2 sts will form the seam allowance on the inside of the garment. Slightly loosen final stitch to see where needle should be placed. Continue seaming. After seaming, at top of hat, pull yarn tightly to gather remaining sts and secure yarn tail. If making a pompom or tassel, use this yarn tail to attach the pompom. Weave in ends.

O Joan Janes, 2011. A single working copy for personal use is allowed. Otherwise, no part of this pattern may be reproduced in any form without the written consent of the author. joan@littleredmitten.ca