Jeffrey's Slipstitch Wristers
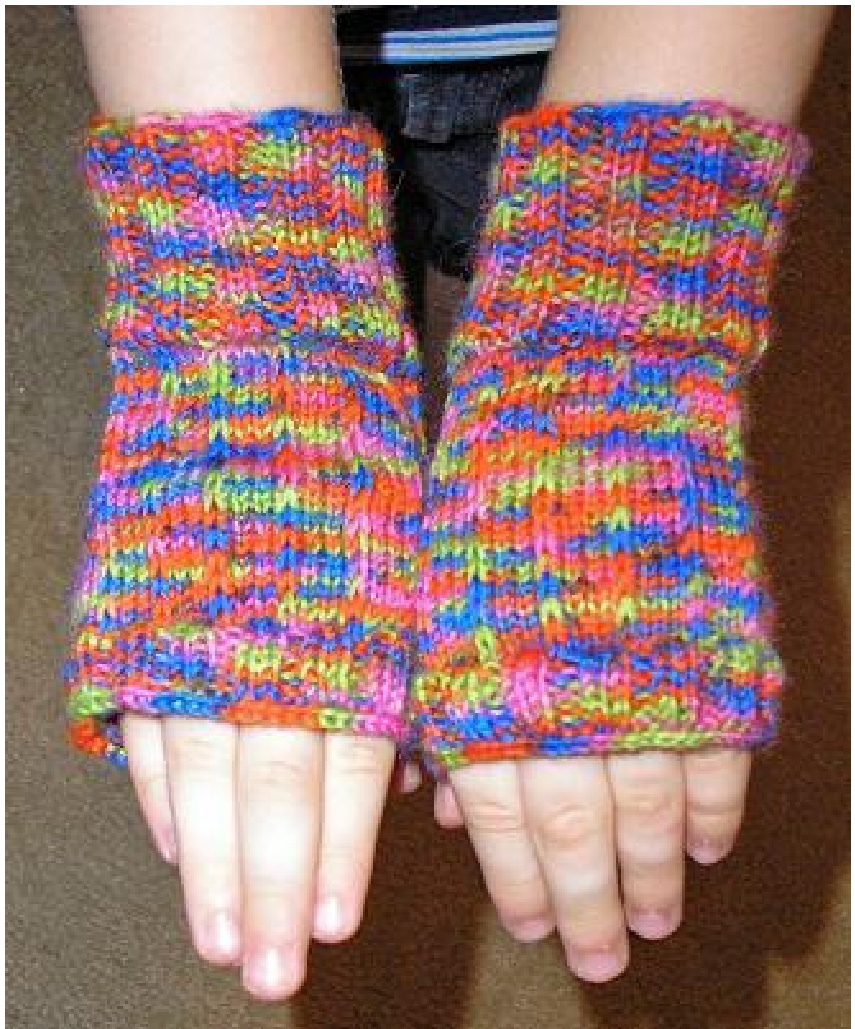
As Soon as he laid eyes on the wristers I'd knit myself Jeffrey tried to claim them as his. There was nothing to do but knit him a pair of his owh! I already had the yarn, which he'd picked out a while ago and asked me to knit him Something with it. Instead of looking for a poatern, I decided to design some just for him. I wanted something a little more exciting than stockinette stitch. but with such brightly variegated yarn, anything too intricate would just be lost—— ahd a waste of time. The simple slip stitch pattern was perfect: it's actually visible even with that yarn, and it adds a nice texture to the back of the hands (without being too foo-foo for $m_{y}$ litle guyl. Size: 3-5 years
Finished Measurements:
$^2\,\,^{1}\!/_{2}$ in across the palm (when not being worn), $4\,\%$ in long
Materials:
·One (1) skein Zwerger Yarn's Neon Opal (fingering weight, 14 wpi; superwash wool and nylon), color 1930 ●Two (2) size US1.5 (2.5mm) circular needles\* · Set of US1.5 (2.5mm) double pointed needles (DPNs) Waste yarn (recommended) or flexible stitch holder ? Tapestry needle \* Pattern is written for 2 circular needles, but can be knit entirely on DPNs or with the magic loop technique.
Gauge:
36 sts and 48 rows $=4$ in/10mm in stockinette stitch 44 sts and 48 rows $=4$ in/10mm in slip stitch
Slip Stitch Pattern
Row 1: K1, \*sl1, K3, repeat from \* until last 2 sts, sl1, K1 Row 2: K across This pattern is written for 2 circular needles. If using DPNs or magic loop, adjust the instructions accordingly, taking note of how many stitches are on needle 1 and needle 2.
Before you begin...
Because young children grow so quickly, I designed these to have a little more room to grow than a snug fit. If you choose to snug them up, or want to make them a little larger, simply add or subtract 8 stitches at a time— 4 on each needle. This will allow you to maintain the slip stitch pattern (which is a 4 sts repeat $+\,3]$ ) and keep the palm and back of the hand the same size. You can also add or remove rounds at the thumb increase as you adjust the rest of the wrister. Also, length can easily be adjusted by kniting either more or fewer rounds in any given section. The nice thing about using 2 circular needles is they allow for in-progress fittings since they form easily around the hand. Lastly, the final ribbing (below the fingers) in Jeffrey's wristers is loose by choice—-he strongly disliked the feel of snug ribbing in that area. If you want to tighten it up, you can add more rounds of ribbing in place of the stockinette/slip stitch rounds, or you can go down a needle size or two.
GLOVE BODY
Cast on 52 sts, placing 25 sts on needle 1 (N1) and 27 sts on needle 2 (N2). Join in the round, being careful not to twist. -Rounds 1-18 - Knit in $_{2\times2}$ ribbing (K2, P2) for 18 rounds -Round 19 - Knit one round Round 20 - N1: K across N2: Begin slip stitch patten (you will slip stitches this round, knit straight the next round, etc.) Note: This keeps the textured slip stitch pattern on the back of the hand, since it wouldn't be comfortable along the palm. Rounds 21-29 - Continue stockinette stitch on N1, slip stitch pattern on N2
THUMB INCREASES
Because there is a pattern worked across the back of the hand, there is a definite right hand glove and a left hand glove. The process of knitting the thumb increases is the same; the positioning is different. Right Hand Round 30 - N1: K2, place marker (PM), M1, K2, M1, PM, K to end N2: Continue in slip stitch pattern Left Hand Round 30 - N1: K to last 4 stitches, PM, M1, K2, M1, PM, K2 N2: Continue in slip stitch pattern
Right and Left Hand
Rounds 31-39 - N1: K across, adding a stitch with a M1 after the first marker and before the last each round (2 sts added total each round), until there are 20 sts between markers Round 40 - N1: K across all stitches, no additions N2: Continue in slip stitch pattern
Round 41 - N1: K to one stitch before first marker, M1, K1, place 20 sts on waste yarn or stitch holder (needs to be flexible as non-thumbs sts are going to be joined here), K1, M1, K to end N2: Continue in slip stitch pattern
GLOVE BODY (cont)
Rounds 42-52 - Continue stockinette stitch on N1, slip stitch pattern on N2 Rounds 53-58 - Knit in 2x2 rib Bind off loosely.
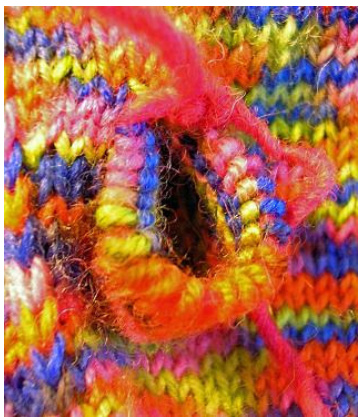
THUMB
Move thumb stitches from waste yarn/holder to DPNs, picking up 4 sts where the thumb meets the body of the glove.

Rounds 1-4 - K around Rounds 4-8 - Knit in 2x2 rib Bind off loosely. Copyright $\odot2008$ Jen Johnson, all rights reserved. For personal use only. Please do not photocopyscanand emailorreproduceby anyothermeans.Feelfreetoprovide thelinkto the patteonmyblg htp:/sahinchserofberardresm/0jfrsistcwrisetwilfyouhaaqstny always contact me by leaving a comment on my blog. Thank you and enjoy!


