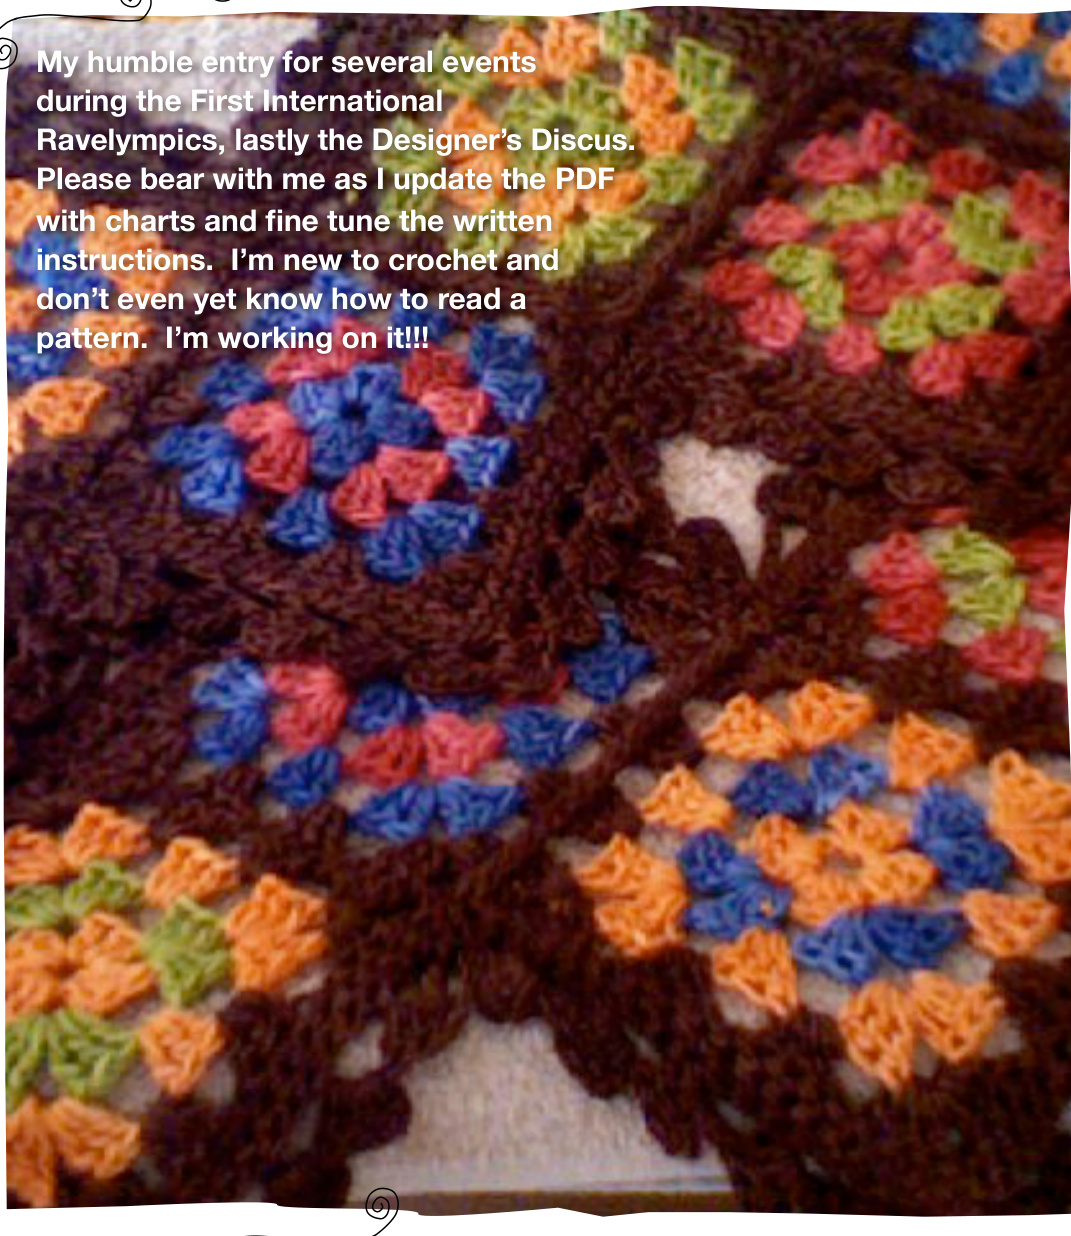
Materials & Written Directions
Yarn: Malabrigo Silky Wool
2 skeins border color (BC), 4 partials for square colors (SC1, SC2, etc)

Shown as BC Marron Oscurro, SC1 Lettuce, SC2 Camote, SC3 Cloudy Sky, SC4Raspberry Hook Size: G (example shown in size I) Level: Adventuresome Beginner

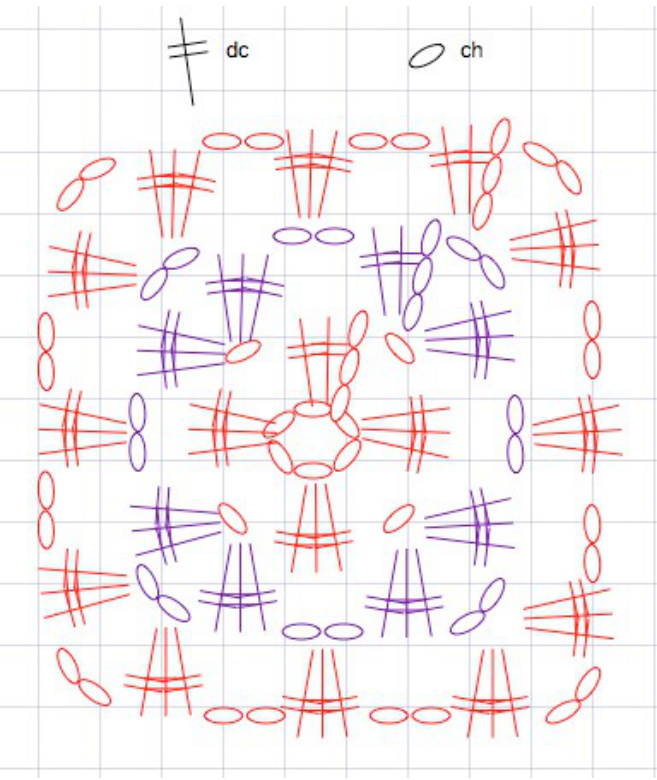
Crochet a total of 16 granny squares with 3 color rounds. 4 each of S $\mathtt{i C}1+\mathtt{S C}2$ $S C3+4$ $\mathsf{S C}\,1\,{+}\mathsf{S C}4$ $\mathsf{S C}2\!+\!\mathsf{S C}3$ rotating every two between start colors for a total of 8 differently colored squares. Work one last round on all squares of BC. Sew together in a random order in a zig zag pattern so that no two alike squares aretouching. Beg working edging: depending on how you have sewn your squares together you may have a varying number of st on each exterior edge. That's okay! Work the edging so that it is as even as you can make it, adding a stitch at the exterior corners and decreasing with a slip stitch or even a skipped stitch in the interior corners. Round 1 & 2: Using Sc, work 2 rounds around entire scarf taking care to skip one stitch in the interior corners so work will lay flat and working 2 Sc in each outside corner so that they will remain square at the points.

Silky Squares Scarf
A Jonquil Mom Design by Jenny Raymond www.jonquilmom.com www.jenraymond.blogspot.com

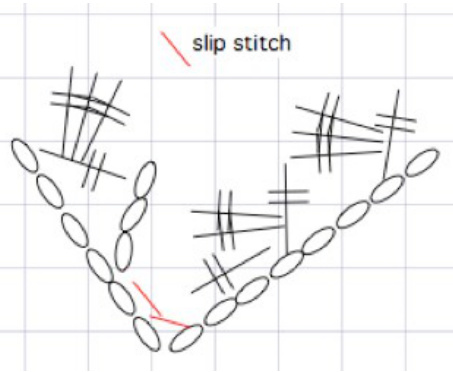
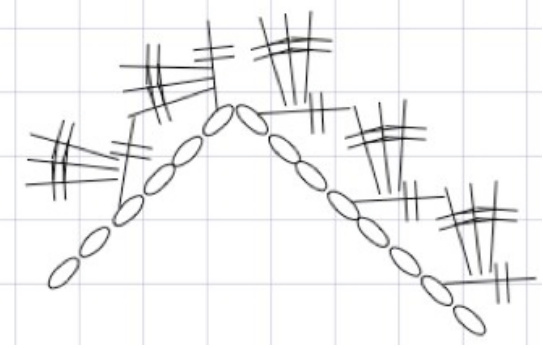
C ? ? SSS Written Directions cont. SSS Charts Round 3: Ch 4, Dc into 3rd st, Ch 3, work 3 Dc onto the just formed Dc. $^{\star}\sf D c$ into 3rd stitch, Ch 3, Dc 3 onto just formed $\mathsf{D}\mathsf{c}^{\star}$ , repeat from \* to \* until a corner. --On interior corners end with the 3rd dc into 3rd stitch, sl 1-2 and ch 4 continuing from \* to \* until an exterior corner. --On exterior corners work 2 repeats in subsequent stitches, not skipping 2 st to work in 3rd st but rounding the corner smoothly, then continue from \* to \* until an interior corner. Pull yarn through and secure by weaving in the tail. Block to shape. Main edging:

Granny square colors chart: continue one more round in like with border color
Interior Corner: Exterior Corner: