Gracie.
(Reverible Beret & Fingerless Gloves)
Pattern By: Anna Peck www.knitting-up-a-storm.blogspot.com
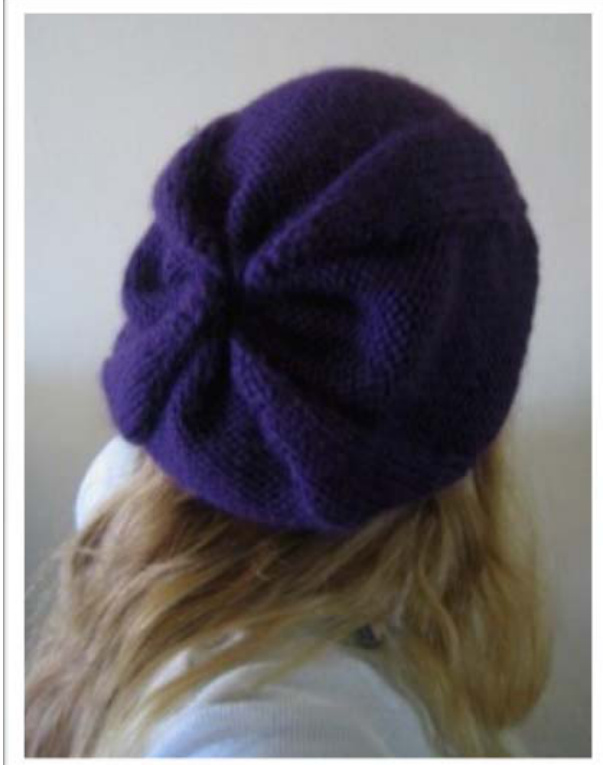
Sometimes, women just need instant gratification (and chocolate). Gracie was a highly satisfying and fun project that I did freehand as my first knitted beret. I was amazed on how fast this knit up. Use bulky yarn, and you'll have your holiday gifts knit up in a flash-- in under a weekend! Never grump again about all that extra yarn you have left after the project is done...make matching fingerless gloves!
MATERIALS:
Yarn: Bulky soft wool or alpaca (estimation of 300 yards) Needles: set of 4 dpns, size 8 US & Size 9 US circular needles (24") and a darning needle. SIZES: S/M & L/XL
MEASUREMENTS:
Ribbing: 19.5 inches diameter for the small/medium, unstretched. This will fit a decently. big head. If you are worried, bump up to size 9 US needles on the ribbing, or dare to knit theXL size. Height: about 9 inches. GAUGE:4.5 stitches $\l=1$ ,"&5rows $,=$ 1" on size 9 US. Do not copy to sell pattern or finished products without permission by the designer. Copyright $\copyright$ 2007 by Anna Peck
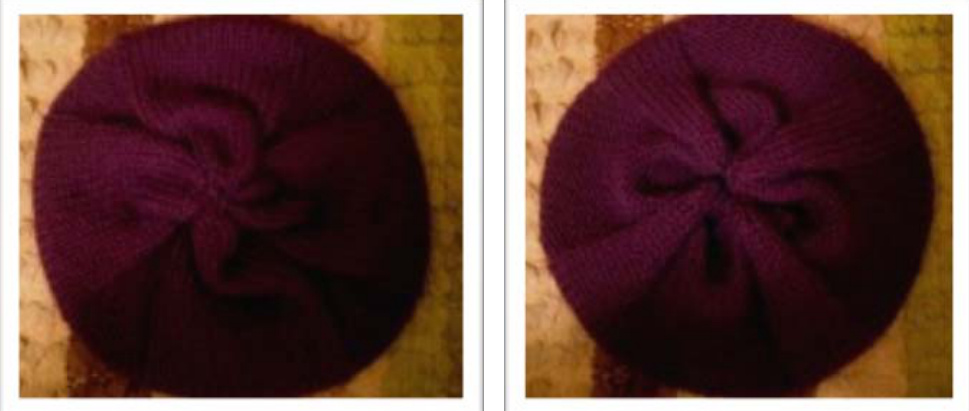
"Gracie" Beret Directions:
-Cast on 68 (80)sts loosely onto 4 dpns; join round. Stitches are divided as thus: S/M: 22-23-23 or L/XL: 26-27-27 1.) $^{\star}\mathsf{K}\mathsf{1}$ TBI, P1 TBL\* across the round 2.) $^{\star}\mathsf{K}\mathsf{1}$ TBL, $\mathsf{P1}^{\star}$ across the round until the cuff measures 1 1/4 inches.
Special Notes before you continue:
--On your first time doing instruction #3, place PM's as directed: one after every 16(19)stitches, and after every 17 (20) stitches. In other words, there will be one stitch inbetween your two PM's. --Please not that on the part where it says "Kk1 [3][k5][k7]"..this is the same instruction for all sizes. The stitch amount needed to be knitted is increasing because you are knitting those YO's that you previously made. --When you feel like your stitches can easily fit onto your circular needle, switch over. Increasing: 3 )\*Purl 16(19), slide PM, YO, k1 [k3][k5][k7], YO, slide next PM\* across the round. 4.)\*Purl 16(19), slide PM, knit all stitches inbetween PM's, slide next $\mathsf{P M^{\star}}$ across the round, for 3rounds. ---Repeat #3 and #4 THREE times--- No increasing or decreasing: 5.) \*Purl 16(19), slide PM, knit all stitches inbetween PM's, slide $\mathsf{P M^{\star}}$ until theberet measures 7 1/2 to 9 inches, depending how slouchy you want it. I did 7 1/2 inches. Decreasing: 6.) \*Purl 16(19), slide PM, ssk, knit to two stitches before PM, k2tog, slide next $\mathsf{P M^{\star}}$ across the round. 7.) \*Purl 16(19), slide PM, knit all stitches inbetween until next $\mathsf{P m}$ , Slide PM\* across the round, for two rounds. ---Repeat #6 and #7 TWO times-- Note: Upon the second round, take off each 2nd PM per section. You are taking 4 PM's off, but keeping the first PM's on. You are doing this, so that you can continue decreasing beyond thesecond PM. Do not copy to sell pattern or finished products without permission by the designer. Copyright $\circled{\mathrm{C}}\ 2007$ by Anna Peck 8.) \*Purl 16(19), slide PM, ssk, k1 (3),\* across the round. 9.) \*Purl 16(19), slide PM, ssk, k1 (3),\* across the round, for two rounds. Note: when the stitches start pulling on your circular needle, switch back to your dpns. Don't worry that there is a size difference... this will help the beret have a sharper decrease zone anyways. 10.) \*Purl to PM, slide PM, ssk\* across the round. 11.) \*Purl to PM, slide PM, ssp (SSK for larger sizes)\* across the round. 12.) \*purl to PM, slide PM, ssp\* across the round, for two rounds. 13-) $\mathrel{\stackrel{\star}{\sf S S P}}$ all across the whole round\* 14.)Pull the yarn through the remaining stitches, make knot and weave in the thread.
"Gracie" Short fingerless gloves:
(Sizes: small, medium, large, extra large) -Cast on 24 (26)(28)(30) stitches on 3 dpns; join the round. Divide the stitches as thus: 8-8-8 Make two: 1.) \*k1, p1\* across the round, for 4 rounds. 2.) Knit until the glove reaches 3 inches from the cast on edge. 3.) Knit 1, m1, k1, m1, knit to the end of the round. 4.) Knit straight aross the round. 5.) knit 1, m1, k3, m1, knit to the end of the round. 6.) knit straight across the round. 7.)K1, m1, k5, m1, knit to the end of the round. 8.) Knit straight across the round 9.)K2, BO then next 4 stitches, knit to the end of the round. 10.) K2, CO 4, knit to the end of the round. 11.) Knit 7 rounds straight. 12.) $^{\star}\mathsf{K}\mathsf{1}$ , $\mathsf{P1}^{\star}$ across the round for 4 rounds. 12.) BO really loosely.


