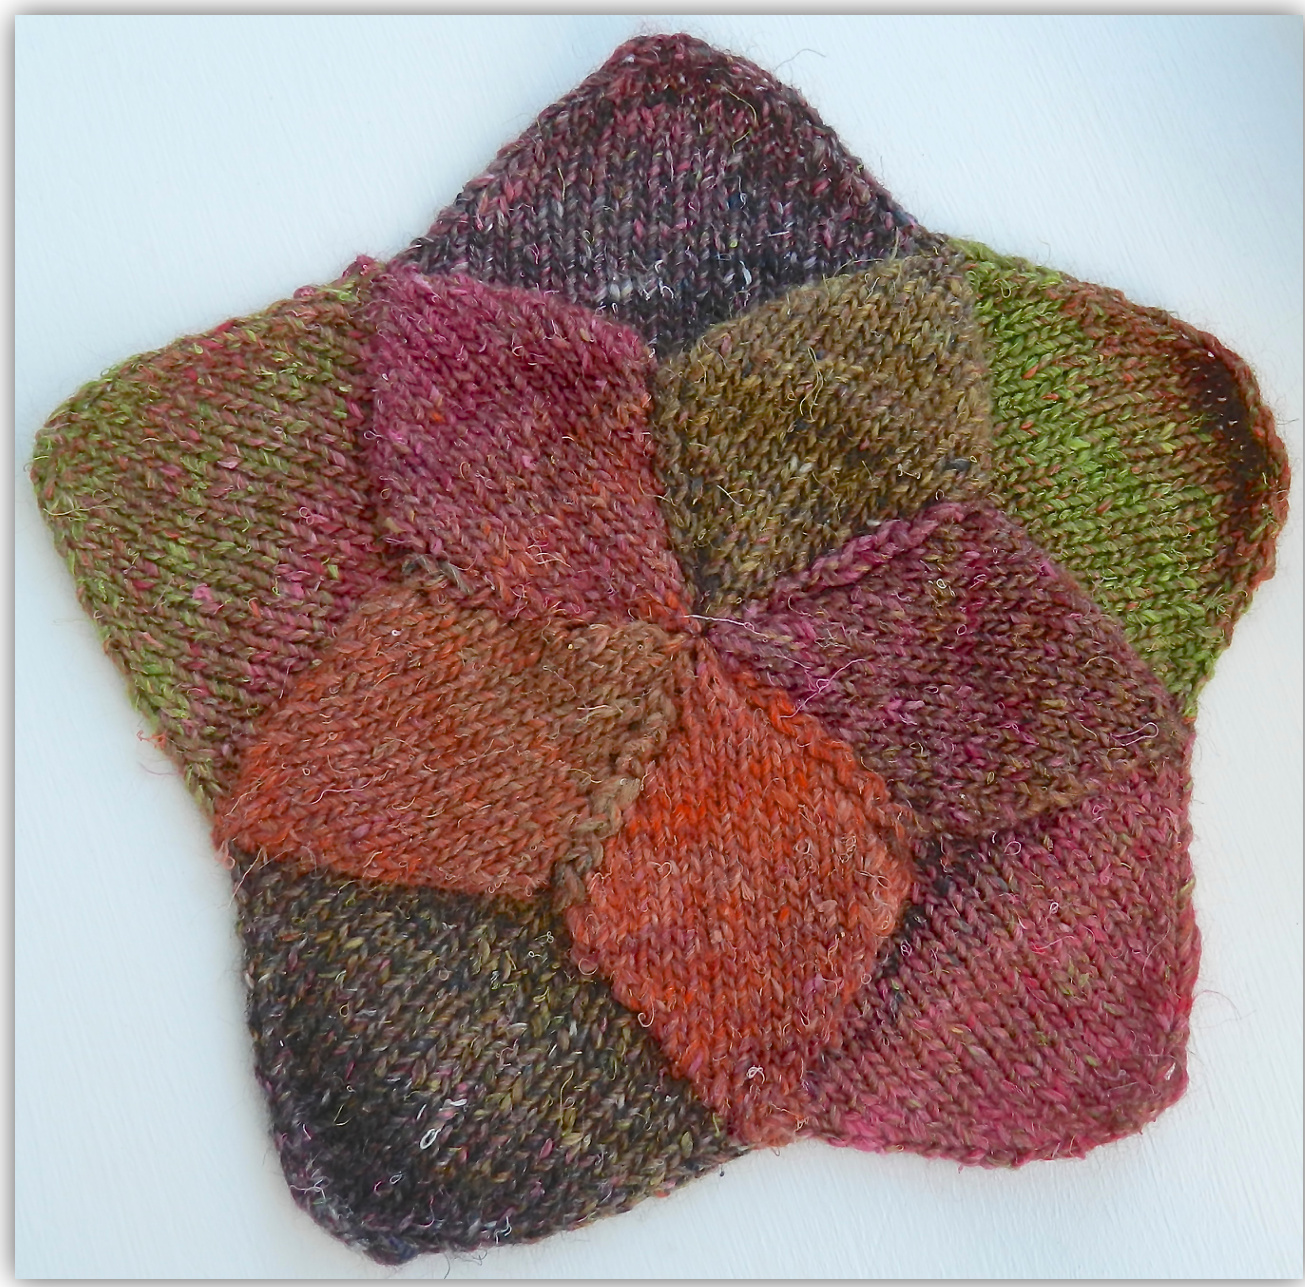
Starflower
BY JILL SHAW MACDONALD
This flower is knit on a Studio LK-150, but any midgauge or bulky machine will work. You will need 1 ball of Noro Silk Garden, a 1x2 transfer tool, claw weights and a size G or H crochet hook. The center flower is made one petal at a time, from point to point, with rapid increases, and fully fashioned decreases. After making the 5 petals, they are joined by crocheting together the loops (made by the rapid increases) along the sides. After joining, the flower is put back on the machine, wrong side facing, hanging the sides of the petals on the needles from point to point. By placing your carriage to hold you begin to fill in the space between the petals, and with fully fashioned decreases again, you create the leaves. Because of the method of increasing and decreasing, your starflower will sit above the leaves. The leaves will want to curl due to the rapid decreasing after row 2o. If you want leaves that will lay flat, continue decreasing every 2 rows, ending with RC 032. Please read through all instructions before knitting. This pattern assumes you are familiar with the workings of your machine, and I have included some tips and techniques at the end that may be of help.
TD 7, RC 000
Leaving a long tail (18" or longer, which you will use to crochet the petals together), E wrap CO Ll, and bring R1 to WP. COR. K to the left. Bring L2 to WP. K to the right. Continue bringing next outside needle on carriage side to Wp till RC 016. Using your 1x2 transfer tool (the 2 prong side) fully fashion decrease 1 st each side. K 2 rows. Continue decreasing and knitting 2 rows till 1 needle remains. This should be L1, with 3 sts on it. Knit to the right. RC 032. Break yarn and pull through st on needle. Make 4 more petals in the same way.
Join Petals
Find the loops (increases) along the increased sides of the petals. There should be 8 on both sides of each petal. With crochet hook and right side facing, start at 1st loop on left side, and with the long tail, sl st into loop (working from front to back). Now join to loop of another petal, slip stitching into the loop on the right side of the petal. Continue alternating on the left, then the right, till all 8 loops have been worked. Break yarn and pull through loop on hook. Join all petals in this manner.
Leaves
With wrong side of flower facing. place the st between 2 petals onto L1 (it's the last st you crocheted when joining petals). Place loops on either side onto L2 and R1. Working from the center out, hang sides of petals onto needles left and right of 0 from L11 to R10. 21sts. Bring all needles to hold. Set carriage to hold. Push L1 to WP. Hang claw weight. RC 0o0. Knit to the left. Knit to the right. Push L2&3 and R1&2 to WP. Knit to the left. Wrap. Knit to the right. Continue brinaina 4 needles to WD every oth conrmiaebrgwg+neearesiowp row wrannina and knittina back tiu. el needl arén wp.RC oi2. With 2 prong tool, make fully fashioned decreases each side every 2 rows till Rco20. · Beginning with RC 021, fully fashioned decrease 1 st each side every row, till one st remains (3 sts on one needle). K to the Left. Rc 026. Break yarn, pull through remaining st on needle. Repeat for remaining leaves. Weave in all ends and block with steam.
Abbreviations
TD-tension RC-row counter cO-cast on WP-working position CoR-carriage on right COL-carriage on left St(s)-stitch(s) Sl st-slip stitch L2-needle number 2 to the left of 0 R1-needle number 1 to the right of 0
Tips and Techniques
If you're not familiar with fully fashioned decreases, they are simply a decrease that is made using a transfer tool and moving two or more sts at the edge of your work toward the center. Let's say L17 & L18 are your edge sts on the left side. Take them both off onto your 2 prong tool and replace them onto needles L16 (which already has a st on it) and L17 (which is empty). Push L18 to out of work. You have just decreased 1 st, and left the edge st intact. This gives a nice line to your work as you decrease. If you are a handknitter, then wrapping should at least be a term that doesn't make you blanch! It's the same basic concept as in handknitting, in that wrapping prevents holes from forming in your knitting. With machine knitting, wrapping means placing the working yarn under the 1st needle in hold (and the needle closest to the working needles) when the carriage is on the left side. When the carriage is on the right it automatically wraps the needle as it passes over the needle in hold (watch it as you move the carriage from right to left). Therefore no hole! Whenever you have a needle with 3 sts on it, pull it out to D position and Knit, to facilitate the knitting.
Once you make your first starflower, you may not be able to stop. Make any number of sizes by simply increasing more (or less) in the beginning. Once you get the hang of it, it becomes quite rhythmic and quick. Happy knitting! @ Jill shaw MacDonald All rights reserved. For personal use only.


