The Sunlight Shawl for Sad People
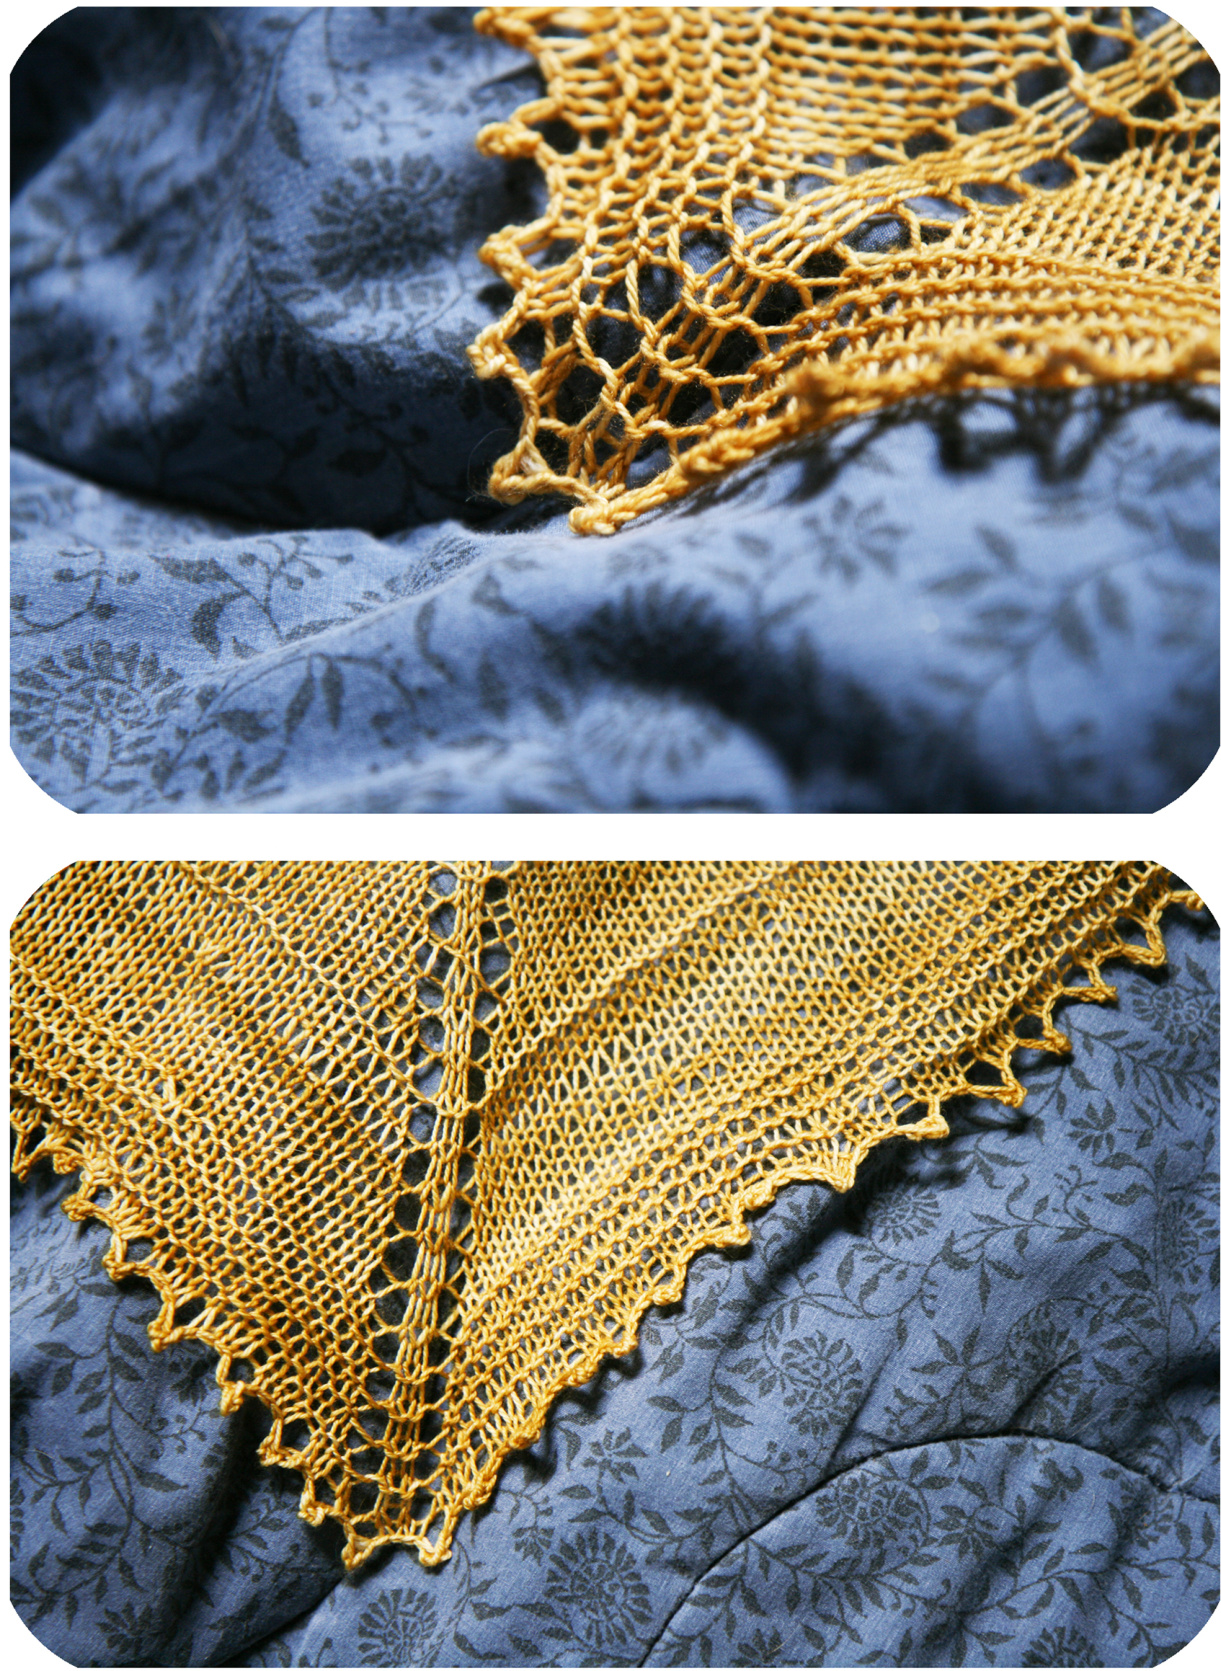
The Sunlight Shawl for Sad People
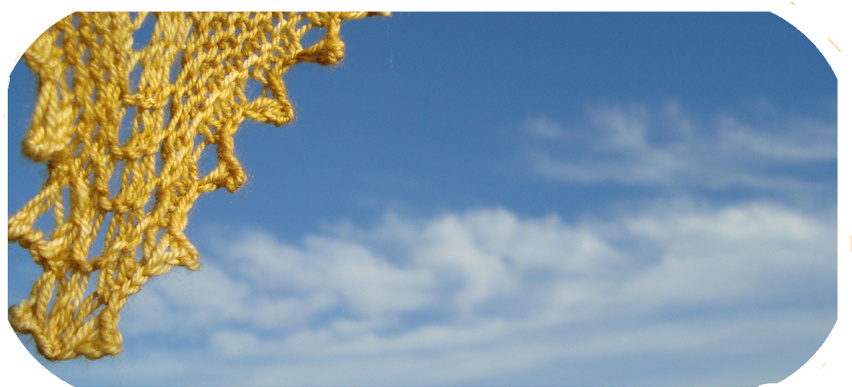
ii pioco Li oawi lialy· I started knitting it last winter as a cure for my melancholy (which was mostly about the miserable Vancouver weather.) The sunlight-like glow of the Malabrigo sock helped me through the cloudy days.
Legend:
yo = Yarn over k = Knit P = Purl RS = Right side WS = Wrong side pm = Place marker sm = Slip marker (from left needle onto right needle)
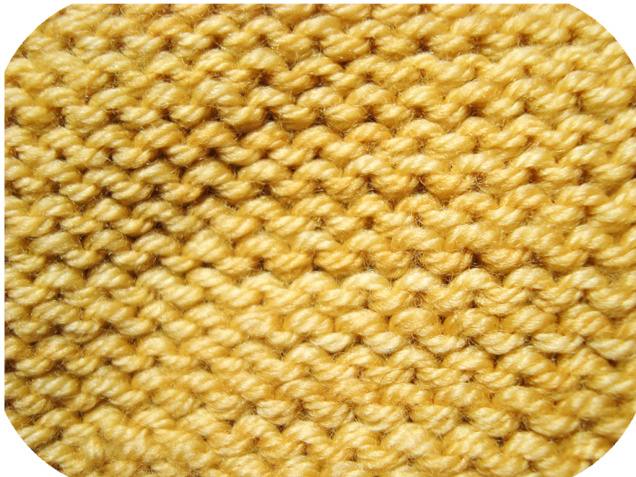
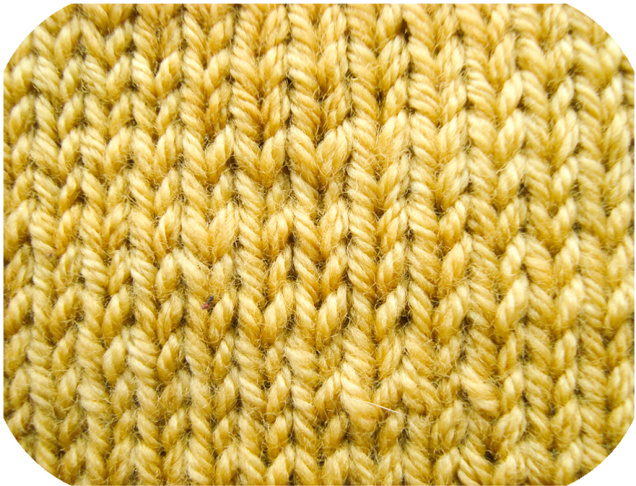
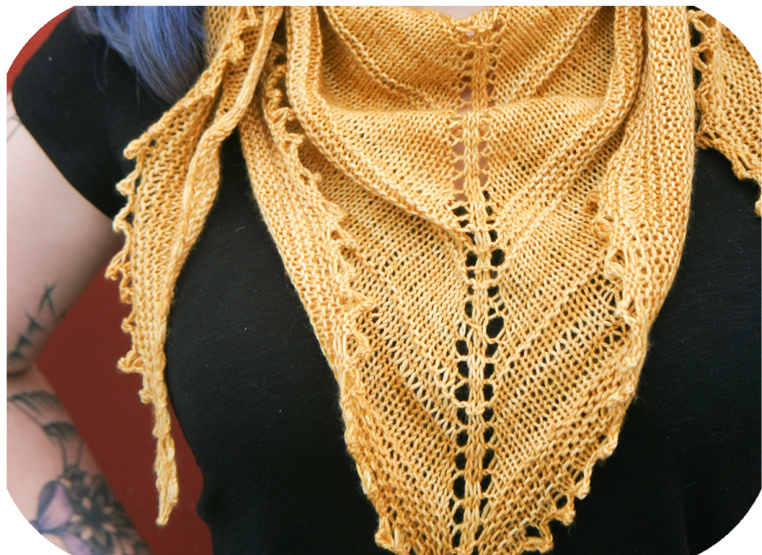
right side (mostly knits -Y shaped) This pattern is knit flat with a wrong side and a right side. Which means the wrong side will have primarily purls and the right side will have primarily knits. The right side's fabric is going to lok like lots of little Vs while the wrong side is going to look like lots of little lines or bumps.
Yarn Qvers!
The yarn over is the first building block to lace knitting. Lots of new knitters do these by accident - the premise of the yarn over is literally when you put the yarn over your needle and then work the next stitch.
Notions:
Yarn: I used Malabrigo Sock in Ochre but I imagine any light fingering weight Yarn would work well. Also, don't feel limited to the colour yellow... A blue sky shawl would also keep away the rainy day blues. Needles: between 3.5mm - 4.5mm needles depending on how you like your stockinette to lok, denser (3.5mm needles) or looser (4.5mm needles).
Gauge:
Gauge doesn't matter on this shawl, knit the pattern until you want to cast off or you run out of yarn!
The Pattern:
Co 1o stitches using the long-tail cast on method. 1st row (RS): k2, pm, k2, pm, k2, pm, k2, pm, k2 (10 stitches) 2nd row (wS): k2, purl to last two stitches, k2 (10 stitches) The k2 at the beginning and end of each of the rows is to establish a garter ridge border. 3rd row (RS): k2, sm, yo, k2, yo, sm, k2, sm, yo, k2, yo, sm, k2 The yarn overs are increasing the amount of stitches so we'll call row three (and all rows with yarn overs in them) an increase row. Row 4 (ws) : k2, purl to last two stitches, k2 So, those are your starting rows. The rest of the shawl is knit in the same way. With increase rows and purl rows alternating to create a mostly Stockinette stitch shawl. Most of the rest of the rows will be knit like this: All RS rows: k2, sm, yo, knit to next marker, yo, sm, k2, slm, yo, knit to next marker, yo, sm, k2 rl to last 2 stitches (slipping markers as you come to them), k2. The textured part of the shawl is done by garter stitch ridges. The pattern is designed to allow the knitter to decide when they want to implement the garter rows. Lots of knitters prefer to have things evenly dispersed, while I like to just put them in there somewhat haphazardly.
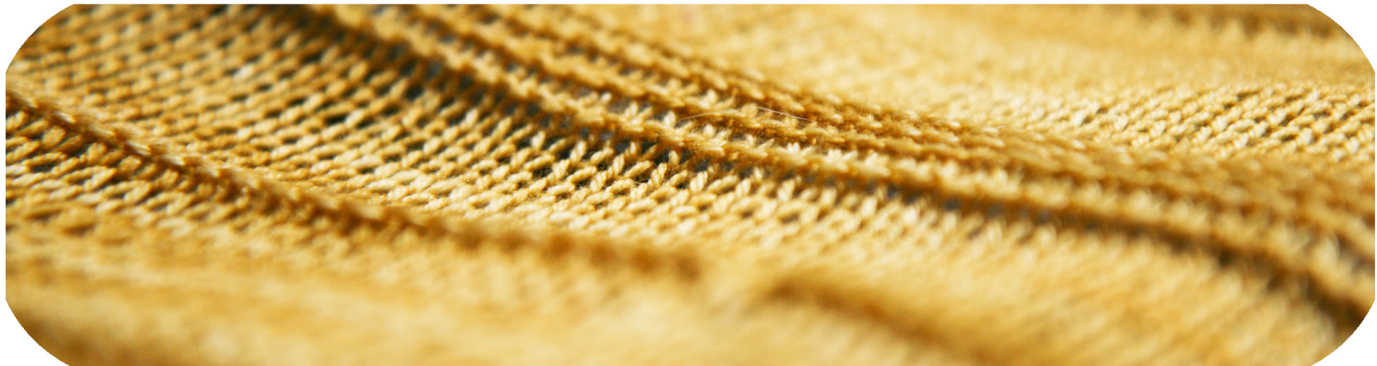
The textured rows are made by knitting the wS rows. A RS row: k2, sm, yo, knit to marker, yo, sm, k2, sm, yo, knit to next marker yo, sm, k2 the next ws row: knit the whole row, slipping the markers as you come to them.
Finishing up the shawl
When I knit this shawl I decided to knit a few rows of garter stitch before I did the picot bind off. So if you feel so inclined, knit six or so rows of garter stitch, still doing the yarn over border and spine as established.
The Picot Bind Qff
Cast off four stitches in regular fashion. \*Slip the stitch that's on your right needle onto your left needle use the knitted cast on to cast on two stitches Cast off six stitches \* repeat from \* to \* until all stitches are cast off.
How to do a knitted cast on:
After you cast off your four stitches slip the stitch you have on your right-hand needle onto left-hand needle. Put your right-hand needle through the stitch you've just put back onto the left-hand needle. Start to knit the stich, pull the yarn through the stitch, but don't drop the stitch off the left hand needle just keep that Twist the loop and put it on the left-hand needle. If you've done this correctly you'll have a new stitch created on your left-hand needle. To cast on more stitches in this way place the stitch you have on your right-hand needle back on to your left hand needle and repeat the whole process again!
Blocking:
Blocking is incredibly important with all shawls. When you cast off your shawl it will be a tiny little pitiful scrunched-up ball of knitting. It will only blossom into something worth wearing if you pin the every-living hell out of it. Soak the shawl, you Can use a wool soak like Eucalan or not. Make sure not to agitate it too much as it might felt. Squeeze it out gently, you can use a towel to press the water out too, to help it dry quicker. Lie it out on a bed or a blocking board or a bunch of cardboard and stick pins in every picot edge and all along the top/flat part of the shawl. Block heavily, pull it tight. Lie it over night to dry. Only unpin it when it is truly dry.
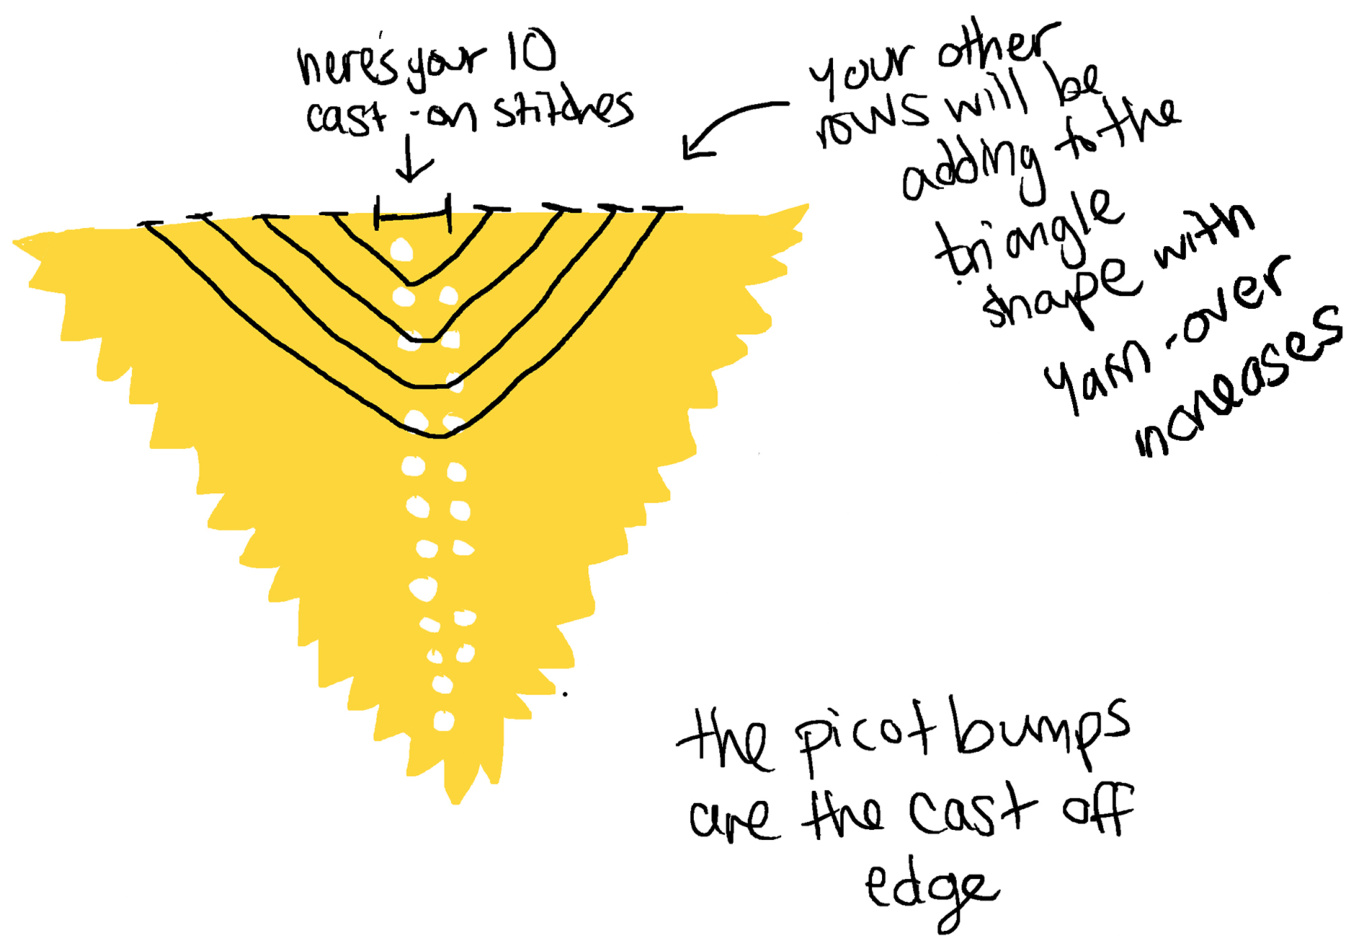
The mysterious construction of a triangle shawl
You would think, Casting on your measly 10 stitches, that you would be starting with one of the three points of a triangle shawl, but you are actually casting on in the middle of the top, or flat, part of the shawl.
Please feel free to contact me through my ravelry account (softsweater or Sylvia Bo Bilvia) if you have any questions or comments
Happy Knitting!


