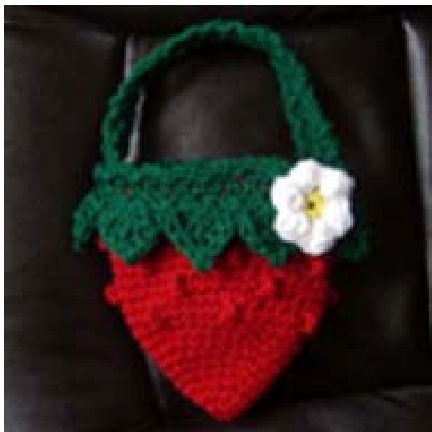
1005. Strawberry Crochet Bag.
Strawberry crochet bag is a crochet bag pattern for beginner to intermediate level. I tried to keep it simple and I included a lot of pictures of every step so you can try it even if you are a newbie. This Strawberry Crochet Bag is cute as a button and it can be a great gift idea for the little girl, my toddler daughter just LOVE it :) Recommended weight yarn: Medium to worsted weight (weight category #4) I used Red Heart Super Saver in Cherry Red and Paddy Green.
Recommended crochet hook size: I 9 (5.5 mm) to J 10 (6.00 mm) The approximate size of the crochet strawberry bag is 7in by 6 1/2 in (18 cm by 16 1/2 cm). (without the handles).
Abbreviations and stitches used:
CH - chain, SC - single crochet, HDC - half double crochet, DC - double crochet, TC - treble crochet. The gauge: 13 SC in 4" (10 cm); 14 rows in 4" (10 cm).
Note:
SC 2 (the # of stitches is AFTER the stitch's abbreviation) means: make two single crochet stitches in two stitches of the previous row. the stitch's abbreviation) means: make two single crochet stitches in one stitch (increase For example, [SC 2, 2SC] means: make a SC in the first stitch, then another SC in the second stitch, and then make 2 SC together in the third stitch (an increase).
THE "BERRY" PART OF THE STRAWBERRY CROCHET BAG.
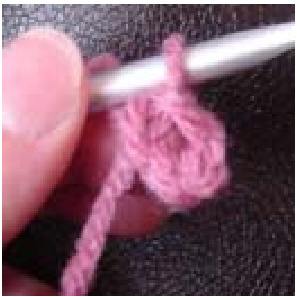
The "Berry" part of the Strawberry Crochet Bag starts with the tip of the berry. Do not make a skip stitch at the end of each row and CH 1 at the beginning of each row. Use the stitch marker to indicate the end of each row and move it up as the work progresses. CH 3, join in a ring with a slip stitch. Row #1: SC 6 in the ring. Total = 6 stitches in this row after you've completed it. Row #2: 2 SC in each stitch. Total = 12 stitches in this row after completing it. Row #3: [SC, 2SC] repeat [] 6 times around the row. Total = 18 stitches after completing of this row. Row #4: SC in each stitch around the row. Total = 18 stitches after completing of this row (no change)) Row #5: [SC2, 2SC] repeat [] 6 times around the row. Total = 24 stitches after completing of this row. Row #6: [SC 3, 2 SC] repeat [] 6 times around the row. Total = 30 stitches after completing of this row. Row #7: SC in each stitch around the row. Total = 30 stitches after completing of this row (no change). C 4, 2SC] repeat [] 6 times around the row. Total = 36 stitches after completing of this ro 5, 2SC] repeat [] 6 times around the row. Total = 42 stitches after completing of this ro? Row #1o: SC in each stitch around the row. Total = 42 stitches after completing of this row (no change). Row #11: [ SC 6, 2SC] repeat [] 6 times around the row. Total = 48 stitches after completing of this row. Row #12: [SC 7, 2SC] repeat []6 times around the row, finish with a slip stitch. Total = 54 stitches after completing of this row.
Join in a ring with a slip stitch
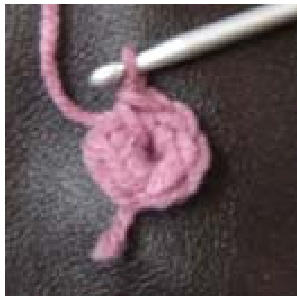
Row #1: SC 6 in the ring
CH3
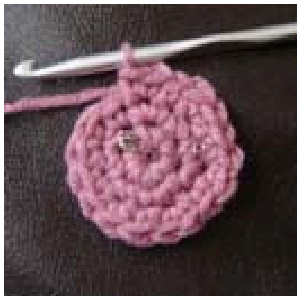
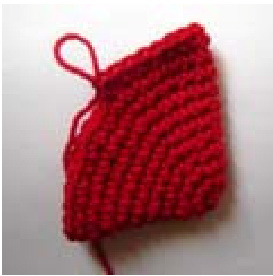
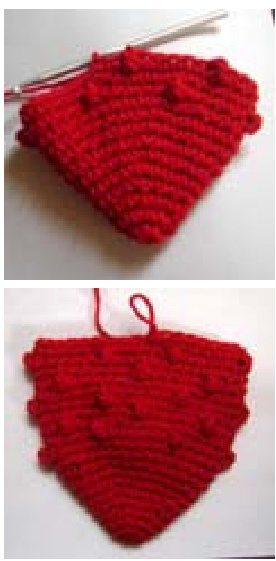
Rows ##2-3 and so on This is how it looks after completing the Row # 12 - the tip of the Strawberry :)
Continue to the "seedy" part of the Strawberry - the part with the seeds :)Note: now all rows start with a CH 1 and finish with a slip stitch.
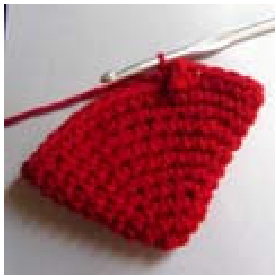
Row #13. CH1, [SC 5, DC] repeat [] 9 times, slip stitch. The total number of stitches (54) will be unchanged till the end of thework. Note: the DC stitch between SC stitches pops up and create a bump - a "seed' Row # 14: CH 1, SC in each stitch all around the row, slip stitch.
Row #15: CH 1, SC 2, [DC, SC 5], repeat [] 9 times around the row, SC 2, slip stitch. Each DC is between the DC stitches of the Row#13. Row #16: repeat Row #14 Row # 17: repeat Row #13 Row #18: repeat Row #14 Row #19: repeat Row #15 The Berry part of the hat is ready, now let's make some leaves :) Row #2o: repeat Row # Row #21: repeat Row #13 Row #22: repeat Row #14 Row #23: repeat Row #15
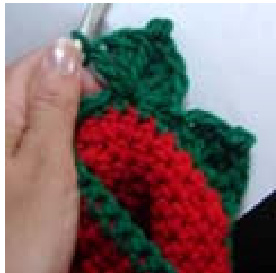
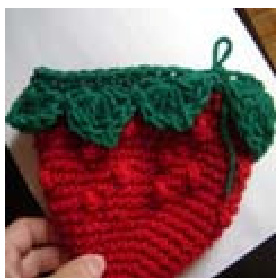
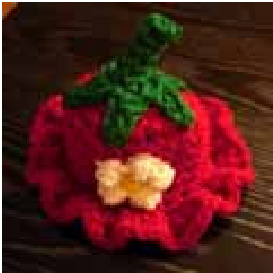
THE GREEN LEAVES FOR THE STRAWBERRY CROCHET HAT.
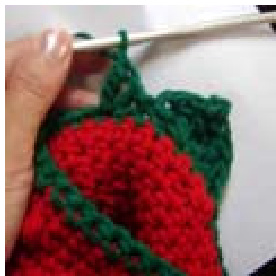
The leaf is basically a scallop : [DC, 2TC, TC, CH 1, slip stitch, 2TC, DC]. All [] should be done in one stitch. How to make a leaf step-by-step in pictures:
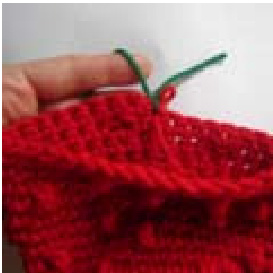

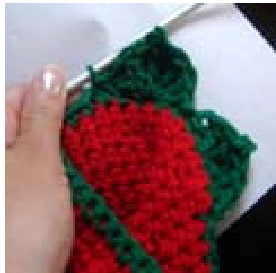
Attach the green yarn from the inside of the bag. CH 1 and make SC in each stitch around the row. Slip stitch at the end of this row.
The leaf:
Step 1: DC in the 2nd stitch from the hook
Step 2: TC(#1) in the same stitch
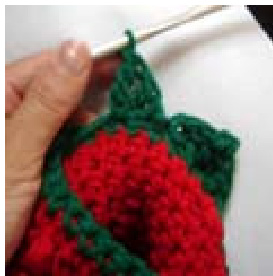
Another TC (#2) in the same stitch
Another TC (#3) in the same stitch and CH 1
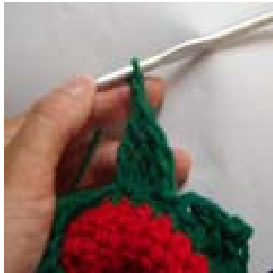
Slip stitch (in the top of the TC Make 2 more TC stitches in the #3) samestitch
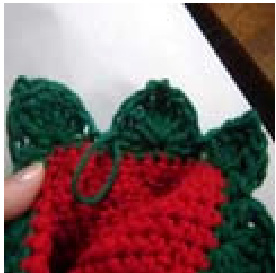
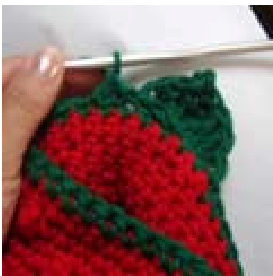
DC in the same stitch and slip stitch in the second stitch. The leaf is ready. :) Make leaves all around the row (should be 8 leaves).
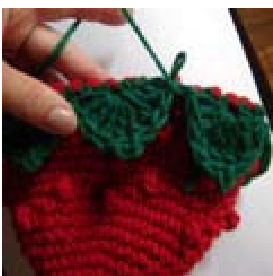
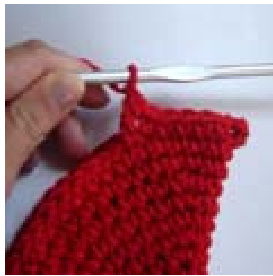
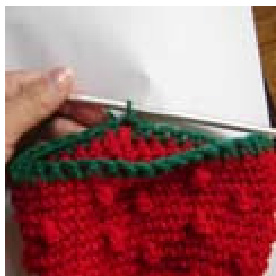
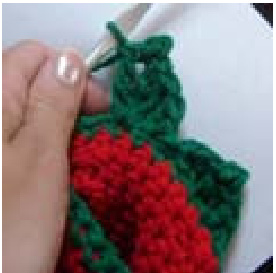
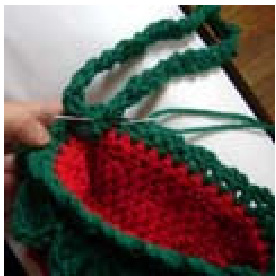
Now work from the outside of the bag. CH 1 and make a row We have a nice edge and our
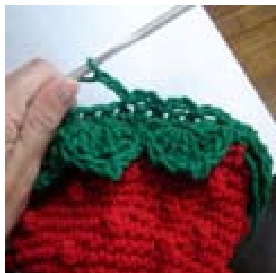
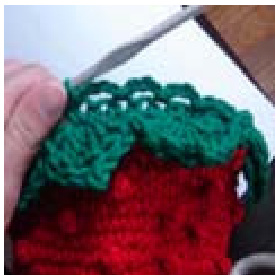
Make the last row: [CH 3, slip stitch in the second from the of SC stitches around the row incerting the crochet hook through the green and through the red. Finish the row with a slip stitch. leaves are fixed down. :) hook stitch(skip one)]. Repeat [] around the row.
HANDLES OF THE STRAWBERRY CROCHET BAG.
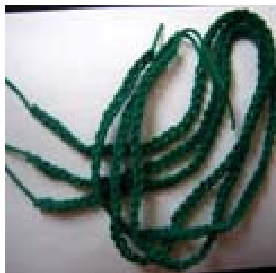
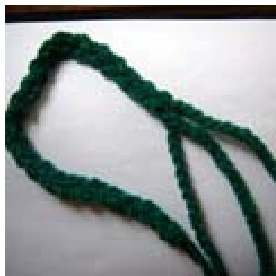
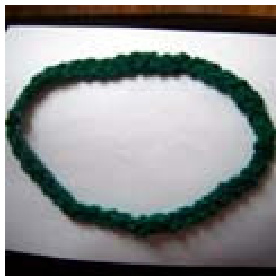
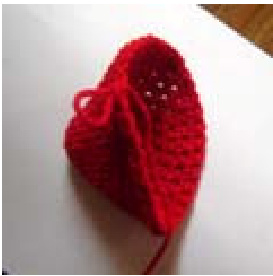
Make three chains approximately 28-20 inches long. Braid them together and make a ring (tie the end and the beginning tightly). Fold the ring flat in two.
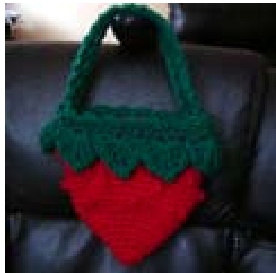
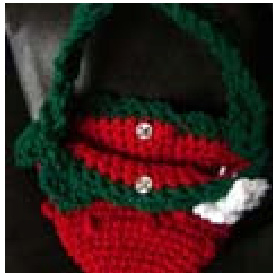
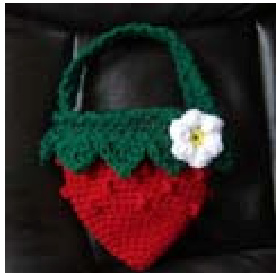
Sew on the sides of the ring to the bag from the inside. The crochet flower pattern you can get here: www.beginner-crochetpatterns.com (Go to Crochet Flower Patterns: Daisy Flower Pattern) The strawberry crochet bag is almost ready :) Optionally: you can sew on snap fasteners to the inside of the bad or any other kind of a fastener. You can even add strings :) The ready hat!
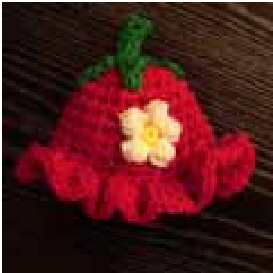
Matching Strawberry Hat Crochet Pattern to complete the Strawberry outfit: www.beginner-crochet-patterns (Go to Crochet Hat Patterns: Strawberry Hat)


