Mobius Mitts V.1
pixelatedmushroom.etsu.com

Welcome!
Hello! Thanks for coming to check out this unusual and slightly geeky creation! The idea came from the instruction that you see on many crochet patterns: 'be careful not to twist the chain' so my thought was.. what happens if you do? The answer of course is the mobius strip The beauty of the mobius loop for knitting and crochet is that you get to work either side of the cast on row/foundation chain, so that you start your work in the middle and go outwards:
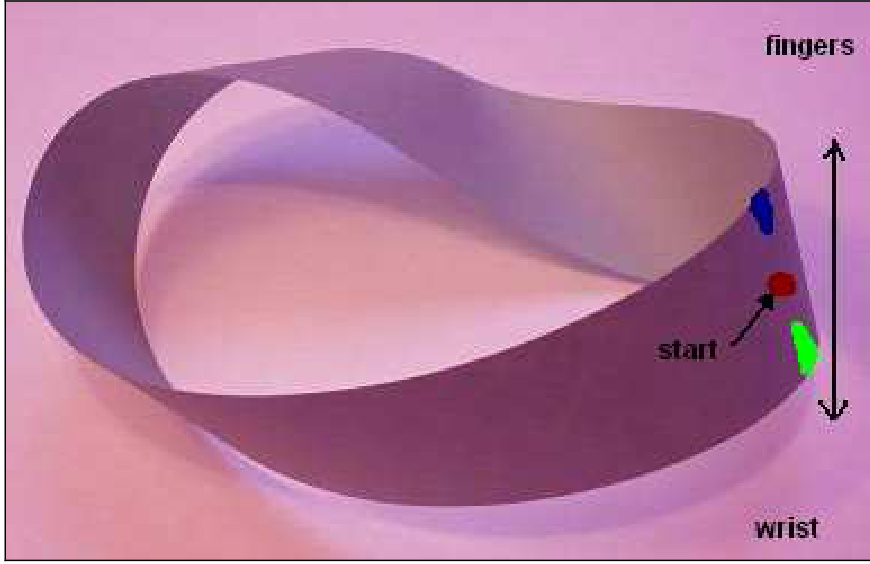
This was a bit of a nightmare when trying to provide a pattern for gloves, but I think it at least provides an interesting creation experience and a nice geeky item of clothing (even if they can be a challenge to work out how to wear). I have used a blue and a green stitch marker to keep track of rows. Because each 'row' takes you the distance between two markers it should not be too hard to follow. It's a good idea right now to look up at the diagram and starting at the blue marker, follow the edge around until it hits the green marker, this will be called one 'row' I would love to see any photos of your finished gloves if you would like to send them to me (pixelatedmushroom@gmail.com). Feel free to contact me if you have any worries or questions. Mobius strip image: David Benbennick ( http://en.wikipedia.org/wiki/File:Mobius strip.ipq )
Yarn
I used Moda Lincraft Cosy Wool 8ply (Ravelry link: http://www.ravelry.com/yarns/library/lincraft-cosy-wool ) but other 8ply wool of your choice should have a similar effect.
Tools
5mm crochet hook (I crochet loosely, perhaps consider a larger hook if you crochet tightly) A green stitch marker A blue stitch marker Stitches/Abbreviations (with links to videos if you're having trouble) sts $=$ stitcnes $\mathsf{C h}=$ Chain ${\sf S C}=$ Single crochet Hdc $=$ Half-double crochet (www.youtube.com/watch?v=LxA2osb5Qfk) Dc $=$ Double crochet Sc-dec $=$ Single crochet decrease (http: //www.youtube.com/watch?v=JcycT1YmSSM) Hdc-inc $=$ Half-double crochet increase (http://www.youtube.com/watch?v=kOj5ElEd13Q)
The Pattern
Left Hand
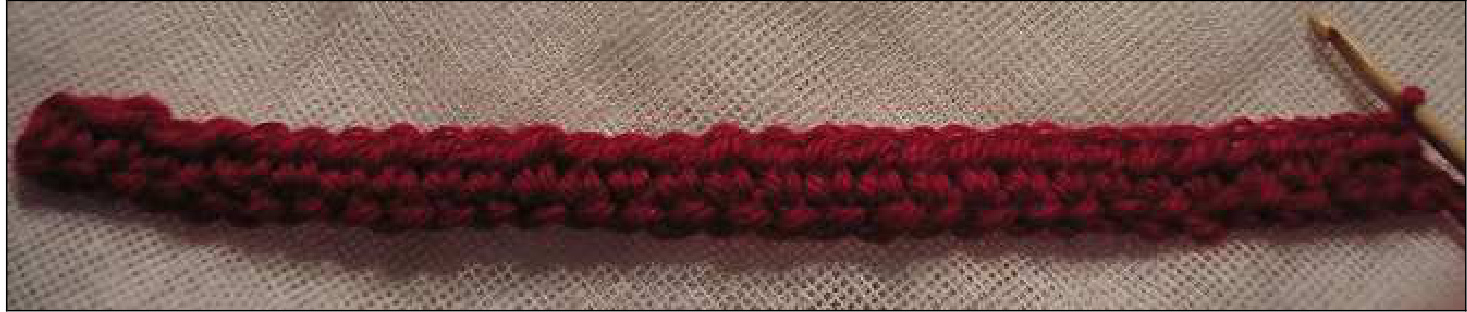
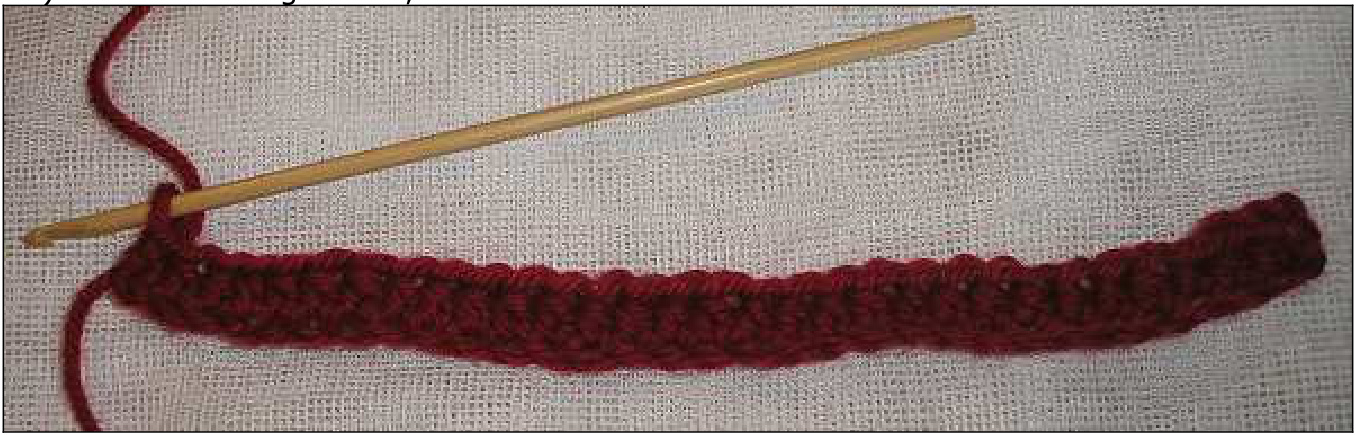
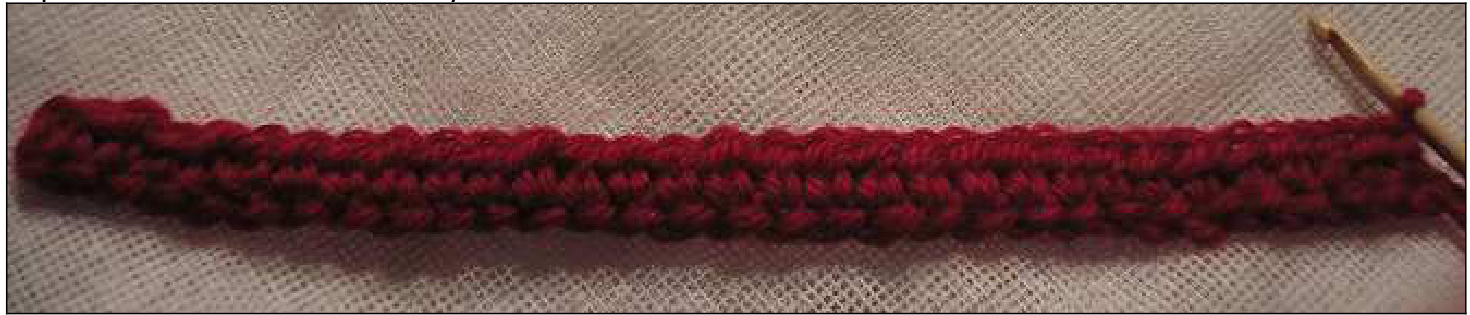
Chain 30 Row 1) make 2 turning chains, then hdc29

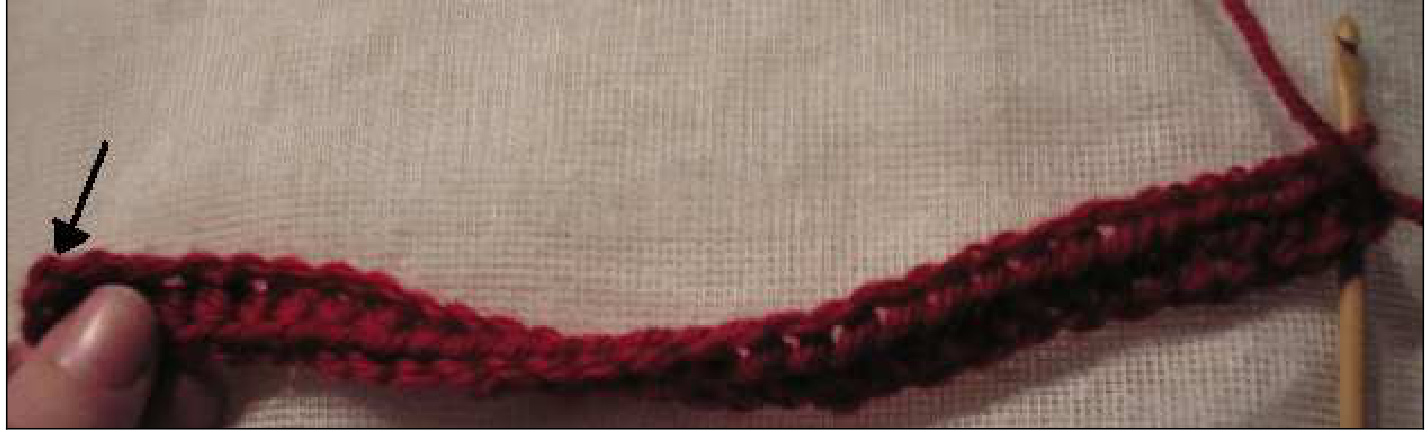
Flip the work over horizontally as if to start the next row 2) Insert hook into the stitch indicated above and sc1 (shown below), then hdc 29
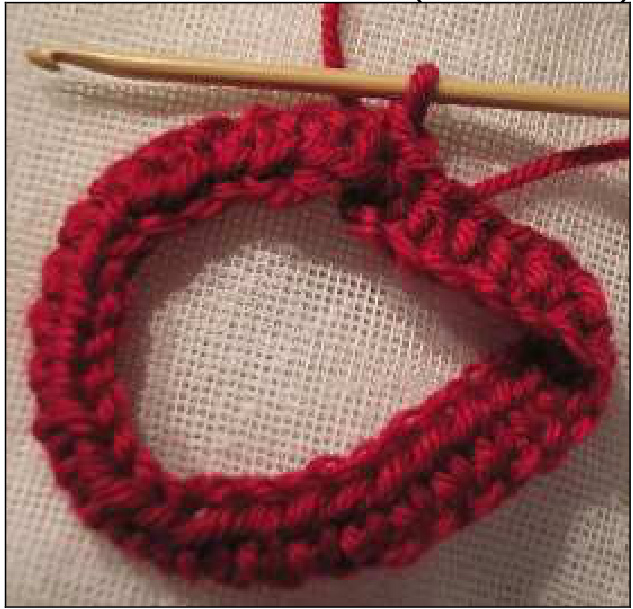
5) pidce d yieell suitcll illdl kel leie, luc 5u 4) place a blue stitch marker here, hdc-inc2, hdc to green marker 5) hdc to blue marker 6) hdc-inc1, hdc2, hdc-inc1, hdc to green marker 7) hdc to blue marker 8) hdc-inc2, hdc1, hdc-inc2, hdc to green marker 9) hdc to blue marker 10) hdc1, chain2, sc1 in the 9th stitch from hook (makes thumb hole), hdc to green marker 11) hdc to blue marker 12) hdc to green marker 13) hdc to blue marker 14) hdc to green marker 15) hdc to blue marker 16) hdc1, dc24, hdc to green marker 17) hdc21, dc to blue marker 18) dc24, hdc to two sts before the green marker, sc-dec1 19) sc-dec1, sc16, hdc1, dc to blue marker 20) dc16, hdc2, sc1, slip1 21) turn work, sc in 2nd stitch from hook, hdc1, dc to blue marker 22) dc8, hdc2, sc2, slip1 Break leaving a tail then thread tail through stitch on hook and pull tight. Sew in end. Use loose end from cast on row to sew up the hole between cast on chain and row 2
Right Hand
Chain 30 Row 1) make 2 turning chains, then hdc29
Flip the work over horizontally as if to start the next row
Twist the bottom left corner towards you 180deg until it becomes the top left corner
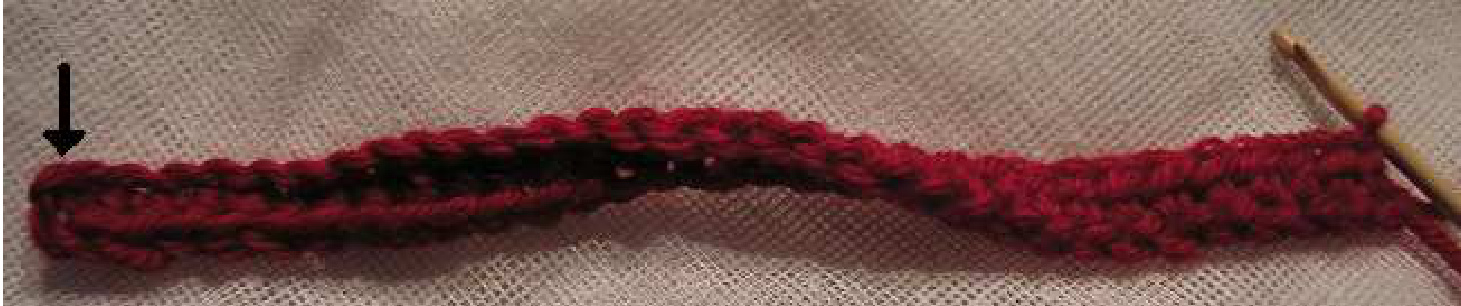
2) Insert hook into the stitch indicated above and sc1 (shown below), then hdc 29

Rows 3-22) same as for left hand
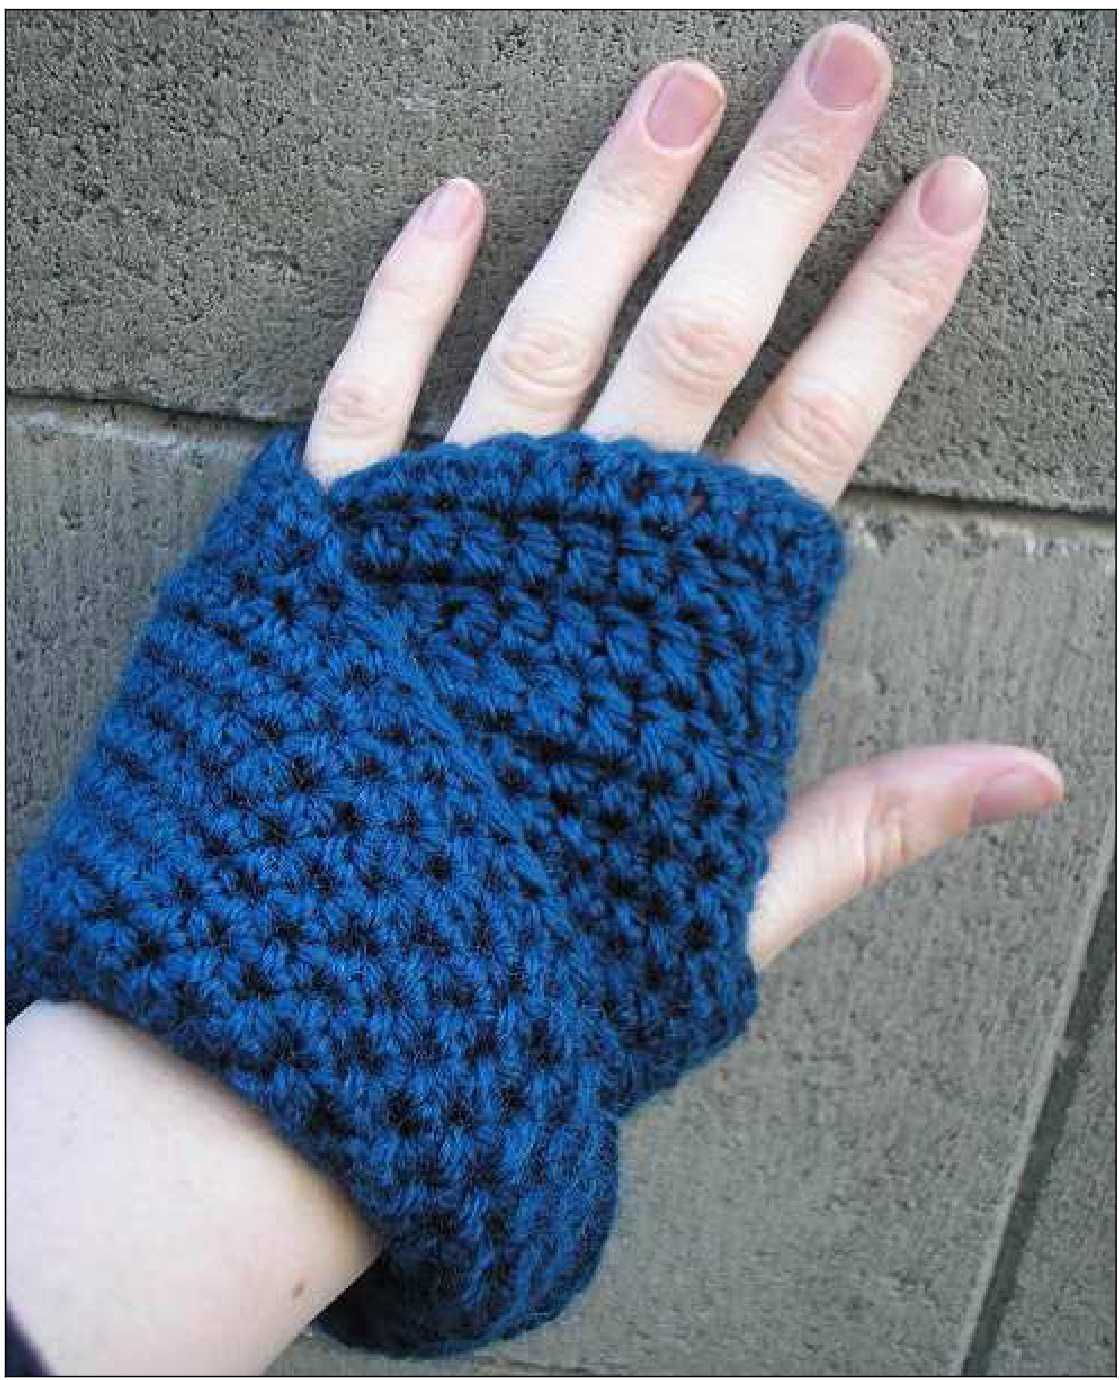
Wearing the Mitts
Although you can wear the mitts any way you like (because you can turn them inside out and arrange the outer layer differently) - I like to arrange mine like this:
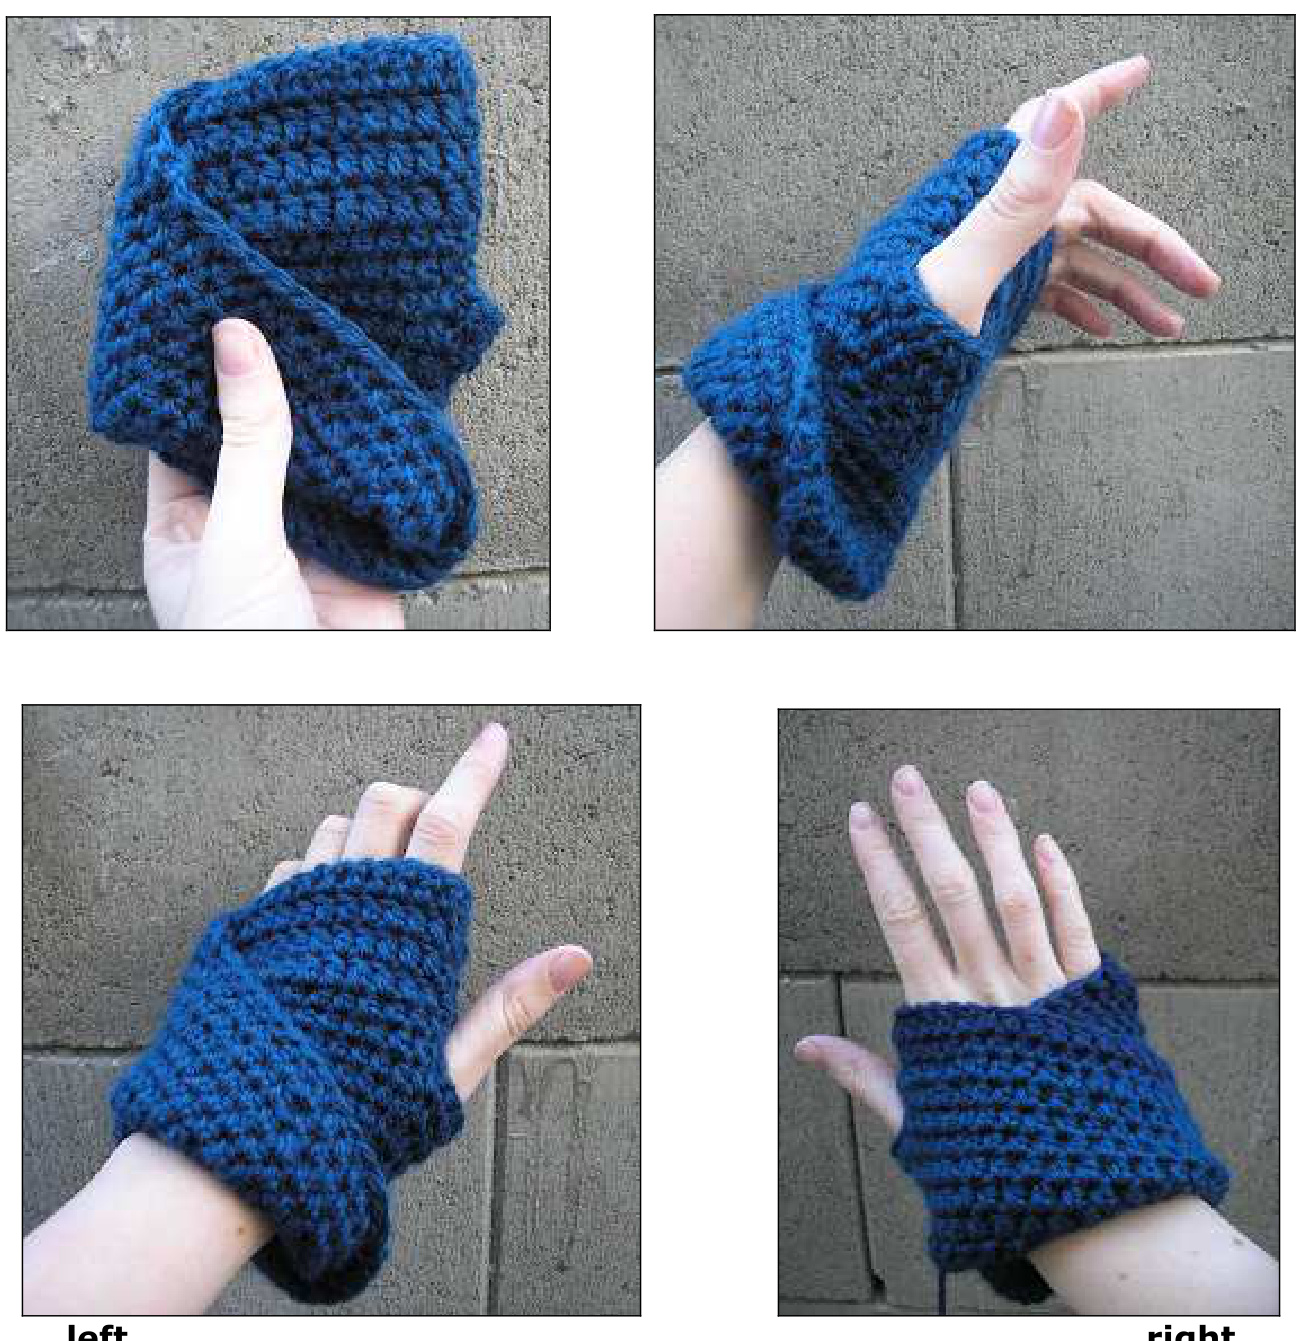
The right hand looks the same in terms of the twist (upper layer slanting from top left to bottom right, but the thumb sits on the left side of the glove Please send any images or comments to pixelatedmushroom@gmail.com and attach your ravelry project to http://www.ravelry.com/patterns/library/mobius-mitts-v1


