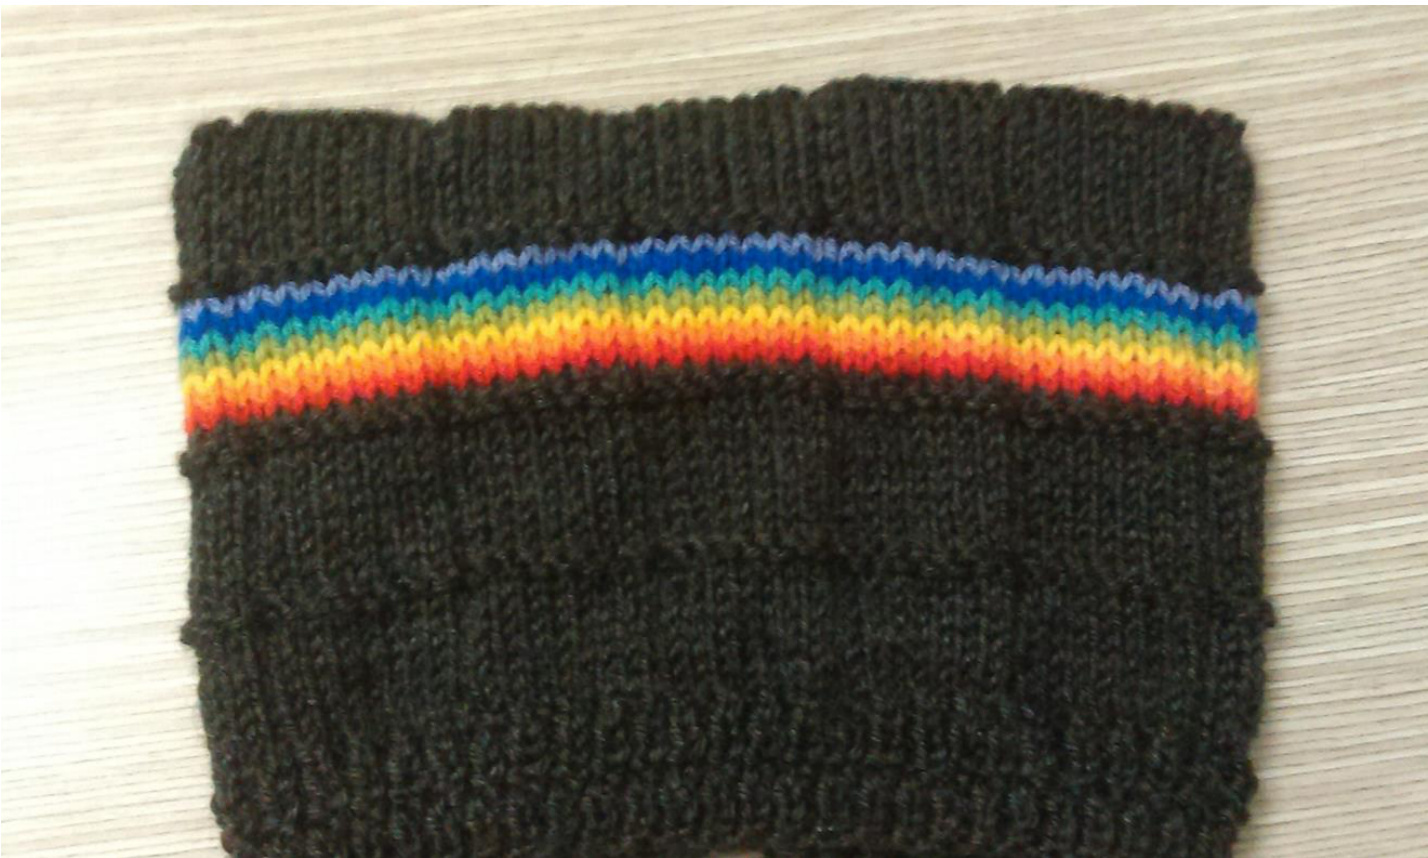
This hat is inspired by the movie Thor, in which Jane, Thor's girlfriend, is extremely passionate about astrophysics and describes in a scene, an Einstein-Rosen bridge, as a wormhole in space. Meanwhile, Thor explains that he travels through space via a rainbow bridge. Put scientific theory and Norse legend together and out pops this hat. I could easily see Jane wearing this while trying to reconcile particle data, or looking for Thor. It has a plain background along which the rainbow runs, and is knit flat and has a broken rib band and short row shaping to shape the crown, which is finished off with Kitchener stitch and so is worn cat-hat style, or the corners can be tucked inside to look like a normal beanie. Materials: 4mm needles, 50g of grey, and small amounts each of red, orange, yellow, green, blue, indigo, and violet worsted weigh yarn (or the closest to these colours you can appropriate), yarn needle Gauge: 19 stitches and 24 rows in 10cm square of stockinette stitch using grey yarn (all yarns should yield the same gauge, but since this is the main colour, it is the only one you have to worry about) Pattern: CO 100sts Rows 1 -4: k1, p1 across Rows 5 - 8: p1, k1 across Row 9 (RS): p1, \*k8, p1\* across Row 10: k1, \*p8, k1\* across Repeat these last two rows three more times Row 17: p across Row 18: as row 10 Rows 9 to 18 form the pattern. Repeat pattern once more using grey yarn, then use colour changes as below for rows 9 to 16 of following repeat. Row 9: change to red yarn Row 10: change to orange yarn Row 11: change to yellow yarn Row 12: change to green yarn Row 13: change to blue yarn Row 14: change to indigo yarn Row 15: change to violet yarn Row 16: change to grey yarn Complete pattern repeat in grey yarn. Shaping: While continuing in established pattern, work short row shaping. Row 1: work in pattern until last 5 stitches, turn (do not wrap stitches as you will not be knitting back overthem) Row 2: work in pattern until last 5 stitches, turn Row 3: work in pattern to last 5 stitches of the row (these 5 stitches do not include the stitches left unworked in row1),turn Row 4: work in pattern to last 5 stitches of the row, turn Repeat short row shaping in this manner until there are 10 stitches left at the centre, and there are 45 unworked stitches either side of these centre10. Cut yarn, and slip all of the stitches to a single needle (doesn't matter which). Put the first 25 stitches onto a stitch holder. Slip the next 50 stitches onto the other needle, and put the last 25 stitches onto a holder or scrap yarn. Now transfer the 50 stitches that are currently on holders, onto a single needle, meaning that the beginning and end of the piece will meet in the middle of the needle, making sure that when you do this that you end up with the right side of the fabric facing the outside. Tip: I used a spare double pointed needle to help do this and position the stitches correctly. The 100 stitches are now spread evenly across two needles, ready for grafting. Use Kitchener stitch to graft the two sets of stitches together. Use mattress stitch to sew the side seam. Weave in all loose ends. Enjoy!


