star stitch hat
a. handmade by hanna hbelle pattern
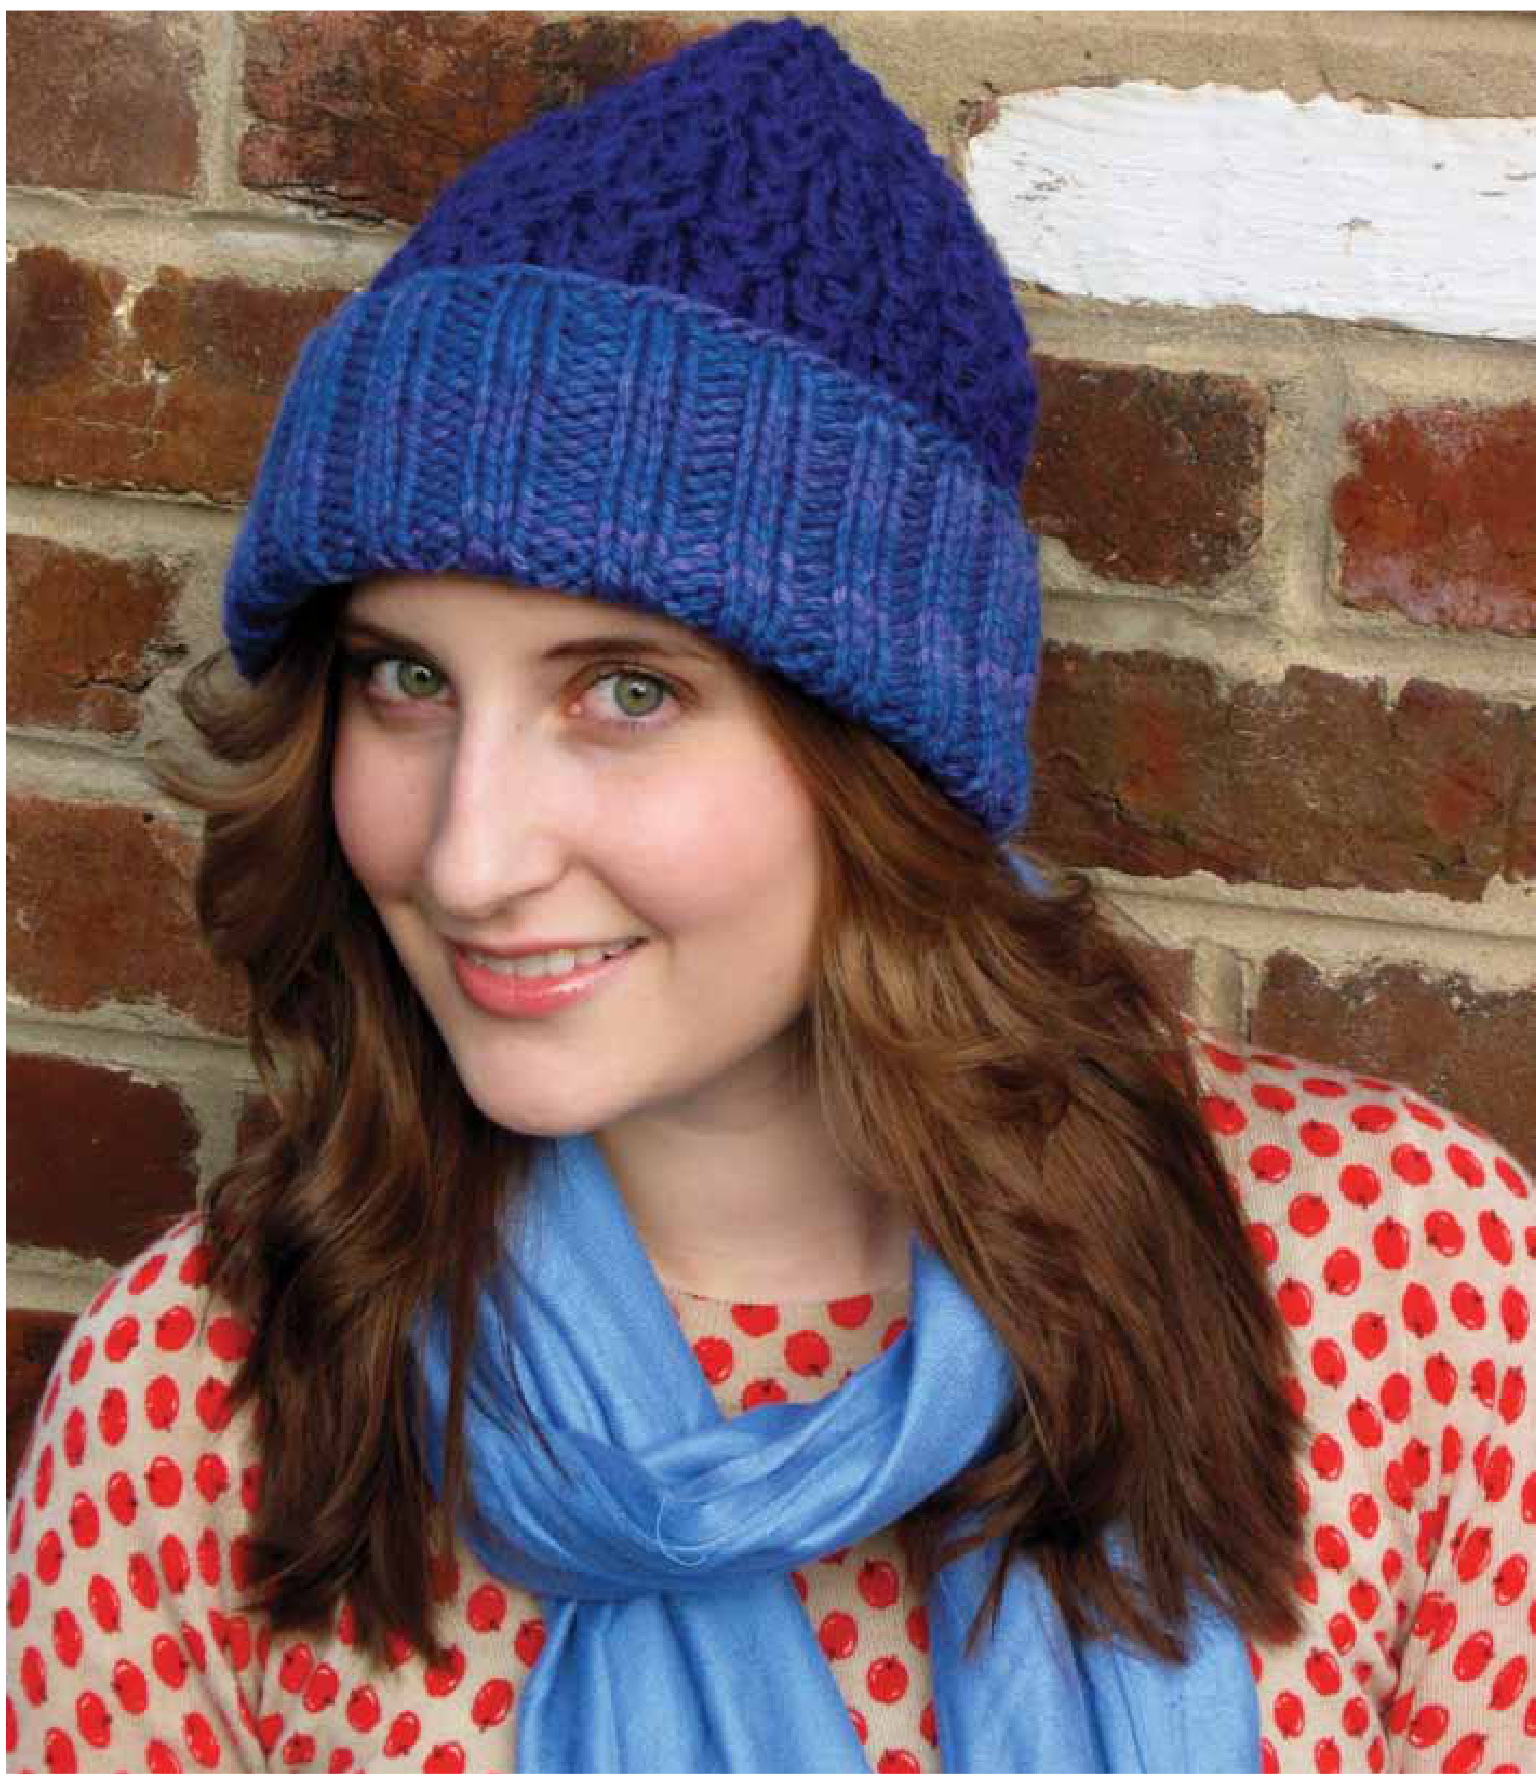
Photography 2012 @ Hannah Thiessen, pattern 2014 Hannah Thiessen, www.handmadebyhannahbelle.com The pattern contained in this pdf file is not to be shared or reproduced in any way without the express permission of the author. Projects made from this pattern may be sold, but design must be credited to Hannah Thiessen. The idea for this hat was conceived after knitting the adorable and easy "Holding Hands, Feeding Ducks" scarf released by Morgan Dammerung. Her scarf continues to be one of the most popular patterns on Ravelry, with close to 2000 projects. This Star-Stitch hat uses the same stitch in the scarf to create an adorable topper that will keep you cozy and warm all through the winter. The hat is knit in two skeins of Malabrigos Chunky, a plied, super-soft merino yarn that will make every stitch a delight. To mimic the look of this hat., you will need one skein each of Malabrigo Chunky in the colorways Indigo' (this is the brim color) and Purple Mystery (this is the body color). You will also need 1 set of US 9 (5.5 mm) double point needles. It is possible to knit the body of this hat in US 9 circulars, on a 16" cord, and you can either swtich to double points or magic-loop the top portion of the hat. This piece has slightly unique construction because it is worked inside out. The Star Stitch is a stitch traditionally worked flat, and has been modified for this pattern. Be careful not to reference other versions of the Star Stitch when knitting this hat, as getting mixed up could severely impact the finished product!
How to do Star Stitch in the round:
The Star Stitch is worked over three stitches, and spaced out with a single stitch in between each 'star'. To MS (make star), do the following: k3tog, leaving these stitches on the left hand needle. Wrap the working yarn around the right hand needle once, then k3tog the same stitches, sliding the original 3 off the left hand needle. You should have 3 new stitches on the right hand needle.
Start:
Using your circular or double pointed needles, Cast on 80 stitches loosely using the long tail cast on. Join in the round, being careful not to twist your stitches. Work in 2 x 2 ribbing (k2, p2) around until the brim measures 4" (10 cm) or desired length. Knit 1 round to last 2 stitches, k2tog. Row 1: \*MS,p1\* Row 2: purl all stitches Row3: \*p1,MS\* Row 4: purl all stitches Repeat these 4 rows until your hat has a total of 9" (23 cm) in length from the brim, ending with Row 2. Kfb in last stitch.
Decreases:
Row 1: \*p1, p3tog. p1, MS\* around (20 stitches decreased) Row 2, 4, 6: purl all stitches Row 3: \*MS, p1\* Row 5: \*p1, p3tog. p1, MS\* (44 stitches total) Row 7: \*MS, p2tog\* to last 4 stitches, p4tog Row 8: \*p1, p3tog\* Row 9: \*p2tog\* around Cut yarn, leaving a 4" tail, and weave the tail through the remaining stitches of the hat. Pull tight to close and weave in this end securely. Weave in any other ends. No blocking is required for this pattern and could alter the shape. Photography & Pattern 2012 @ Hannah Thiessen www.handmadebyhannahbelle.com The pattern contained in this pdf file is not to be shared or reproduced in any way without the express permission of the author. Projects made from this pattern may be sold, but design must be credited to Hannah Thiessen.


