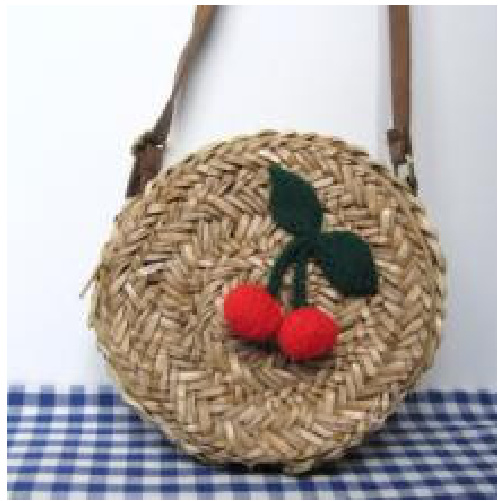
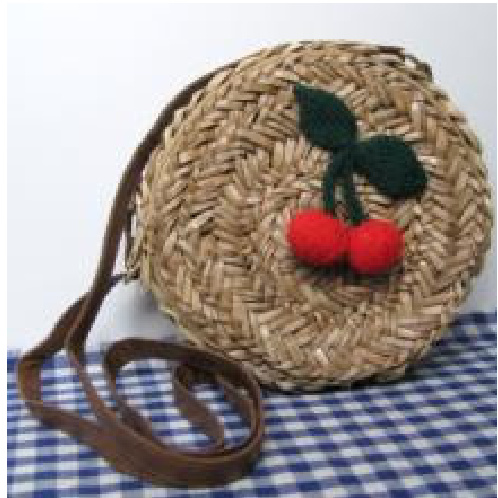
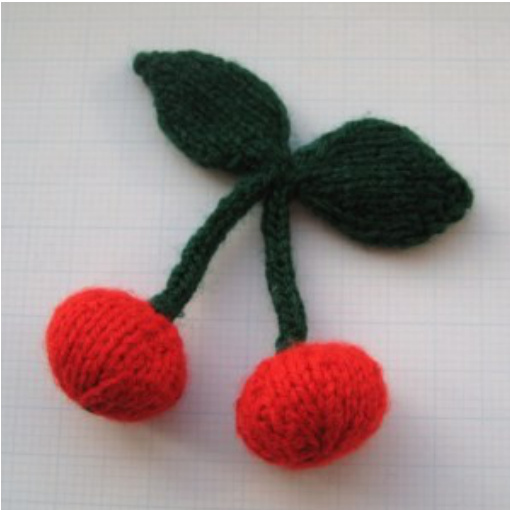
Cherries
fluff and fuzz knitting pattern Design by Amanda Berry
Finished size ...
8cm wide x 8cm high (including leaves and stalks) The finished size will depend on the choice of yarn and needle size.
Wool ...
20g pure wool DK - red for cherries 20g pure wool DK - green for stalks and leaves ·Length of black wool for decoration This is an approximate amount, but should be sufficient to knit all the pieces and sew your cherry together. DK = double knit yarn
Needle size ...
3 mm straight needles. Two 3 mm double pointed needles (DPNs) for i-cord stalks.
Other materials ...
Toy filling/stuffing (approximately 20g). ?Tapestry needle (to sew the pieces together) Safety pin or brooch pin (optional).
Copyright information ..
Copyright @ 2010 to 2013 Amanda Berry All patterns offered by fluff and fuzz (designed by Amanda Berry) are protected by international copyright laws. Any unauthorised copying will constitute an infringement of copyright. All rights reserved. I have no objection if you wish to sell the finished toys made from this knitting pattern, however, please do credit fluff and fuzz as the pattern designer in your product details/listing information. These patterns are intended for personal use, so you are not authorised to sell the pattern itself. 1 encourage items knitted from my patterns to be sold for charity fundraising purposes Knitting Abbreviations ..
| CO | Cast on |
| K | Knit |
| P | Purl |
| KFB | (Increase) - Knit twice into the stitch. Knit into the front of the next stitch on the left hand needle, but do not slip off the needle. Then take the right hand needleandknitintothebackof the stitch, then remove the loop from the left hand needle. |
| K2TOG | (Decrease) - Knit two stitches together through the front of the loops. |
| SSK | (Decrease) - Slip the next stitch on the left needle knitwise, then slip the next stitch on the left needle purlwise.Take the left needle and knit through the front of the two slipped stitches on the right needle. |
| P2TOG | (Decrease)-Purl two stitches together. |
| [..] | Repeat the stitches in square brackets by the number indicated. |
| (...) | Thenumberinroundbracketsindicates the number of stitches per row. |
Knitting Needle Size Chart ...
| Metric | X | US |
| 2.75 mm | 12 | 2 |
| 3.0 mm | 11 | |
| 3.25 mm | 10 | 3 |
| 3.5 mm | 4 | |
| 3.75 mm | 9 | 5 |
| 4.0 mm | 8 | 9 |
Tension ...
Tension (or gauge) is not important. However, stitches should be close together so that when the finished cherry is stuffed, the stuffing does not come out throughgaps in the stitches.
About the patterns ..
You do not have to add a pin, you can sew the decoration in place if you prefer. You could make your cherries as a hanging decoration by adding a length of ribbon or braided wool. If you are making these cherries to give to a baby or child, please ensure you have no loose parts (loose threads, etc) which can be potential choking hazards. Also be cautious about the type of yarn, as fluffy brushed mohair yarns can have small fibres that can be swallowed by children. For safety, do not add a pin if this is to be used by a baby or child.
Making up ...
Use the same yarn used to knit the cherry or leaf to sew all seams. Tie any knots on the inside (as these will not be seen when the cherry is completed), and bury any loose ends from sewing in the stuffing. Use mattress stitch to sew the seams together unless otherwise specified.
fluff&fuzz
For my free patterns and crafting tutorials, please pop over to my blog at http://fluffandfuzzknitting.wordpress.com/ Knitting patterns ..
Cherry
Make 2. Start at the top of the cherry. Knit in red. CO 6 1. P(6) 2. [KFB] × 6 (12) 3. P(12) 4. [KFB, K1] X 6 (18) 5. P(18) 6. [KFB, K2] X 6 (24) 7. P(24) 8. K(24) 9. P (24) 10. [K2TOG, K2] X6 (18) 11. P(18) 12. [K2TOG] X 9 (9) Break the yarn leaving a tail. Thread the yarn through the remaining stitches and pull tight to gather at the base of the cherry. Secure the thread.
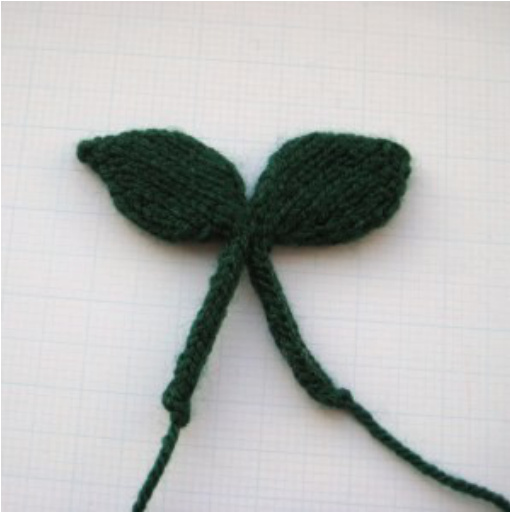
Leaf and Stalk
Make 2. Start at the tip of the leaf. Knit in green. CO 3 1. P (3) 2. K1, KFB, K1 (4) 3. P (4) 4. [KFB] X 4 (8) 5. P(8) 6. K1, [KFB] X2, K2, [KFB] X2, K1 (12) 7. P(12) 8. K2, [KFB] X 2, K4, [KFB] X 2, K2 (16) 9. P(16) 10. K(16) 11. P(16) 12. K (16) 13. P(16) 14. K2, K2TOG, SSK, K4, K2TOG, SSK, K2 (12) 15. P(12) 16. K1, K2TOG, SSK, K2, K2TOG, SSK, K1 (8) 17. P (8) 18. [K2TOG] X 4 (4) 19. P2TOG, P2 (3) Transfer the 3 stitches to double pointed needles (DPNs) to knit the i-cord stalk. Start with the right side facing you. Knit i-cord on 3 stitches for a length of 4cm. Cast off all stitches.
Making up ..
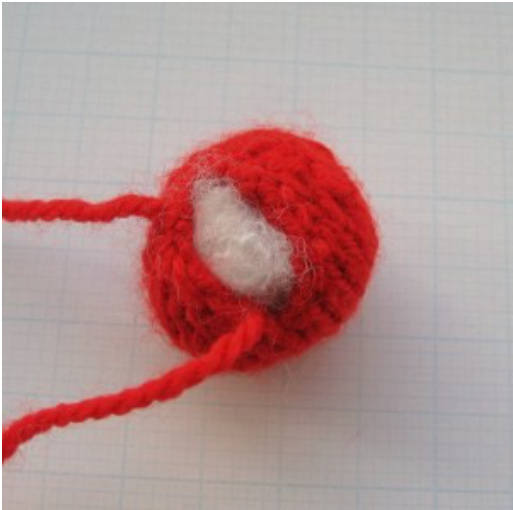
Using the cast off tail at the base of the cherry, sew the seam towards the top of the cherry (the cast on edge). Add stuffing as you sew.
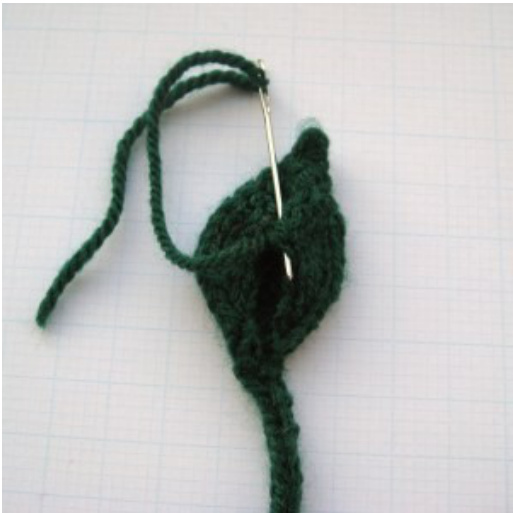
Gather the cast on stitches at the top of the cherry and secure the thread. If you wish, you can embroider small stitches for decoration on the base of the cherry using black wool. When making the leaves, note that the leaf seam runs down the centre of the back of the leaf. Sew the leaf seam using mattress stitch from the tip, ending at the beginning of the i-cord stalk. Secure thethread.
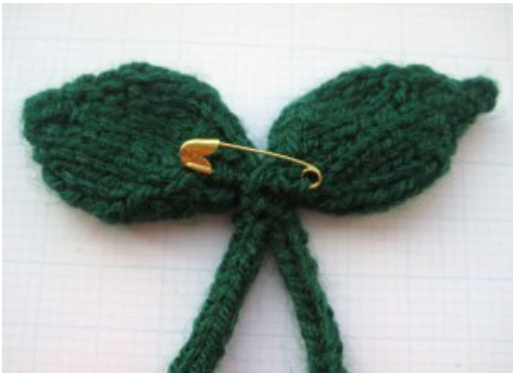
Place the two finished leaves side by side, seams facing downwards. Sew through the top of the stalks to attach the two leaf pieces together.
Sew the i-cord stalk to the top of each cherry.
Add a brooch pin or safety pin on the back of the leaves.
Pin to your bag, jacket, or whatever you like, and you're ready to spread some fluffy fuzzy cherry happiness!


