
Text and images by Lolly's Crafty Crochet & Laura Tegg, all rights reserved. No pattern may be reproduced or distributed — mechanically, electronically, or by any other means, including photocopying, without written permission. Finished products created with this pattern may be used for commercial sale. It is appreciated if design credit to Lolly's Crafty Crochet is listed in finished products.
Cosy Newborn Cocoon & Little Pixie Hat
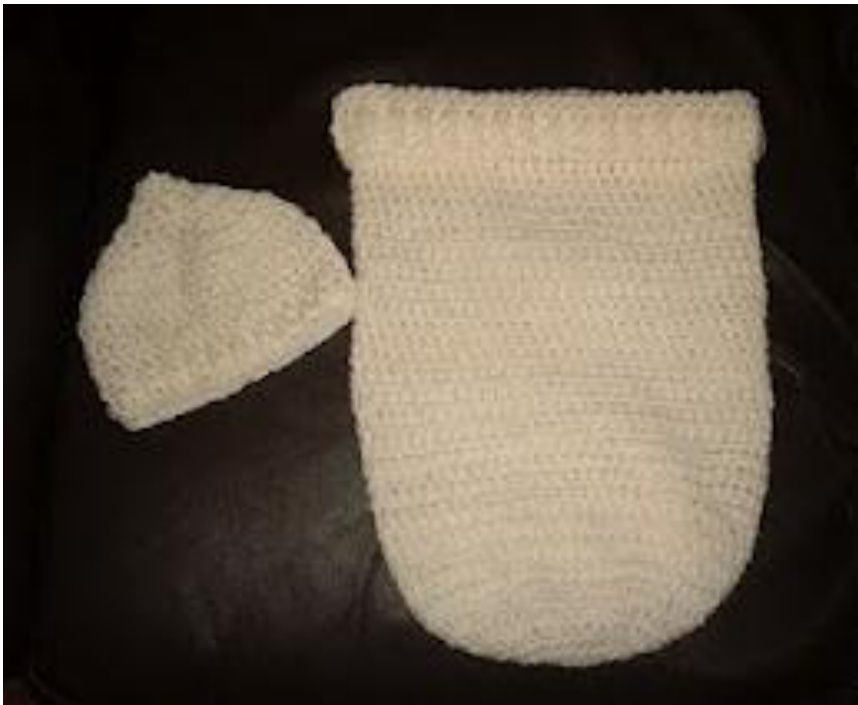
Here is my beautiful pattern for a Cosy Newborn Cocoon & Little Pixie Hat / both work up very quickly, brilliant if you're looking for a quick gift to make Please do not hesitate to let me know if there are any problems or if you need any clarification about this pattern.
General Information
Yarn: I used one 100g skein double knit Stylecraft in cream for the cocoon and less than 1/4 skein for the hat Hook: 5mm Gauge: Not important Cocoon dimensions: Circumference = 26cm Length = 38cm Hat dimensions: Circumference = 15cm Length = 14cm Terminology: US
Cocoon
Ch 3 Rd 1: 11 hdc in 4th ch from hook, join with slst in top of ch 3 (12hdc) Rd 2: ch 3 (counts as hdc now and throughout), 2 hdc in each st around , join Rd 3: ch 3, 1 hdc in same st as joining, \*hdc in next st, 2 hdc in next st, rep from\* until end, join Rd 4: ch 3, 1 hdc in same st as joining, \*hdc in next 2 sts, 2 hdc in next st, rep from\* until end, join Rd 5: ch 3, 1 hdc in same st as joining, \*hdc in next 3 sts, 2 hdc in next st, rep from\* until end, join Rd 6: ch 3, 1 hdc in same st as joining, \*hdc in next 4 sts, 2 hdc in next st, rep from\* until end, join Rds 7 - 10: ch4, dc in every stitch around, join Rds 11 - 14: ch3, hdc in every stitch around, join Repeat pattern from rd 7 to 14 until the piece measures 38 cm. You could finish the piece off here by chaining 1 and slip stitching all the way around and hiding the ends, but it does look extra cosy and very professional with the...
Chunky Band
Rds 15 & 16: Ch3, herringbone hdc all the way around (yo, insert hook into stitch, yo, pull through (3 loops on hook), pull first loop through second loop on hook (without another yo), then yo and draw through 2 rem loops on hook), join Rd 17: Ch4, dc all the way around Rds 18 & 19: Ch4, then alternate fpdc and bpdc (see below) all the way around, join fpdc = yo, starting from the front, place hook from front to back to front around the post of st in row below, pull through a loop, complete as a dc bpdc = yo, starting from the back, place hook from back to front to back around post of st in row below, pull through a loop, complete as a dc. Rd 20: Ch1, sl st all the way around. down the piece from the herringbone hdc to create the lovely chunky band Hide any ends and you're done!
Little Pixie Hat
Ch3. join to form a ring with a slip stitch Rd 1: Ch3 (counts as dc now and throughout), 4 dc into centre of the ring, join to top of ch3 with slst (5 dc) Rd 2: Ch3. dc into same stitch. \*\*dc into next stitch, 2 dc into next stitch\*\* Repeat from \*\* around, join to top of chain 3 with slst Rds 3 - 6: Repeat rd 2. Rd 7 - 11: Ch3. dc into each stitch around. join to top of chain 3 with a slip stitch Rd 12: Ch4, then alternate fpdc and bpdc (see above) all the way around, join Rd 13: Ch1, slst all the way around. Fasten off and weave in ends.


